How to Make a Reusable Bread-Basket Liner from Cotton Fabric
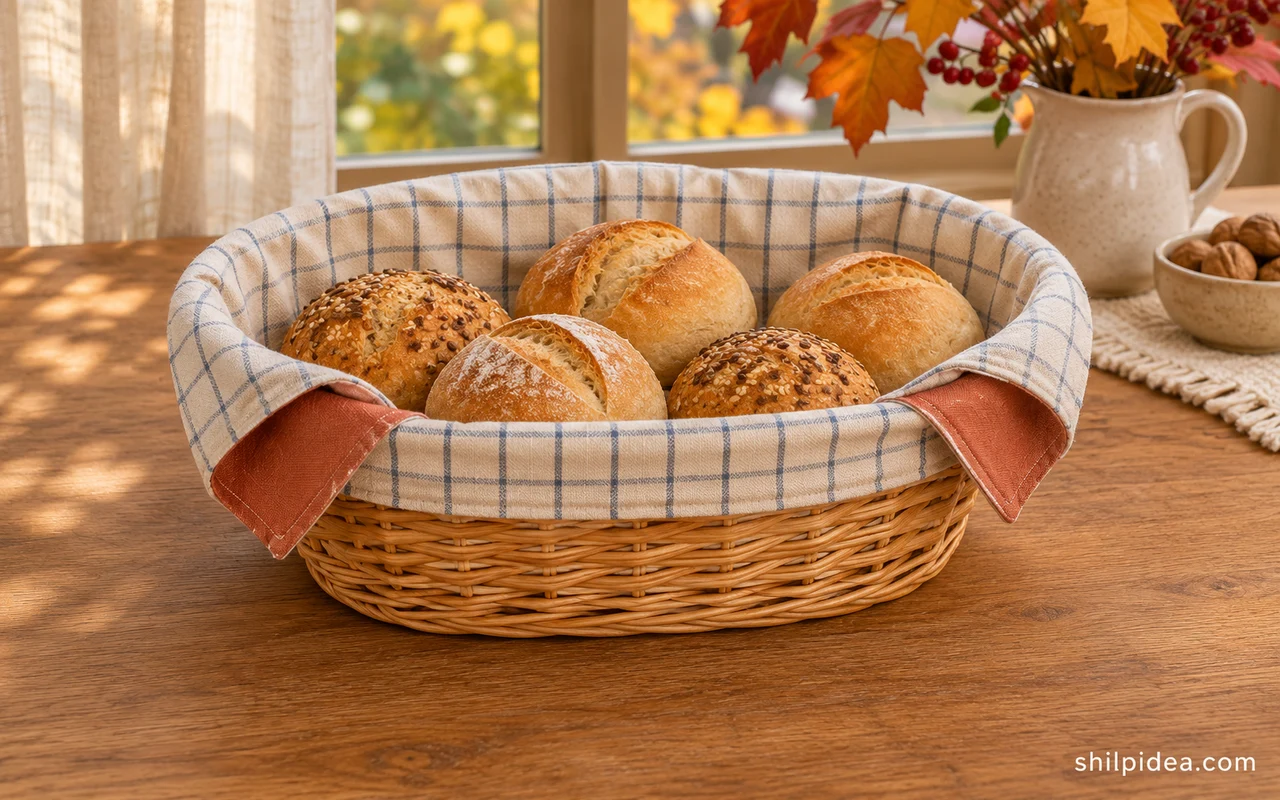
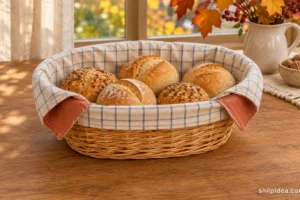
Sew two cotton squares into a reversible liner that drapes inside a bread basket. The corners fold over the rim, and the same liner can go from an everyday roll basket to a Thanksgiving table.
Use two fabrics you already like together, or pick a check and a solid that work with your natural table settings.
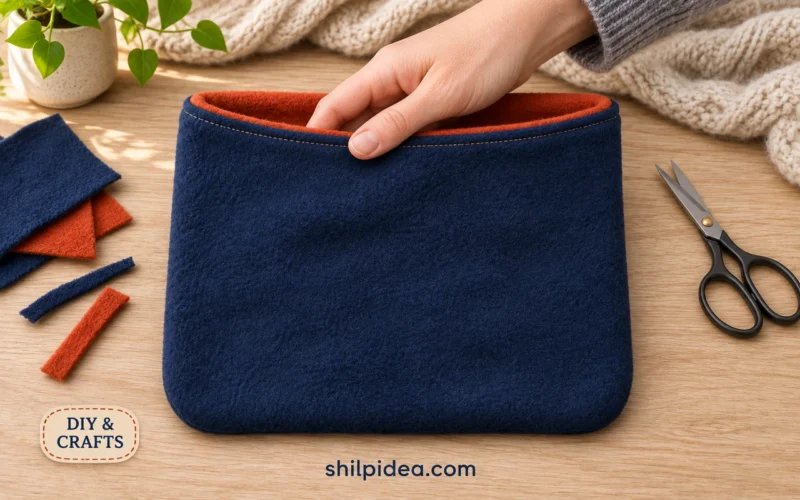
This guide shows how to size the cloth, sew the layers, and finish the opening. If you enjoy this construction, our reversible fleece pocket uses a similar turning technique.
Materials and Tools
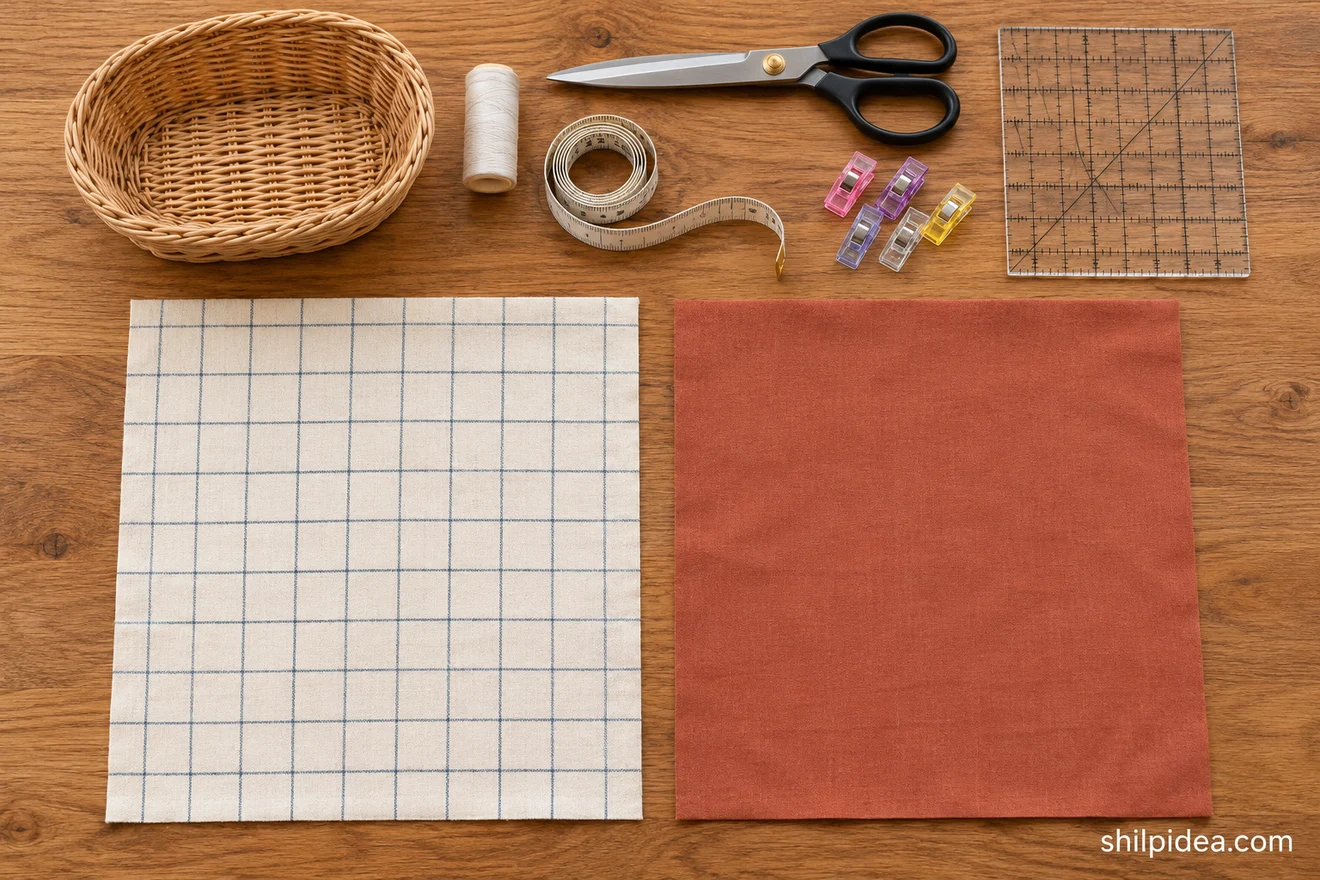
Gather these supplies for one square, reversible liner.
- Woven cotton – Two 20 × 20-inch (51 × 51 cm) squares for the example basket, one for each side. Prewash and dry both fabrics before cutting.
- Bread basket – One shallow basket to measure. The example has an interior base about 10 × 7 inches (25 × 18 cm) and sides about 3 inches (7.5 cm) high.
- Matching thread and sewing machine – Use all-purpose thread and a needle suited to your woven cotton.
- Measuring tape and ruler – Use the flexible tape inside the basket and the ruler to mark the squares.
- Fabric scissors and sewing clips – Use scissors to cut and trim, and clips to hold the layers together.
- Iron and blunt point turner – Use an iron to press the seams and a blunt tool to ease the corners into shape.
Precautions Before You Begin
Check the fabric, tools, and basket before cutting.
- Choose clean, tightly woven cotton and wash it before use.
- Remove each clip before it reaches the presser foot. Keep fingers clear of the needle.
- Use the iron setting for your fabric and keep the basket off the ironing surface.
- Set the finished cloth on the table before trimming any loose threads or making adjustments.
1. Measure the Basket and Cut Two Squares
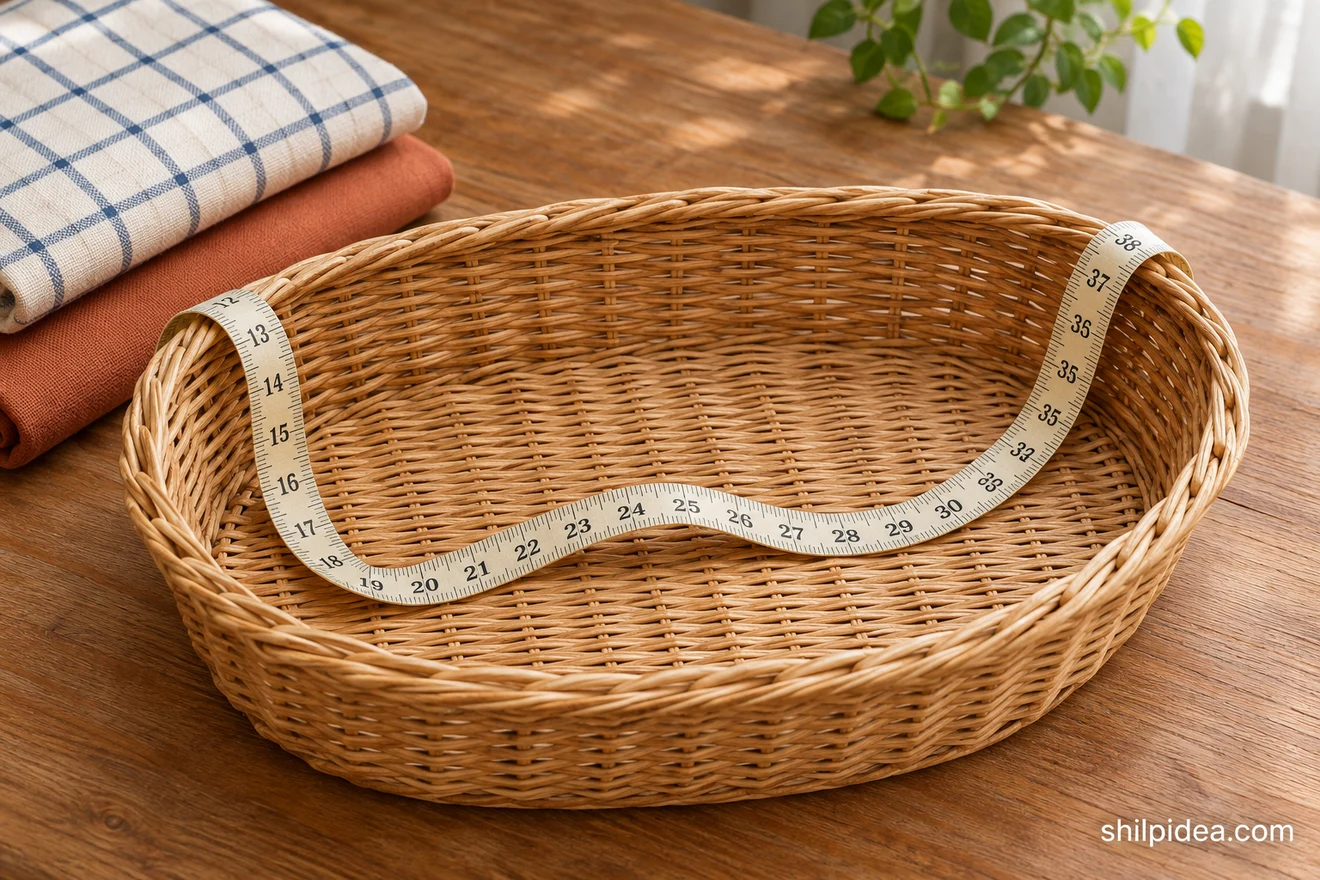
- Measure the drape. Run a flexible tape from one rim down the inside wall, across the base, and up to the opposite rim. Repeat in the other direction and use the larger measurement.
- Add overhang and seams. Add about 3 inches (7.5 cm) for the drape and 1 inch (2.5 cm) for two ½-inch seams. If the tape reads 16 inches across the longer direction, cut two 20-inch squares for a finished 19-inch liner.
2. Layer the Cotton and Mark the Opening
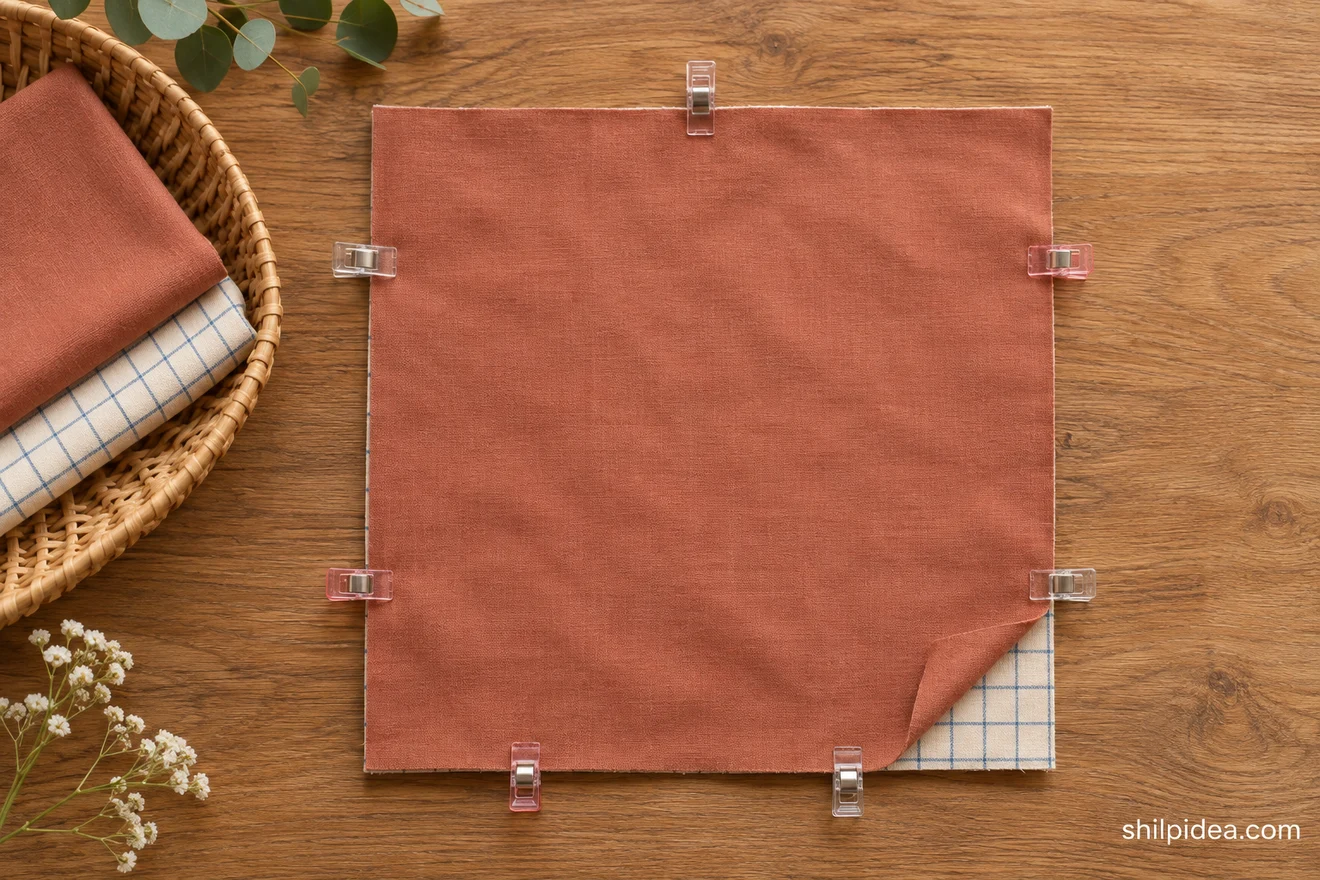
- Put the right sides together. Stack the squares with the sides you want to show facing each other. Align the corners, then clip the layers along all four edges.
- Mark a turning gap. On one straight side, use two clips to mark an opening about 3 inches (7.5 cm) long. Center it away from the corners so the opening is easier to press flat later.
3. Stitch the Edges and Trim the Corners
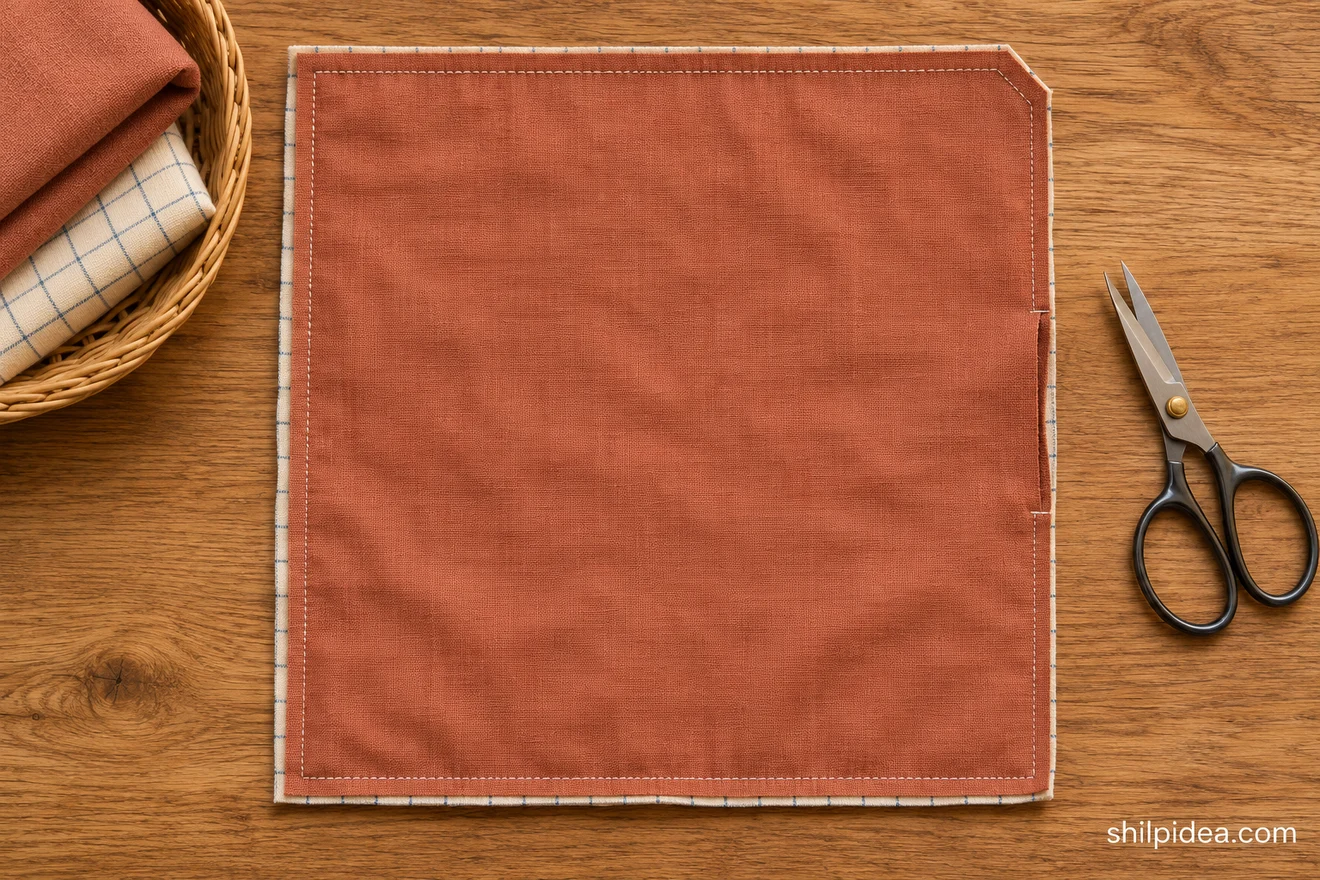
- Sew around the square. Use a ½-inch (1.3 cm) seam allowance. Start at one end of the marked gap, backstitch, and sew around all four sides. Pivot with the needle down at each corner, then stop and backstitch at the other end of the opening.
- Clip the four corners. Trim each corner diagonally just outside the stitches. Leave the seam allowances at the turning opening intact so they are easy to fold inside.
4. Turn, Press, and Topstitch the Liner
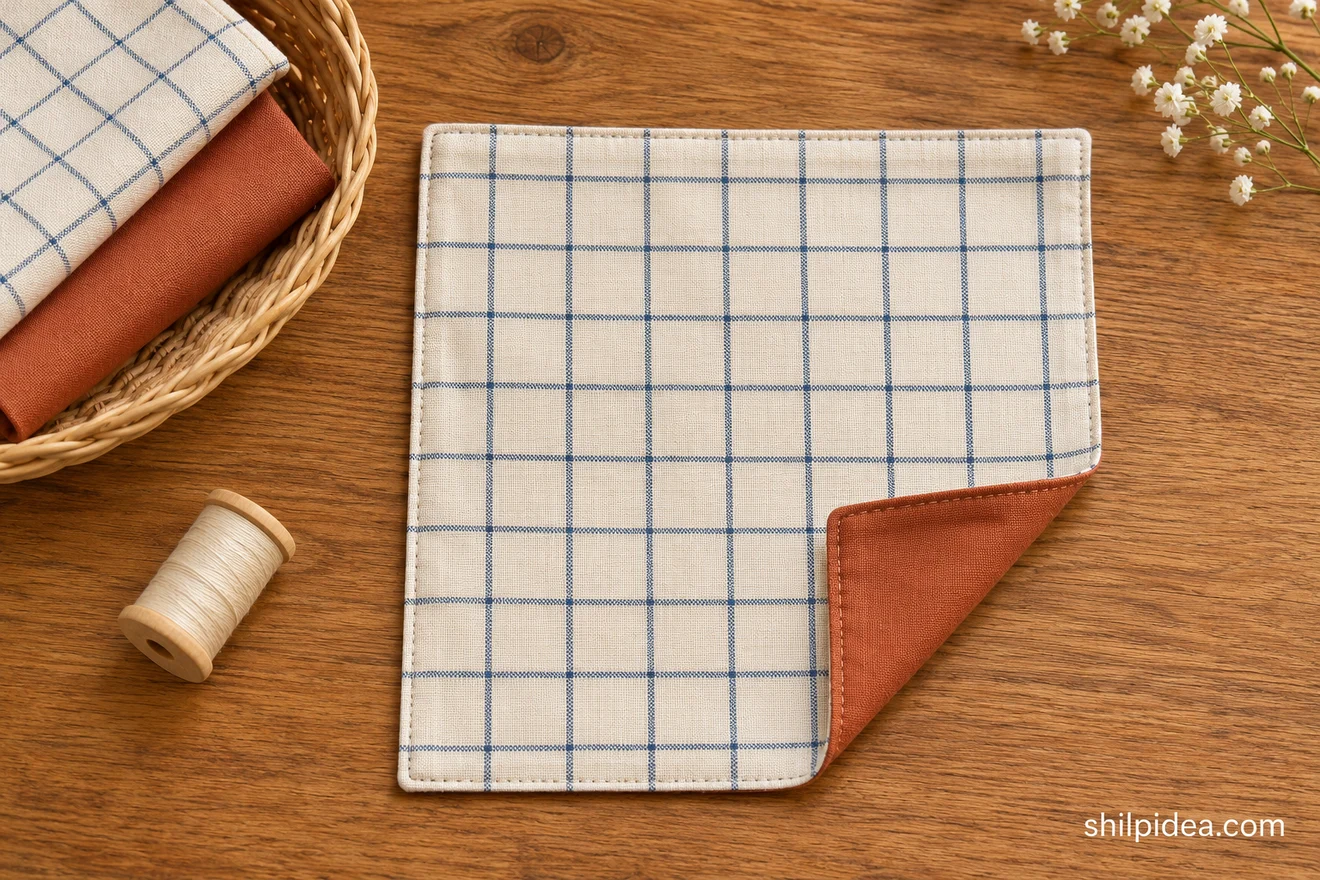
- Turn and press. Pull the fabric gently through the opening and use a blunt tool to shape each corner. Fold the two raw edges at the opening inward along the seam line, then press the whole square flat.
- Close the opening with topstitching. Sew a line about ⅛ inch (3 mm) from the finished edge, continuing around the full square. Check that the stitching catches both folded edges at the gap.
Make This at Home: Reversible Cloth Napkin Tutorial
5. Fit the Liner and Fold the Corners
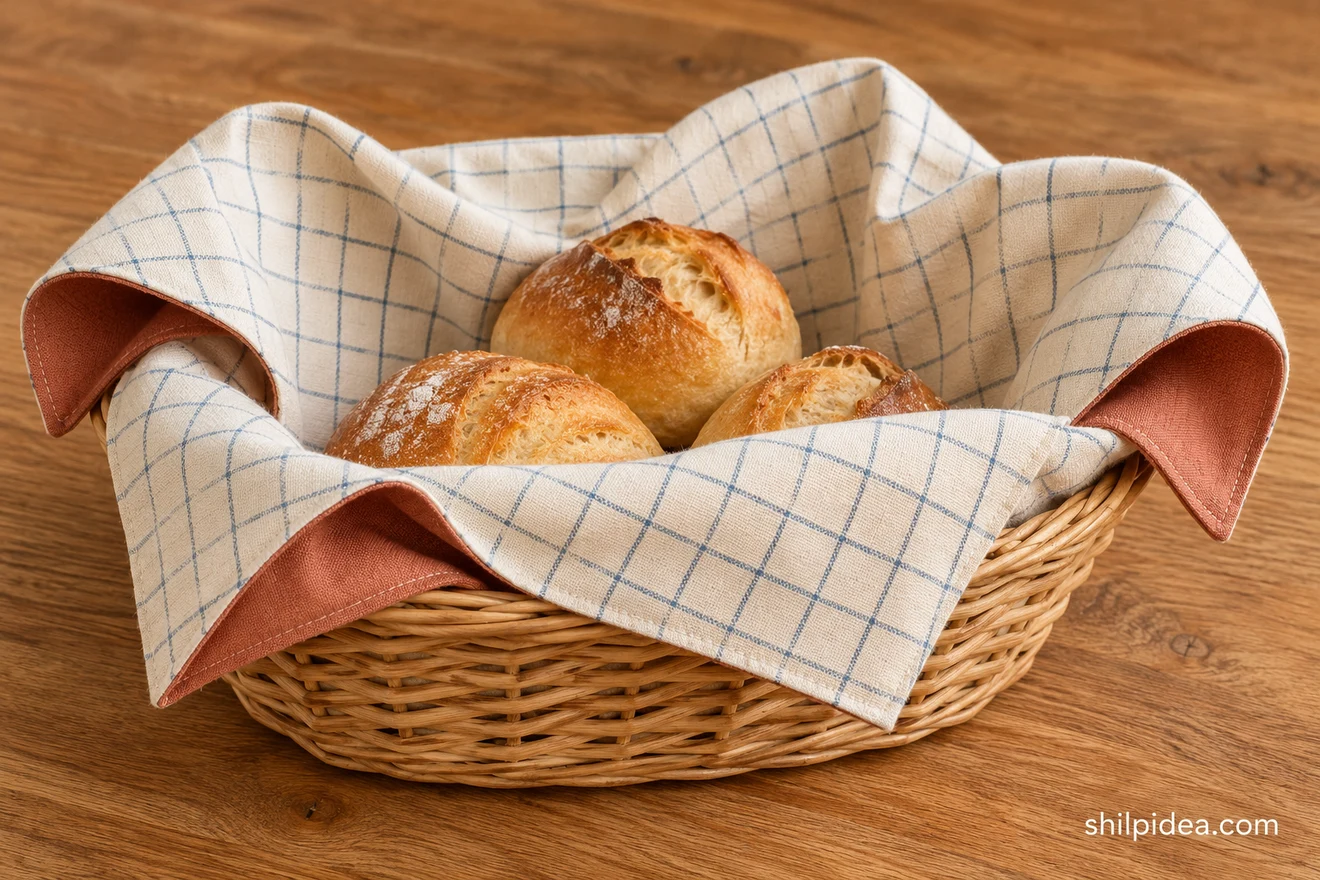
- Center the square. Set the midpoint of the liner over the middle of the basket, then smooth it into the base and up the sides. Fold each corner loosely over the rim, leaving enough cloth inside to hold its shape.
- Choose which side shows. Flip the liner to display the solid or patterned side. If one direction looks too bulky, rotate the square a quarter turn and refold the corners before filling the basket.
Wash and Store the Liner
Shake out crumbs and follow the care instructions for your cotton. Let the liner dry fully before folding it. If the corners look rounded after washing, press the cloth flat from the reverse side and smooth out the perimeter.
For a narrower basket, make a quick mock-up with a clean cloth before cutting the next liner. You can use the same construction for a rectangular insert. Measure in both directions and add the drape and seam allowance to each dimension. If you’re giving the liner with a basket, these handmade gift baskets can help you plan what else to tuck inside.
More Handmade Ideas for the Table and Kitchen
Once the basket is lined, you can carry one fabric color into the table setting or use leftover cotton in a smaller project. Try these ideas if you want another useful item for a shared meal, a simple handmade gift, or a way to make the rest of your dining space feel as considered as the basket.
- Set a Table With Natural Details
- Sew a Reversible Fleece Pocket
- Try Fabric Book Bag Ideas
- Hand Stitch Felt Star Ornaments
- Make a Thanksgiving Gratitude Garland
What fabric would you use for your liner, and what shape is your basket? Share your plan in the comments. If you sew one, tell us how much overhang worked for you.




























0 Comments