18 Coffee Filter Turkey Craft Ideas for a Colorful Thanksgiving
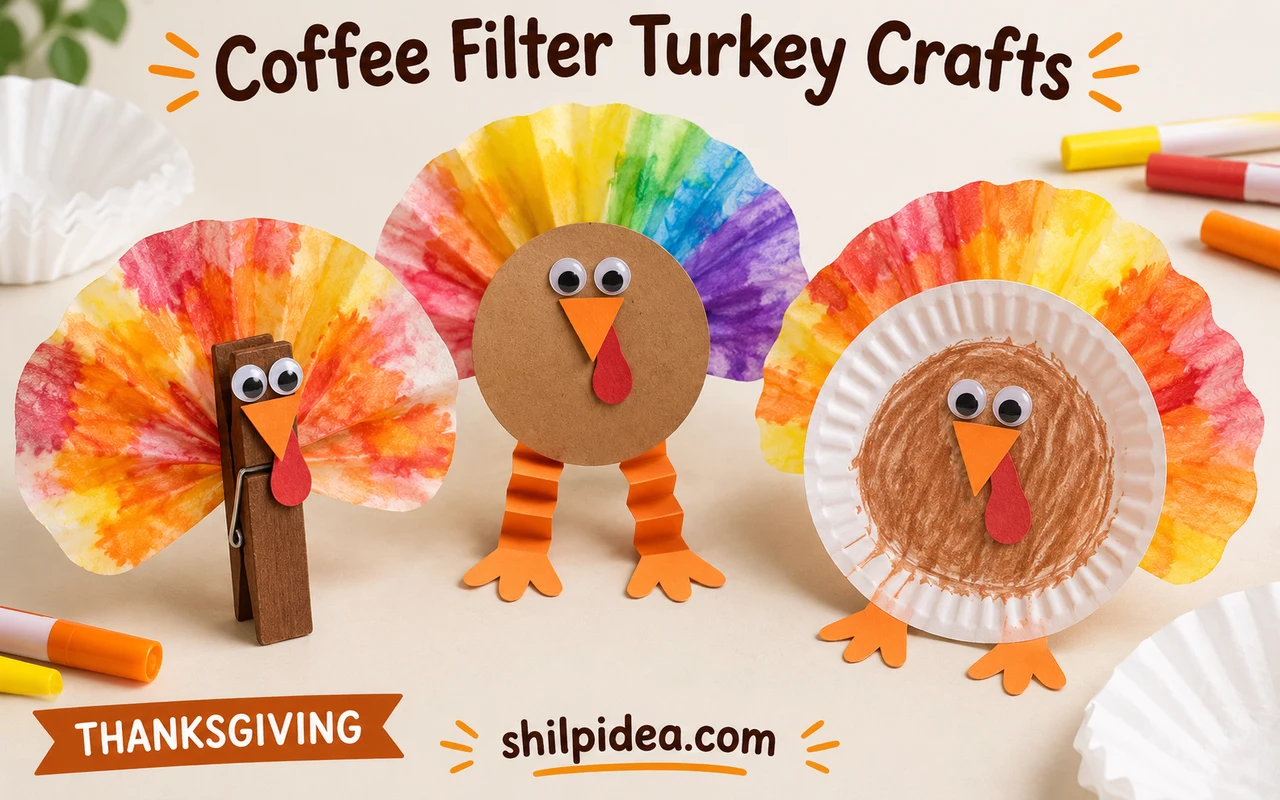
Coffee filters make surprisingly expressive turkey feathers. Their round shape, soft folds and flowing colors can turn a few familiar supplies into a cheerful Thanksgiving decoration.
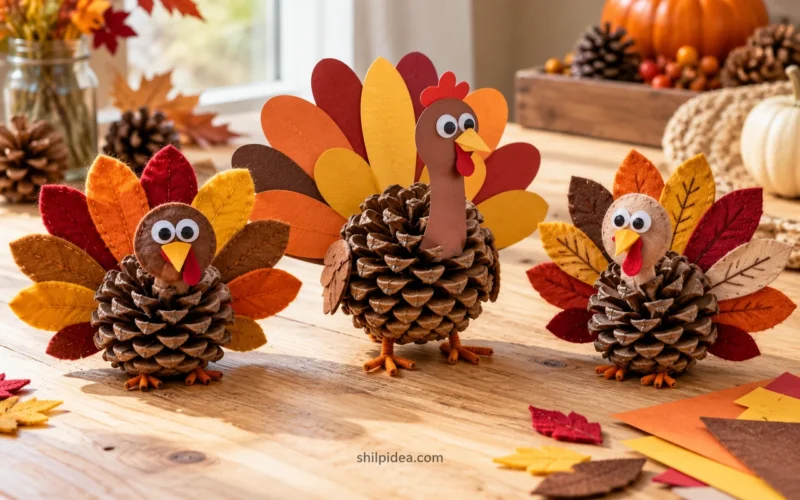
These design choices sit nicely alongside pinecone turkey crafts when you are planning a mixed-material craft table. Keep scissors and small pieces appropriate for the children taking part.
The 18 ideas below draw on several creator projects, exploring body shapes, tail treatments, finishing details and ways to display the birds. They are visual inspiration, with original tutorials linked where available.
1. A Paper-Cup Turkey with a Wide Fan Tail
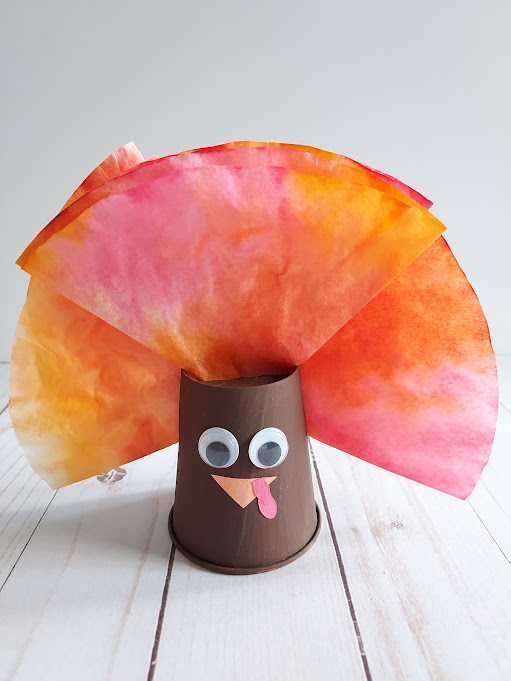
An upside-down paper cup gives this turkey a broad, three-dimensional body and a base that stands without a clip. The colored filters rise behind the cup in a generous fan, while the face goes directly on the painted surface. This is a useful choice for a classroom shelf or a Thanksgiving display. An adult should handle the opening needed to hold the tail.
Get the tutorial: A Paper-Cup Turkey with a Wide Fan Tail by Darcy and Brian.
2. A Round Paper Body with Dangling Legs
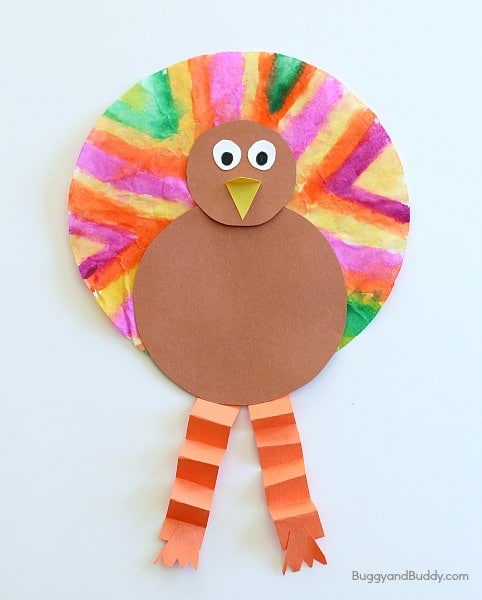
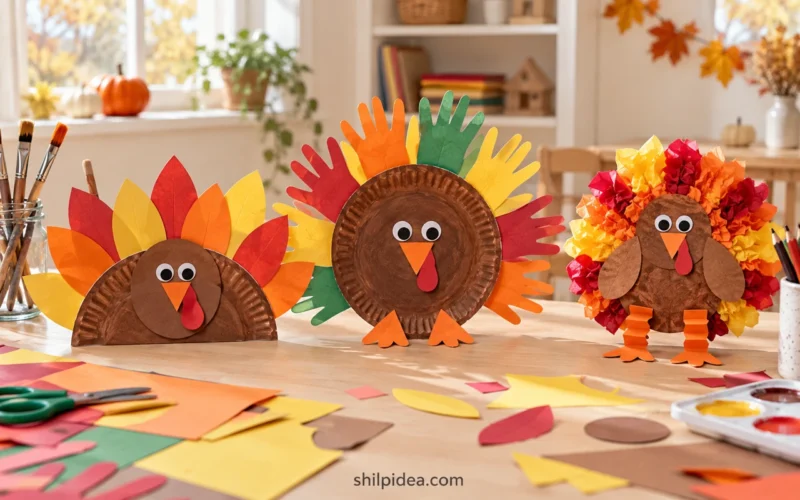
Two brown paper circles give the turkey an immediately recognizable head and belly. The round filter stays visible around them like a full halo of feathers, while folded orange legs add movement below. This is a useful direction for a classroom wall display because the main shapes remain clear from across the room.
Get the tutorial: A Round Paper Body with Dangling Legs by Buggy and Buddy.
3. A Craft-Stick Turkey for Small Hands

A wide craft stick becomes the body in this spare, easy-to-read design. It leaves most of the dyed filter visible and gives children a solid piece to hold while showing their bird. Keep the face small and near the top of the stick; a large paper head would hide the fan that makes this version special.
Get the tutorial: A Craft-Stick Turkey for Small Hands by One Little Project.
4. A Rounded Standing Turkey with a Ruffled Tail

The folded round body gives this turkey more volume than a flat paper cutout. A gathered coffee filter rises behind it, so the tail reads as a ruffle instead of a smooth disk. Consider this style for a small shelf or Thanksgiving display where the side view is part of the appeal.
Get the tutorial: A Rounded Standing Turkey with a Ruffled Tail by Books and Giggles.
5. A Paper-Plate Frame Around the Filter
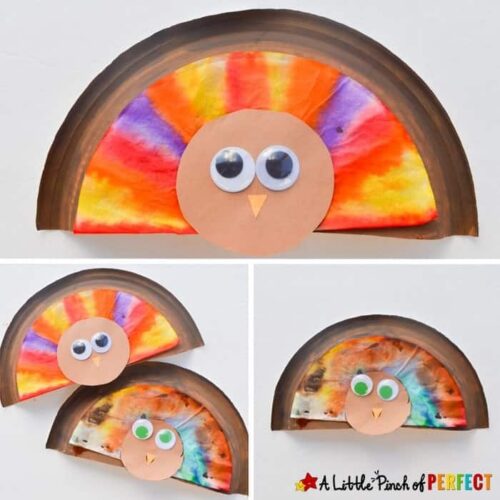
A painted half plate makes a sturdy outline around the delicate coffee-filter feathers. The contrast between the broad brown rim and translucent center helps children see the shape of the tail without adding individual feathers. Let the painted plate and colored filter dry separately before combining them so the light paper does not become soggy.
Get the tutorial: A Paper-Plate Frame Around the Filter by A Little Pinch of Perfect.
6. A Tall Paper Body on a Bright Background
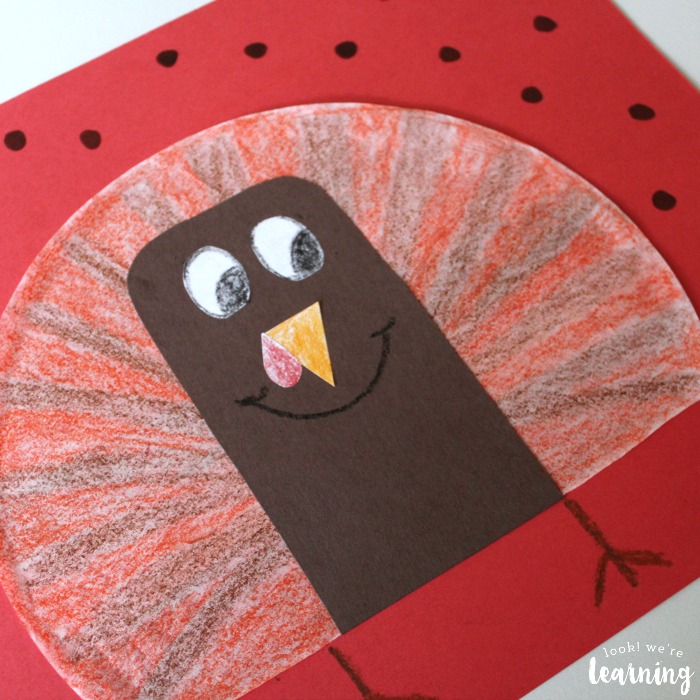
The long brown body gives this turkey a different silhouette from the round-belly versions. Mounted on colored paper, it becomes a small piece of seasonal wall art rather than a freestanding decoration. Leave some background visible around the filter and draw the legs onto that backing to keep the finished piece uncluttered.
Get the tutorial: A Tall Paper Body on a Bright Background by Look! We're Learning!.
7. Accordion Legs That Hang Below the Tail

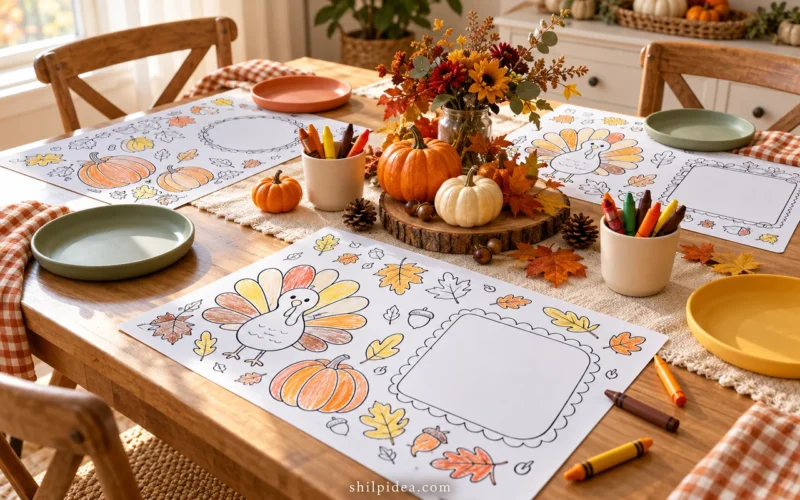
Folded paper legs turn a flat turkey into a playful hanging decoration. Their length brings the eye below the circular tail and creates space for two little feet, so the bird looks lively without a separate stand. Use sturdy paper strips and display the turkey where the folds can hang freely rather than being pressed behind it. Pair it with Thanksgiving activity placemats for another quiet table activity.
Get the tutorial: Accordion Legs That Hang Below the Tail by The Resourceful Mama.
8. A Mini Wooden-Spoon Turkey with a Fringed Tail
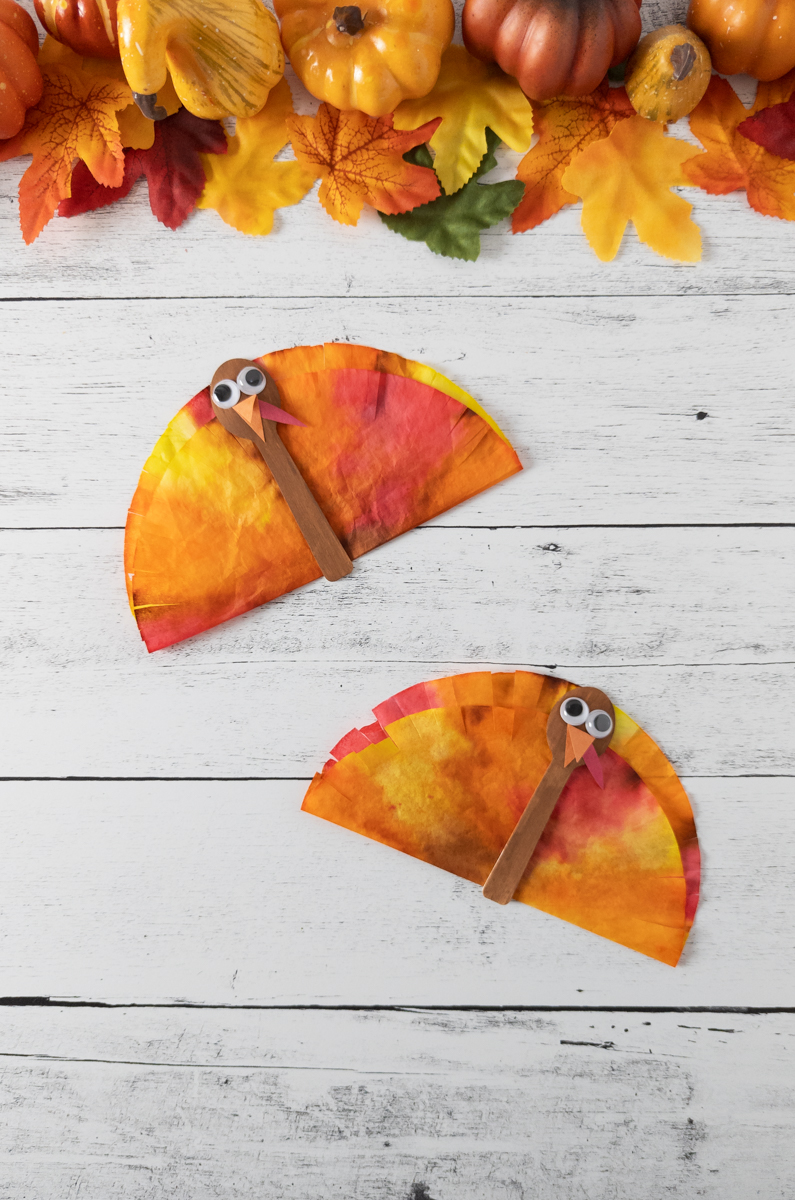
A miniature wooden spoon makes a different turkey silhouette: its rounded end holds the face, and the narrow handle runs down the middle of the tail. The coffee filter has a lightly fringed edge, adding feather-like texture around the fan. Let the painted spoon and colored filter dry before assembly, then use the finished bird in a Thanksgiving collage or as a small storytime prop.
Get the tutorial: A Mini Wooden-Spoon Turkey with a Fringed Tail by Darcy and Brian.
9. A Springy Neck Above a Rounded Body

A folded connector between head and body gives this three-dimensional turkey an expressive profile. The face sits forward while the filter fans out behind, so the parts do not all occupy the same flat plane. This detail suits a display that people can see from the side; check the creator’s attachment method before adapting it.
Get the tutorial: A Springy Neck Above a Rounded Body by Books and Giggles.
10. A Full-Circle Tail Behind a Paper Turkey

A whole coffee filter can stay round rather than being folded into a semicircle. The paper body covers the center, leaving a broad border of color around the head and shoulders. It makes a generous background for a simple cutout, and the visible pleats add feather-like texture without a separate cutting task.
Get the tutorial: A Full-Circle Tail Behind a Paper Turkey by A Play Filled Life.
11. Overlapping Filters for a Wider Feather Shape

Overlapping colored filters gives the tail a loose, wing-like outline instead of a perfect circle. The layered edges create interest even before a face or folded legs are added. Keep the body centered over the overlap so it hides the join and leaves enough of both filters visible to explain the shape.
Get the tutorial: Overlapping Filters for a Wider Feather Shape by The Resourceful Mama.
12. A Gathered Fan with Visible Paper Pleats

Gathering the filter changes the character of the feathers: the edge becomes a lively ruffle rather than a flat colored border. This works especially well behind a rounded standing body. Avoid flattening every fold when attaching the tail, and leave room for the paper to spread so the finished turkey retains its dimensional shape.
Get the tutorial: A Gathered Fan with Visible Paper Pleats by Books and Giggles.
13. Marker Rings That Spread into Feather-Like Bands

The pattern on the filter can be a design choice of its own. Rings and short lines give the water something to spread into a loose fan of marks, rather than one solid field of ink. Treat the result as an experiment: leave a little white space and compare how the marks soften as the filter dries.
Get the tutorial: Marker Rings That Spread into Feather-Like Bands by One Little Project.
14. Watercolor Brushstrokes for a Painted Tail
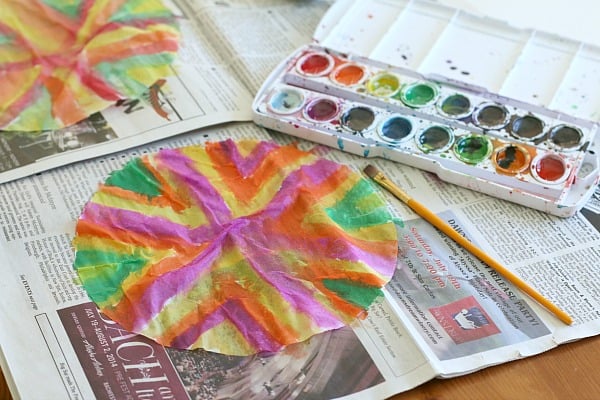
A brush and watercolor palette offer another way to color the feathers. Broad strokes can follow the round filter, while a few changes in direction make the surface feel more spontaneous. This is a good choice for children who prefer painting to detailed marker work. Protect the table and keep the filter supported while it is wet.
Get the tutorial: Watercolor Brushstrokes for a Painted Tail by Buggy and Buddy.
15. A Dyed Circle Ready for a Simple Fan

The colored filter itself can remain the strongest visual element. Once it is dry, a clean fold creates a large feather fan without cutting lots of separate shapes. Choose a small body that leaves the dyed paper exposed, and keep wet filters away from finished paper pieces until the colors and moisture have settled.
Get the tutorial: A Dyed Circle Ready for a Simple Fan by One Little Project.
16. Small Faces That Leave the Feathers in View

On a narrow clothespin body, a tiny beak and a short red wattle are enough to suggest a turkey. Oversized facial pieces would compete with the fan and make several birds harder to arrange together. Precut these small parts for younger children, or use drawn eyes when loose craft eyes are not appropriate.
Get the tutorial: Small Faces That Leave the Feathers in View by Views From a Step Stool.
17. A Little Flock for a Classroom or Family Display

Several turkeys together make a cheerful group even when every child follows the same basic construction. Give each bird enough space for its fan to open, rather than squeezing the bodies into a tight line. A shared display celebrates the different marks children make without needing each project to use a completely different supply list.
Get the tutorial: A Little Flock for a Classroom or Family Display by Darcy and Brian.
18. A Cardboard-Tube Turkey with a Standing Body

A short cardboard tube turns the turkey into a freestanding figure with room for a large face. In this example, the folded coffee filter sits behind the tube, and its colorful marks stay visible around the body. The creator uses small side slits to hold the tail. Start with a clean craft tube and let children choose their own feather colors before adding the paper beak and eyes.
Get the tutorial: A Cardboard-Tube Turkey with a Standing Body by Itsy Bitsy Mom.
Make Room for a Handmade Thanksgiving Display
Choose one or two turkey styles that suit your group, then leave space for children to make their own marks. A few finished birds can join paper pumpkins, a gratitude garland or simple table decorations. Set out a drying area before craft time so wet filters and finished decorations do not get mixed together.
- Pinecone turkey crafts with paper and felt feathers
- Thanksgiving activity placemats for the kids’ table
- Gratitude garlands for Thanksgiving family decor
- Paper pumpkins for fall table decor
- Pumpkin place cards for Thanksgiving dinner
Which turkey would your family enjoy making—the standing clothespin bird or the one with dangling paper legs? Tell us your plans in the comments, and share any little details your children add to make their turkeys their own.






















0 Comments