How to Arrange a Mini Dried-Flower Centerpiece inside a Reused Tin
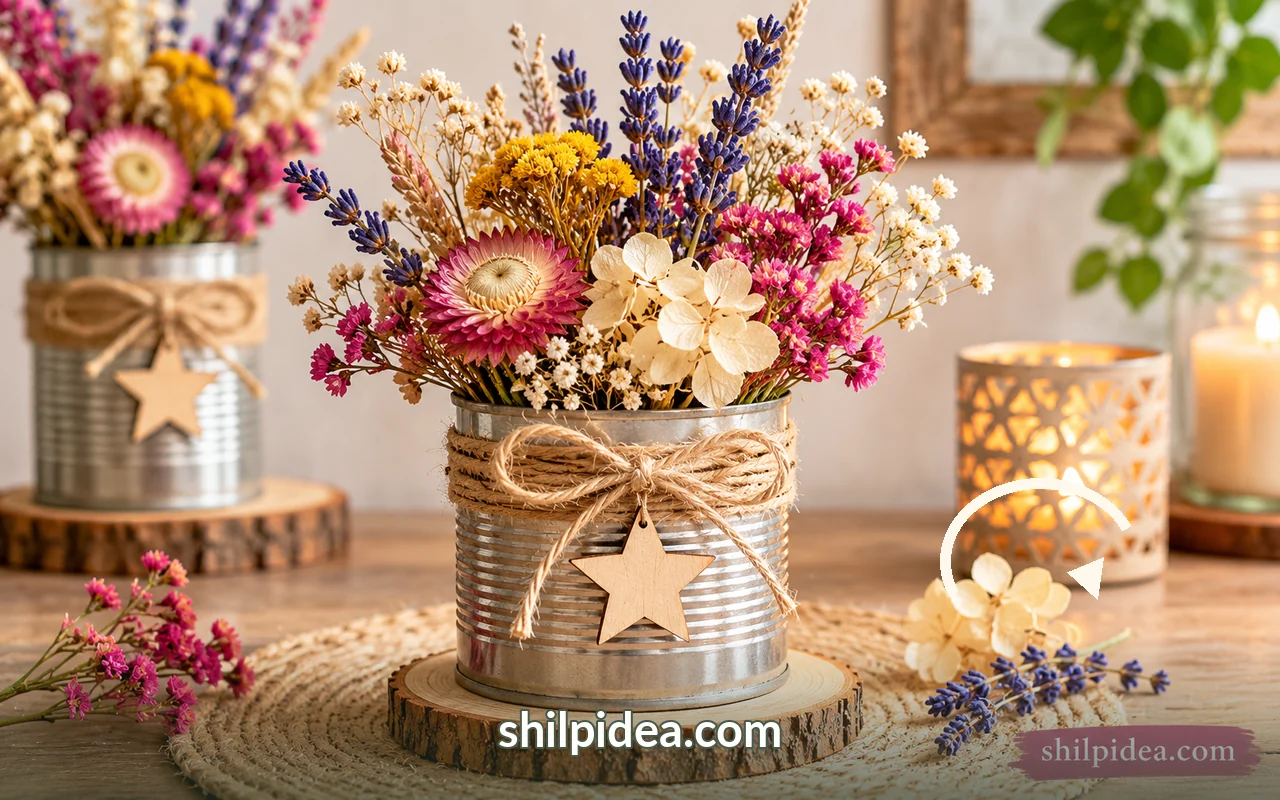
A recycled food tin can become a charming dried-flower centerpiece for a Thanksgiving table, a fall shelf, or a small guest-room corner. This compact project needs no vase or fresh water.
With a few dried stems, dry floral foam and twine, you can assemble a balanced arrangement in one sitting. If you enjoy botanical crafts, our pressed-flower projects offer another way to preserve seasonal color.
This guide takes you from a safely prepared tin to a finished display, with measurements and five illustrated stages. Pair the result with natural holiday decorations for a relaxed, rustic setting.
Materials and Tools
Gather these supplies before you cut or place any stems. The quantities make one low, compact arrangement.
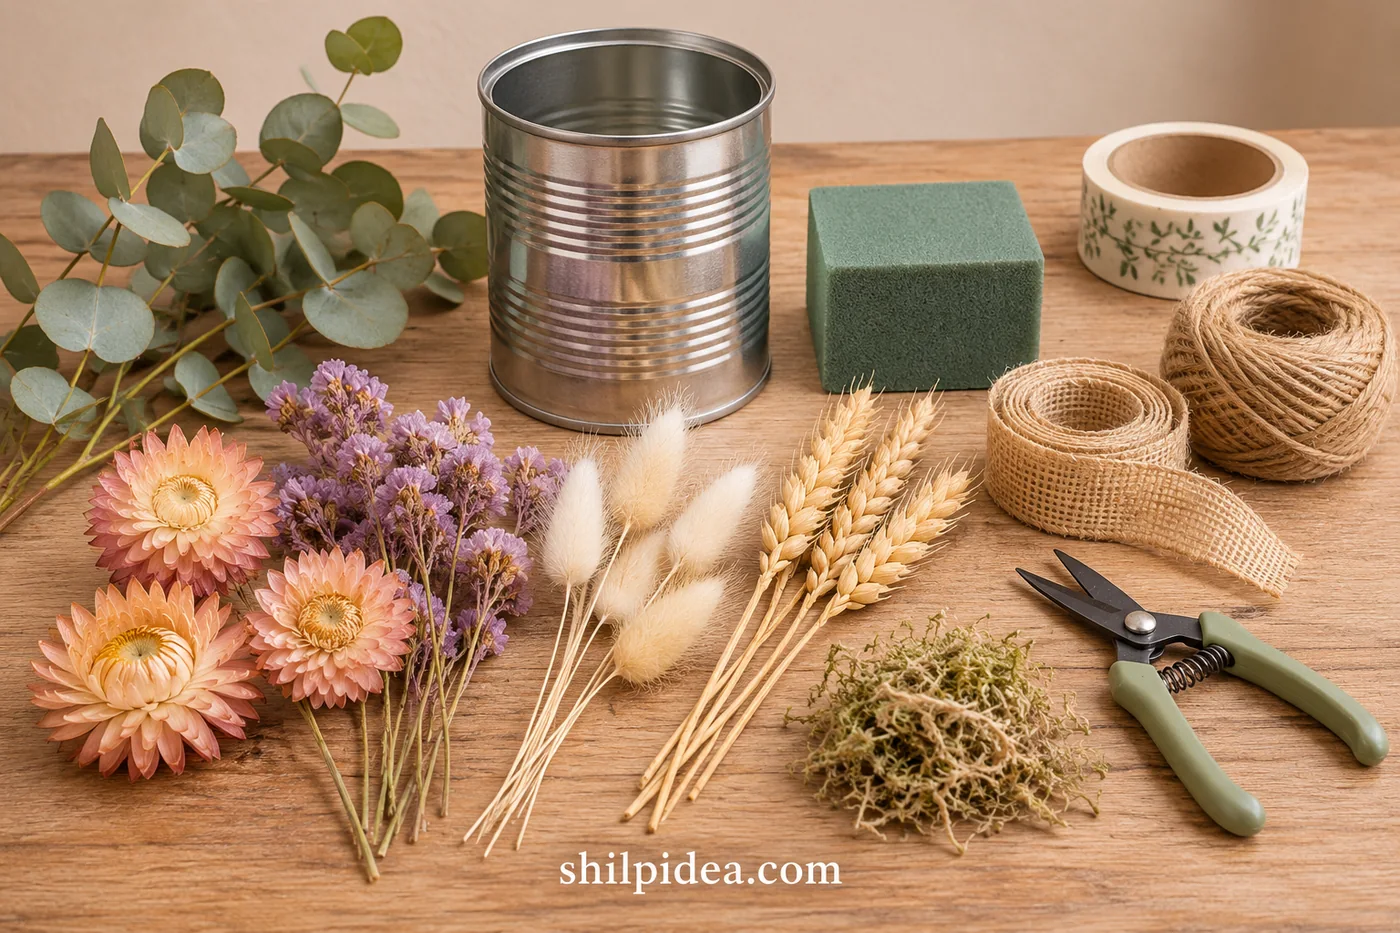
- Reused metal tin – one clean food can approximately 9–10 cm wide and 10–12 cm tall, with a stable base.
- Edge-protecting cloth tape – a 35–40 cm strip to cover any safe, smooth exposed rim.
- Dry floral foam – one block cut to fit snugly inside the can, about 5–6 cm deep; never use soaked foam.
- Dried eucalyptus – four stems for a soft, leafy outline around the back.
- Dried wheat – three slender stems for the tallest central lines.
- Peach strawflowers – three dried flower heads with reasonably sturdy stems.
- Purple statice – three small sprigs to add fine color between larger blooms.
- Bunny-tail grass – five fluffy, lightweight stems to soften the edges.
- Preserved or dried moss – a small handful to conceal exposed foam.
- Jute twine – about 50 cm for a loose decorative wrap and bow.
- Floral snips and ruler – one pair of clean snips and a ruler to measure and cut stems.
- Paper and gloves – scrap paper for foam crumbs and sturdy gloves when handling the metal edge.
Precautions Before You Begin
Keep the project dry, stable and comfortable to handle by checking these points first.
- Choose a tin with a smooth edge; if a sharp burr remains, do not use it until an adult has safely crimped or covered the edge.
- Wear gloves when preparing the metal container and cut floral foam on a protected work surface without breathing in loose particles.
- Use dry foam made for dried or artificial flowers, not wet floral foam for fresh arrangements; do not add water.
- Work gently with brittle stems and keep loose seeds or delicate decorations away from small children and curious pets.
- Display the finished dry arrangement away from candles, heat, damp surfaces and strong direct sunlight.
1. Clean and Protect the Reused Tin
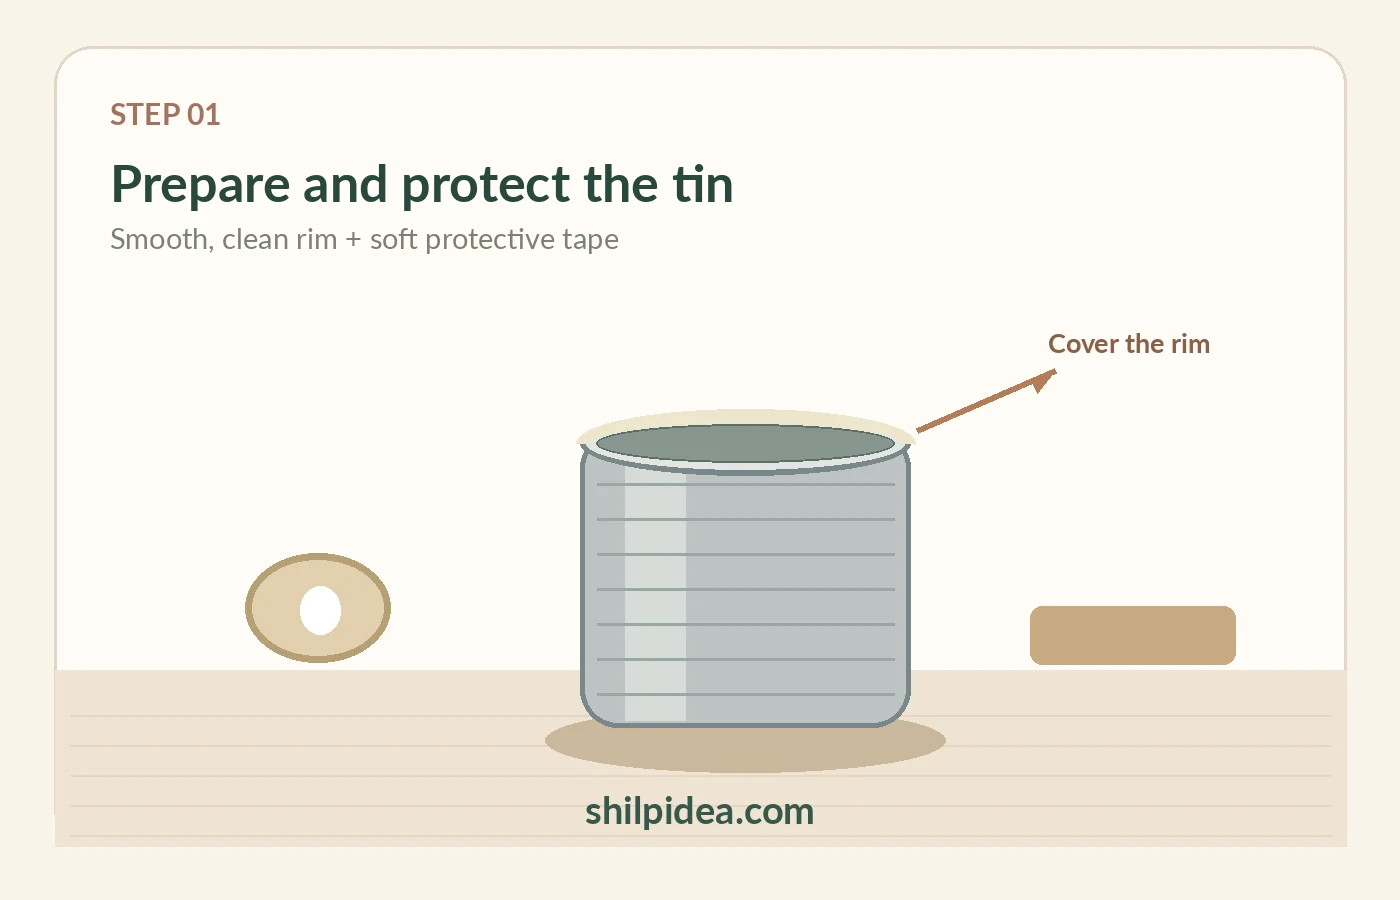
- Wash and dry the can – Remove the paper label, clean away any food residue, then let the inside and outside become completely dry. Check that the tin sits flat.
- Cover the rim – Inspect the opening carefully while wearing gloves. If the rim is sound but uncomfortable to touch, cover it with cloth tape and press the tape down around the entire circumference.
2. Secure the Dry Foam and Hide the Base
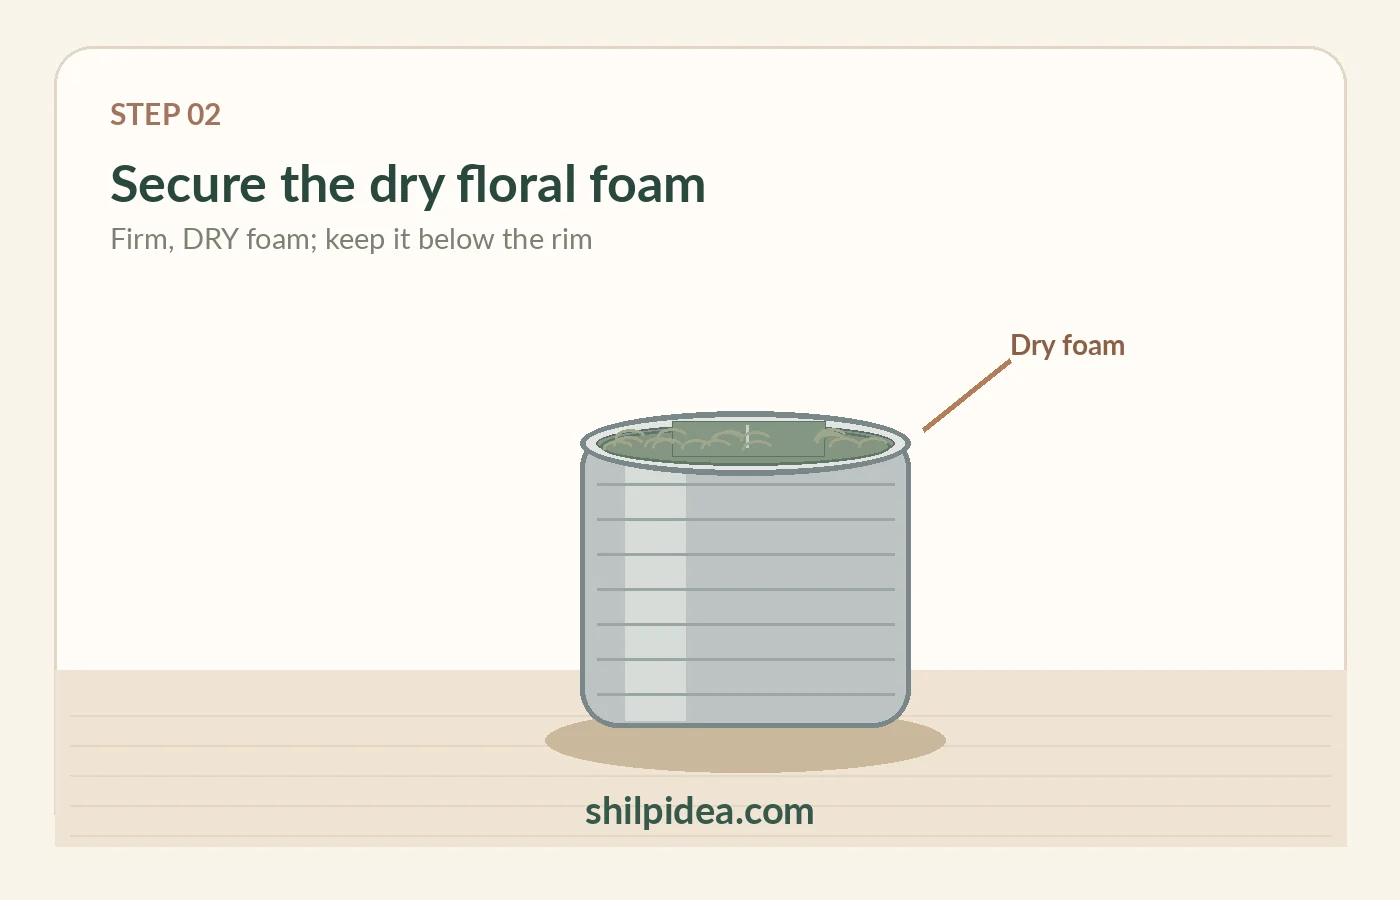
- Fit the support – Measure the inside width, then trim the dry floral foam so it wedges snugly into the tin. Keep its upper surface about 1–2 cm below the rim; add a dry paper support underneath if needed.
- Set aside moss – Place a light layer of dry moss around the foam edge without blocking every stem position. Keep a little moss for the final tidy-up after the flowers are inserted.
Dry and wet floral foams serve different purposes, as described in the University of Arkansas floral foam guidance. This project uses dry support because the flowers do not need water.
3. Set the Height with Wheat and Eucalyptus
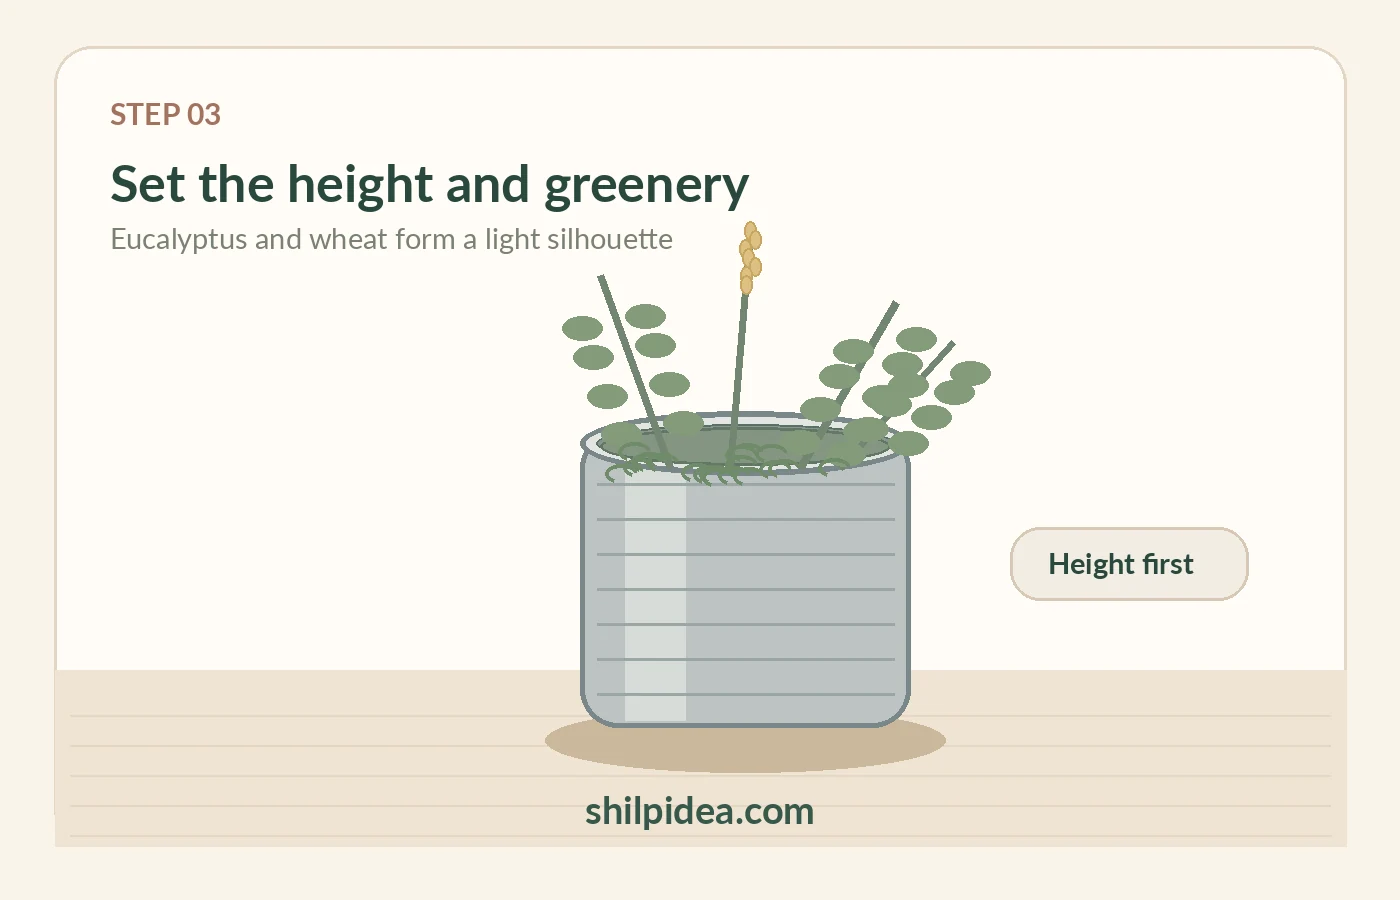
- Start with the tallest stems – Trim three wheat stems to approximately 20–25 cm above the tin base, then insert them at the center and back. Step away briefly to judge their height.
- Frame the arrangement – Cut four eucalyptus stems to slightly different lengths and insert them toward the sides and rear. Keep the front opening clear for the larger flowers and avoid overcrowding.
4. Add the Peach and Purple Focal Flowers
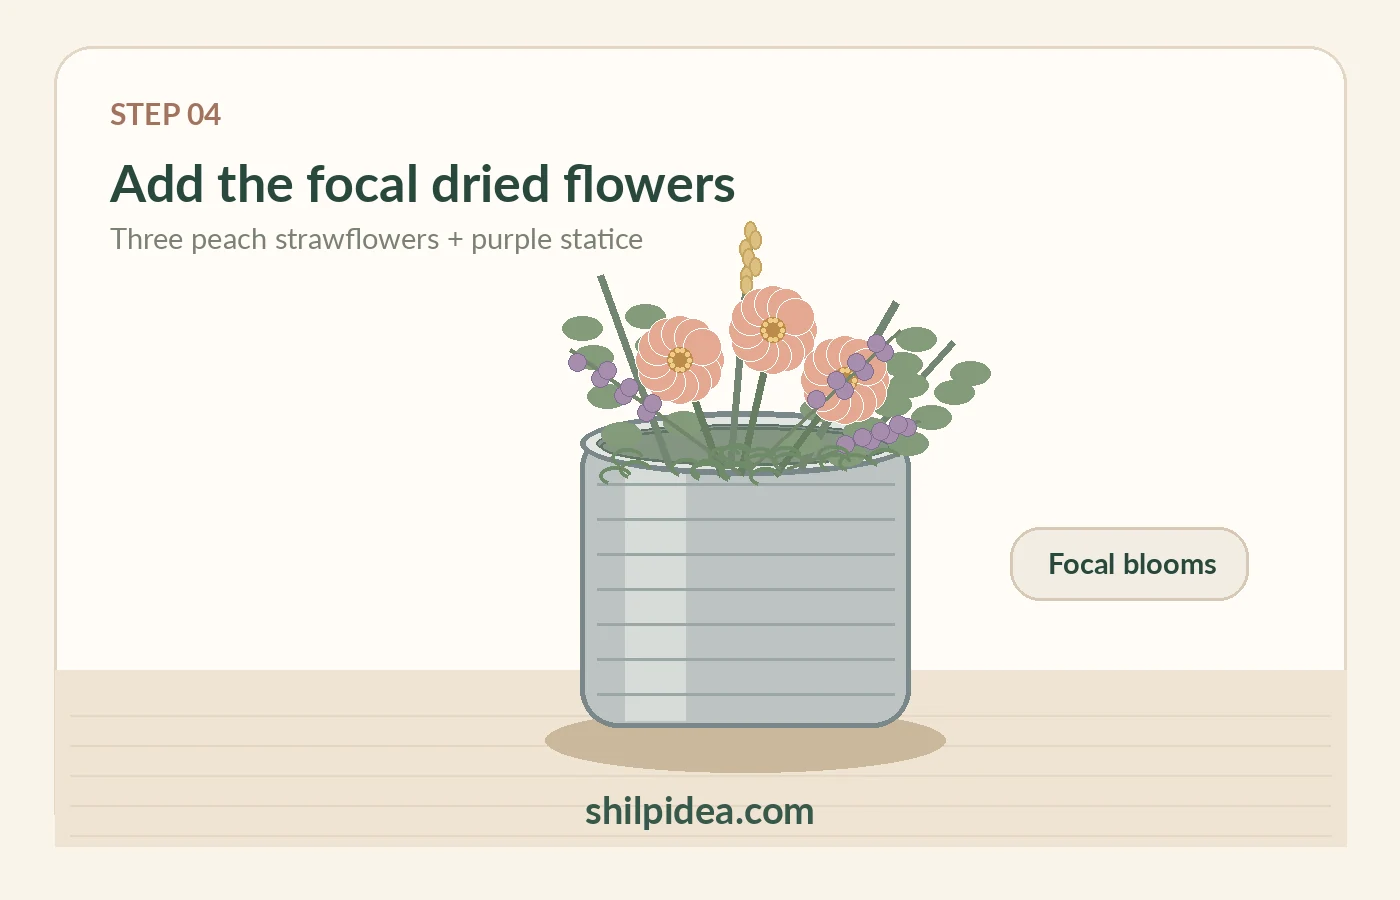
- Position strawflowers – Trim three peach strawflowers so their heads sit at staggered levels around the center, roughly 13–19 cm above the rim. Rotate the tin to check how they overlap.
- Tuck in statice – Insert three purple statice sprigs between the larger flowers, using shorter stems near the front. Keep a little negative space so the distinct colors and shapes remain visible.
For another dried-botanical look, compare the delicate shapes used in our pressed-leaf wall art, which also benefits from leaving a little visual breathing room.
5. Fill Small Gaps and Finish the Twine Wrap
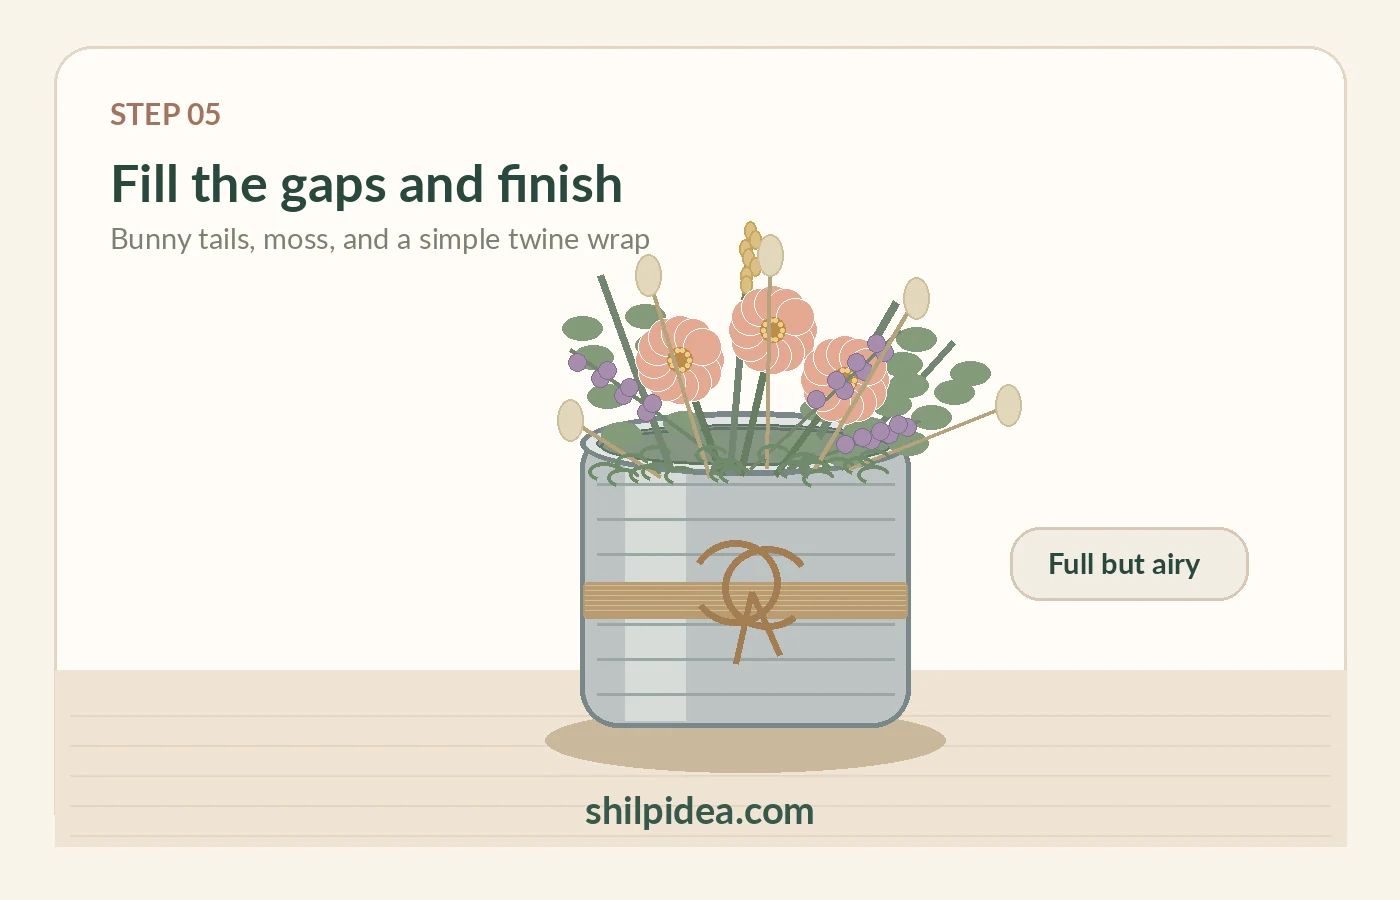
- Soften and conceal – Add five bunny-tail stems in small gaps, then tuck the remaining dry moss around the base. Gently turn the tin and check that no tall stem makes it tip.
- Tie the final detail – Wrap about 50 cm of jute twine around the lower half of the tin and tie a modest bow. Trim loose ends and place the centerpiece on a dry, steady table.
How to Keep the Centerpiece Looking Its Best
Keep the arrangement dry and out of strong sun, which can fade preserved colors. If loose dust gathers, use a very soft brush or a cool, gentle air puff rather than wiping fragile petals. Dried flowers are delicate, so move the piece by its tin, not by the stems.
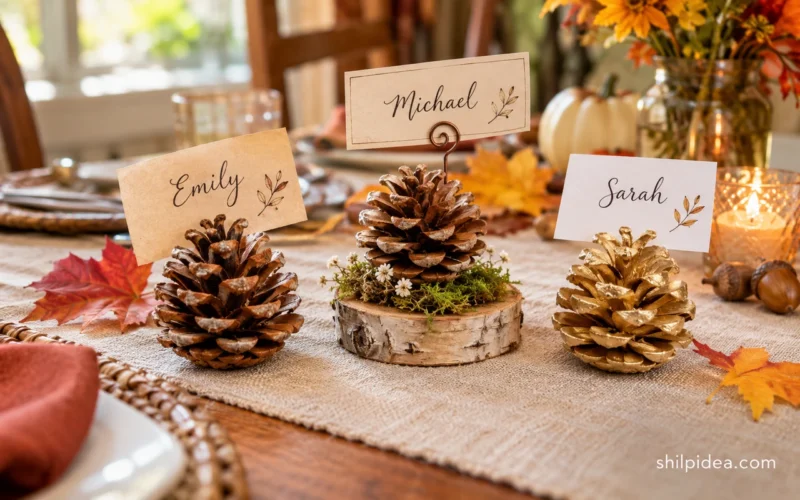
If a stem leans, shorten it slightly or make a fresh hole in the foam nearby rather than bending it. For table styling, let the centerpiece share space with napkins and rustic wood-slice accents; keep it far enough from dining candles and serving dishes.
More Natural and Recycled Projects to Try
A small dried-flower arrangement is an easy way to give a saved container a second life. If you like this gentle, nature-led style, explore these other Shilpidea projects for more ideas using pressed plants, seasonal greenery and simple household materials.
- Press flowers for handmade keepsakes
- Make simple pressed-leaf wall displays
- Create natural Christmas decorations at home
- Explore rustic wood-slice holiday decorations
- Make a fall leaf lantern
Would you arrange your tin with warm peach flowers or a softer neutral palette? Tell us where you plan to display it, what you would reuse as the container, or which step you would change for your own home. Your ideas may inspire another maker to try this project.




























0 Comments