How to Make a Fall Leaf Lantern with a Glass Jar
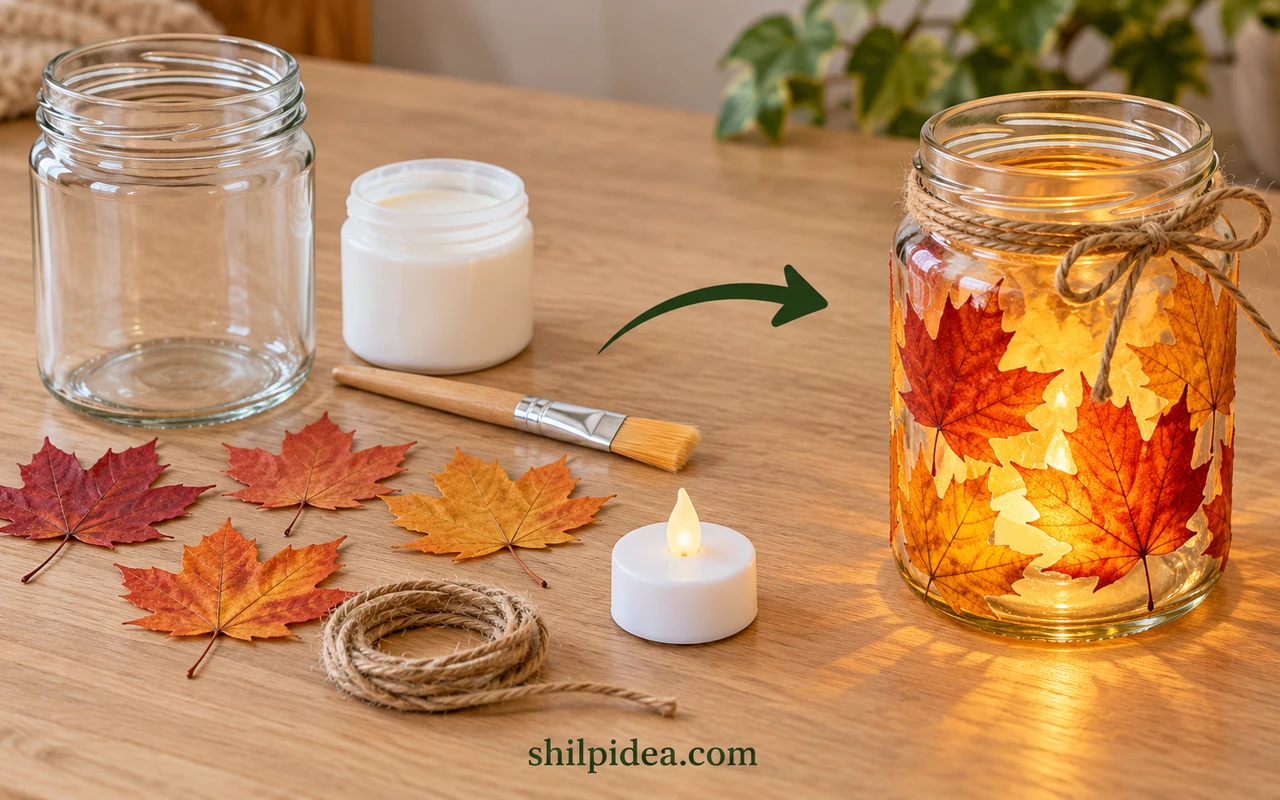
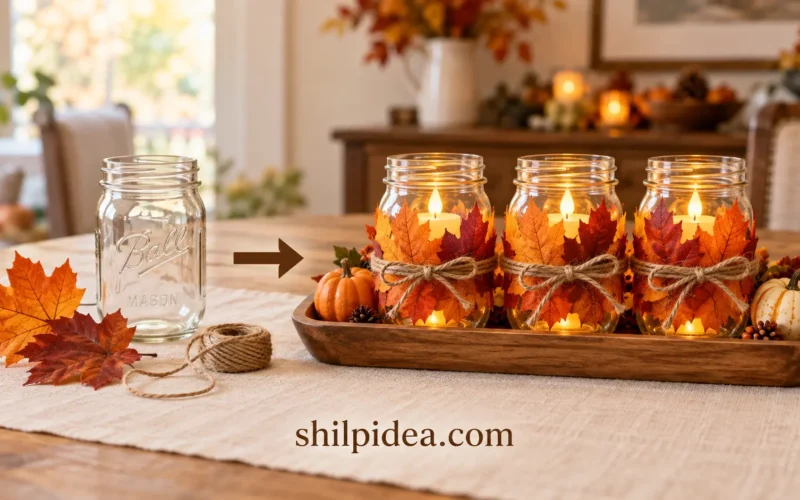
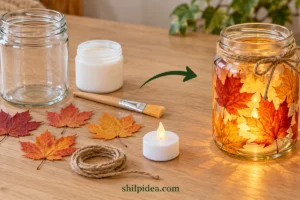
Autumn leaves can give an empty glass jar a warm new purpose. A few translucent shapes and a small LED light make a simple decoration for a shelf or an evening table.
You will need a clean jar, flat leaves and clear-drying decoupage medium. For a coordinated table, add these fall leaf napkin ring ideas nearby.
Follow the five steps below to make one indoor tabletop lantern. The images are AI-generated illustrations of the researched method; use a battery-powered LED tealight inside the finished jar.
Materials and Tools
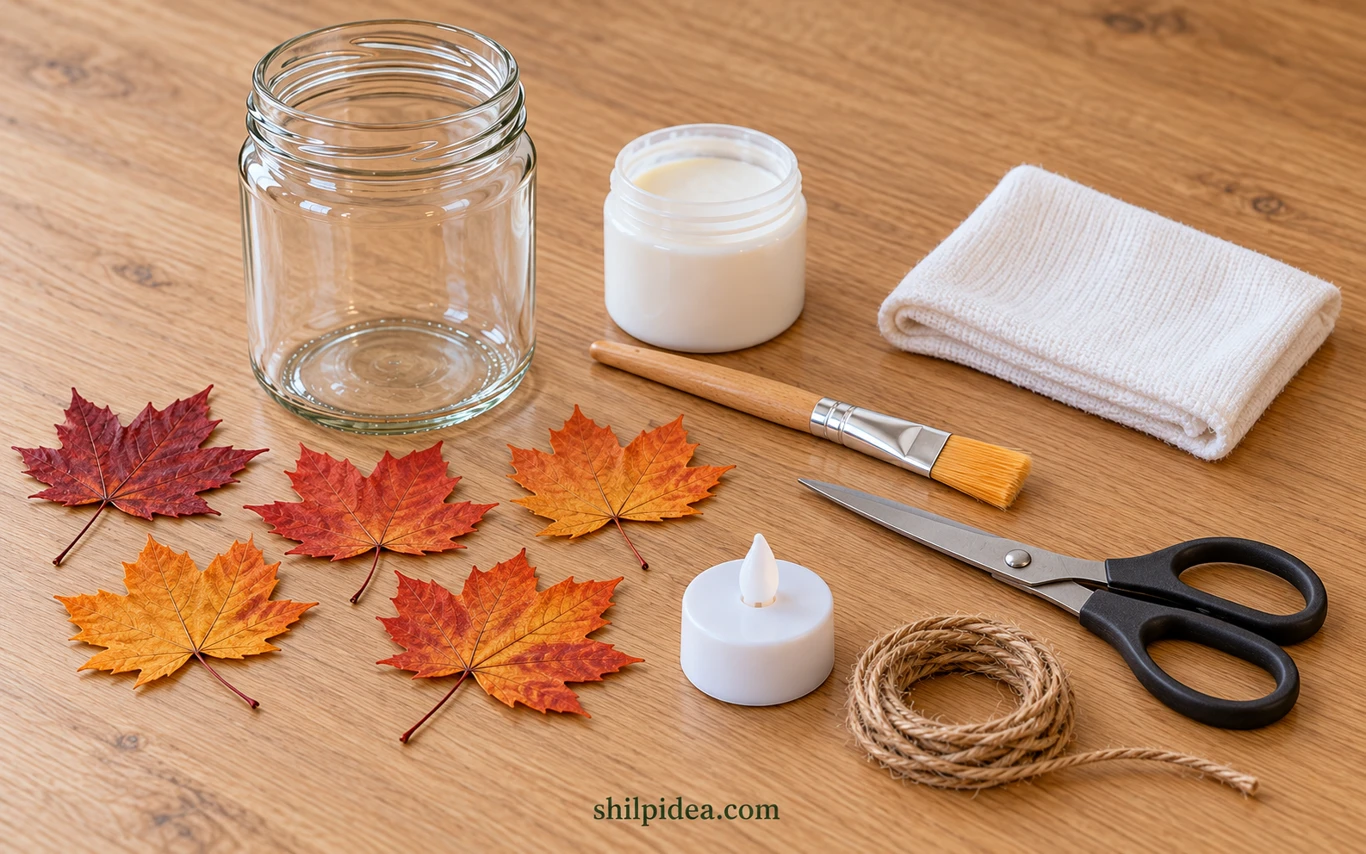
Gather these supplies for one small tabletop lantern.
- 1 clean, empty glass jar, approximately 16 fl oz (450–500 mL), with a wide opening that your LED tealight can pass through
- About 5–7 small, clean autumn leaves, roughly 1–3 inches (2.5–7.5 cm) across, pressed flat and dry but still flexible
- About 1–2 tablespoons (15–30 mL) of clear-drying, water-based decoupage medium suitable for the surfaces; the amount depends on the jar and leaf coverage
- 1 soft flat craft brush, approximately ½–1 inch (1–2.5 cm) wide, and a small reusable dish for the medium
- 1 battery-powered LED tealight with its battery compartment securely closed
- A protective work mat or scrap paper, a soft lint-free cloth and scissors
- Optional: about 24 inches (60 cm) of natural twine for a decorative neck tie
- If the leaves still need pressing: plain absorbent paper and a heavy book or a pair of flat weights
Precautions Before You Begin
Check these points before you start gluing.
- Use a battery-powered LED only. Do not put a real candle, flame or hot bulb inside this leaf-covered jar.
- Use intact glass with no chips or cracks. Adults should handle glass checks, sharp scissors and any difficult cutting when children help.
- Read the decoupage medium label for suitable surfaces, ventilation, cleanup, drying and curing. Keep craft materials away from food and protect the work surface.
- Keep the medium and leaves on the outside of the jar, below the rim; keep the inside clear for the removable LED.
- Keep loose batteries and small parts away from children and pets, and use an LED with a secure battery compartment.
- The twine is decoration, not a carrying handle. Display the lantern indoors on a stable, dry surface, clear of heat and table edges.
1. Clean and Dry the Glass Jar
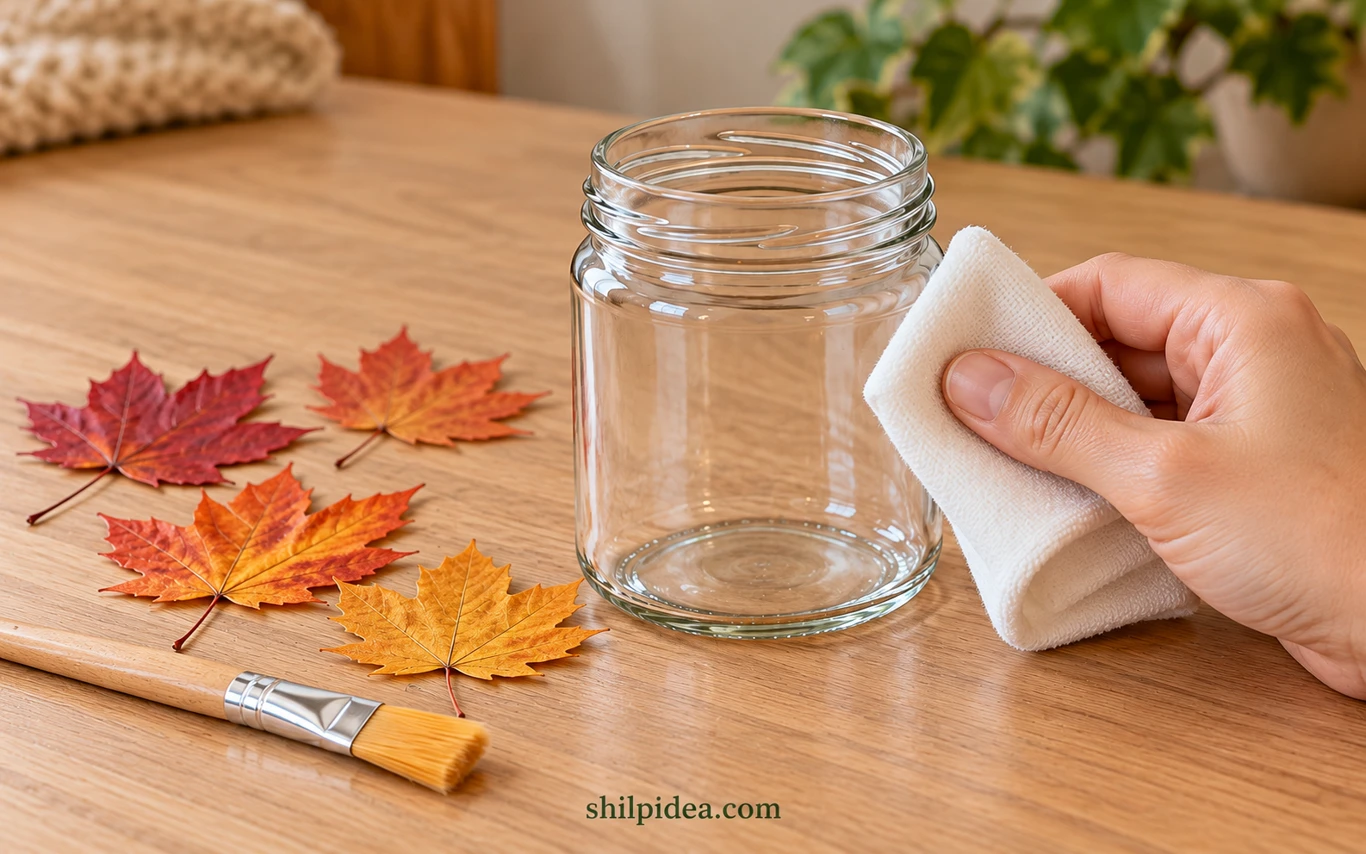
Remove the label and any sticky residue. Wash the jar, rinse it and let both the inside and outside dry completely.
Check the rim and base for damage, then wipe away fingerprints with a lint-free cloth. Start with clean, dry glass so moisture and residue do not interfere with the adhesive.
2. Choose Flexible Leaves and Plan the Arrangement
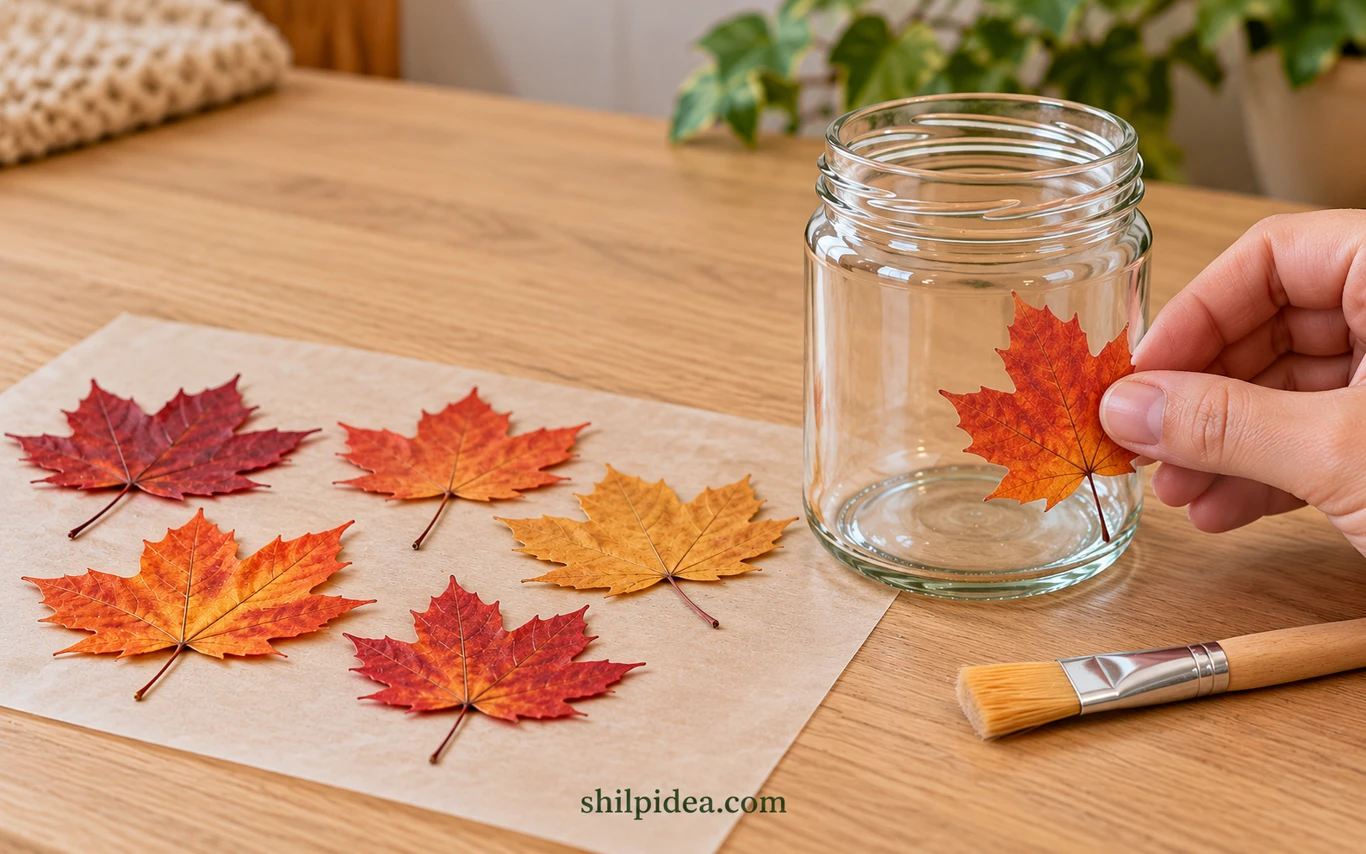
If your leaves need flattening, press them between plain absorbent paper under a heavy book. Check them daily; pressing can take a few days, depending on the leaves and conditions. Replace damp paper and avoid leaves that have become brittle.
Hold each leaf gently against the jar before gluing. Choose smaller, thinner leaves that curve around the glass without cracking, and trim a stiff projecting stem if necessary.
Arrange the leaves on your work mat first. Plan a few clear gaps between them so the LED light can shine through.
3. Attach the First Leaf with a Thin Coat of Medium
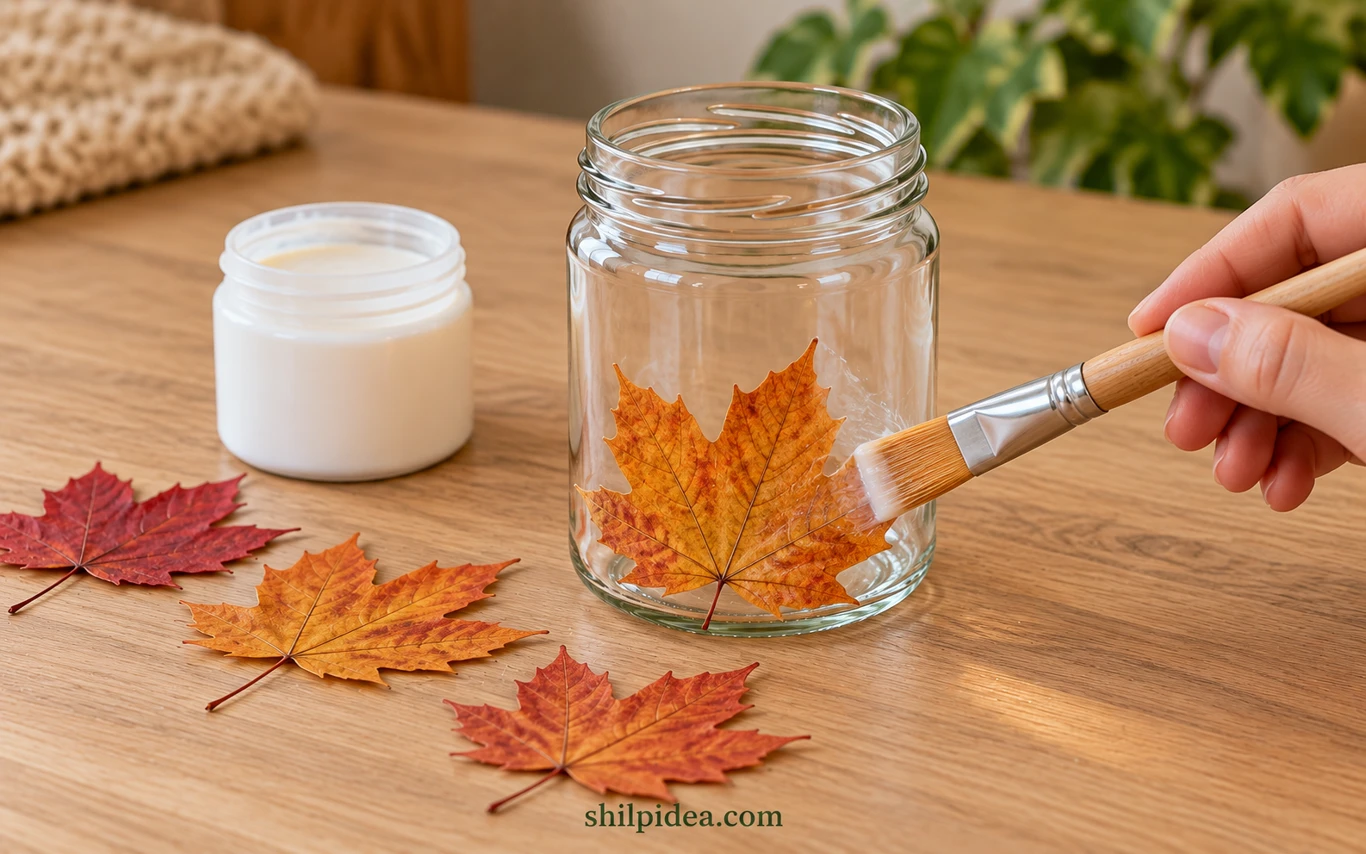
Pour a small amount of medium into the dish. Brush a thin patch onto the outside of the jar, covering an area slightly larger than your first leaf.
Place the leaf against the coated glass and press gently from its center toward the edges. Use light pressure so the leaf does not tear, and keep the neck and rim clean.
If the leaf slides, lift and reposition it while the medium is workable. Use less medium for the next patch rather than adding a thick layer to hold it in place.
4. Add the Remaining Leaves and Seal the Edges
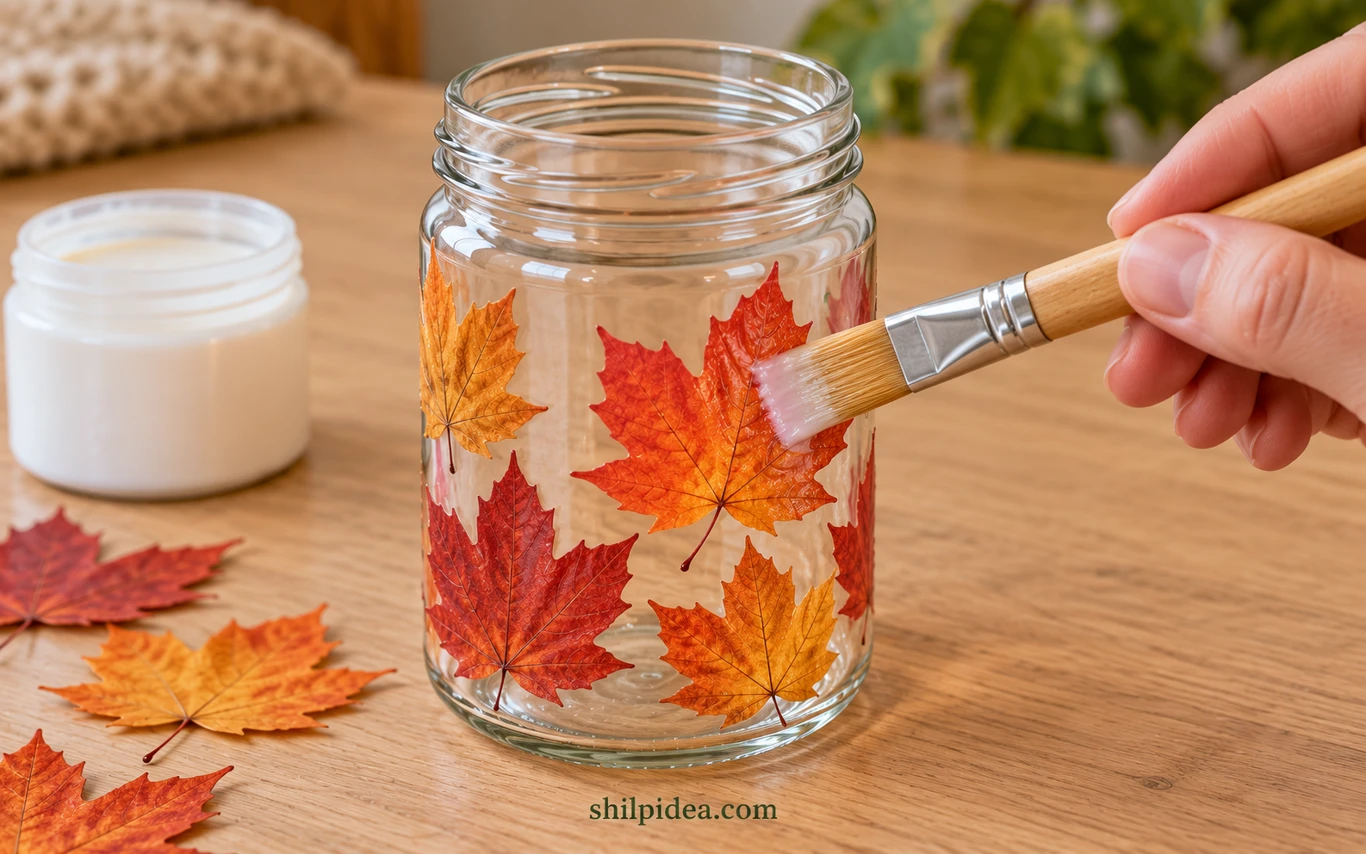
Add the other leaves one at a time, working around the lower part of the jar. Small overlaps are fine, but leave clear spaces instead of building several thick layers.
Let the leaves settle enough that they do not move under the brush, following any between-coat directions on your product. Brush a thin finishing coat over the leaves and their edges.
Smooth gently and stop once the edges lie down. Keep the coating outside the jar, and avoid repeatedly brushing a fragile leaf while the adhesive is becoming tacky.
5. Let the Coating Dry, Then Add the LED Light
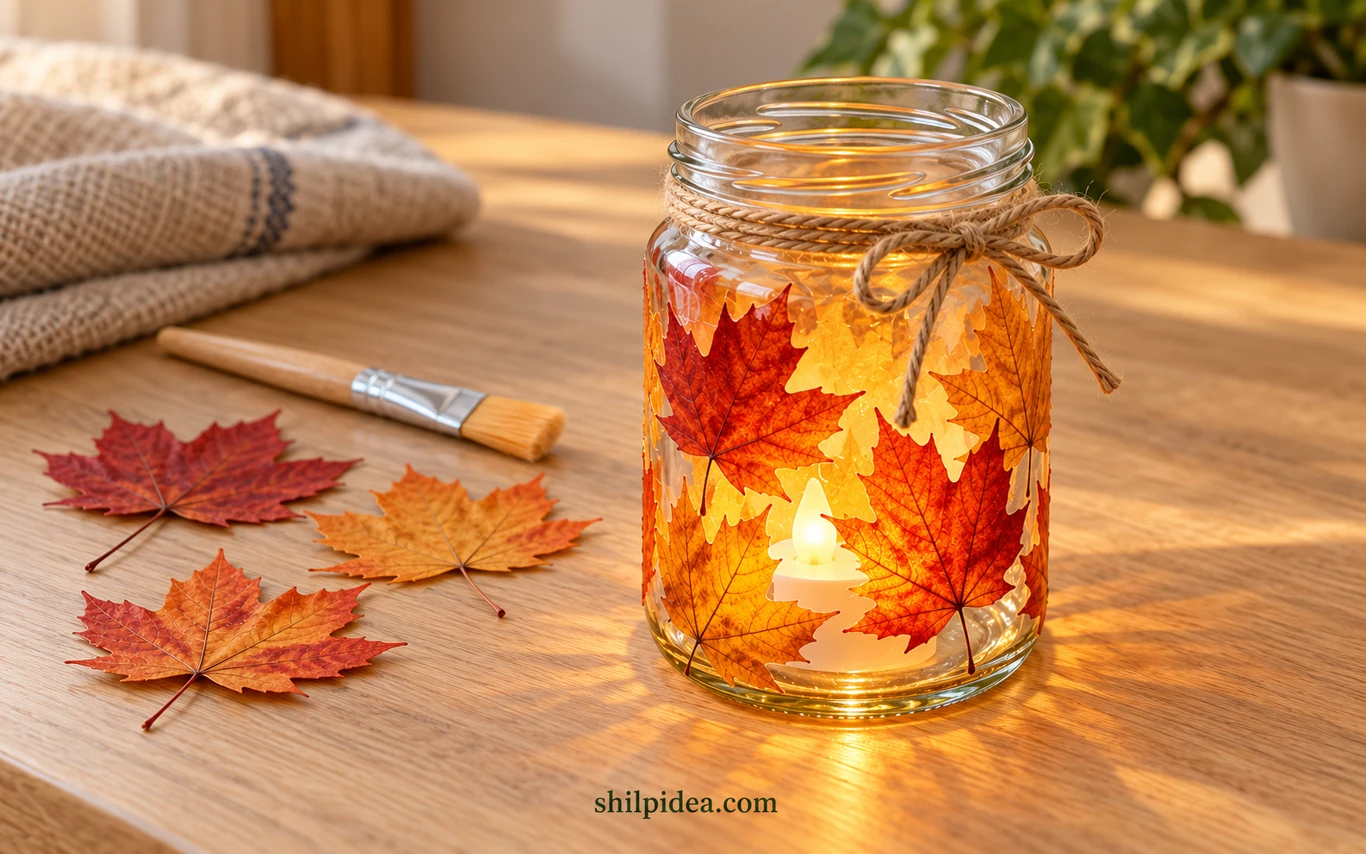
Set the jar upright on the protected surface and leave it undisturbed for the drying time on the medium label. A thicker coat or humid room can take longer; do not add the finishing tie while the surface is still milky or tacky.
Touch-dry and fully cured are not always the same. Follow the product label for handling and curing, even after the film looks clear.
Once the coating is ready, add the optional twine around the neck and trim the ends. Switch on the LED, lower it into the jar and place the lantern on a stable indoor surface.
Lift the LED out when you need to switch it off or change its battery. Never replace it with a real tealight.
Troubleshooting and Keeping Your Lantern
- Leaf edges keep lifting: Replace a thick or brittle leaf with a smaller flexible one. Press an edge gently while the medium is workable; adding more and more glue will not make a stiff leaf follow the jar’s curve.
- The coating still looks cloudy: Give it more time and check the product’s drying directions. Avoid adding another coat over a tacky surface. The final finish may have a slight haze depending on the medium; it will not necessarily look like untreated glass.
- Not enough light shows through: Use fewer overlaps and leave clearer gaps on your next jar. Keep the light source battery-powered; do not solve a dim result by adding heat or a flame.
- You want to keep the lantern for next year: Dust it gently and store it dry, protected from knocks. Natural leaves can fade or become more fragile over time. Do not soak the finished decoration or assume the coating is waterproof.
For another leaf-lantern activity, see the source project: Autumn Leaf Lanterns by KidsGardening. For leaf pressing, see Autumn Leaf Lanterns by Dobbies.
Give the Lantern a Place on Your Autumn Table
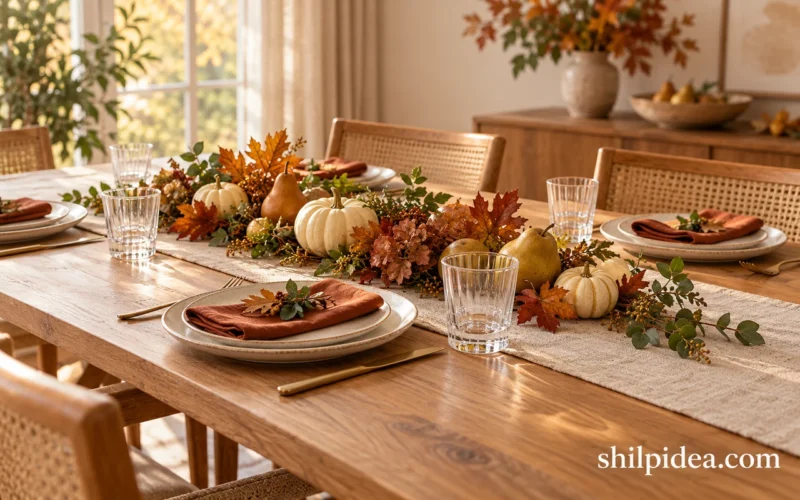
Let the soft light sit beside a few simple paper or leaf details, with enough clear space to reach the lantern safely. These collections offer ways to carry the autumn colors through your place settings and nearby decorations without crowding the table.
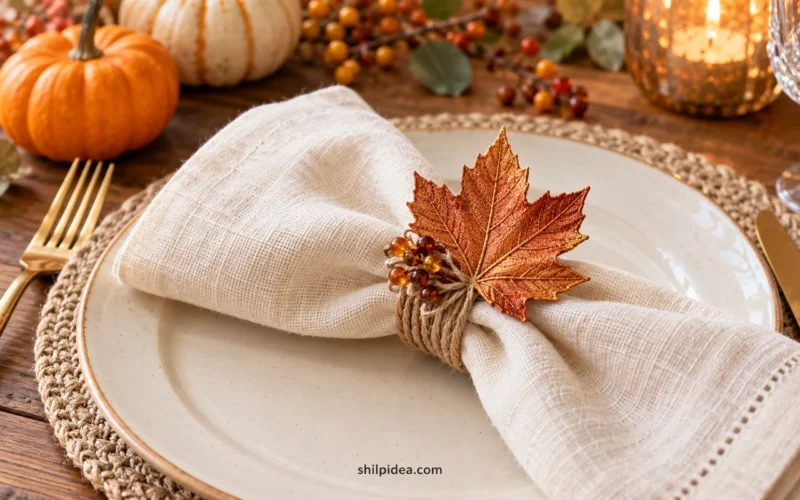
- Fall Leaf Napkin Ring Ideas for Thanksgiving Table Decor
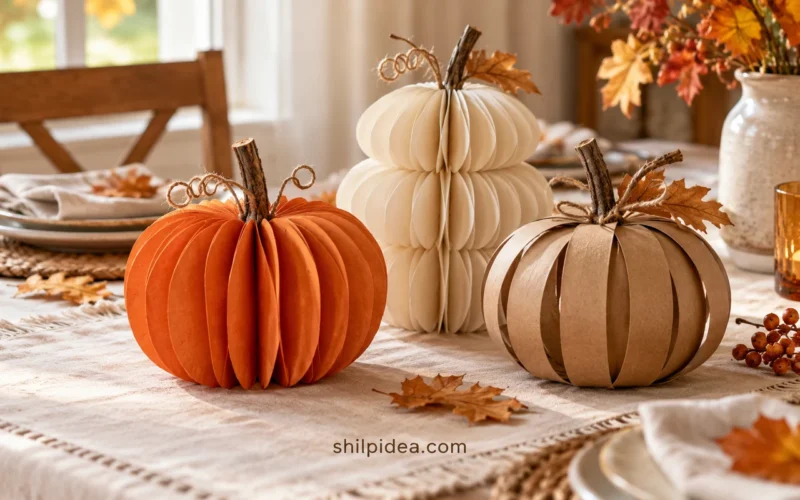
- Paper Pumpkin Ideas for Fall Table Decor
- Gratitude Garland Ideas for Thanksgiving Family Decor
Would you like to make a leaf lantern like this, or do you have a different autumn idea in mind? Tell us in the comments—we would love to hear where you would display it. If you try the project, share how it went and any tips or changes that helped you.
























0 Comments