18 Ribbon and Burlap Crafts to Sell at Fall and Holiday Fairs
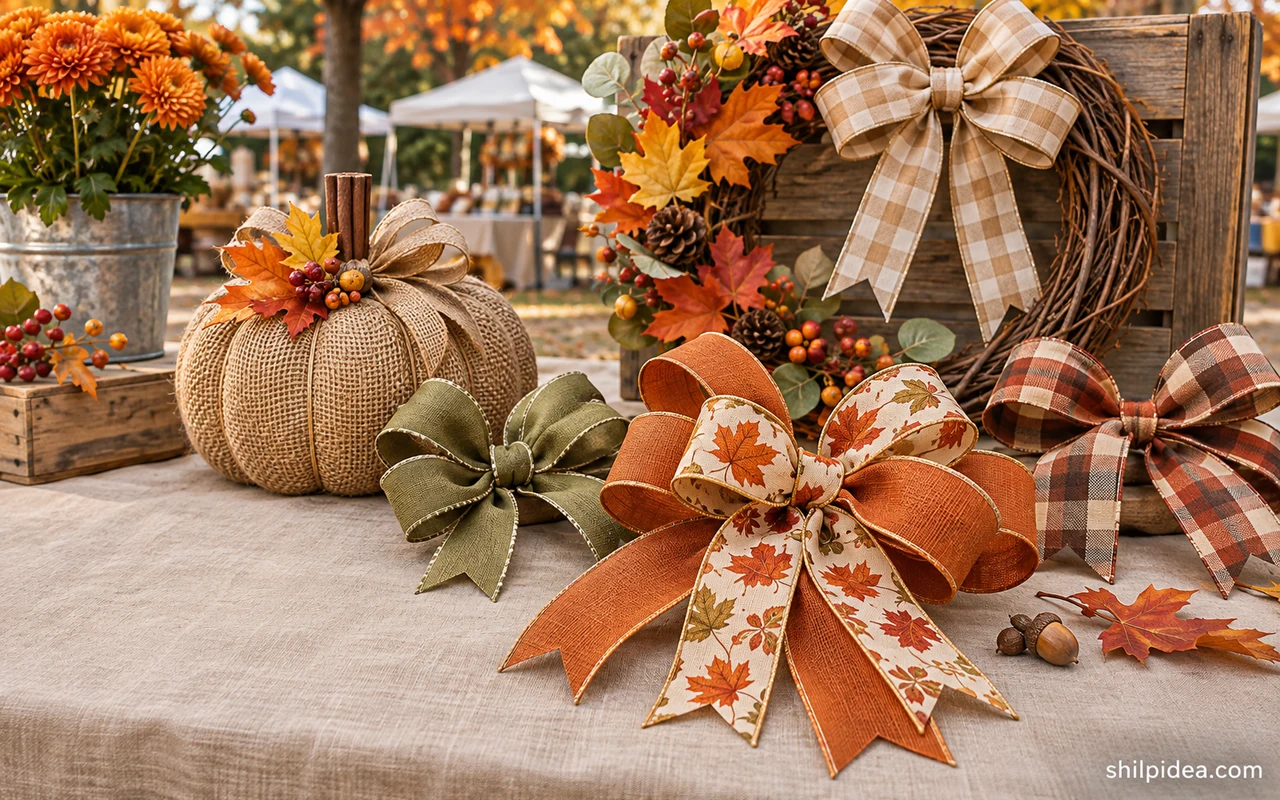
Ribbon and burlap take up little room on a craft table but can give a booth a clear seasonal style. Choose a few pieces you can repeat with consistent sizes and neat edges.
Start with items that share materials, then test how each looks from the shopper’s side of the table. These handmade business ideas offer ways to keep a small range focused.
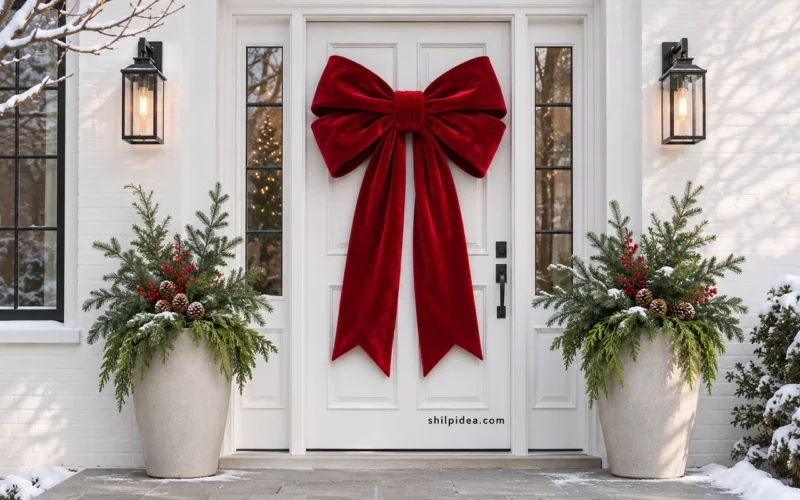
The collection includes fall door hangers, ribbon bows, small ornaments, and holiday table pieces. Use large Christmas bows to choose one ribbon treatment you can repeat across sizes.
1. Stuff a Soft Burlap Pumpkin

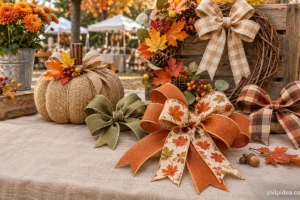
A stuffed hanger is easier to pack than a rigid wreath and can sit on a door or shelf. Decide how plump it should be before closing the top, then use the same amount of filling in each one. Offer a few ribbon palettes that share the same pumpkin body and make a sample of each finish. Match the loops to large Christmas bows.
2. Fold Petals Around a Wreath Base

Give a plain circle texture by folding broad burlap petals and working around the ring. Keep the petals in one direction so the folds read as a deliberate pattern from a distance. Make a small version first so you can calculate how many petals a larger wreath will need before you price it.
3. Cover a Tabletop Pumpkin in Jute

Let the jute follow the ridges of a small pumpkin so the finished piece keeps its recognizable shape. Add a twig stem and a restrained bit of faux greenery. Small pumpkins are easy to group in several sizes and also work as individual pieces if shoppers want a simple shelf accent.
4. Make a Rag Wreath in Pumpkin Colors

Use orange and natural strips so the round shape has some variation without relying on extra decorations. Keep the stem visible once you add the bow. Cut a sample bundle and check how much the strips fray as you handle them, then decide which edges need a little trimming before display.
5. Finish a Wide Bow with a Brooch

A broad bow gives a small brooch a clear backdrop. Try it against a cushion first to check that the center sits flat and the tails don’t hide the base. If you offer several, group the brooches by finish so customers can compare a quieter silver accent with something brighter.
6. Layer Checks into a Statement Bow

Pick one broad ribbon for the main loops, then add smaller checks and plain strips where they can still be seen. Make a trial and turn it to check that the pattern works on both sides. Offer the bow as a removable accent for a wreath, basket, or wrapped package.
7. Tie a Garland from Fabric and Burlap

Alternate neutral jute and patterned fabric along the same cord. The repeated knots make it easier to change the overall length without reworking the color plan. Show one finished length hanging at the booth and keep shorter versions coiled, with a label that gives the approximate span and the length of the end ties.
8. String Burlap Roses Along a Rope

Roll several burlap roses in two shades and attach them with enough space for the rope to bend. Alternate large and small flowers where the garland will dip. Lay it flat for packaging so petals keep their shape, and check that the attachment holds when you lift the rope from either end. Compare ways to present a small range in handmade business ideas.
9. String a Holiday Banner

Cut pennants from consistent rectangles so the banner has an even bottom edge. Use lettering that can be read from a few feet away and leave space between the words. Show it hanging if possible, then wrap the string around a card to keep the pennants from tangling in the bag.
10. Make Small Burlap Angels

Use a simple cone silhouette and set the wings so they are visible from the front. A few repeating touches, such as lace and pale bead heads, will tie a small group together. Check that each hanging loop balances before you tuck the finished ornaments into a box for the fair.
11. Turn Jar Lids into Framed Ornaments

A round lid can frame a simple burlap panel and one low-profile seasonal motif. Keep the embellishment shallow enough for the ornament to lie flat in its box. Pick finishes that sit comfortably beside the twine, then check the lid edge and hanging attachment before offering it as a gift add-on.
12. Wrap Small Cone Trees in Burlap

A cone covered in burlap gives you a quiet surface for a row of tiny bells or a little ribbon. Try two heights on the same shallow display base so shoppers can see how they pair. Keep the bottom level and leave the back seam neat for pieces that will be seen from all sides.
13. Build a Tabletop Tree from Ribbon Bows

Use one color and vary the size of the bows as you move up the cone. Place the largest tails near the base and leave enough space to read their shape. Pack the tree upright with room around the loops, especially if you are using ribbon that creases under pressure.
14. Weave Burlap into a Stocking Front

A woven front can make a stocking feel substantial even when the rest of the silhouette is plain. Choose strips of a consistent width and check that the lining and cuff sit smoothly. Decide whether it is sized for small gifts or intended mainly as a decoration, then label it accordingly.
15. Edge a Tree Skirt with Checks

A checked trim gives a plain burlap skirt structure when the tree is viewed from across the room. Keep the center opening and edge finish consistent across the set. Display a folded sample with the full diameter listed, and show how much clear floor space the skirt needs around a tree stand.
16. Stencil a Dotted Table Runner

A sparse dot pattern gives a small runner detail without making the full length difficult to repeat. Start with a test patch to check how the paint behaves on the coarse weave. A plain band at either end gives buyers room to style a centerpiece and helps the pattern read clearly. Style a runner beside a dried flower centerpiece.
17. Add Plaid Bands to a Runner

Run two pieces of plaid ribbon along a plain burlap base and leave a wide space through the center. Compare the finished runner under a bowl or tray so you can see what remains visible. Label the width and length, since buyers may be shopping for either a dining table or a sideboard.
18. Offer a Monogram Loop Wreath

Build the burlap loops in a neutral color and suspend the initial from its own short ribbon. A removable letter means you can sell the same base in several combinations. Show one finished wreath and display a few initials nearby with the available colors and the time needed to prepare a custom piece.
Plan a Small Collection for Your Booth
Build your first booth display around a small, repeatable palette. Pair a quick-to-make ribbon item with a larger burlap piece, then set one finished example at eye level so shoppers can see how the materials work together. The projects below can help you choose a shape, a color combination, or a display detail to use across the rest of the table.
- Handmade Business Ideas for Makers
- Oversized Christmas Bows for Holiday Decor
- Christmas Table Settings with Natural Details
- Dried Flowers in a Reused Tin
If you had room for one display piece, would you bring a monogram wreath or a set of gift toppers? Share what you’d make in the comments and how you’d show shoppers the color or personalization options.


















0 Comments