How to Make a Personalized Chipboard Desk Calendar
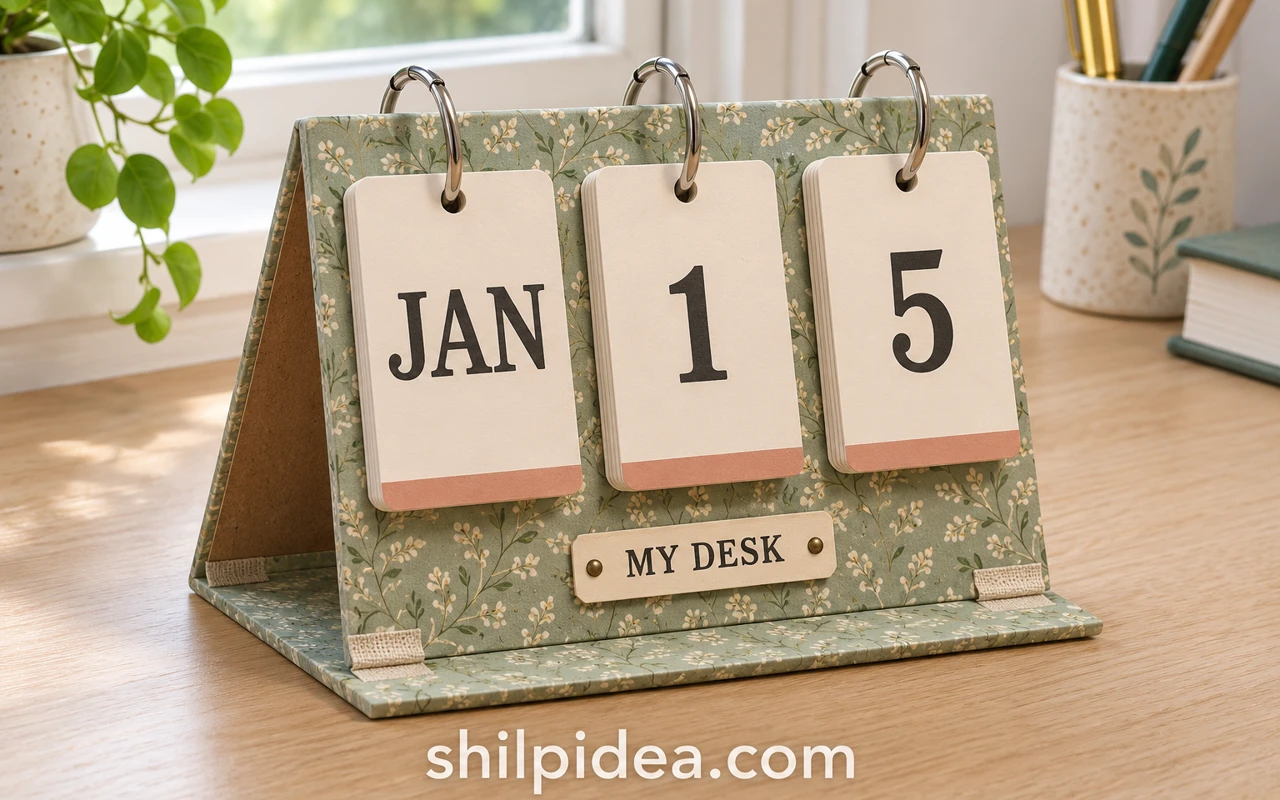
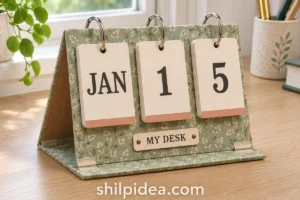
A handmade desk calendar can be a useful little display as well as a personal gift. This version uses a chipboard stand and separate month and date cards that flip on three rings.
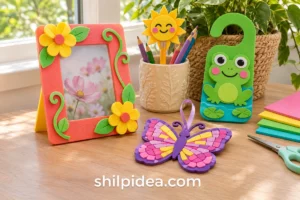
Scrapbook paper supplies the pattern, while the reusable cards keep the design useful from year to year. These cardboard photo frames offer another way to coordinate a handmade desk display.
Follow the cut list and alignment checks below, and keep small desk supplies contained while you work. This is a proposed craft method; check the fit with your own board, punch and rings.
Materials and Tools
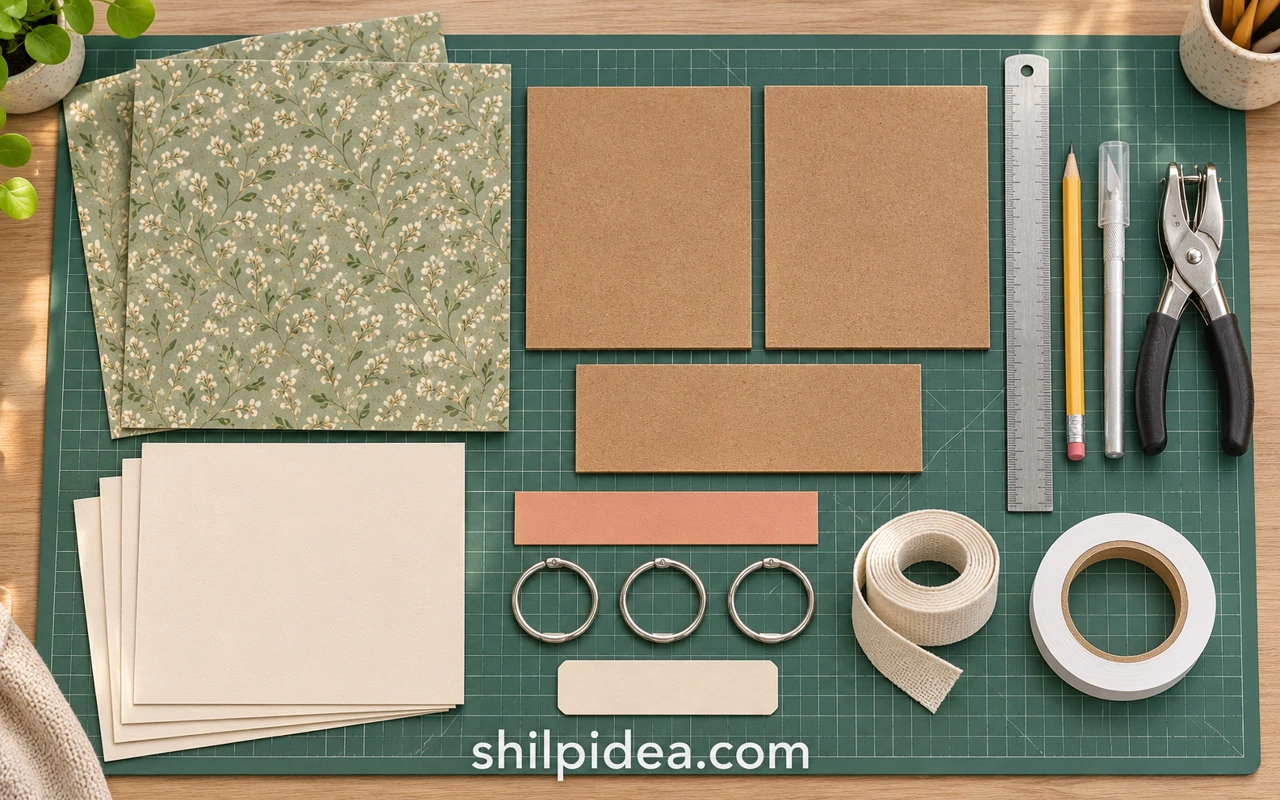
Gather the following supplies before cutting; the finished stand is about 7 inches wide, with a 3-inch-deep base.
- Chipboard – Use firm 1–1.5 mm board: two panels 7 × 6 inches (17.8 × 15.2 cm) and one base 7 × 3 inches (17.8 × 7.6 cm).
- Scrapbook paper – Two 12 × 12-inch (30.5 × 30.5 cm) sheets cover the six board surfaces; check the cutting layout before trimming.
- Cream cardstock – Use three Letter-size sheets of 200–250 gsm cardstock for 26 cards, each 2 × 3 inches (5.1 × 7.6 cm).
- Bookbinding tape – Use flexible cloth bookbinding tape about 2 inches (5 cm) wide, enough for four 7-inch strips across both sides of the two lower joints.
- Paper adhesive – Choose double-sided adhesive sheets or a thin-spreading paper adhesive suitable for chipboard; follow its setting instructions.
- Binder rings – Use three opening book rings about 1½ inches (38 mm) in diameter; check clearance with your actual decorated card stacks.
- Cutting tools – Use a craft knife, metal ruler, pencil and cutting mat for the board; use scissors or a suitable paper trimmer for paper and cardstock.
- Heavy-duty hole punch – Choose a ¼-inch (6 mm) punch specifically rated for your board thickness, plus scrap cardstock for an alignment template.
- Lettering and accents – Use a black marker, printed labels or flat stickers, a small name label and optional narrow coordinating paper strips.
- Smoothing tool – A bone folder or clean flat card helps press the paper; keep a clean board nearby for drying panels flat.
Precautions Before You Begin
Keep the tools and materials suited to the task.
- Adults should handle craft-knife cuts and heavy-duty punching; keep fingers outside the cutting line.
- Use a stable cutting mat and metal ruler, and cap or store blades after use.
- Keep small rings, offcuts and loose decorations away from young children.
- Check the punch’s rated thickness and test the covered board on scrap before making the final holes.
- Use adhesives as labeled and allow them to set before flexing the hinges or adding the card stacks.
1. Cut and Check the Stand Panels
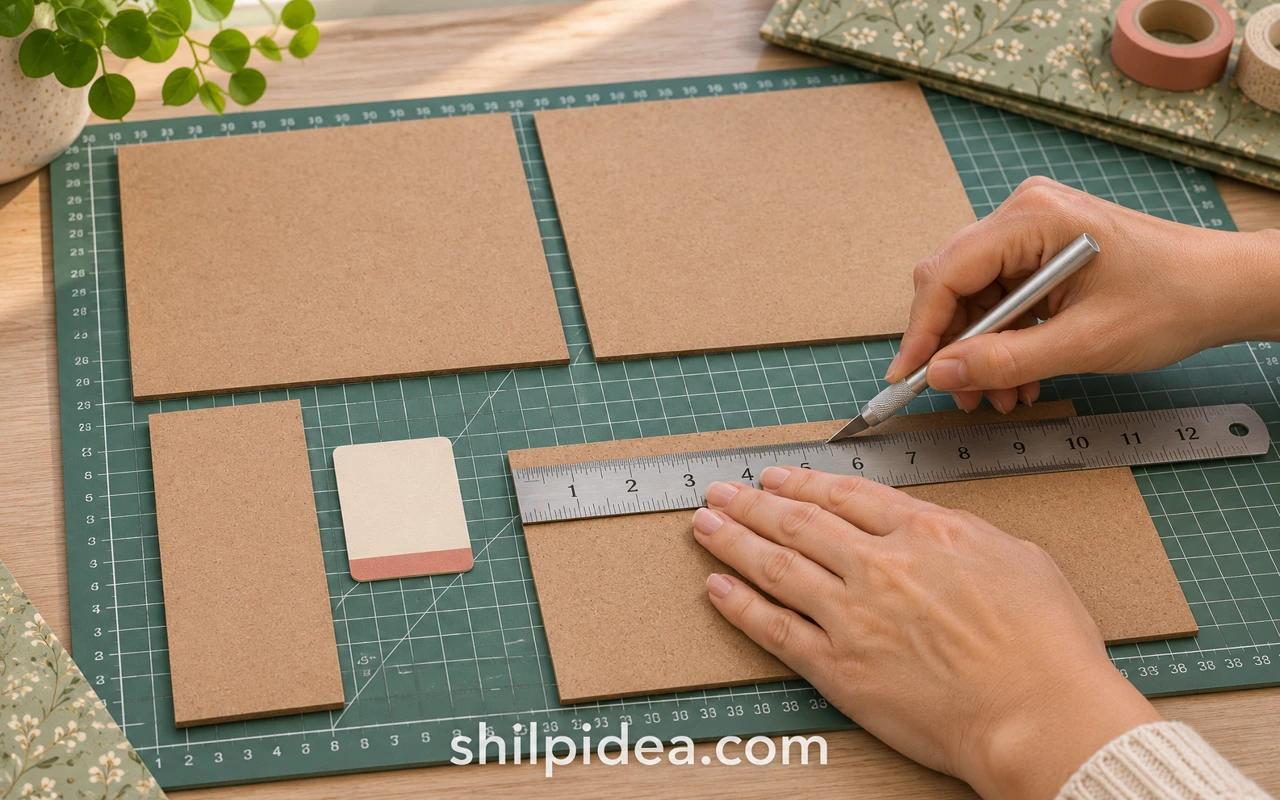
- Cut the three panels – Mark two 7 × 6-inch rectangles and one 7 × 3-inch base. Cut with several light passes against a metal ruler on a mat; keep your supporting hand clear of the blade.
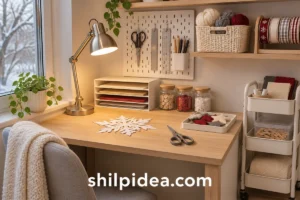
- Check the fit – Match the two larger panels edge to edge and trim uneven areas. Lay all three pieces with their 7-inch edges aligned. Keep the surface clear with a small desk tool organizer rather than loose tools beside the cutting line.
2. Cover Both Sides with Scrapbook Paper
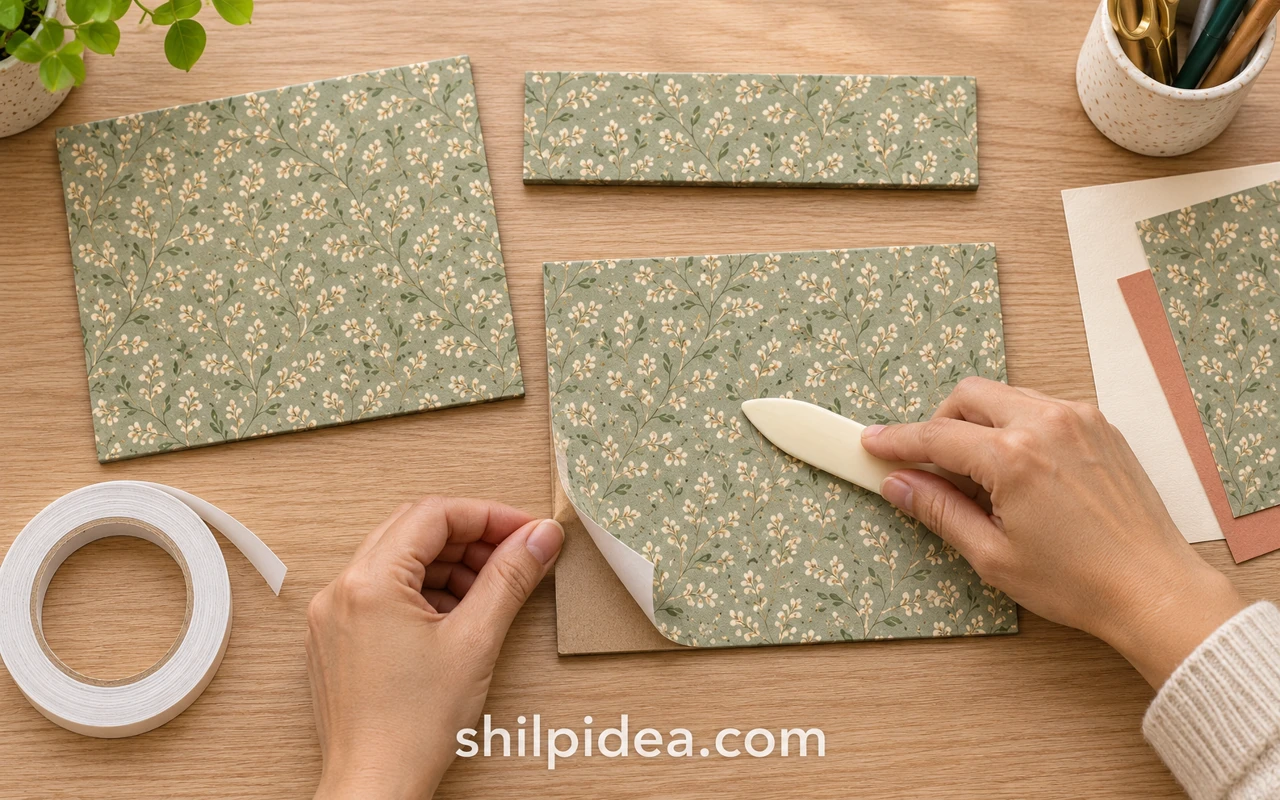
- Plan the paper pieces – Cut four 7 × 6-inch paper rectangles for the large panels and two 7 × 3-inch pieces for the base. Rotate pieces within the leftover strips to use both scrapbook sheets efficiently.
- Cover the surfaces – Apply an even adhesive layer or adhesive sheet and smooth the paper from the center outward. Cover both sides of each board, aligning the edges. Trim overhang once the bond is secure; do not add bulky folded corners.
- Let the panels set – Keep the panels flat beneath a clean board while the adhesive sets as directed. Check for lifted edges before continuing. Make one covered offcut first if the adhesive or paper is unfamiliar.
3. Join the Lower Edges with Flexible Hinges
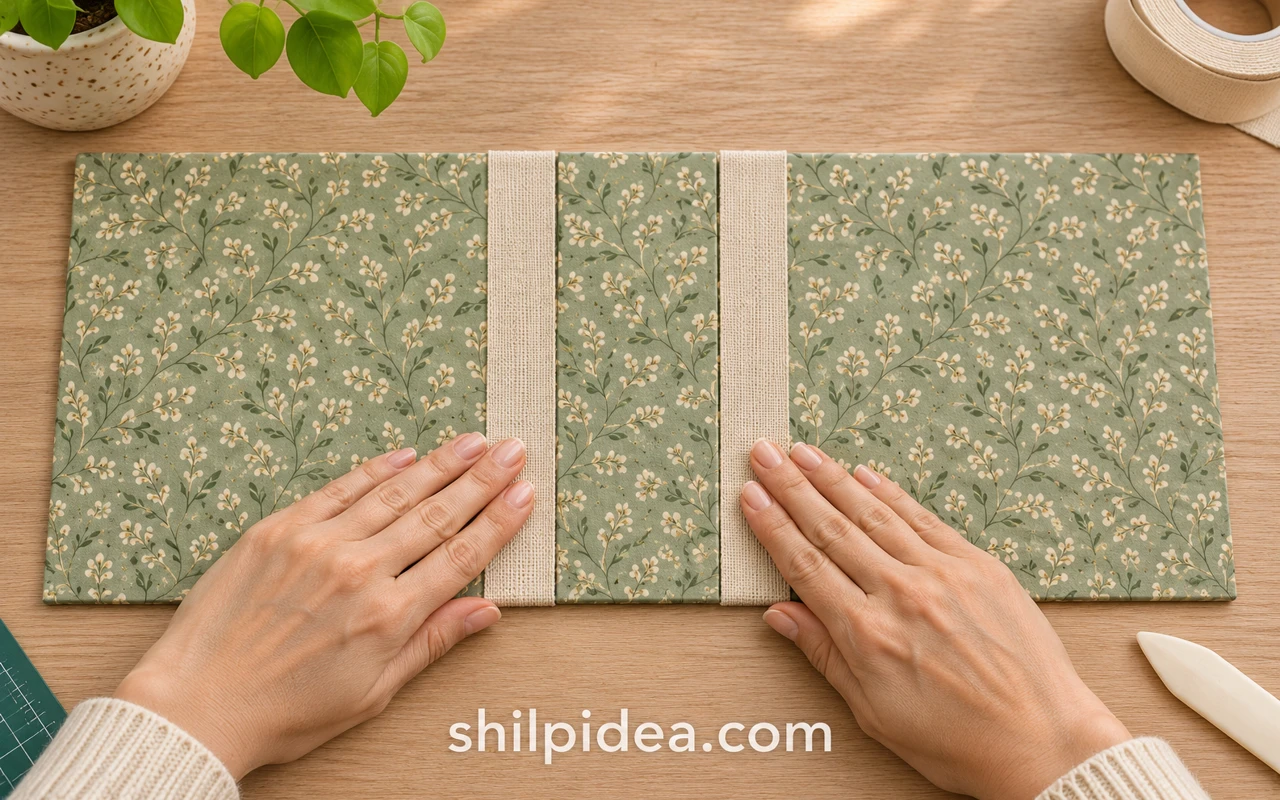
- Arrange the strip – Place a large panel, the narrow base and the second large panel in one straight strip, with matching 7-inch edges next to each other. Leave about ⅛ inch (3 mm) between each pair for movement.
- Tape both joins – Center a 7-inch strip of cloth bookbinding tape across each gap and press firmly onto the adjacent boards. Turn the assembly over and reinforce both joins with the remaining strips. Flex gently at the gaps without forcing the rigid board to bend.
4. Prepare the Month and Number Cards
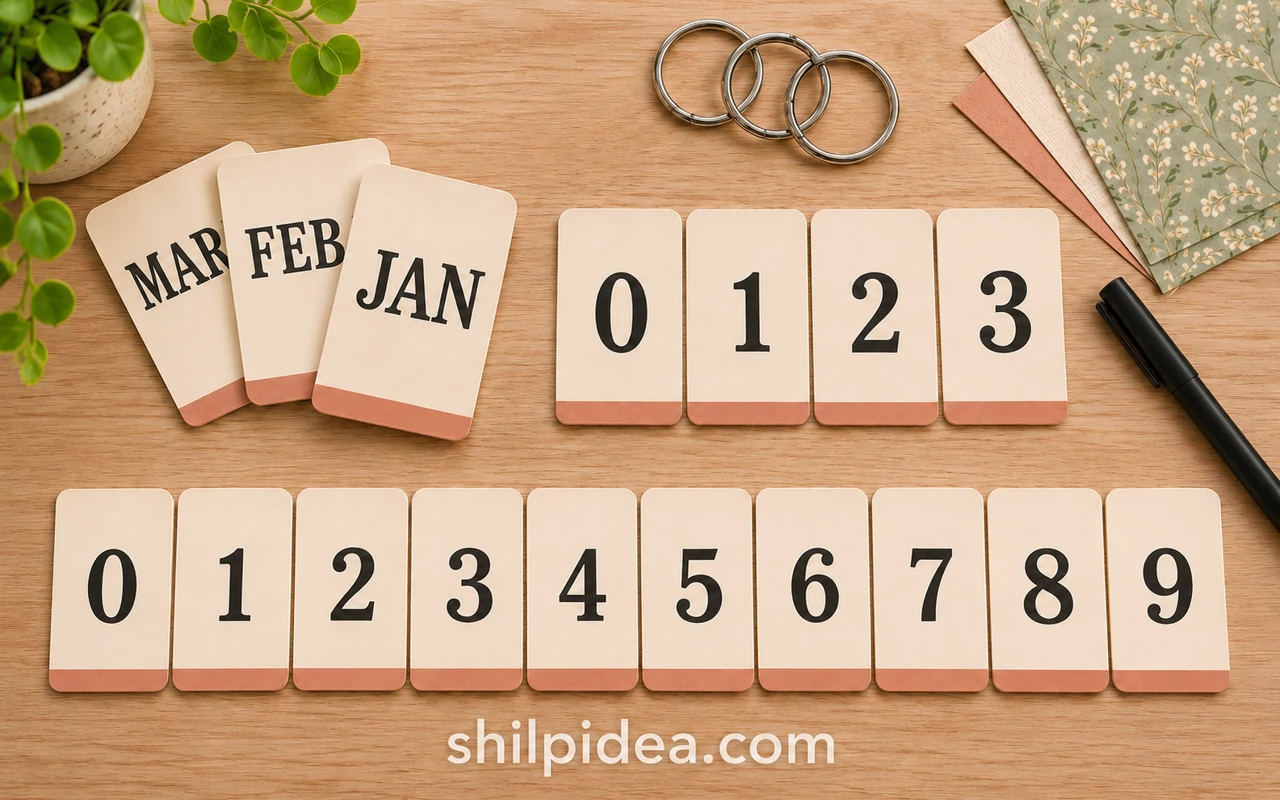
- Cut 26 matching cards – Cut 26 cream cards, each 2 inches wide and 3 inches high. Keep them portrait-oriented. A small test card helps check the size before cutting the full set.
- Make the month stack – Label 12 cards JAN, FEB, MAR, APR, MAY, JUN, JUL, AUG, SEP, OCT, NOV and DEC. Keep lettering below the top ¾ inch (1.9 cm), leaving room for the ring hole. Add a thin paper accent along the bottom if desired.
- Make the date stacks – Prepare four tens cards labeled 0, 1, 2 and 3, plus ten ones cards labeled 0 through 9. Keep lettering consistent and use flat decoration. The complete set is 12 + 4 + 10 = 26 cards.
5. Punch Matching Holes in the Stand and Cards
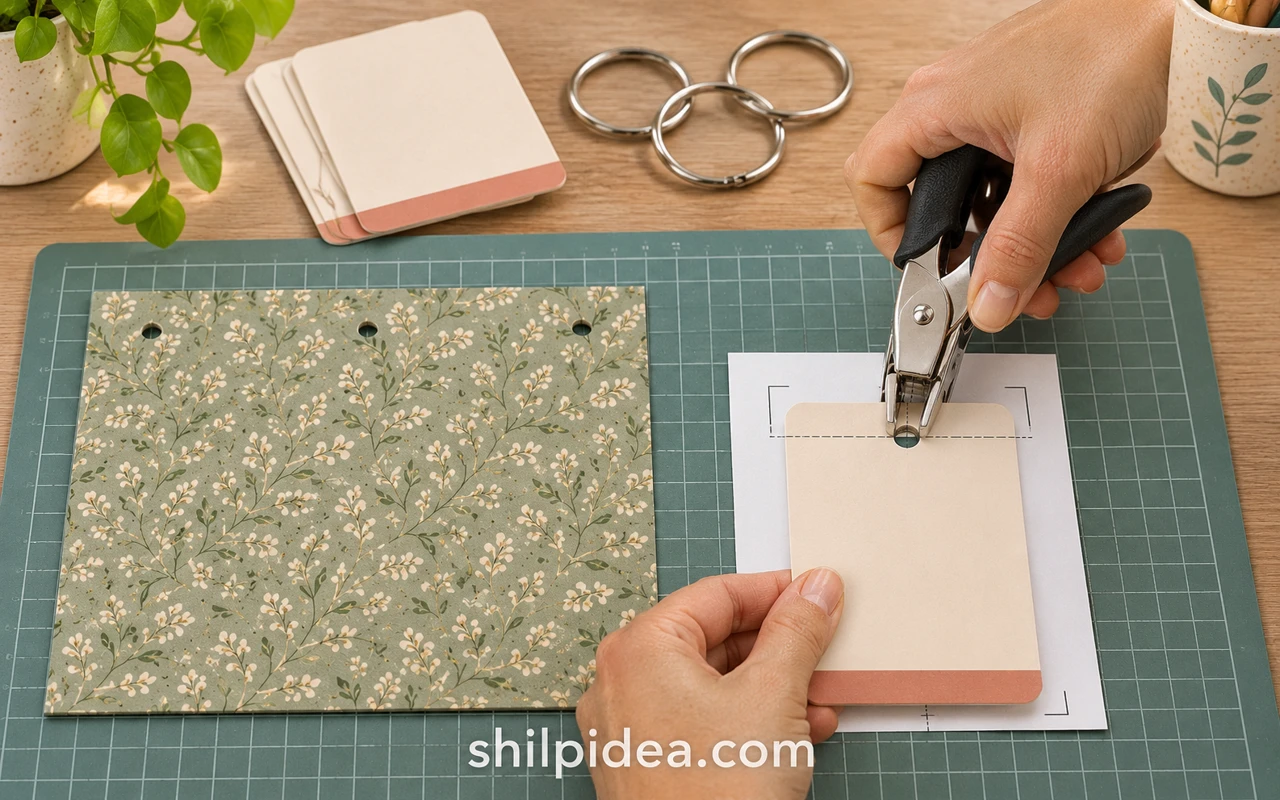
- Mark the stand holes – On each large panel, mark three centers ½ inch (1.3 cm) below its upper edge. Measure their horizontal positions from the same left edge: 1¼, 3½ and 5¾ inches (3.2, 8.9 and 14.6 cm).
- Punch the covered board – Use a scrap template to transfer identical marks to the second panel. Punch one panel at a time with a tool rated for the board thickness. Do not force an ordinary office punch through thick board.
- Punch one hole per card – Mark each card 1 inch (2.5 cm) from either side and ½ inch below the top. Punch one centered hole, using the first correctly aligned card as a template. Each card gets one hole; the stand gets three per large panel.
6. Add the Rings, Personalize and Test
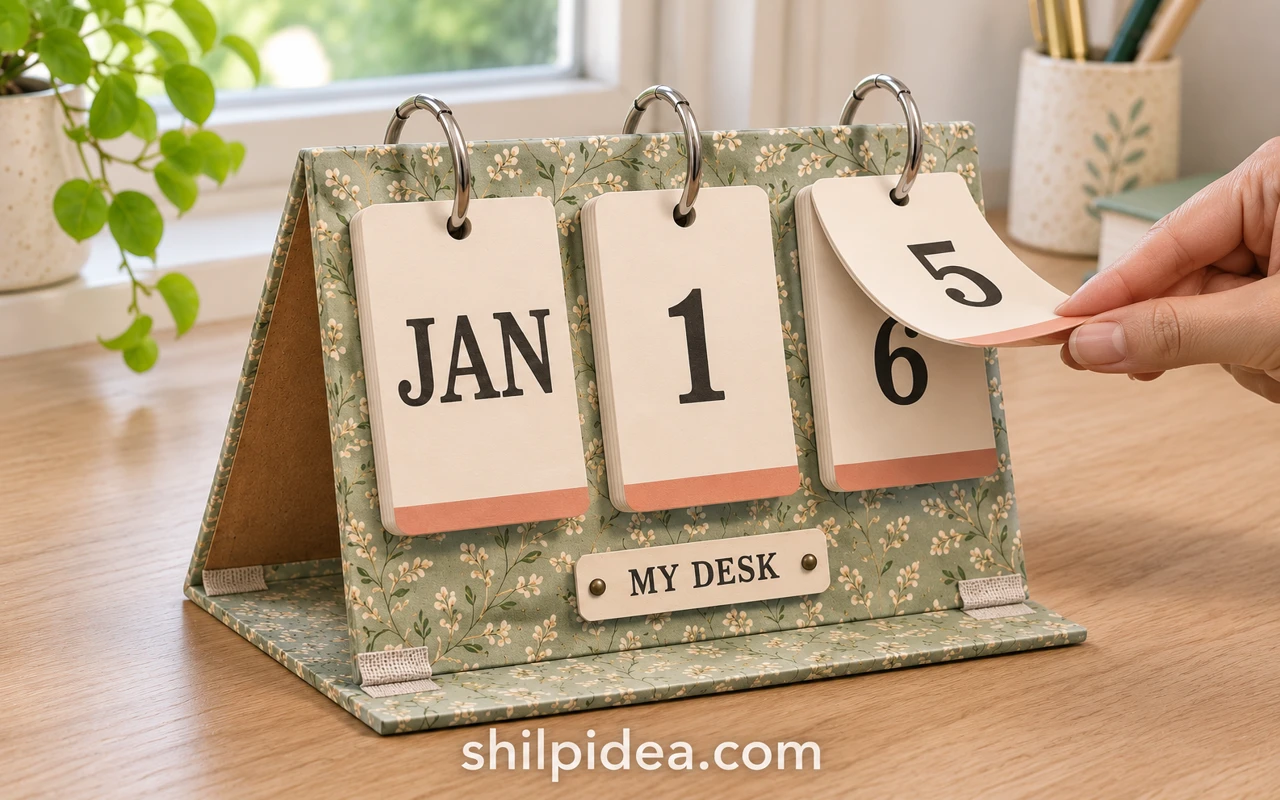
- Assemble the three stacks – Raise the large panels into an A-frame with the narrow base flat underneath. Use each ring to join the matching front and back holes and carry one card stack: months on the left, tens in the center and ones on the right. Close each ring fully.
- Test every card – Flip all cards around their rings to confirm they turn without snagging or pulling the stand over. Check that the base rests flat. If the stack binds, reduce thick embellishments or use roomier rings; do not tear the holes larger.
- Add a personal detail – Attach a flat name label below the cards and set a valid month and date, using a leading zero for days 01–09. Update it by hand each day. These painted desk rocks offer another small accent if there is room beside the calendar.
Make the Calendar Easy to Use
The cards show the month and day, rather than a full monthly appointment grid. Keep the three groups in order and check the real month length before setting a new date. The tens stack only needs 0–3, but the stand can physically display invalid dates, so the user must select a valid combination.
If the stand rocks, check the panel cuts, hinge gaps and the flatness of the base. If cards catch at the top, confirm that the ring joints close smoothly and the holes line up. Keep the paper finish dry, and replace a worn card before its hole tears through.
For alternative constructions, see Tania Ahmed’s perpetual calendar for Grafix and Gloria Plunkett’s standing calendar tutorial. They demonstrate different materials and dimensions; use one complete cut list rather than mixing their parts with this version.
Add a Few Personal Details to Your Desk
Keep the calendar where its cards can turn freely, then choose one or two nearby details that make the desk pleasant to use. A small organizer can hold lettering tools, while a photo frame or painted stone can repeat a color from the scrapbook paper. Leave enough open space to work instead of turning the whole surface into a display.
- Cardboard Photo Frames for Personal Displays
- Popsicle Stick Organizers for Your Desk
- Plastic Bottle Holders for Small Supplies
- Painted Rocks to Personalize Your Desk
- Handmade Quilling Cards for Personal Messages
What paper pattern and name label would you choose for your desk calendar? Share your plan in the comments, whether it is for your own workspace or a gift. If you try the method, tell us how the hinges and card turning worked with your materials.





















0 Comments