How to Make Paper Honeycomb Ornaments from Recycled Wrapping Paper
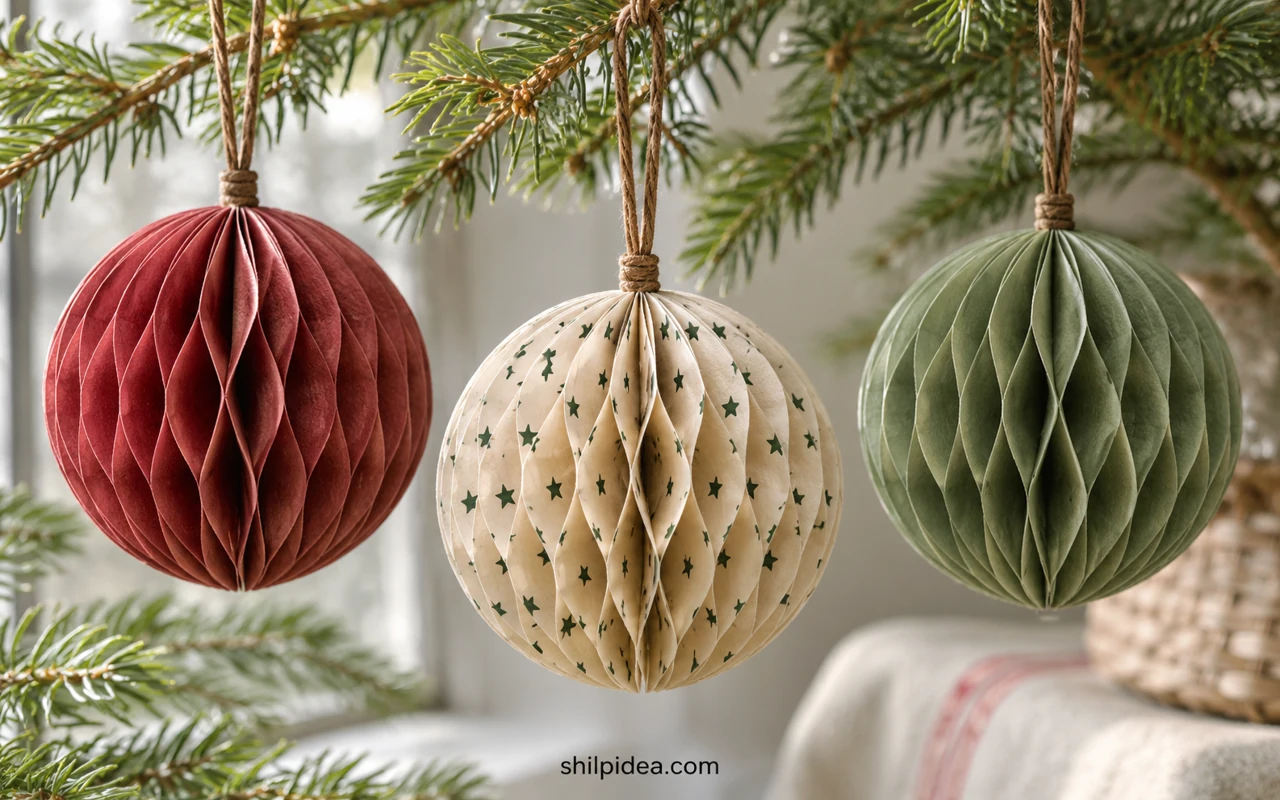
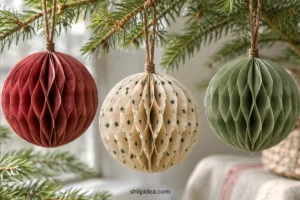
Save the flat pieces of wrapping paper from opened gifts and turn them into small honeycomb ornaments. The printed sides show in the open cells, so even a small pattern can make a plain branch look dressed.
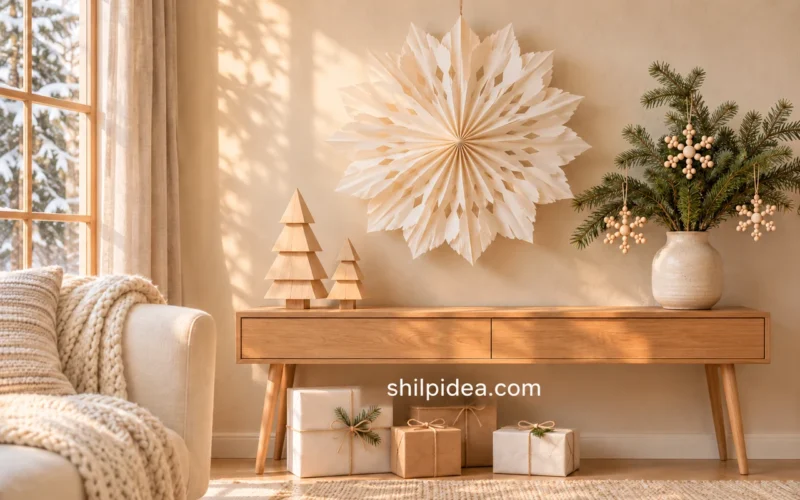
A cardboard circle, scissors and narrow lines of glue are enough to make the shape. Pair the finished baubles with paper bag snowflakes for a tree with two very different paper textures.
Choose wrapping paper that holds a crisp crease and opens without tearing. If you have sturdier scraps, use them alongside these fabric holiday decorations for a second handmade accent.
Materials and Tools
Set out enough clean paper to make one ornament before cutting.
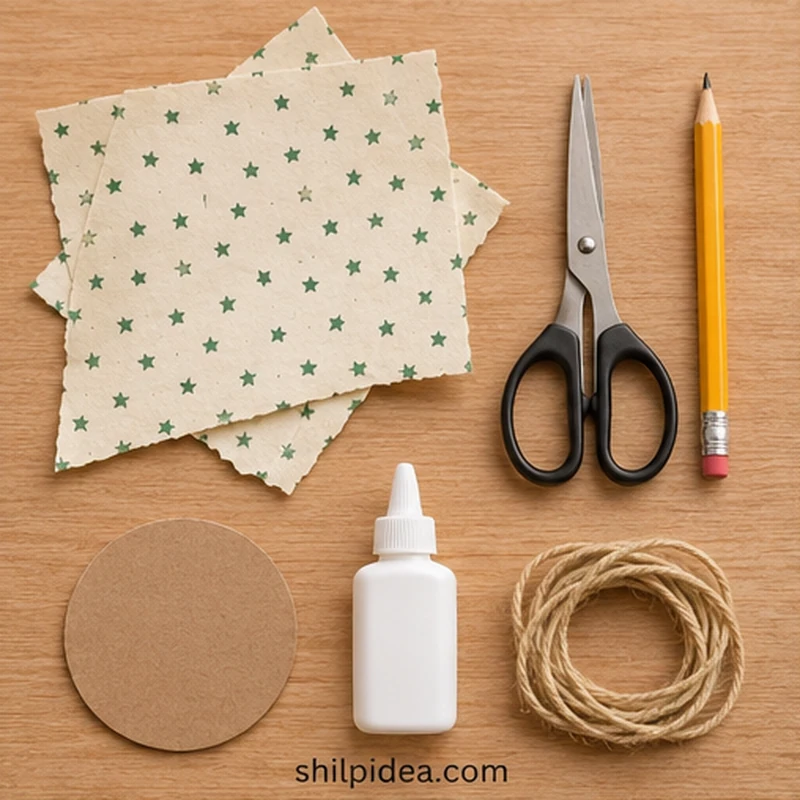
- Uncoated wrapping paper – Enough for 24 circles, each about 2½ inches across, for one ornament.
- Cardboard template – A 2½-inch circle cut from a clean cereal box or similar scrap.
- Pencil and scissors – For tracing and cutting the circles.
- Clear-drying paper craft glue – A fine-tip bottle makes thin lines easier to control.
- Cotton string – About 8 inches for one hanging loop.
- Scrap paper – To test glue and protect the work surface.
Precautions Before You Begin
Check the wrap and pick a safe place to hang the finished paper ornament.
- Test the glue on your wrapping paper. Use uncoated paper if glue beads up on foil or glossy wrap.
- Keep scissors and any small offcuts away from young children.
- Display the ornament away from open flames and hot bulbs.
1. Trace and Cut the Circles
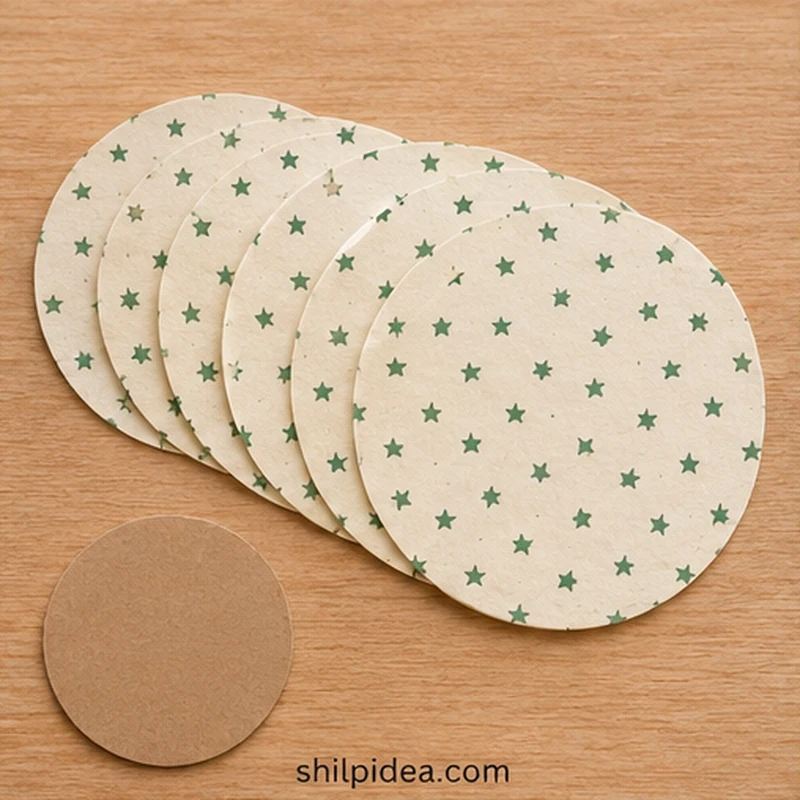
- Flatten the wrapping paper – Lay clean pieces printed side down. Avoid tape, torn spots and hard creases that cross the area you want to use.
- Trace 24 matching circles – Cut on the pencil lines. Split the circles into two piles of 12 so both halves open to the same size.
2. Fold and Glue the Inside of Each Circle
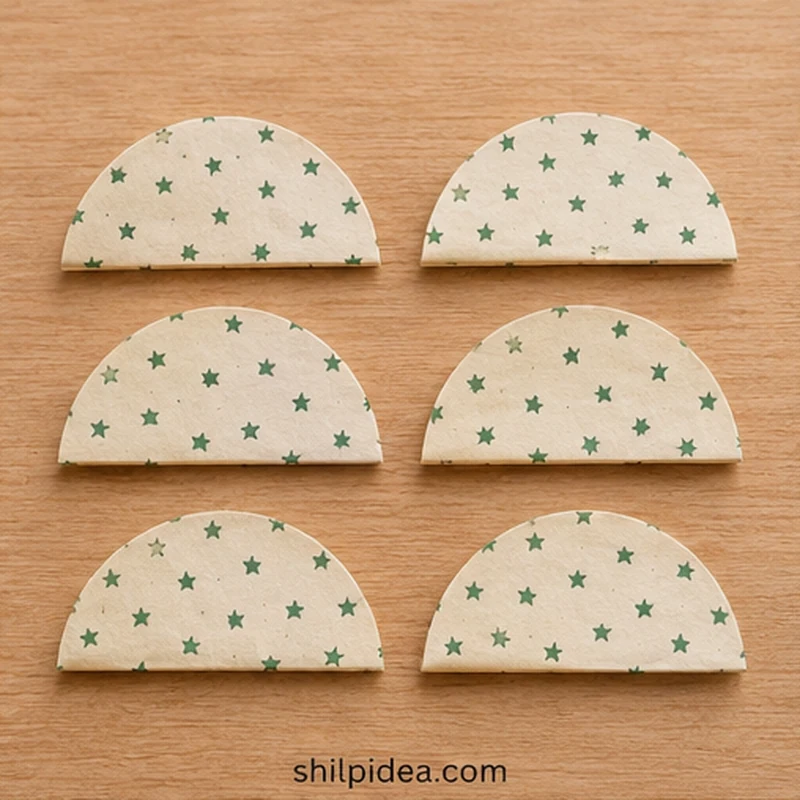
- Fold every circle the same way – Press each circle into a semicircle, keeping the curved edges lined up. With single-sided paper, choose which side faces out and keep it consistent across the stack.
- Glue one short line inside – Open each fold and apply a thin line from the middle of the crease toward the rounded edge, stopping just short of the edge. Close the fold and press along that line.
3. Build Two Flat Stacks
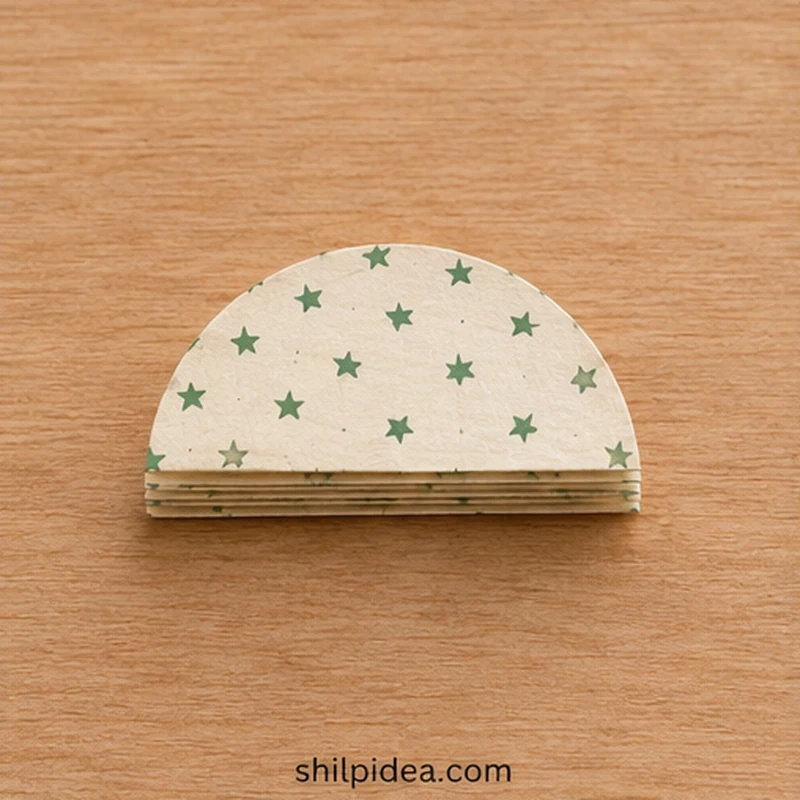
- Add two glue lines on the outside – Lay one folded piece down. Put two narrow lines on the exposed face, one above and one below the center line you glued inside. Leave the center area free.
- Align the next piece – Set it on top with the folded edges matching. Repeat between every pair until you have a stack of 12, then make the second stack. Let both dry flat.
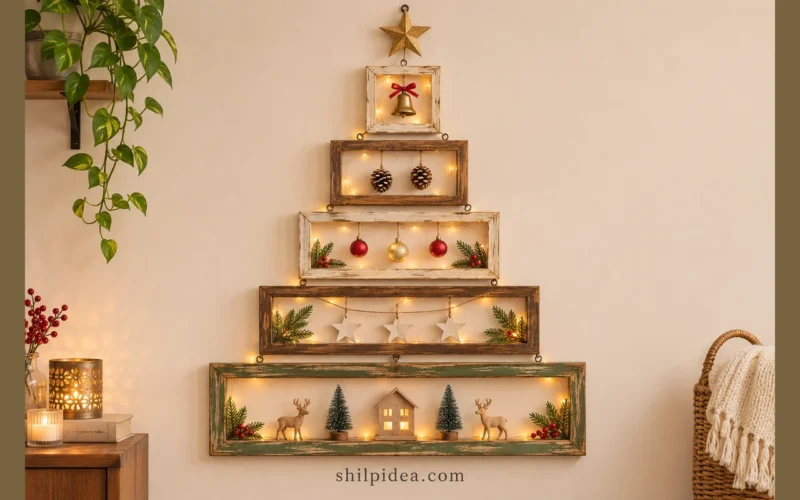
If one set of scraps is too stiff to fan open, set it aside for another project. A framed tree display can make use of flatter pieces.
4. Open the Halves and Add the Loop
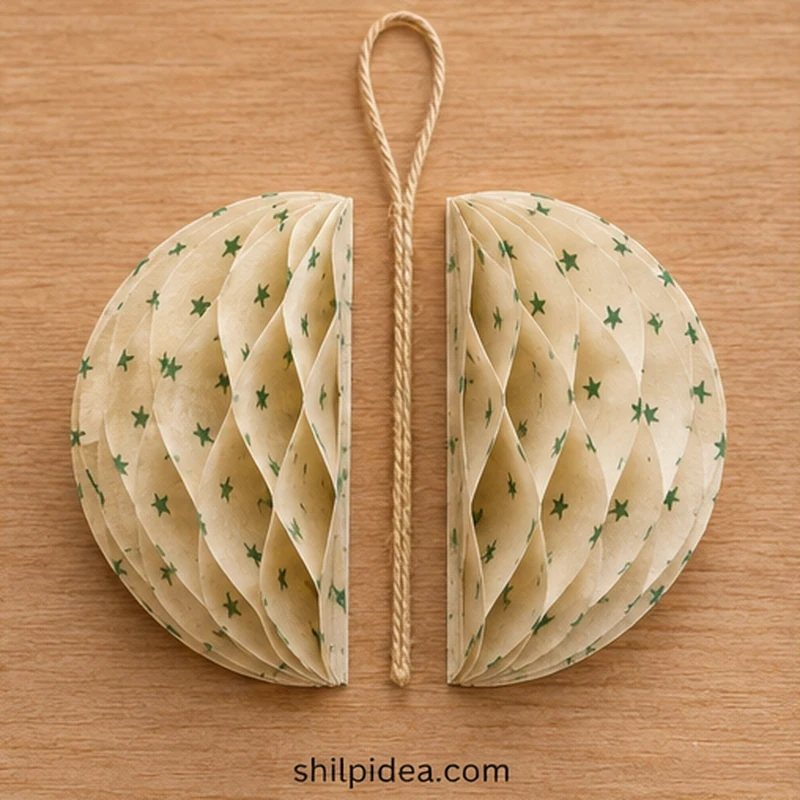
- Fan each stack open – Ease the first and last layers apart until the stack forms a half-sphere. Stop if a bond lifts and let it dry longer before trying again.
- Position the hanger – Tie the string ends together to make a loop. Run the tied ends down the middle edge of one opened half, with the loop extending past the top.
5. Join the Ornament and Let It Set
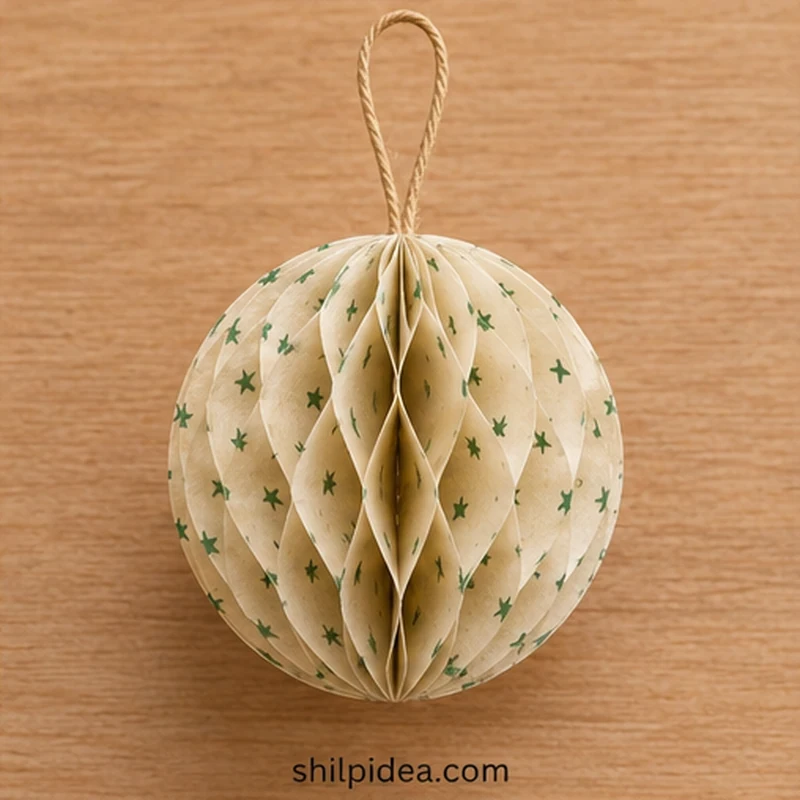
- Bring the flat sides together – Put a thin layer of glue on the flat joining faces and a small dab over the tied ends. Align the tops and bottoms, then press along the seam without crushing the cells.
- Check the finish before hanging – Set the ornament down so the seam can dry. Lift it by the loop only once the glue is fully set. Gently open any cells that folded inward.
For a set with a second texture, hang a few wood slice ornaments on nearby branches.
Give the Rest of the Paper a Second Use
Once the first ornament holds its shape, cut a few smaller circles from the scraps left around your template. You can use the same method for a smaller bauble or use those pieces in a different holiday project.
- Make Paper Bag Snowflake Decorations
- Fabric Decorations for the Holidays
- Rustic Wood Slice Christmas Decorations
- Frame a Christmas Tree Display
What wrapping-paper pattern would you try first? Tell us in the comments which scraps you saved and how they looked once the cells opened.
























0 Comments