18 Folded Paper Star Ideas for Decorative Displays
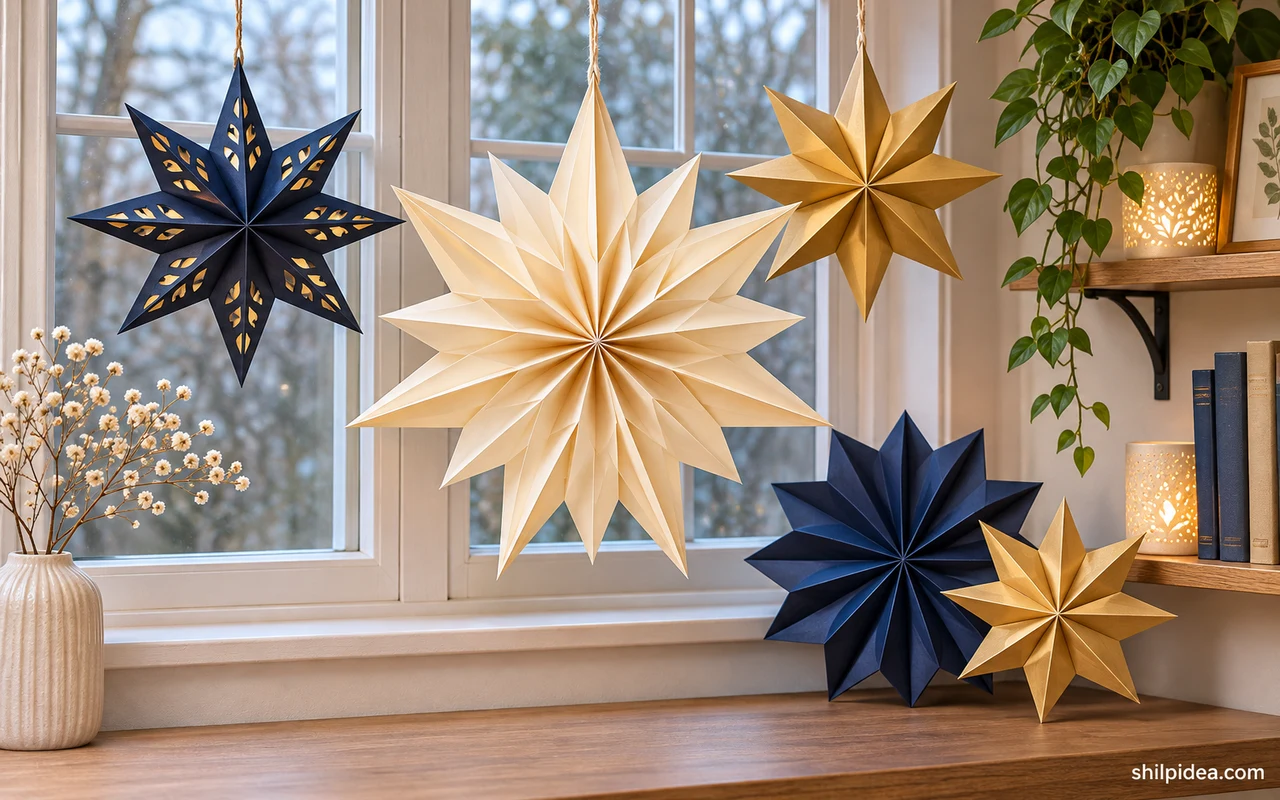
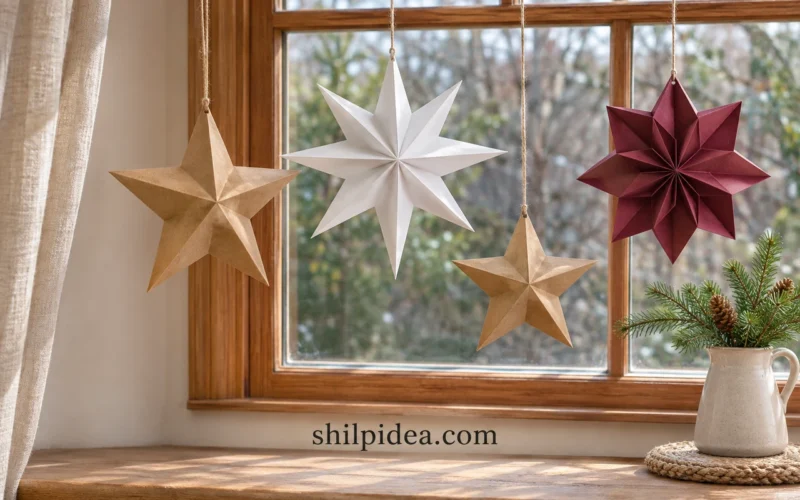
Folded paper stars bring shape to a window, gift, or shelf with very little material. Start by deciding whether you want a flat silhouette or an ornament that turns in the light.
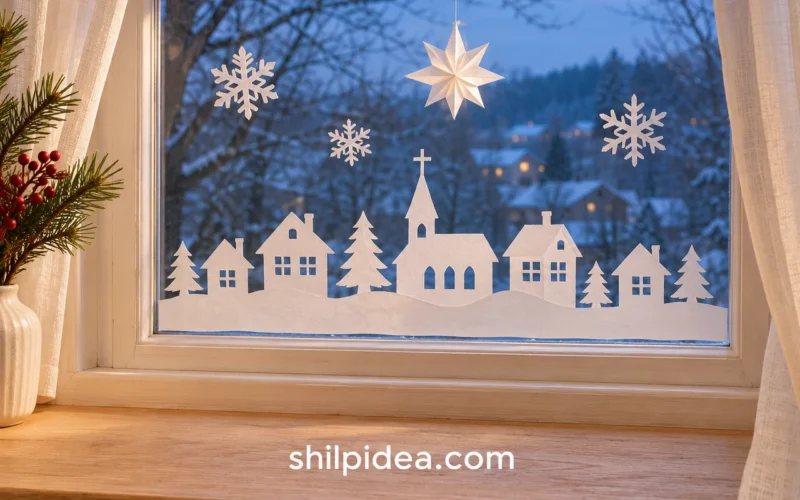
Try a plain sample before using patterned paper. If you’ve made paper bag snowflakes, you’ll already know how much a crisp edge matters to the finished shape.
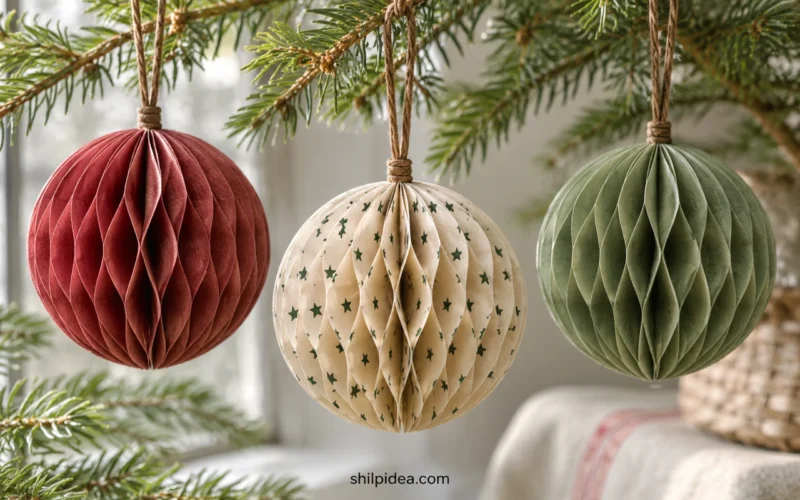
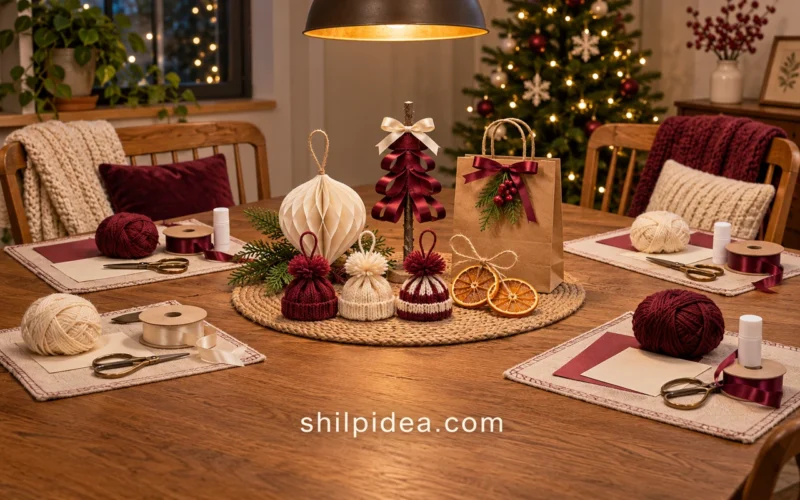
The ideas range from translucent stars to dimensional folds and small gift accents. Use paper honeycomb ornaments to repeat the folded texture elsewhere in the room.
1. Weave a Two-Tone Fröbel Star

Alternate two strip colors so the center reads as a checkerboard and the spikes show which strip turns where. Pick strips with a similar weight so the thickest one doesn’t dictate how the entire star folds. Once you can tuck each end smoothly, try a set of small stars in inverted colors for a branch.
2. Fold Gold Stars in Two Sizes
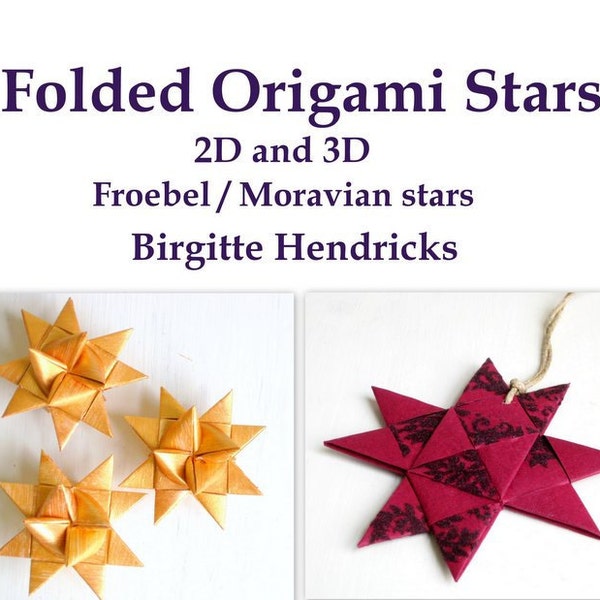
A reflective paper makes the angled faces of a Fröbel star stand out. Fold a larger one first and use a narrow strip for a small version with the same proportions. Place the pair on a branch or attach each separately to gift ribbon so both sizes can be removed and saved.
3. Build a Pink Kite Paper Star

Fold individual points from pink kite paper and overlap their edges to assemble the star. Hold the first two points up to the window to see where the overlapping layers make a darker stripe. That contrast will help you decide how wide each overlap should be before you fix the remaining points.
4. Alternate Warm and Cool Window Points

Set the paper pieces on a flat surface before folding and arrange the colors in the order you plan to use. In a rainbow star, two nearby warm colors can blur together when the sun is bright. Try placing a cooler color between them and compare the effect on a window. For a larger window piece, fold paper bag snowflakes and hang the stars beside them.
5. Run a Navy and White Star Garland

Mix navy and white folded stars along a single length of twine. Use a little patterned paper if you want to break up the solids, and decide how often it should repeat before you attach anything. Leave an empty span at each end so the finished garland is easy to tie in place.
6. Layer Cut-and-Fold Stars

A cut-and-fold star has broad faces that look different when light strikes from the side. Make one from plain colored paper before using a pattern, then assemble a second layer if you want more points. Hang the finished star from a long thread so you can see the raised folds as it turns.
7. Add Glitter to the Tips of Catalog Stars

Fold the printed paper first, then choose which tips would benefit from a little glitter. Apply it in a narrow band so the rest of the page still shows. If you make several, leave a few plain and mix them into the display so the shiny edges draw attention to the individual folds.
8. Build a Star from Matching Modules

When a fold repeats around the whole star, make a spare module before committing to the rest. It lets you replace a loose point without changing the spacing. Use a plain back and patterned front for the paper if you want little flashes of print along the folds or inside the pockets.
9. Alternate Two Colors in a Modular Star

Fold the same unit in two colors and lay out the full ring before joining the pieces. Check that every tab enters its pocket in the same orientation so the center stays regular. A crisp contrast makes this a good star to prop against a darker shelf or mount on a simple card. Try making paper honeycomb ornaments in the same colors.
10. Fold a Standalone Christmas Star
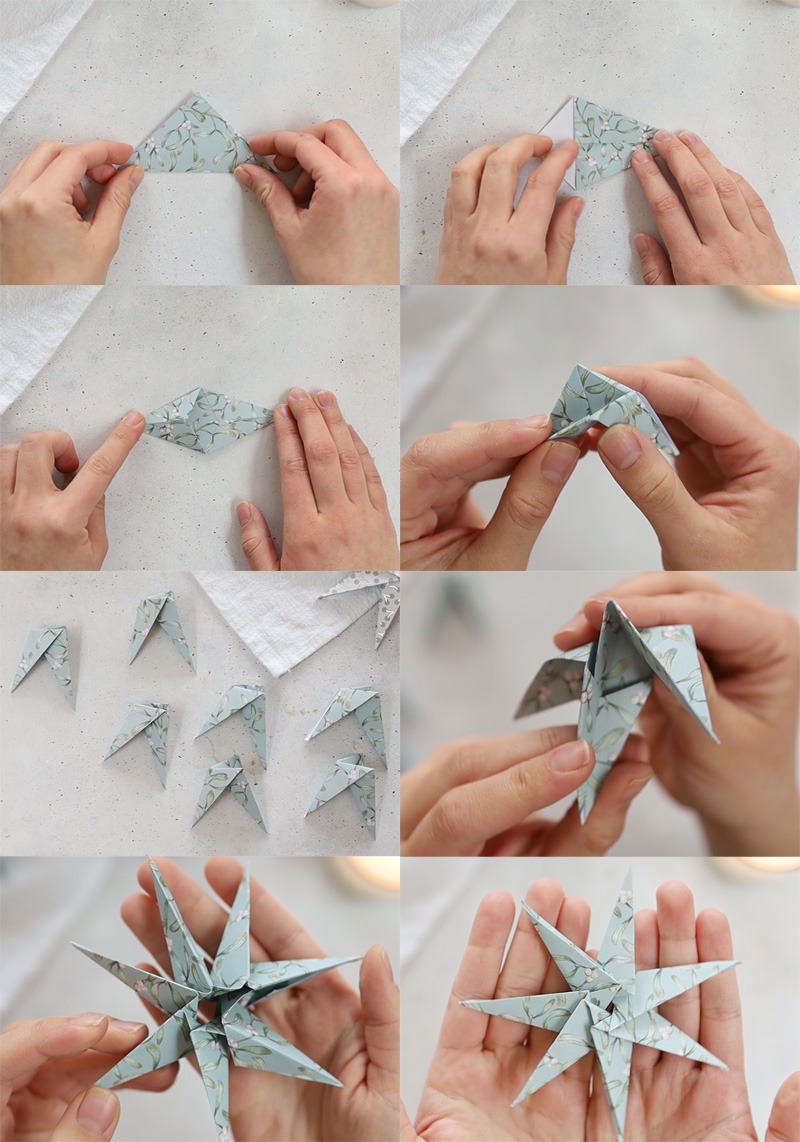
Fold one decorative star in a color that contrasts with the wall behind it. Set it on a narrow shelf with enough room to see its points and fold lines. If the sides tend to flatten, try a slightly lighter paper or reinforce the strongest crease before building another for the opposite shelf.
11. Use Side Light to Show Deep Folds
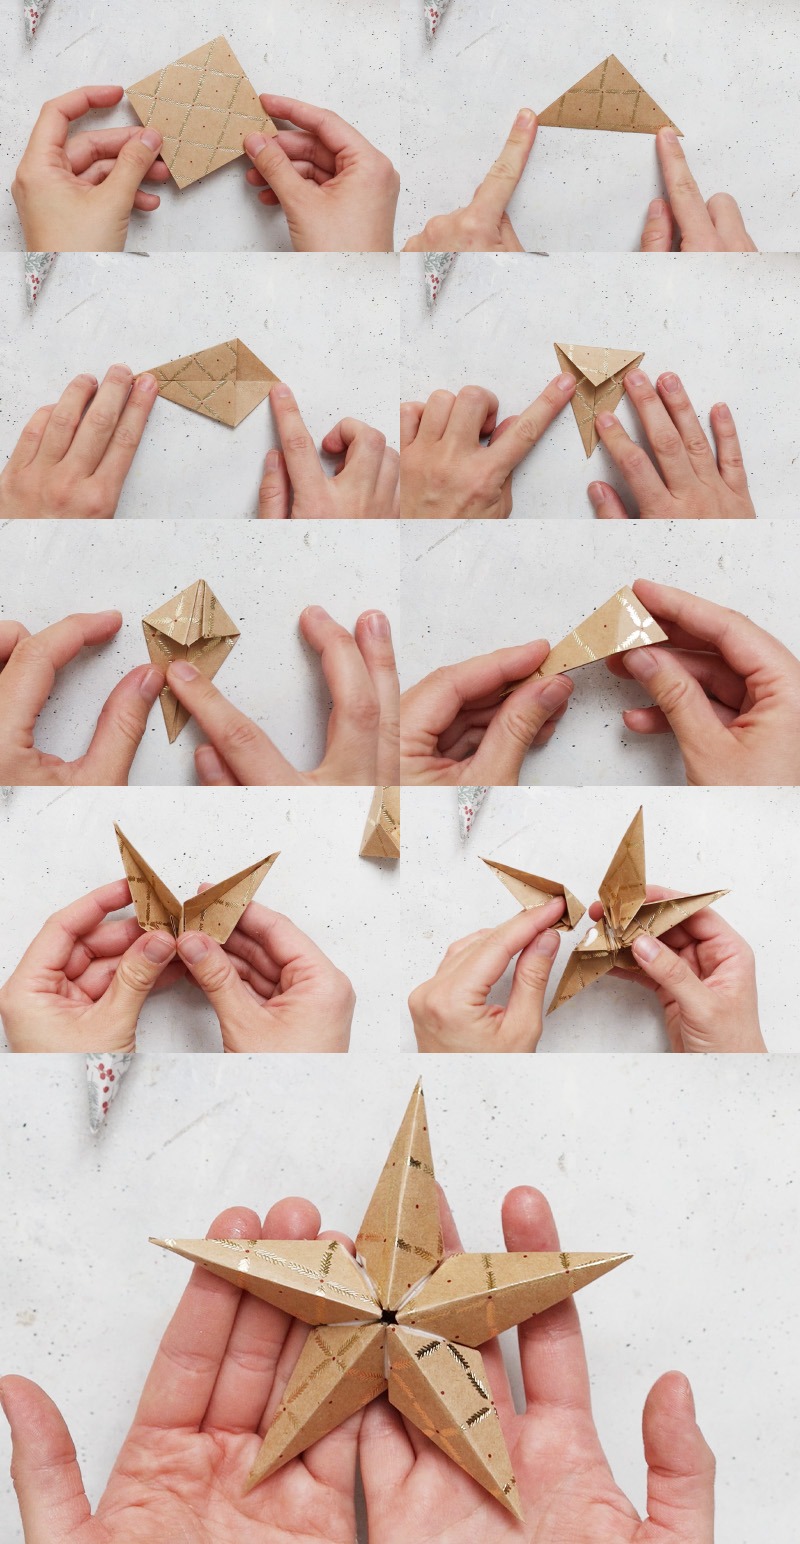
Deep creases show up more clearly when the paper sits to one side of a window. Keep the paper color simple and turn the star until the folds cast their own shadows. A little space around the outline makes the points easier to see, especially if the wall behind it has a strong color.
12. Make One Star from a Coordinated Paper Set

Choose one patterned sheet and two solid sheets that share a color. Use the pattern sparingly so the angles and the folds remain visible, especially near the center. If a sharp white edge shows when you turn a unit over, make it a repeated detail on the matching units for a deliberate finish.
13. Fold Old Catalog Pages into Stars
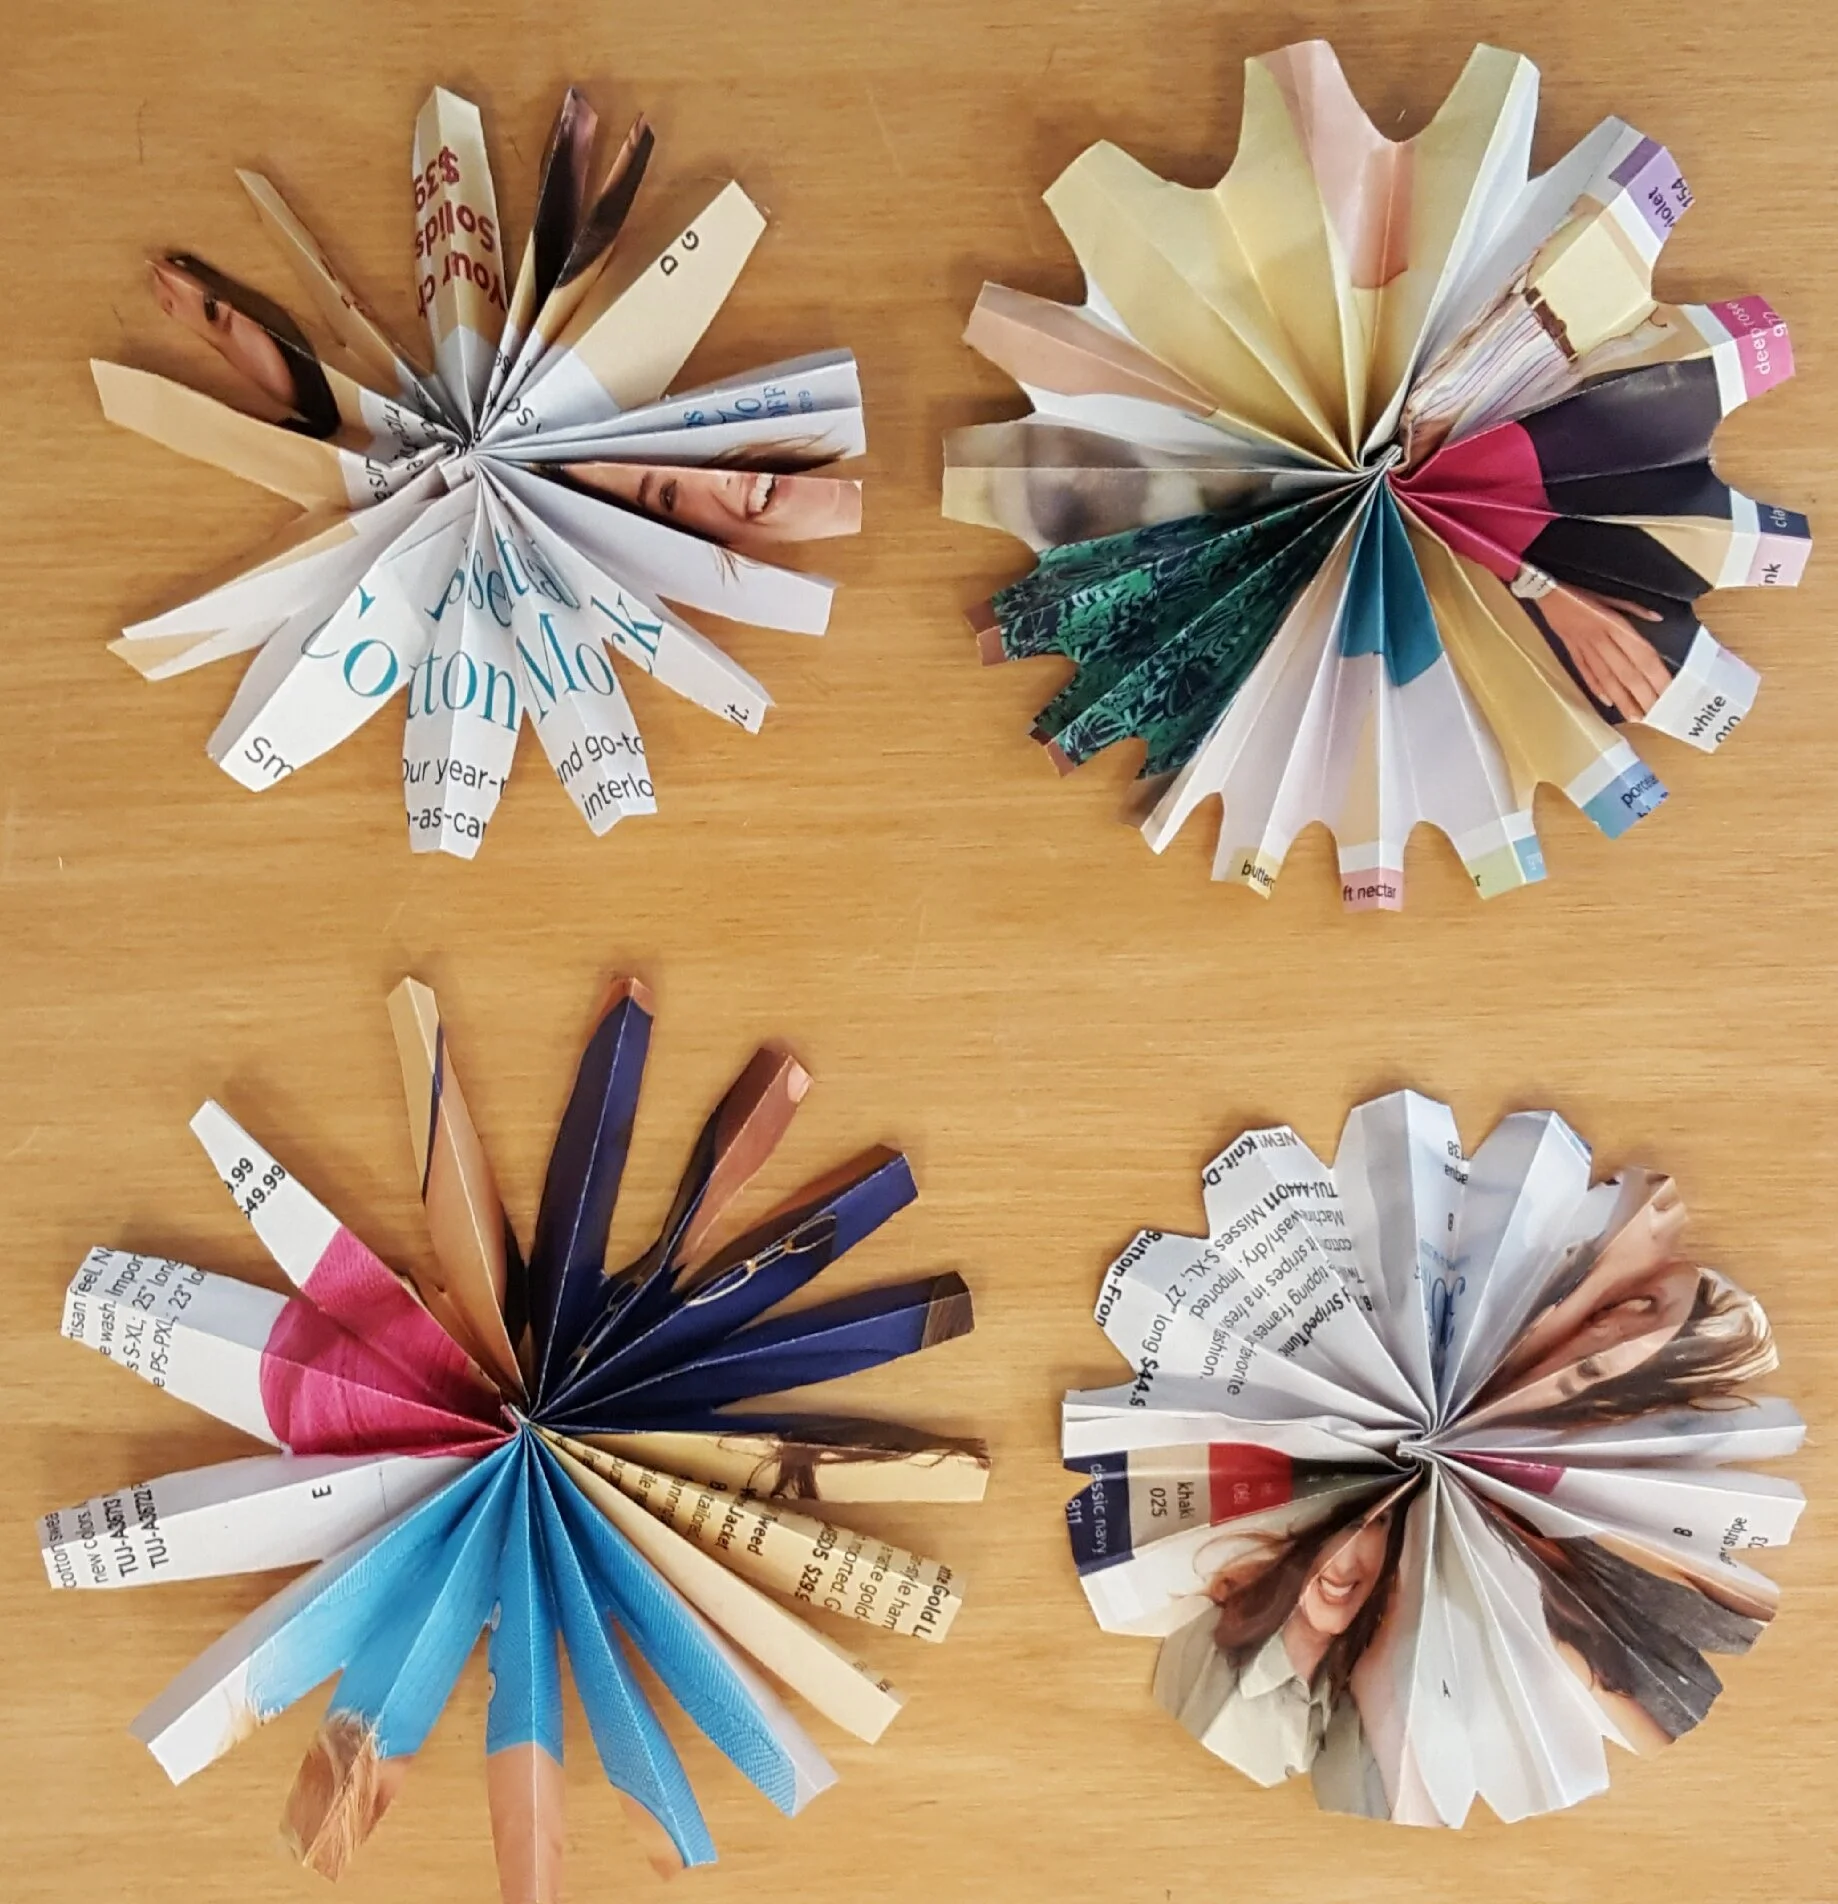
Save catalog pages with a large color block or enough repeated type to look even when folded. Cut your sheets from the same section and test one fold to see whether the coating cracks. If the paper folds cleanly, use the strongest color near the tips and let the softer print show in the middle.
14. Turn Book Pages into Hanging Decorations

Choose worn pages from a book you already use for crafting and make a sample fold to check how brittle they are. Keep some lines of type visible along the center of each point. A plain cotton hanging loop lets the printed surface stand out and gives the star a simple way to hang.
15. Score the Ridges on a Cutout Star

Trace a star outline onto a sheet of paper and score the fold lines before lifting the points. Alternate folds along the long and short lines to give the center depth. Try one test piece in scrap paper so you can see which folds need more pressure before cutting the final sheet. A set of these stars can echo the ribbon in large Christmas bows.
16. Make Small Stars for Gift Tags

Use a short strip or small square of patterned paper to make a folded star that fits inside a tag. Leave a quiet area beside it for a name or message. A deep fold can catch on ribbon in transit, so press the bottom firmly onto the tag and let the points stay low.
17. Arrange Paper Stars on a Hanging Branch
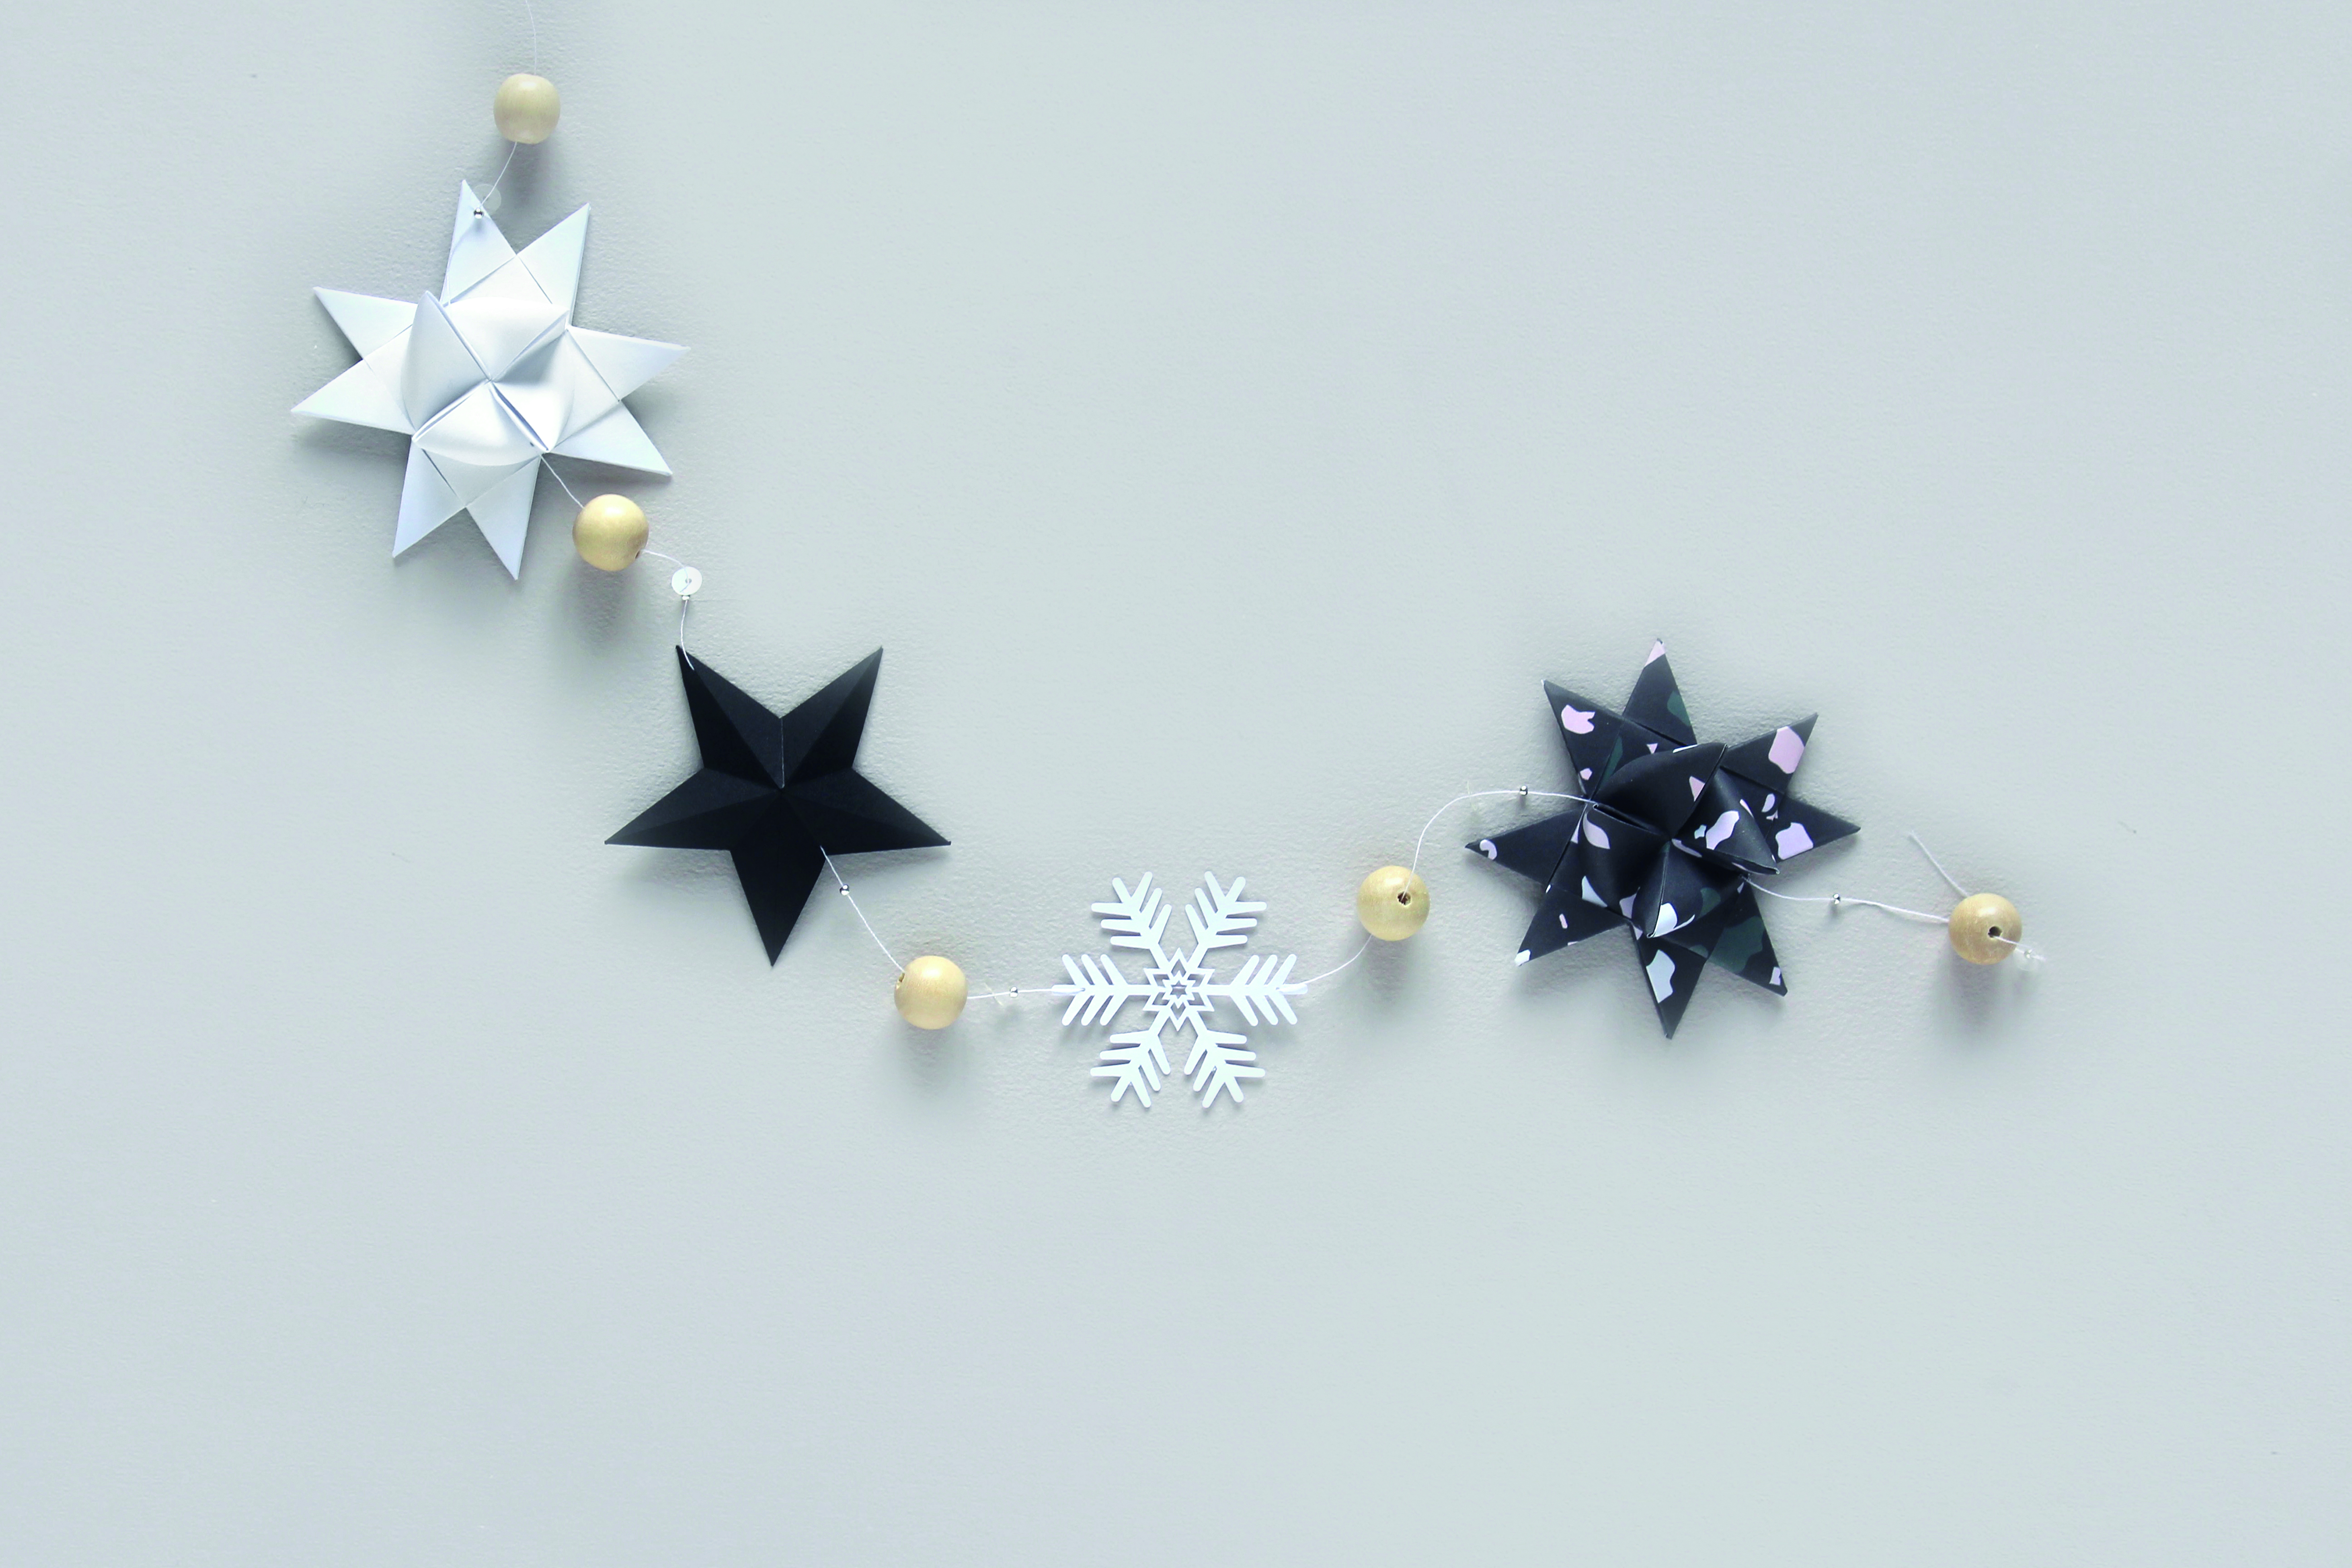
Make a few stars in two sizes, then place the branch flat while you test the spacing. Tie the largest ones at different heights so their tips don’t meet when they turn. Keep the cord color close to the branch color and leave enough room at the ends to carry the shape through.
18. String Stars at Uneven Heights

A simple garland can carry several small folds without hiding their shapes. Plan the span and leave a longer gap where the cord bends around a corner. Try hanging the stars temporarily with clips and moving the biggest ones until the spaces feel even from the front, then finish with matching loops.
More Ideas to Try
Choose a detail that works with what you already have, then try it in one small spot. A different material or a simple change in scale can make it easier to carry the idea into a second project. These related posts offer a few places to start.
- Paper Bag Snowflakes for Christmas
- Recycled Paper Honeycomb Christmas Ornaments
- Giant Christmas Bows for Holiday Decor
- Christmas Table Settings with Natural Details
Which star would you try first, a flat window star or a dimensional ornament? Tell us in the comments where you’d use it.


















0 Comments