

How to Make a Thankful Tree for Thanksgiving Decor
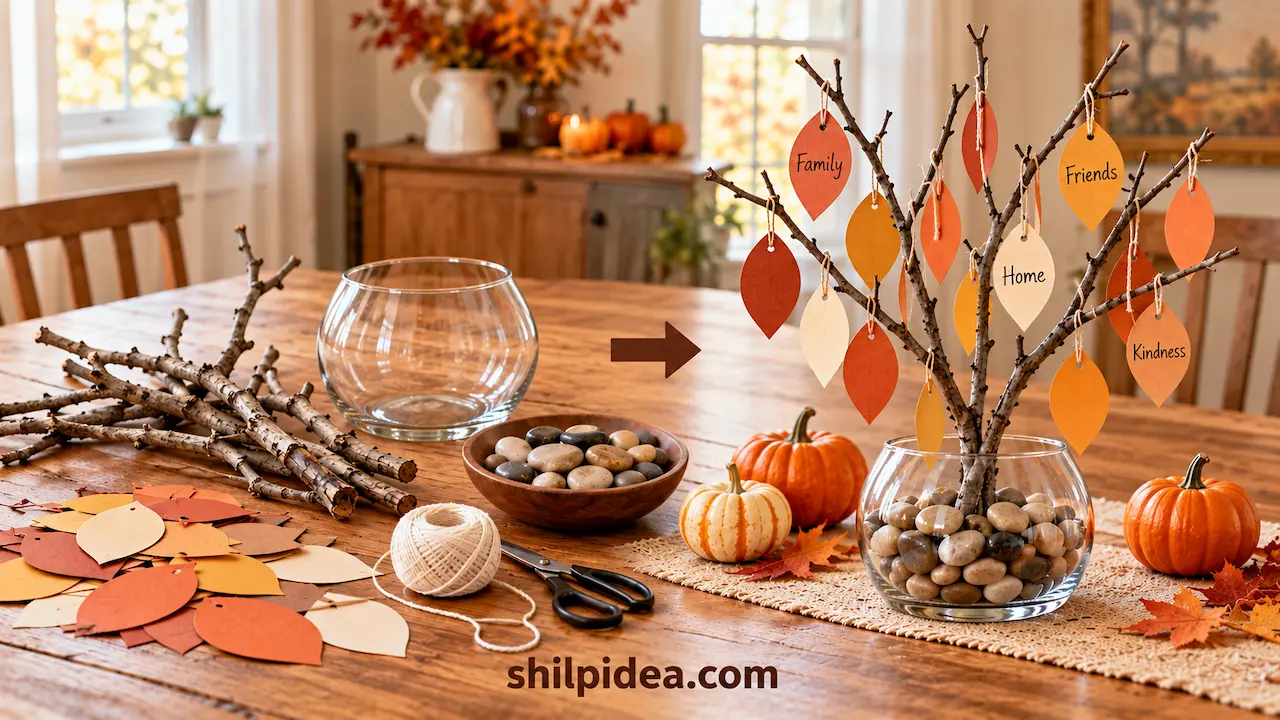
A thankful tree turns simple fall decorations into something your family can add to together.
Bare branches hold paper leaves, and each leaf carries a note about a person, moment, or everyday kindness someone appreciates.
This Thanksgiving project uses cardstock, cord, and a weighted vase, with no painting or glue required. Set it on an entryway table or sideboard, leave extra leaves nearby, and let the display grow as family and guests share their gratitude.
Table of Contents
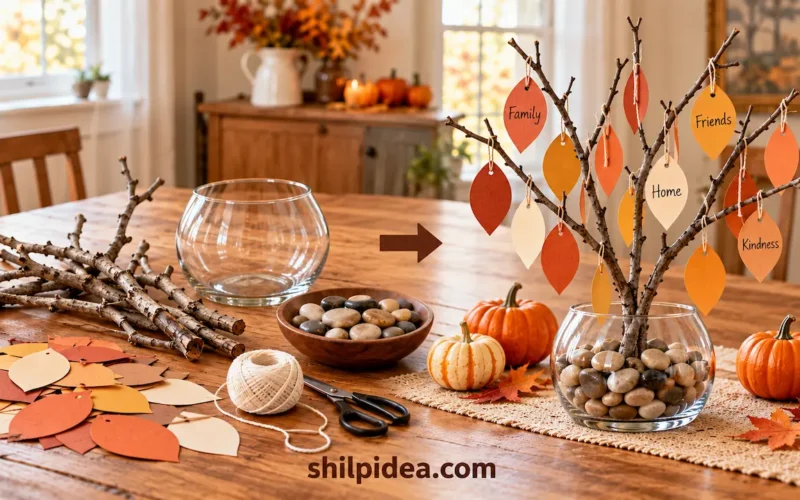
Gather Your Thankful Tree Supplies
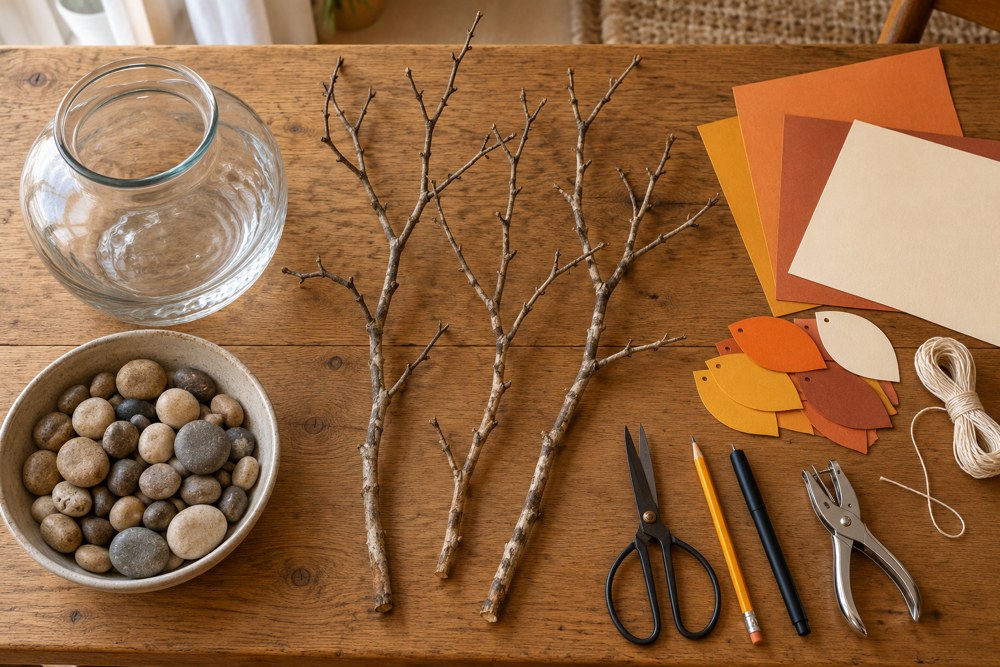
For a small tabletop tree, gather:
- Two or three lightweight, forked branches
- A sturdy vase with a broad base
- Clean, dry pebbles to support the branches
- Orange, mustard, rust, and cream cardstock
- A pencil, scissors, and a single-hole punch
- Thin cotton cord and a fine-tip marker
Cardstock is thicker than ordinary printer paper and holds its shape better when hanging. Choose branches with several small forks for the leaf loops. Adults should handle branch trimming, and young children should work with supervised cutting tools.
Build a Stable Branch Arrangement
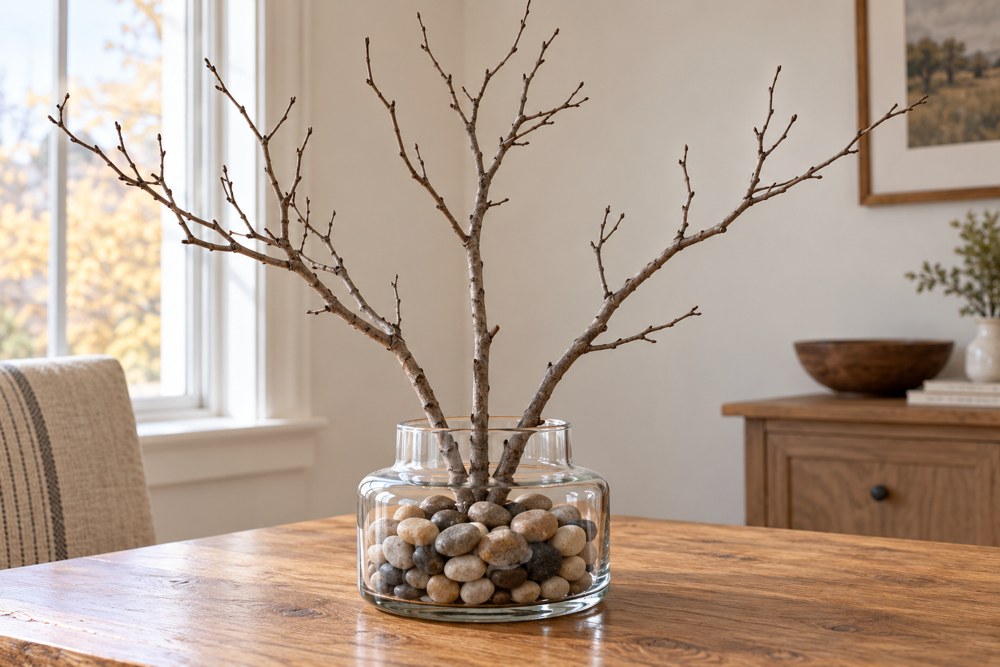
Start with clean, completely dry branches without loose bark, sharp splinters, or signs of insects. For a compact display, branches around 12–18 inches long—approximately 30–46 cm—are a useful starting point.
Place a layer of pebbles in the vase, position the branches, then add more pebbles around their bases. Spread the branches slightly so leaves have room to hang. Gently check that everything stays upright. If the arrangement shifts or tips, shorten the branches or use a heavier, wider container before adding decorations.
Cut Paper Leaves in Warm Fall Colors
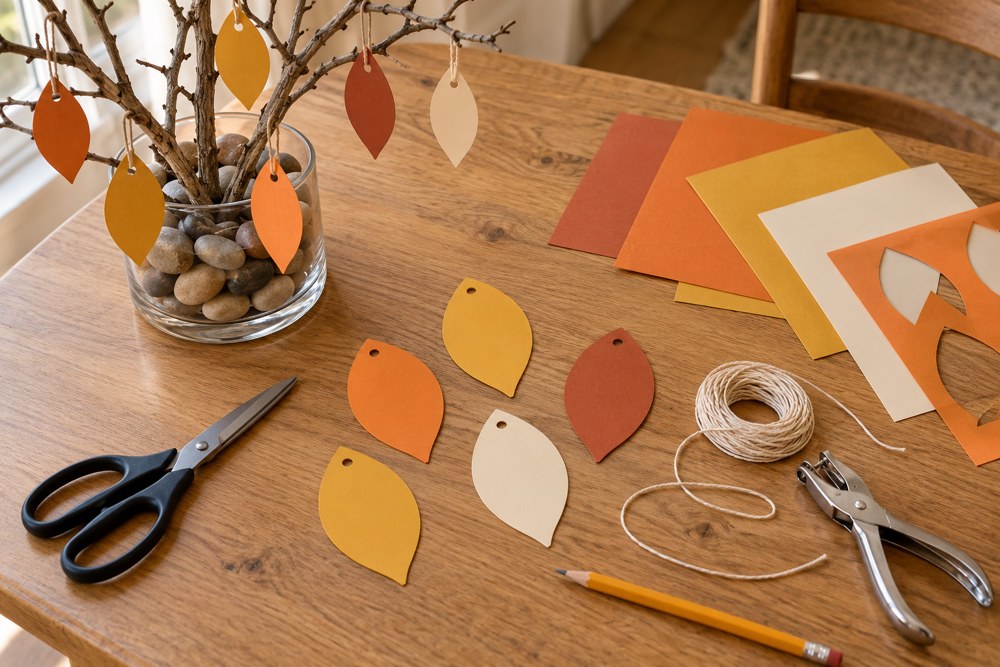
Draw a simple leaf approximately 3 inches long, or 7.5 cm, on scrap paper. Cut it out and use it as a tracing guide for your cardstock. An oval with pointed ends is easy to repeat; add a few rounded lobes if you prefer an oak-leaf shape.
Punch a hole near the top, leaving enough paper around it to resist tearing. Prepare one leaf per person, plus extras. Keep the shapes roomy enough for short messages, and alternate colors rather than making every leaf identical.
Write Gratitude Notes and Add Hanging Loops
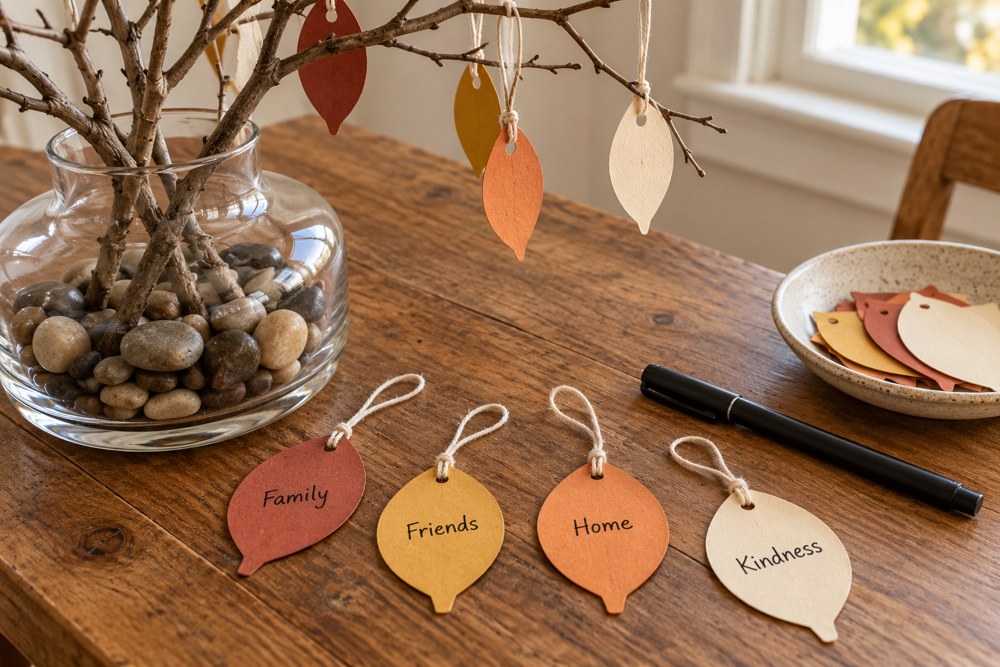
Invite everyone to finish the sentence, “I’m thankful for…” Their answers can be simple: a helpful friend, a favorite family tradition, a comfortable home, or someone who made a difficult day easier.
Write one thought on each leaf, leaving the punched hole clear. Younger children can draw a picture or dictate their message to an adult. Thread cord through the hole and tie the ends together into a short loop. Make the loop large enough to slip over a branch fork, but short enough to keep neighboring leaves from tangling.
Hang the Leaves and Create a Gratitude Corner
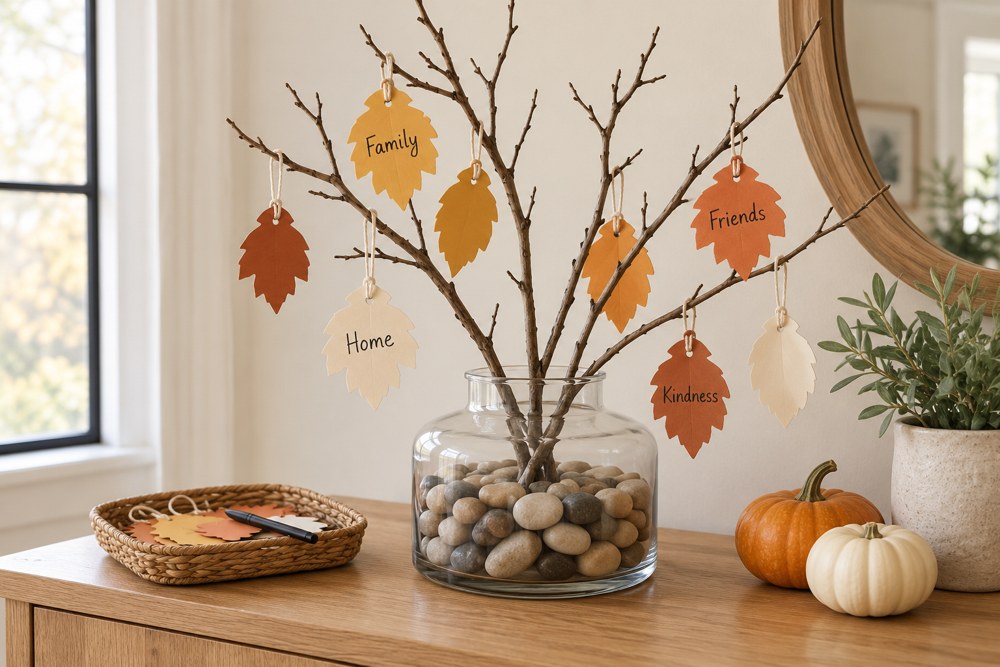
Slip the loops over small branch forks, spreading the leaves across both sides of the tree. Leave spaces between them so messages remain visible. If a tag slides, move it to a fork closer to the trunk.
Place the tree on a steady sideboard or entryway table, away from candles, table edges, and curious pets. Set a basket of blank leaves and a marker beside it for new contributions. For another family craft to make alongside this display, explore these paper tree craft ideas for kids.
Make it an ongoing Thanksgiving tradition: Add a leaf each evening, invite guests to contribute before dinner, or read a few messages together after the meal. Sharing can stay optional; a quiet written note is just as welcome.
After Thanksgiving, remove the leaves and store them flat in an envelope labeled with the year. Take the branches out before moving the weighted vase. Save the messages to revisit next fall, then make fresh leaves for another season of gratitude.
More Handmade Decorations to Try
If you enjoyed making a thankful tree, these projects offer more ways to work with paper, reuse decorative containers, and bring handmade details into your home. Start with the supplies you already have, then choose a project that suits your space. The paper crafts are useful companions for a family activity, while the container and centerpiece ideas can inspire your next display.
- Paper Tree Craft Ideas for Kids
- Paper Wall Hanging Ideas for Home Decor
- Mason Jar Decoration Ideas for Your Home
- Tin Can Vase Ideas for Upcycled Decor
- Christmas Centerpiece Ideas for Your Table




0 Comments