How to Make a Cardboard Christmas Village
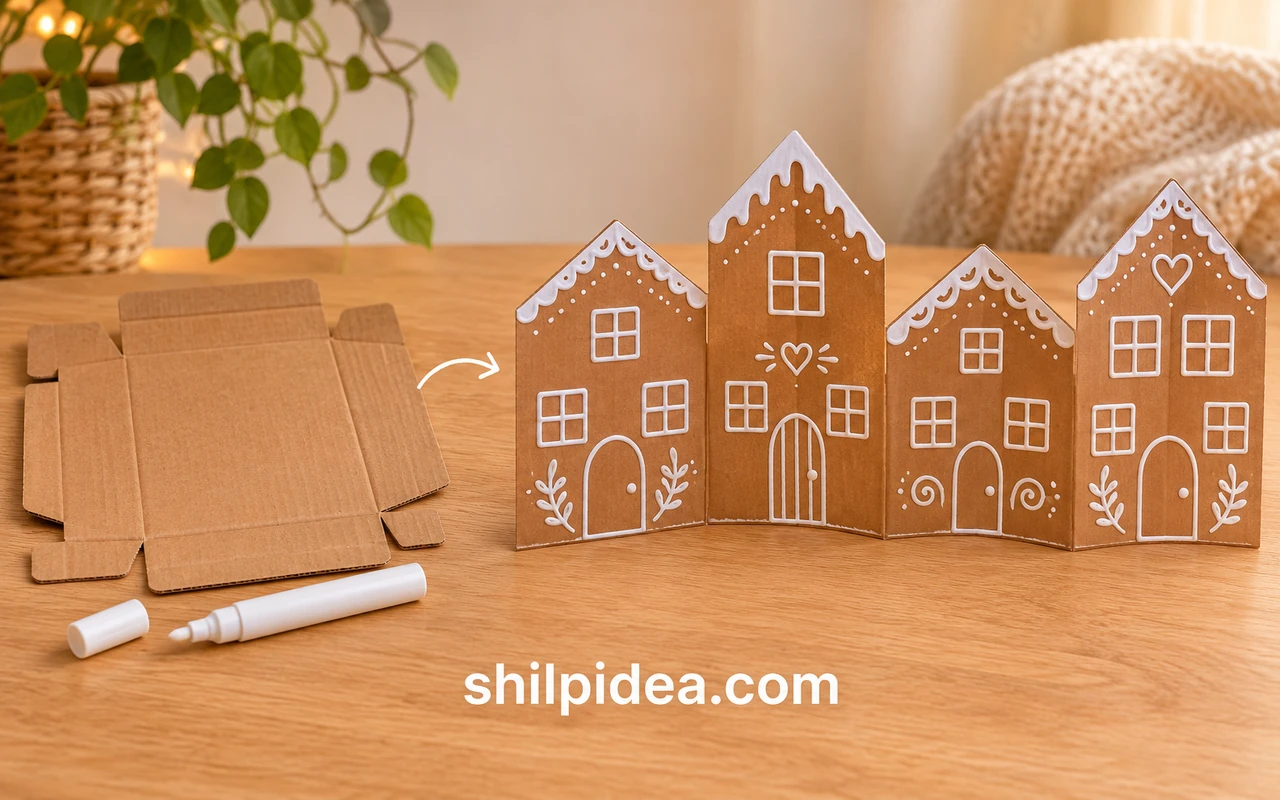
Turn a flat cardboard box into a Christmas village with white gingerbread details and a fold-out skyline. This version makes a connected row of four house fronts that can stand on a shelf and fold down after the holidays.
Keep the natural brown cardboard and draw the windows instead of cutting them out. For another small decoration using the same material, try our yarn Christmas tree.
The guide covers measuring, cutting, decorating and balancing the row, plus optional LED lights. Our paper Christmas village offers a different way to build a miniature holiday scene.
Materials and Tools
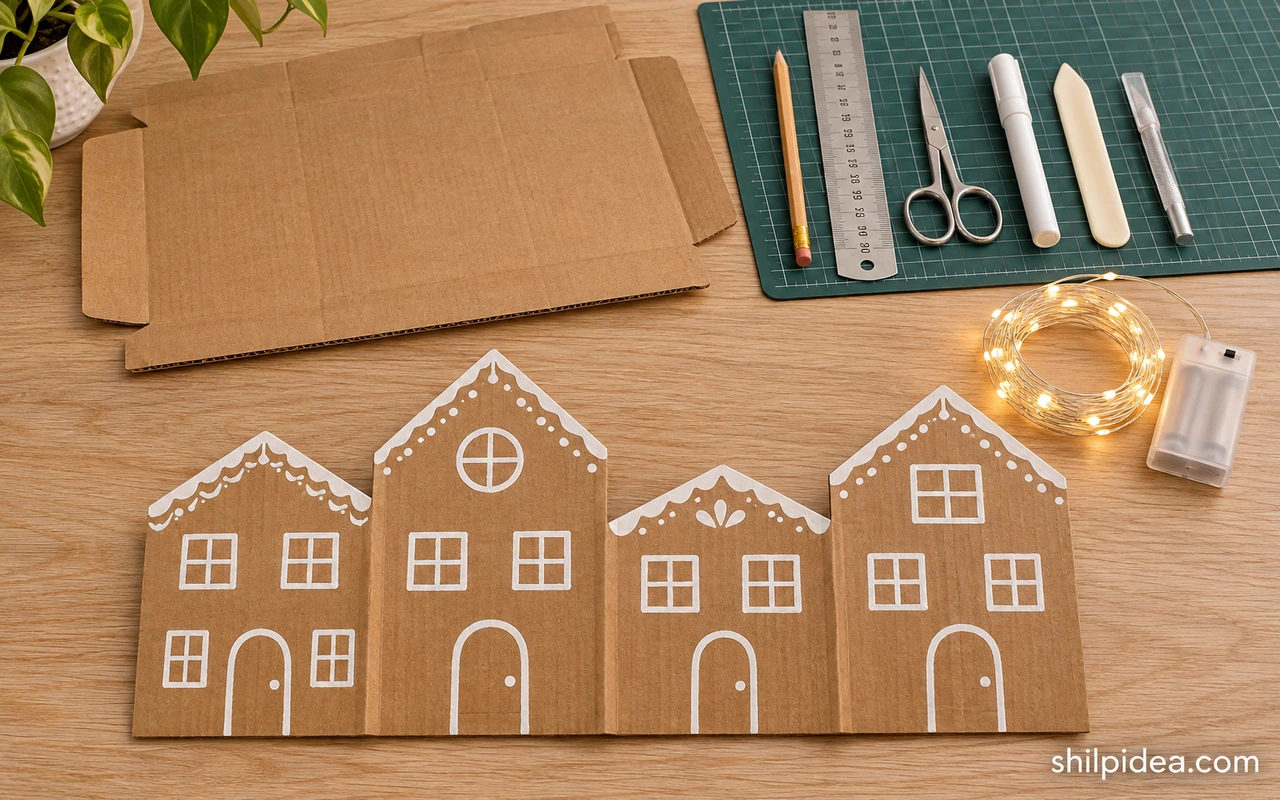
Set out the supplies and test whether your cardboard folds cleanly before drawing the houses.
- Cardboard – One clean, dry piece about 24 × 10 inches (61 × 25 cm); thin corrugated packaging works better for folding than very thick board.
- Pencil and ruler – For four house panels, the roof skyline and straight fold lines; use a metal ruler if working with a craft knife.
- Scissors and cutting mat – Scissors suitable for the chosen cardboard; an optional craft knife is for adult use on a protective mat.
- Blunt bone folder – For making gentle creases without cutting the cardboard; a smooth rounded scoring tool can substitute.
- White paint marker – A fine or medium tip for icing-style doors, windows and roof details; white acrylic paint and a small brush are alternatives.
- Optional snow details – A small amount of puffy paint, a flat piece of white felt and one or two miniature trees.
- Optional LED lights – A battery-operated indoor LED string with a secure, closed battery compartment; no candles or incandescent lights.
- Optional paper tape – A short piece for reinforcing a weak crease on the back.
Precautions Before You Begin
Choose tools and a display location that suit this lightweight cardboard project.
- An adult should remove staples and handle craft-knife cuts; use a cutting mat and keep fingers outside the cutting path.
- Use clean, dry packaging; discard moldy, greasy or badly crushed cardboard.
- Keep cardboard, felt and paper away from candles, fireplaces, heaters and hot bulbs.
- Follow paint and light manufacturers’ instructions; keep small decorations and batteries away from young children and pets.
- Use a dry indoor surface where the display will not obstruct a window, vent or walkway.
1. Plan a Connected Row of Houses
- Measure the display spot – Measure the usable shelf or windowsill, including its depth. Plan a short freestanding row that fits fully on the surface; folding the cardboard later will reduce its overall width.
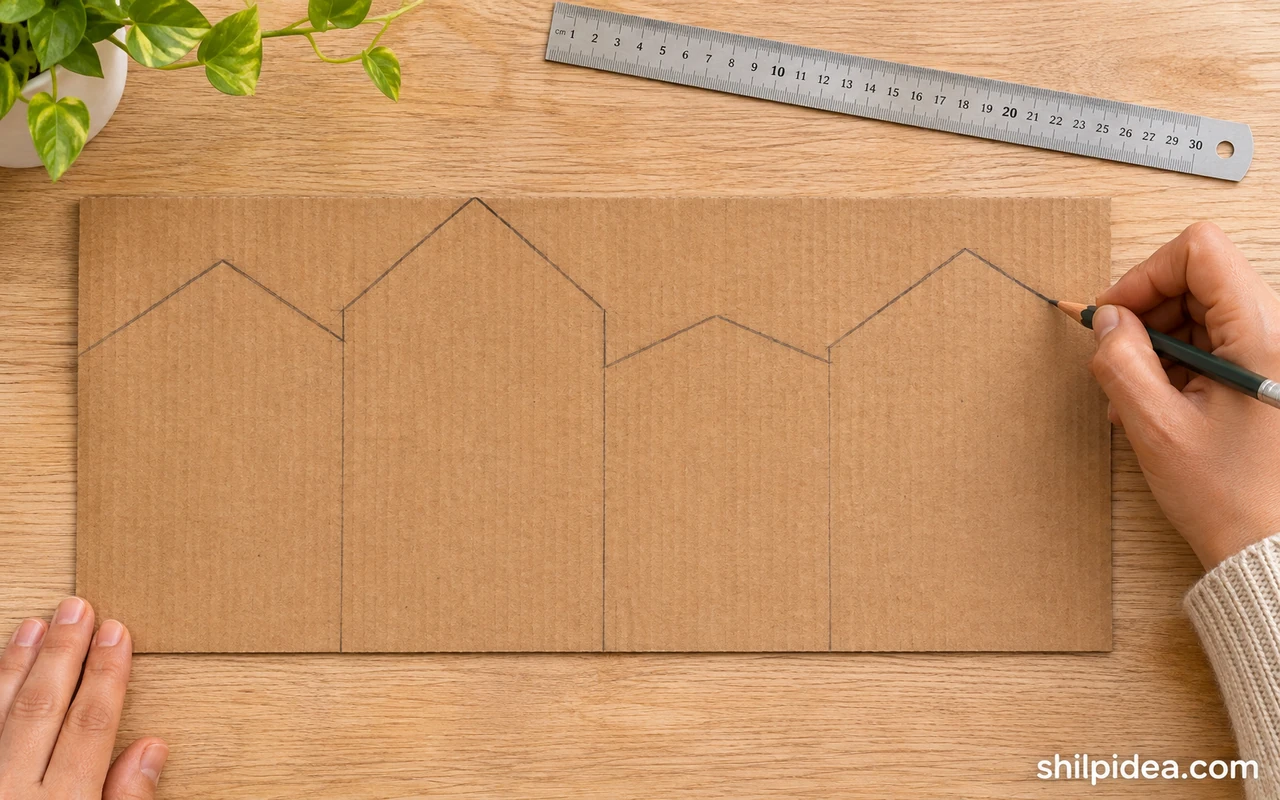
- Prepare the cardboard strip – Remove tape, labels and staples from clean, dry cardboard. Cut a strip about 24 × 10 inches (61 × 25 cm), choosing thin cardboard that bends without the surface splitting.
- Sketch four facades – Divide the strip into four equal panels about 6 inches (15 cm) wide. Draw one roof per panel with varied peaks, keeping neighboring houses joined along their sides for at least 5 inches (13 cm) above the straight bottom.
2. Cut the Skyline and Prepare the Folds
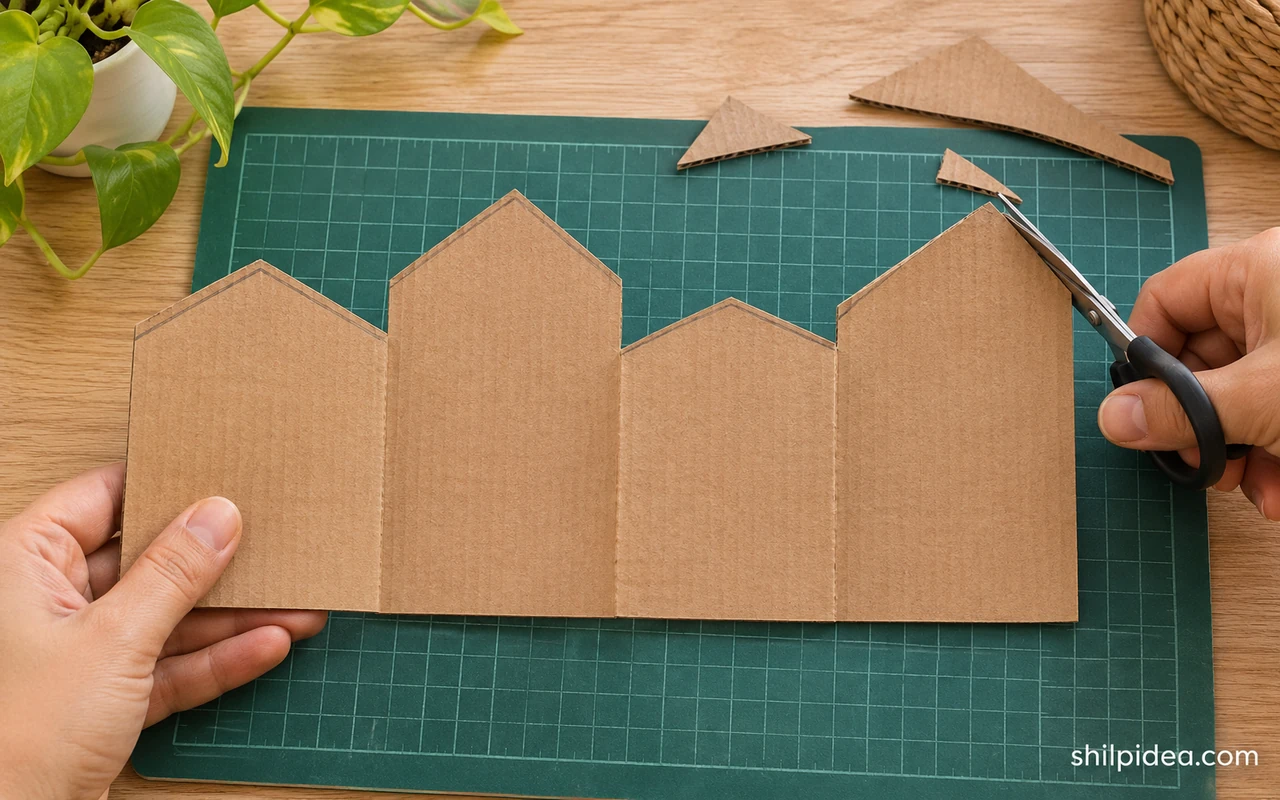
- Cut only the roof outline – Follow the upper skyline with scissors, turning the cardboard as needed. An adult can use a craft knife on a cutting mat for awkward corners. Keep the bottom edge and the joins between houses intact.
- Make gentle fold lines – On the back, use a ruler and blunt bone folder to indent the three panel boundaries from the bottom to the roof valleys. Press lightly in several passes; do not cut through either surface.
- Check the first folds – Bend the boundaries gently in alternating directions to form an accordion. Set the row upright briefly, then unfold it for decorating. If a crease tears, reinforce its back with paper tape or choose thinner cardboard.
3. Draw Gingerbread Details and Snow
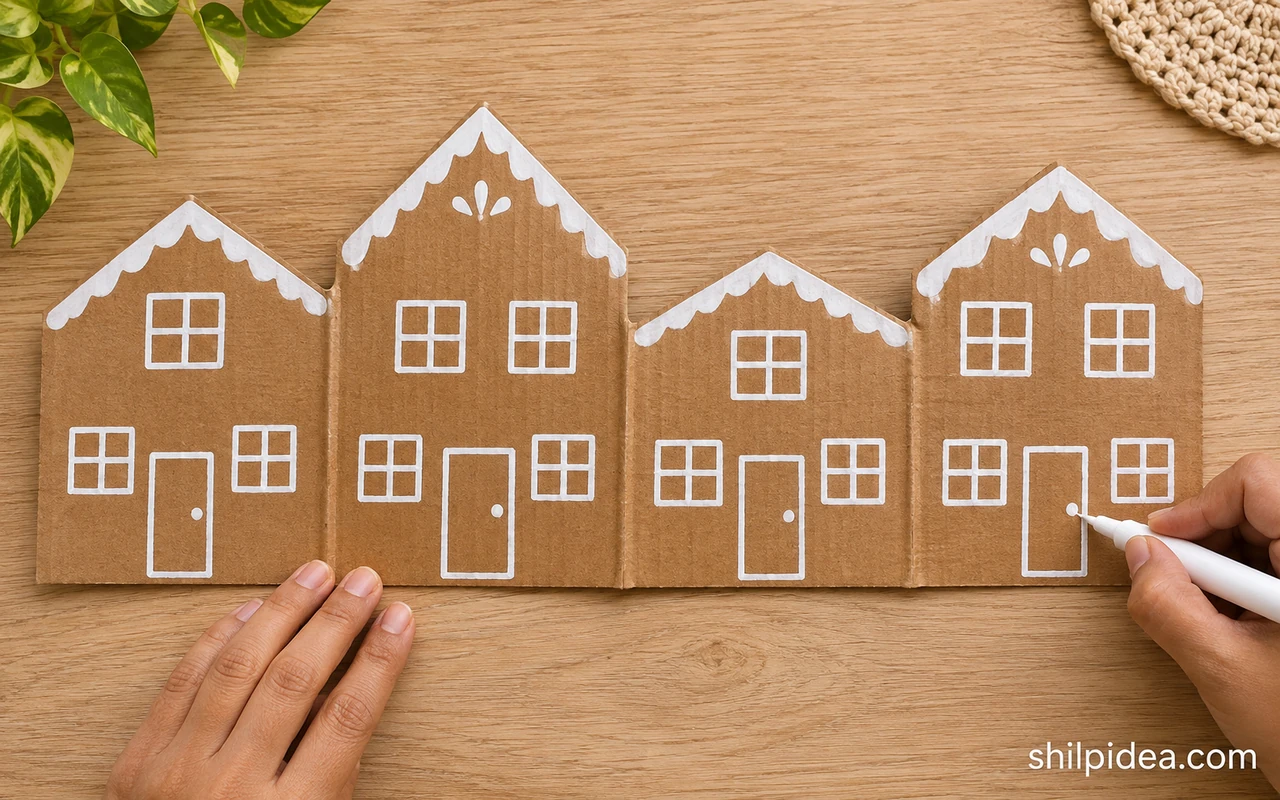
- Test the white marker – Prime the paint marker on scrap cardboard according to its label, then test a short line. Let the test dry and rub it lightly to check whether it smears before decorating the village.
- Add doors and windows – Draw white door frames, window outlines, roof tiles and a few dots or stars on the flat facades. Leave the window centers brown and keep intricate details away from the three creases so folding stays easy.
- Finish the snowy edges – Trace selected roof edges with a thicker white line. Raised puffy paint is optional; use a small amount and follow its full drying time. Keep paint off the folds and let everything dry flat before handling.
4. Fold the Village into a Stable Display
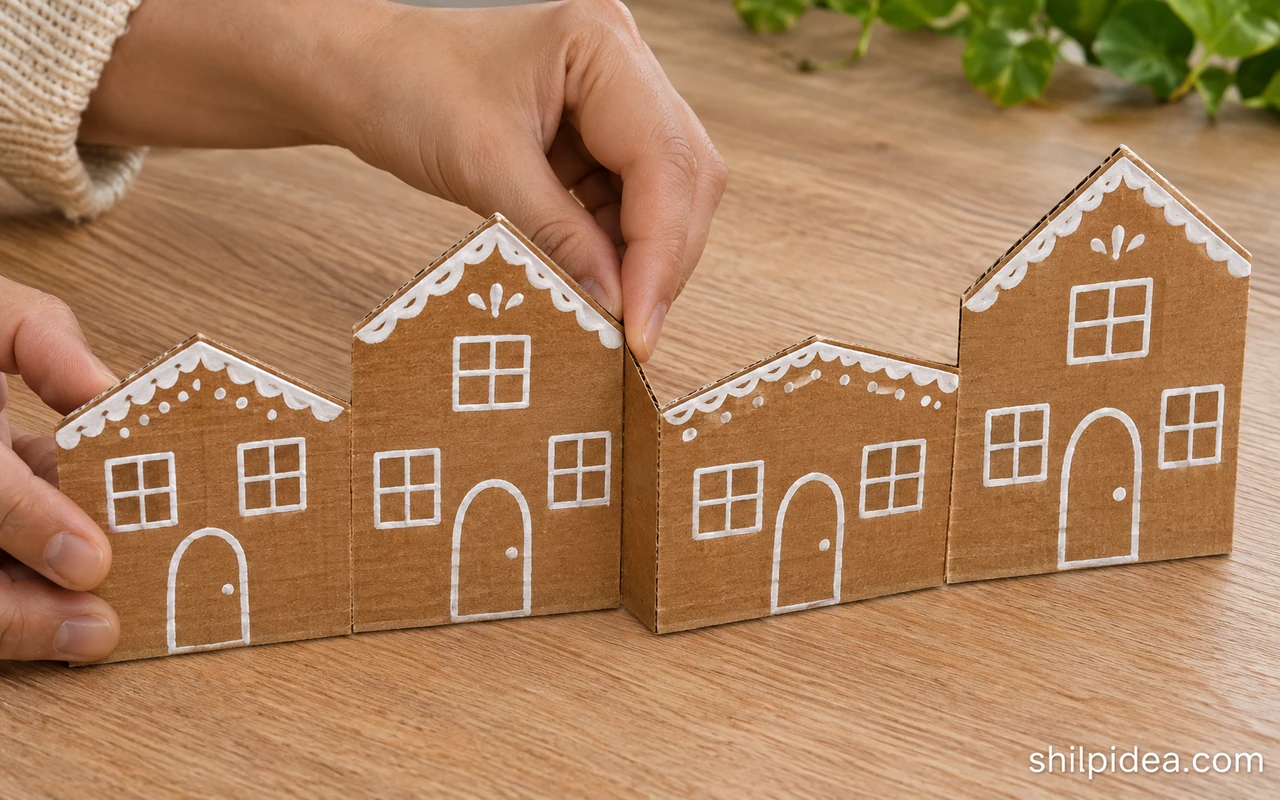
- Open the accordion shape – Refold the three boundaries along the existing creases, alternating inward and outward. Spread the houses into a shallow zigzag so every panel’s lower edge rests on the shelf; these are flat facades, not closed boxes.
- Check the balance – Place the village on its intended level surface and gently nudge it. Widen the zigzag if it tips, or trim a visibly uneven bottom edge. Keep the entire row set back from the shelf edge.
5. Add Optional Lights and Final Details
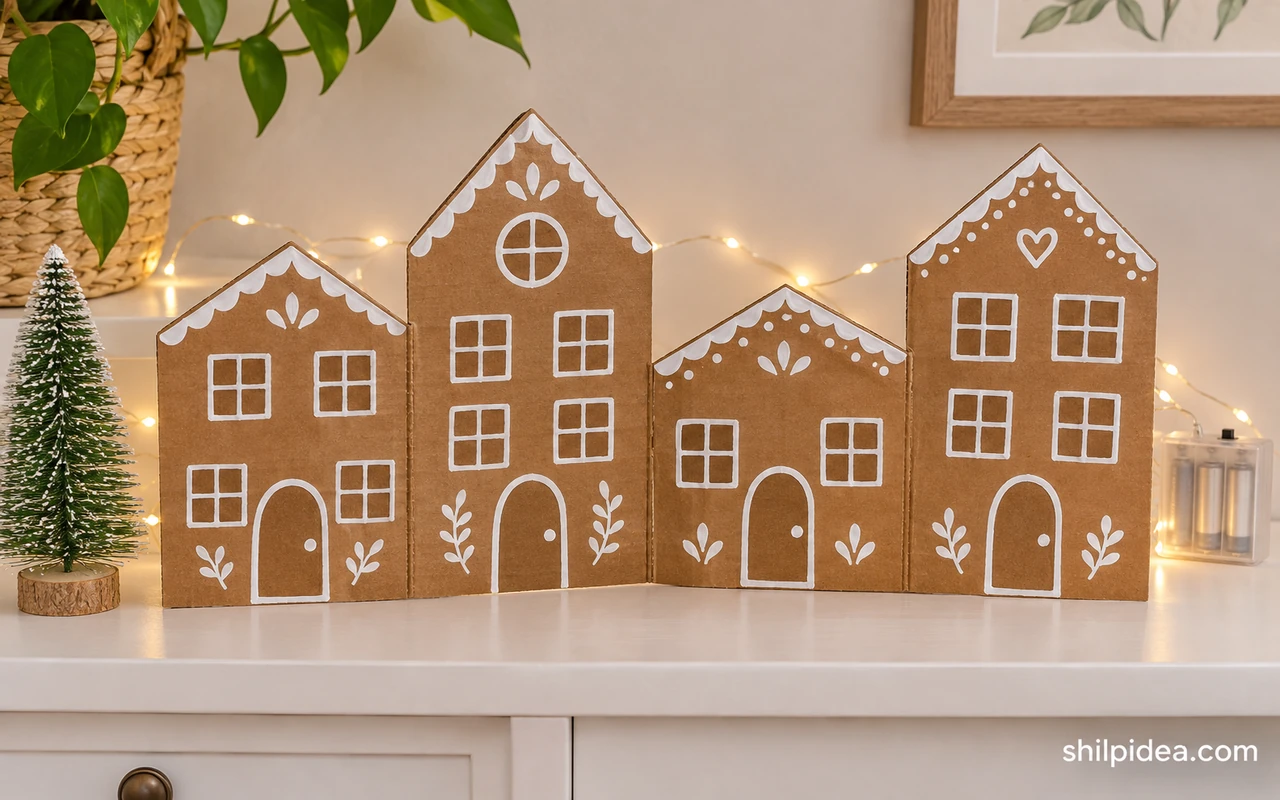
- Keep the foreground simple – Place a small bottlebrush tree or paper tree beside the row, leaving the cardboard’s base unobstructed. A flat piece of white felt can suggest snow, but check stability again if the surface underneath becomes soft.
- Position the LED string – If using lights, choose a battery-operated LED string intended for indoor decorative use. Rest it behind the houses and leave the closed battery pack accessible. Follow its instructions; keep wires clear of folds, fabric and moving windows.
- Make the final check – Turn the lights on briefly and check the row from the front and both ends. The solid windows will not glow through; light appears around the skyline. Switch off before leaving the display unattended and before storing it.
Troubleshooting and Easy Variations
If the row leans forward, deepen the zigzag and check that every lower edge touches the surface. A very narrow shelf may not provide enough support: shorten the row or move it to a deeper console rather than flattening all the folds.
For a simpler afternoon project, skip puffy paint and draw just a door, two windows and a roofline on each house. If you prefer more color, add a few muted red or green details after the white lines dry. Try a small wire star beside the village rather than attaching heavy ornaments to the cardboard.
This method keeps the windows solid. Cutout windows, translucent paper and separate support feet are different construction choices; the reference displays below show those variations and link to their creators’ instructions.
Ways to Display a Cardboard Christmas Village
These real projects show two display settings and more detailed construction options. Their cutout windows and supports differ from the drawn-window accordion village above; follow the linked creators’ tutorials if you choose those variations.
A Gingerbread Village on a Mantel
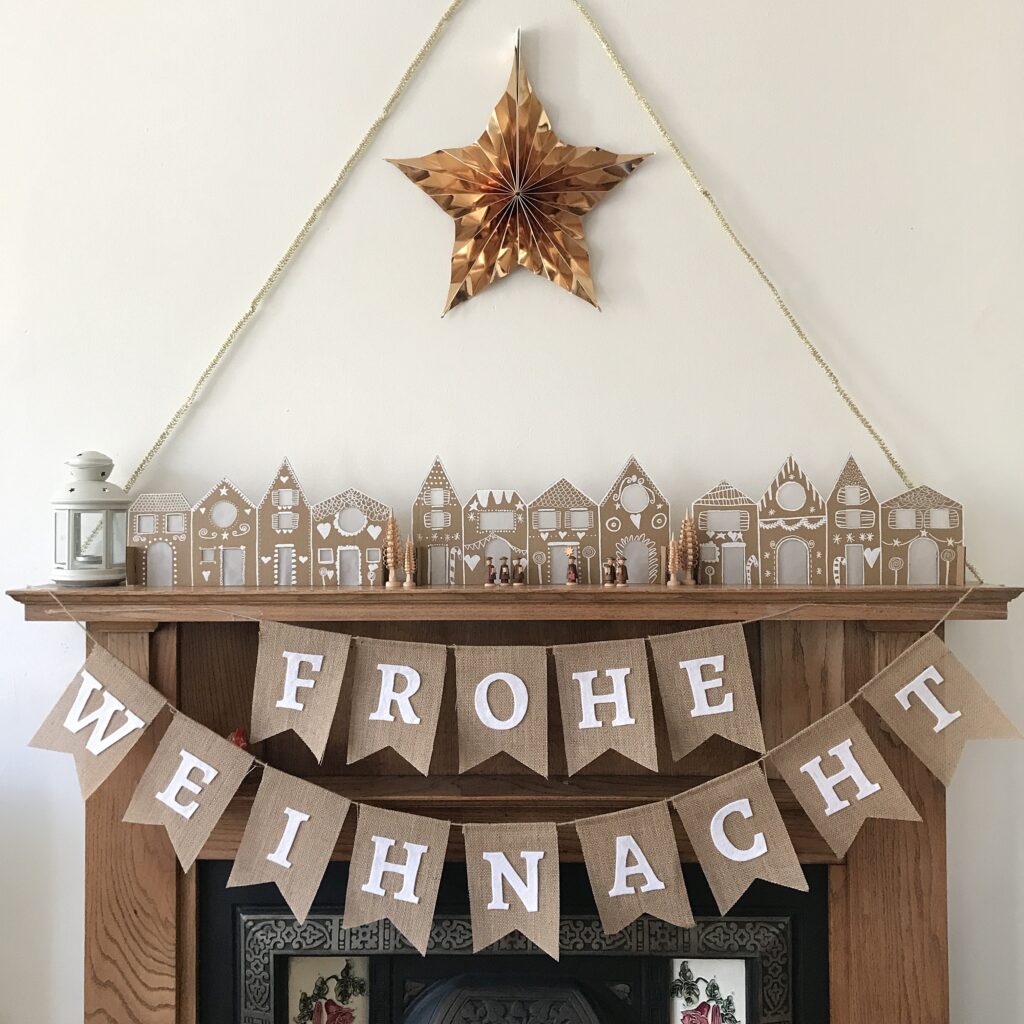
A longer row can anchor a holiday mantel, with a paper star above and small decorations at the ends. The Bear & The Fox uses separate support feet and paper-backed window openings, rather than accordion folds. Treat this as placement inspiration and keep cardboard away from any operating fireplace.
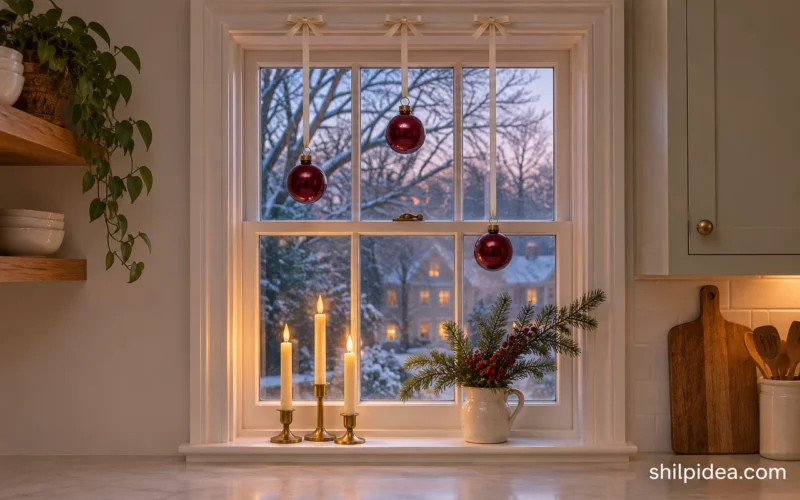
A Village Along a Window

A window makes a simple backdrop for a brown-and-white village. This creator’s version uses paper-backed cutout windows and mounts to the glass, so its construction differs from our freestanding strip. For the method above, use a deep, dry sill and leave room for the zigzag without interfering with opening the window.
Store the Village Flat for Next Christmas
Switch off the lights and remove their batteries according to the manufacturer’s instructions. Lift away the trees and felt, then fold the fully dry village gently along its existing creases. Put plain paper between painted faces if they might rub together.
Keep the folded row in a dry box, laid flat under nothing heavy. Before using it again, check the folds, paint and light wiring. Replace damaged parts and test the balance before adding decorations.
More Handmade Christmas Projects to Try
Build a small seasonal display around your village with a few complementary projects. A miniature tree works beside the houses, while lightweight stars and angels can decorate a nearby branch. Choose one or two additions that fit your space and supplies, leaving enough room for the village to stand securely and fold away later.
- Mini Christmas Trees with Yarn and Cardboard
- Paper Christmas Villages for Mantel Displays
- Make Wire Stars for Christmas
- Hand-Stitched Felt Star Ornaments
- Pipe Cleaner Christmas Ornament Ideas
- Christmas Angels from Unused Face Masks
Will your village live on a shelf, a windowsill or a holiday table? Share your display plan in the comments. If you have made cardboard houses before, tell us what helped them stand securely or store well.






























0 Comments