

DIY Thanksgiving Centerpiece with Mason Jars and Fall Leaves
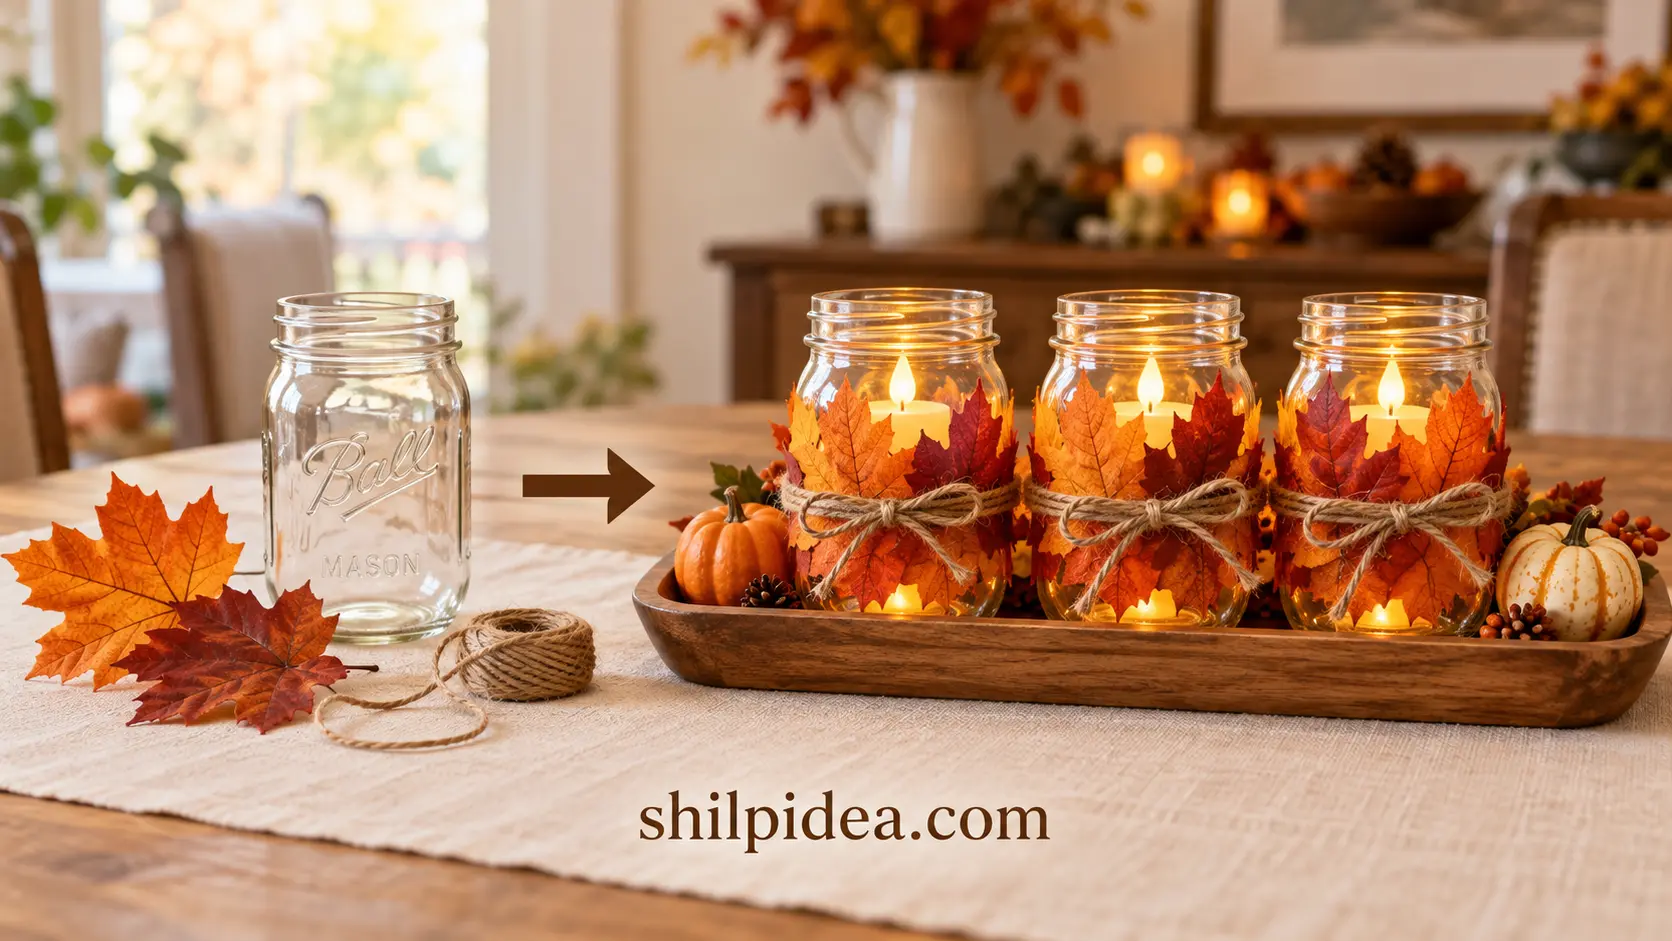
A welcoming Thanksgiving table doesn’t need an elaborate floral arrangement.
Clear glass jars, colorful fall leaves, and soft LED candlelight can bring warmth to the table while leaving room for dinner and conversation. This DIY Thanksgiving centerpiece uses removable twine decorations, so you can reuse the jars after the holiday.
Follow the steps below to create a low arrangement with orange, rust, and golden-yellow leaves, then adjust the finishing touches to suit your table.
Table of Contents
Gather Your Jars, Fall Leaves, and Supplies
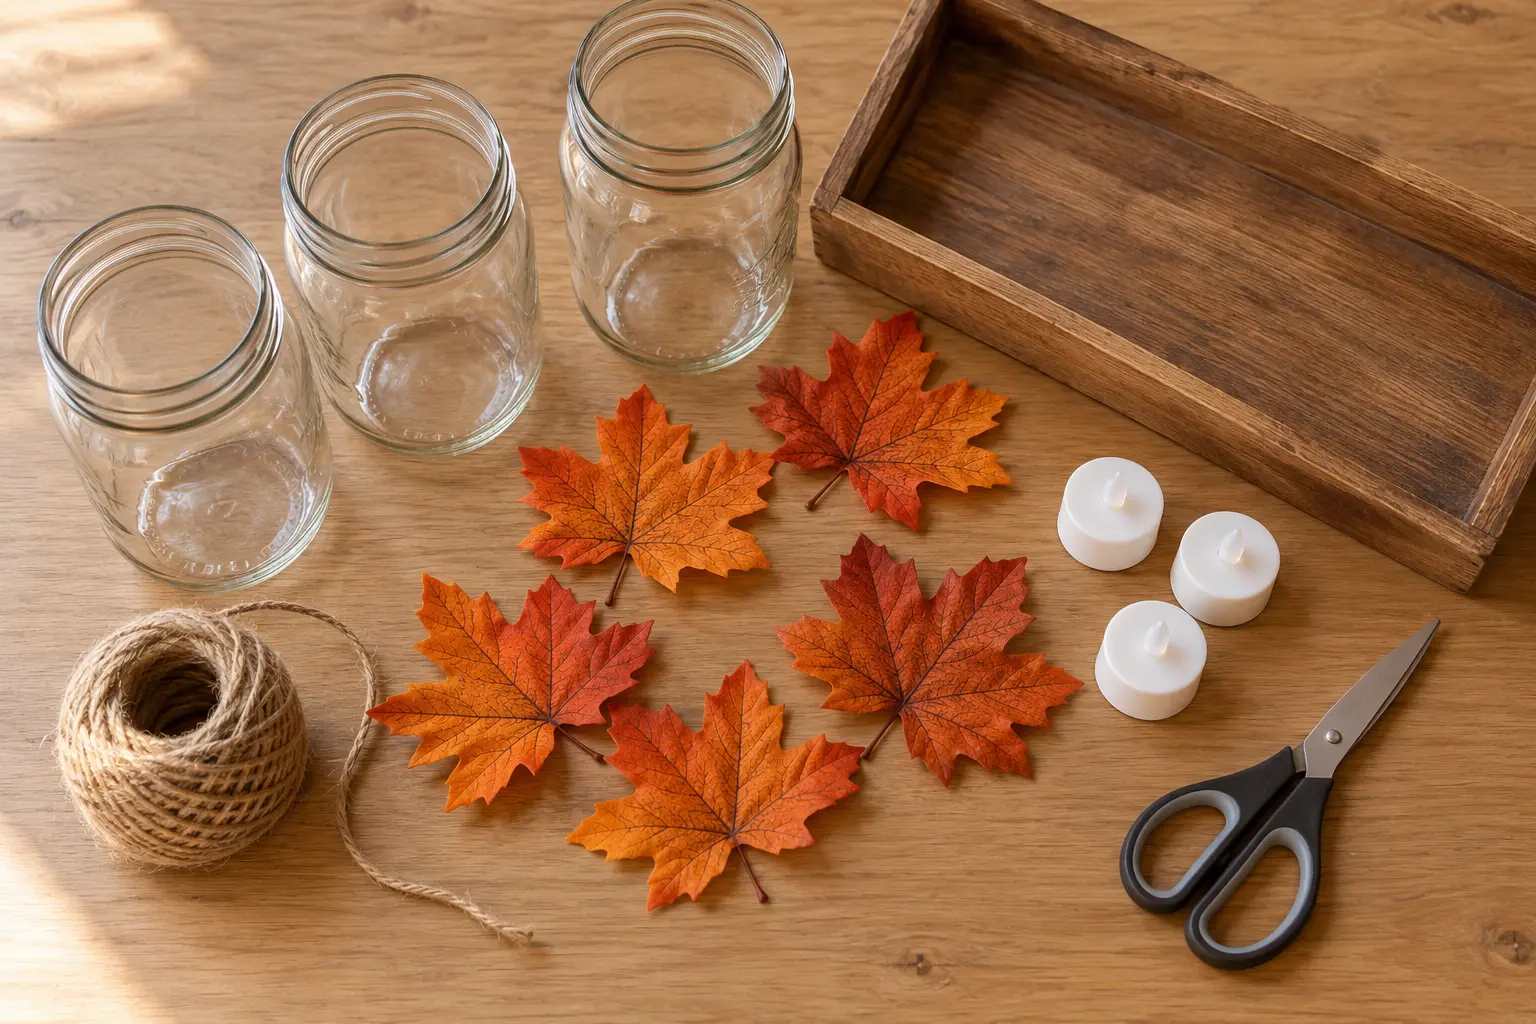
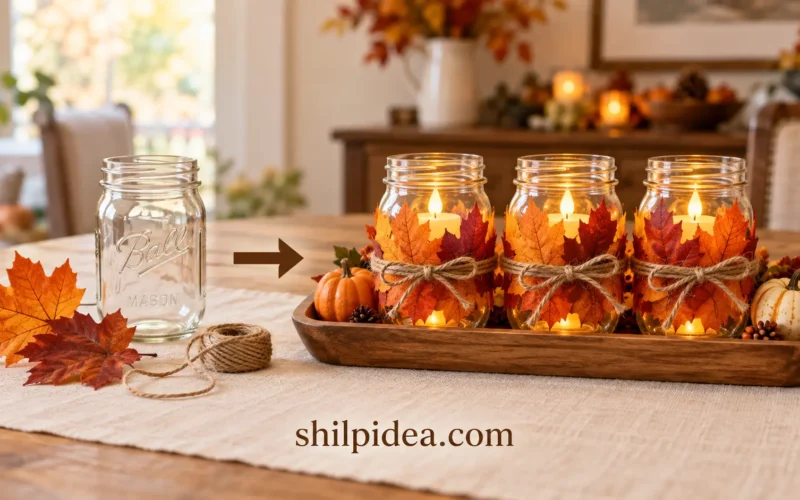
For this three-jar arrangement, gather:
- Three clear pint-size mason jars
- Six flexible faux fall leaves, plus extras for the tray
- Natural jute twine and scissors
- Three battery-operated LED tea lights
- A shallow wooden tray or another sturdy display base
- Optional small pumpkins and a neutral table runner
Choose leaves small enough to leave some glass visible. Flexible fabric leaves are easier to position against curved jars than stiff decorative picks. You can also use clean, empty food jars with openings wide enough to insert and remove the lights.
Prepare the Glass and Plan Your Colors
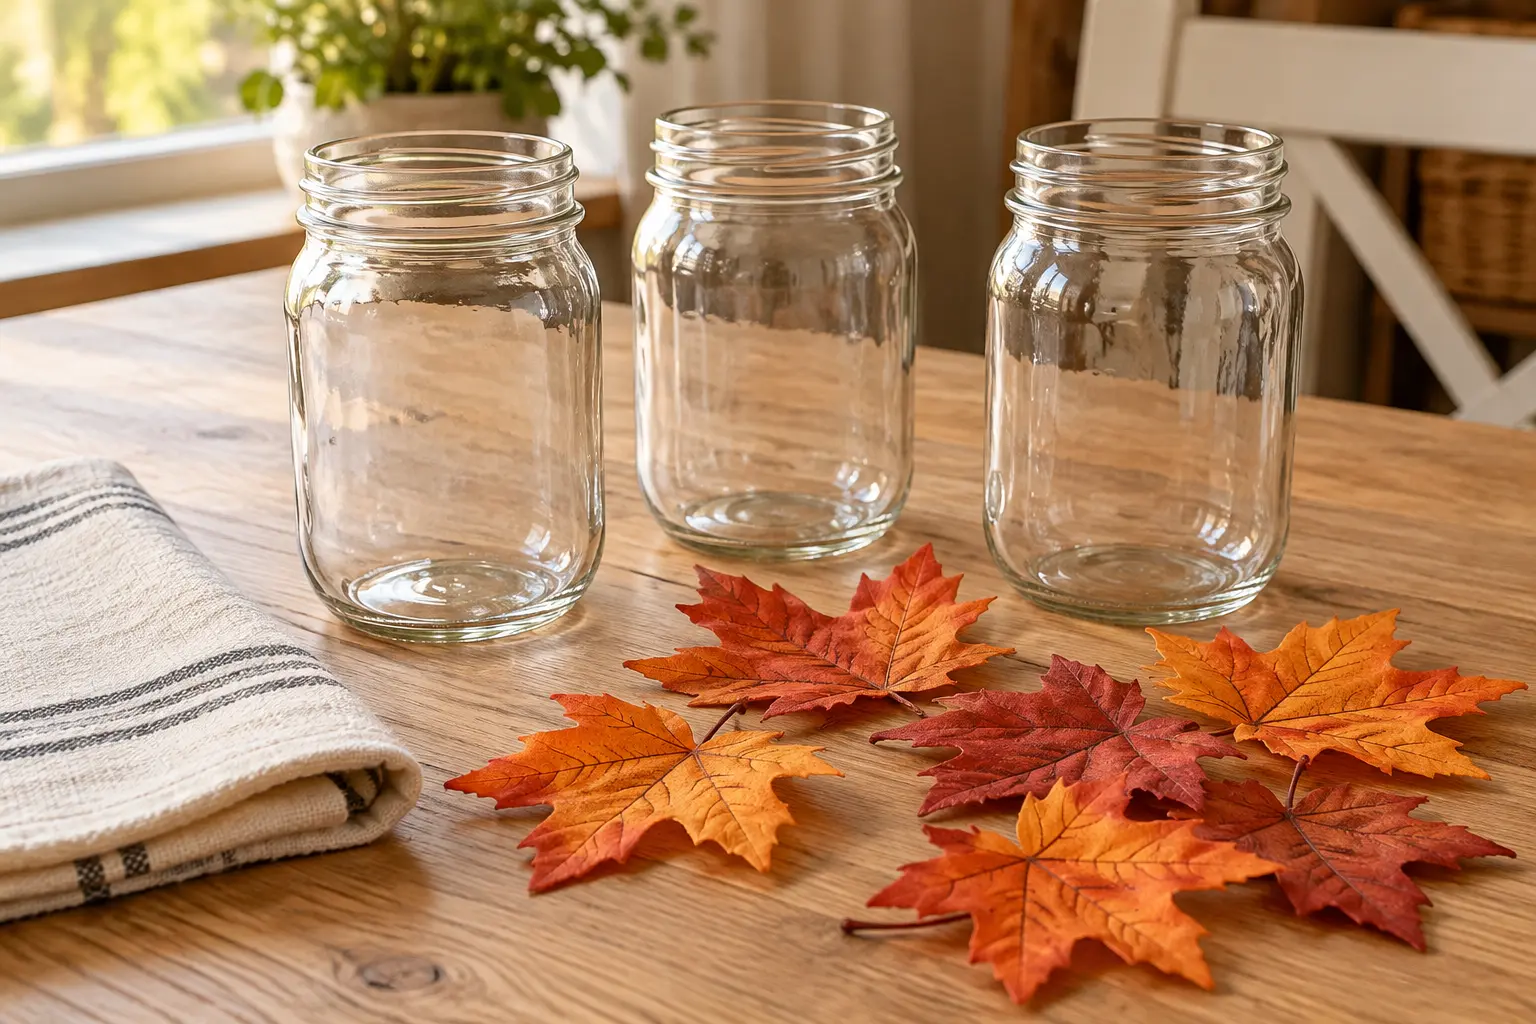
Remove labels, wash the jars, and let them dry completely. Check the rims for chips or cracks before decorating, and set the lids aside.
Lay out two leaves beside each jar. Try pairing orange with deep rust, then repeat those colors across the arrangement. Keeping the palette consistent helps different jars look coordinated. Before attaching anything, hold the leaves against the glass to check their size and position.
Secure the Fall Leaves with Jute Twine
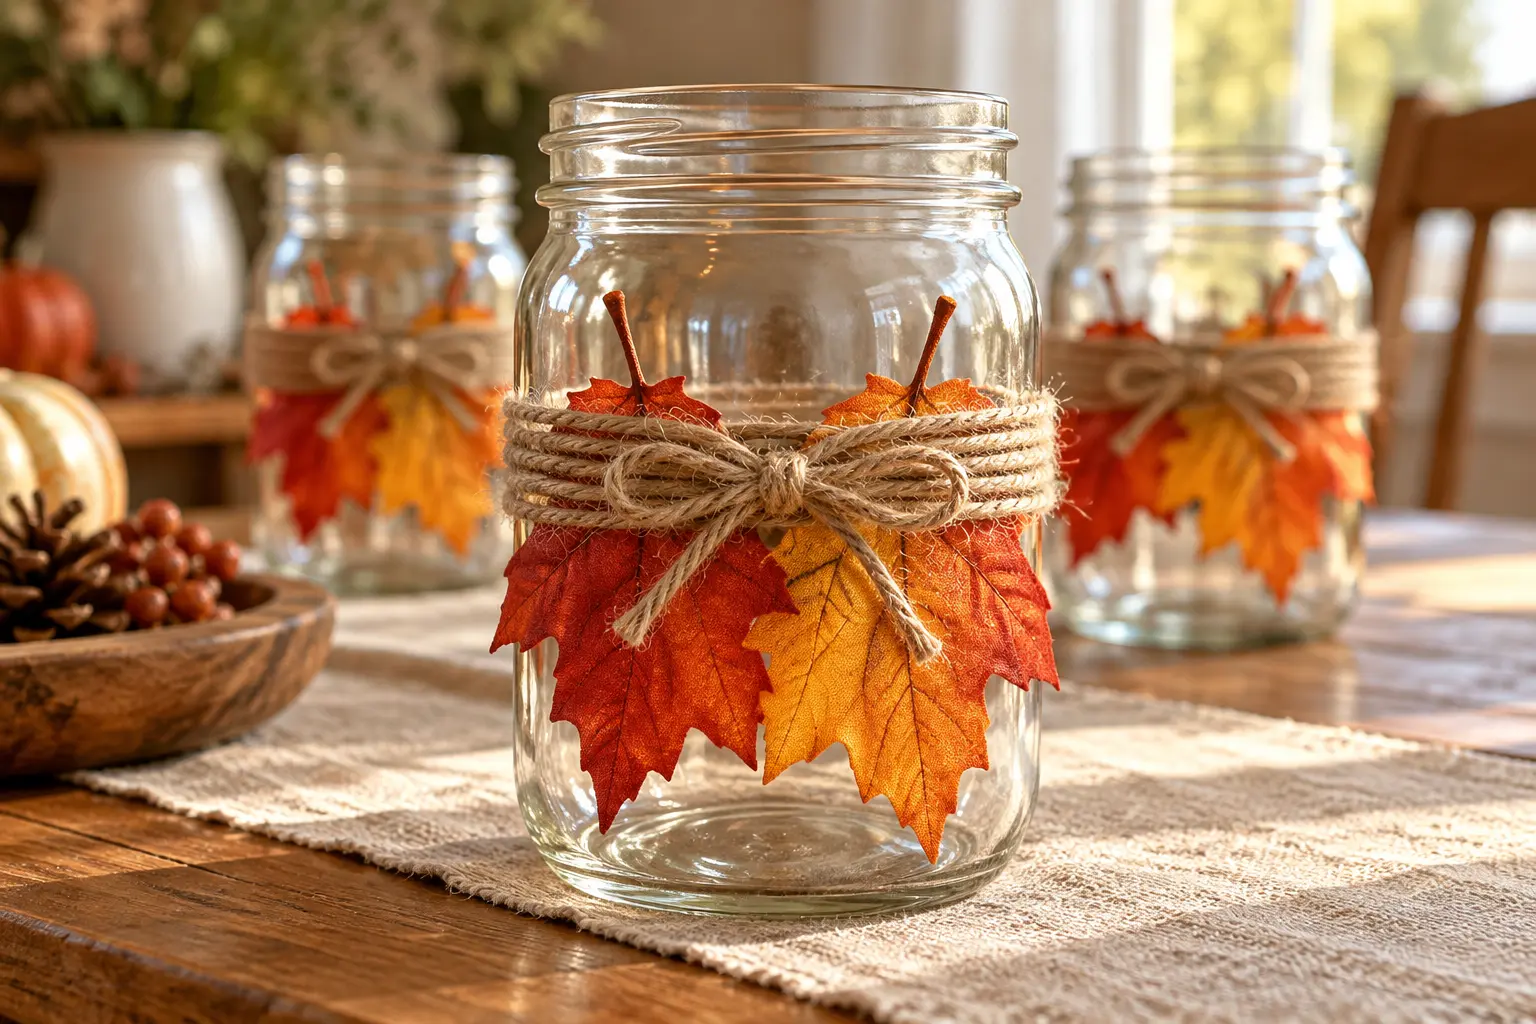
Hold two slightly overlapping leaves against the outside of a jar. Wrap twine around the middle several times, crossing the lower part of the leaves or their stems so the loops hold them in place. Tie a small bow at the front, then trim the loose ends.
Measure the twine around your actual jar rather than cutting identical lengths in advance. Leave enough extra for the bow. If a leaf slips, reposition it beneath another loop and tighten gently. Keep the upper glass mostly clear so the finished decoration still feels light.
Add Warm LED Candlelight
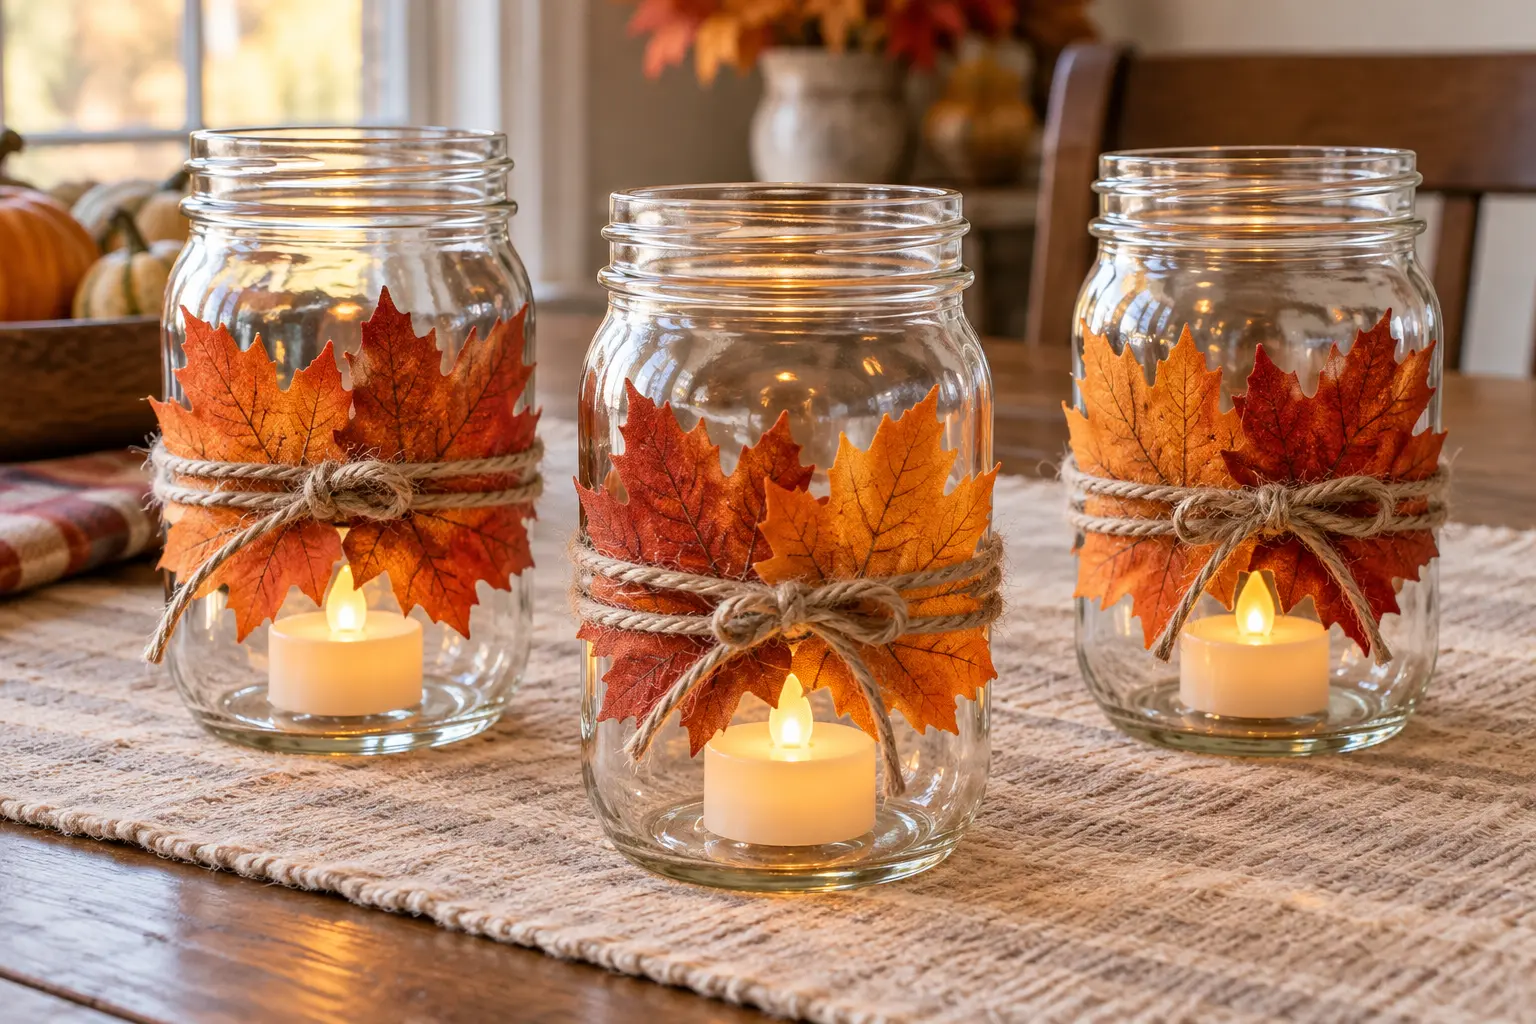
Switch on each LED tea light and place it flat on the bottom of a jar. Leave the inside empty so the light remains easy to reach and the glass shows its warm glow.
Use battery-operated lights throughout this project, with no real flames near the leaves or twine. Before arranging the jars, check that all three lights work and that their battery compartments are securely closed. Choose a similar light color for a coordinated display.
Arrange Your Thanksgiving Centerpiece on a Tray
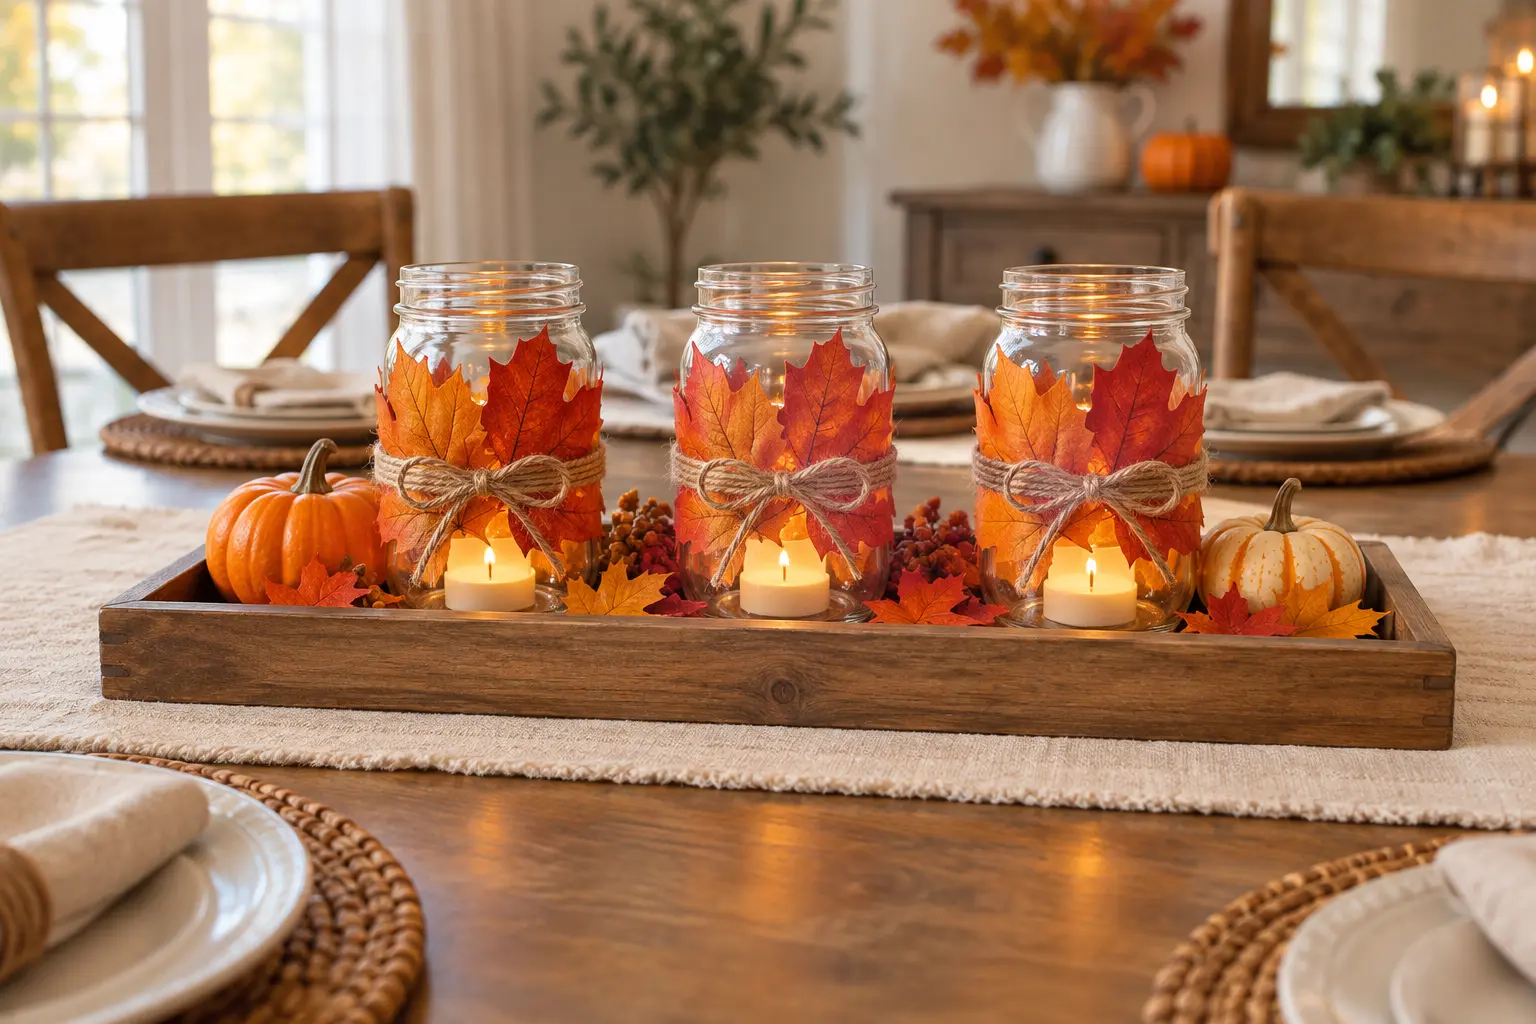
Place the jars in a row on your tray, leaving a little space between them. Add small pumpkins near the ends and tuck a few loose leaves around the bases. A cream runner gives the fall colors a simple backdrop.
Sit down to check that guests can see across the arrangement and reach serving dishes comfortably. For a smaller table, use one decorated jar with two pumpkins. Keep decorations separate from food and away from table edges. For more ways to style the containers afterward, explore these mason jar decoration ideas.
Pack Away the Decorations for Next Year
After Thanksgiving, lift the jars off the tray individually rather than carrying an overloaded arrangement. Switch off the lights and follow their instructions for longer-term battery storage.
Untie the twine and store the faux leaves flat so their edges don’t become folded. The jars can be washed and reused once the decorations are removed. Keep the leaves, twine, and lights together in a labeled box, ready to rebuild the centerpiece next fall.
More Handmade Table Decorations to Try
The same approach—simple containers, a limited color palette, and a few thoughtful accents—can work beyond Thanksgiving. Explore these projects for more ways to reuse jars, create decorative containers, and plan your next holiday table. Choose the ideas that fit the supplies you already have, then change the colors and finishing details to suit your home.
- 15 Mason Jar Decoration Ideas for Your Home
- 16 Tin Can Vase Ideas for Upcycled Decor
- 10 Christmas Centerpiece Ideas for Your Table
- 10 Glass Jar Christmas Decoration Ideas for Your Home
- 14 Christmas Snow Globe Ideas with Jars and Wine Glasses



0 Comments