

How to Make Paper Bag Snowflakes for Christmas Decor
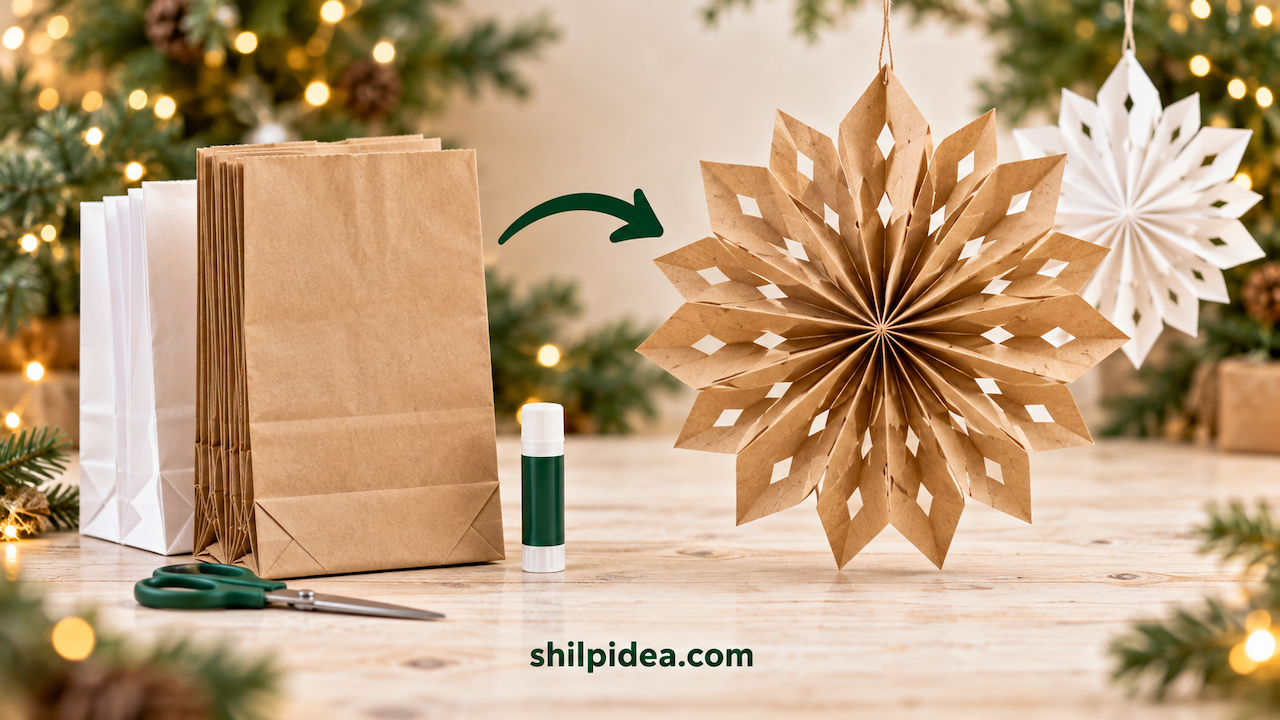
Christmas decorating feels even more special when you make something beautiful from everyday supplies.
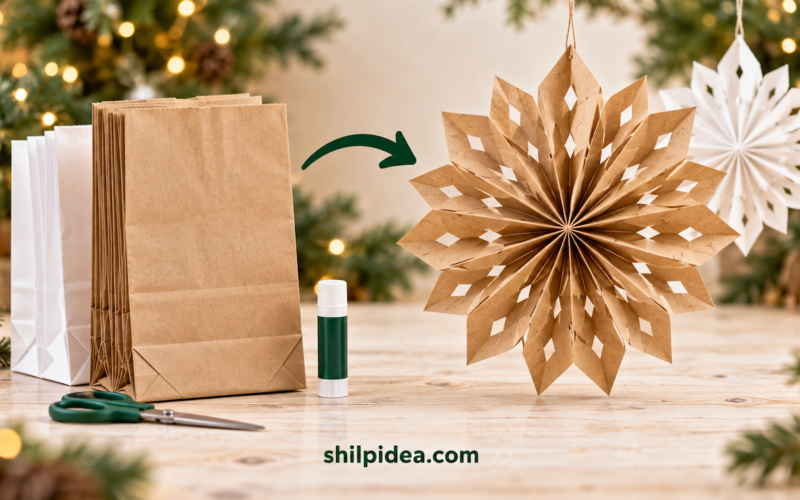
Paper bag snowflakes turn simple lunch bags into oversized decorations for windows, walls, and cozy holiday corners. Choose snowy white paper for a classic look or brown kraft bags for a warmer, rustic finish.
This beginner-friendly tutorial walks you through gluing, cutting, and opening the bags, with plenty of room to experiment with your own patterns.
Table of Contents
How to Make Paper Bag Snowflakes for Christmas Decor
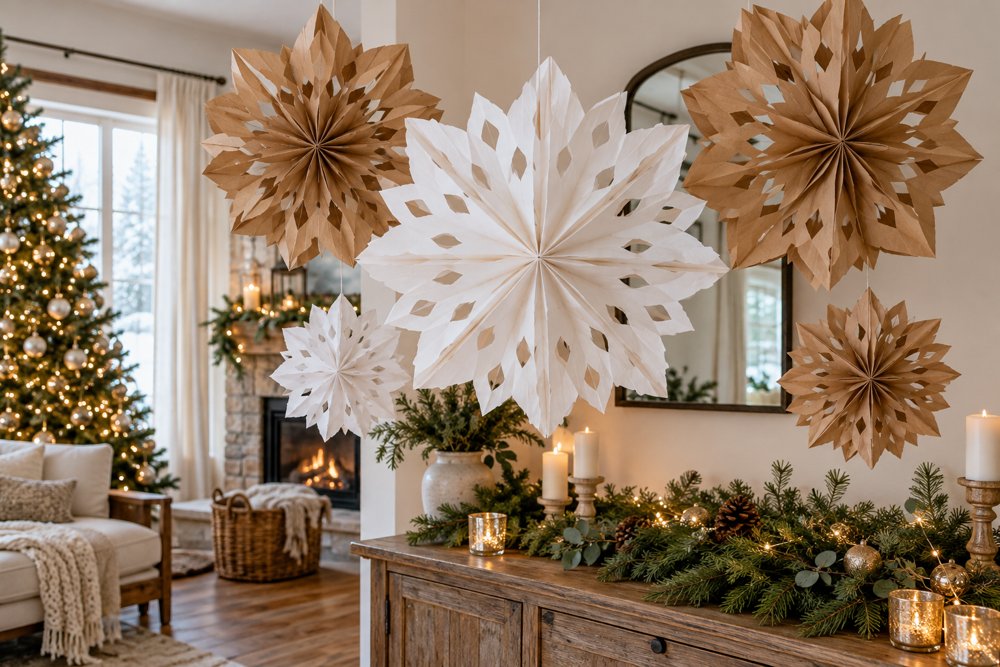
A few ordinary paper bags can become the prettiest decorations in your Christmas room. These oversized paper bag snowflakes bring texture and a handmade touch to windows, blank walls, and festive corners. You don’t need a cutting machine or an elaborate template, either. With simple supplies and a little careful cutting, you can turn a flat stack of bags into a beautiful three-dimensional decoration.
Gather Your Paper Bags and Craft Supplies
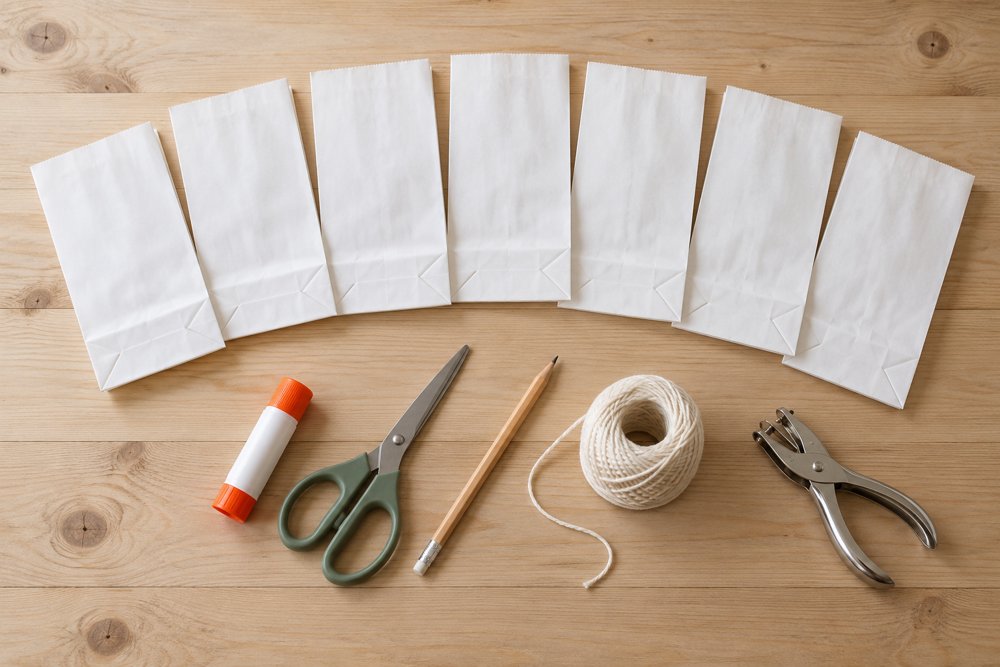
Start with seven to nine identical paper lunch bags, a glue stick or white craft glue, scissors, a pencil, and string. A hole punch is useful for hanging. Choose bags with folded bottoms and expandable sides. White creates a snowy look, while brown kraft paper adds warmth. Thin, uncoated bags are easier to cut than thick gift bags.
Stack the Bags with a T-Shaped Glue Line
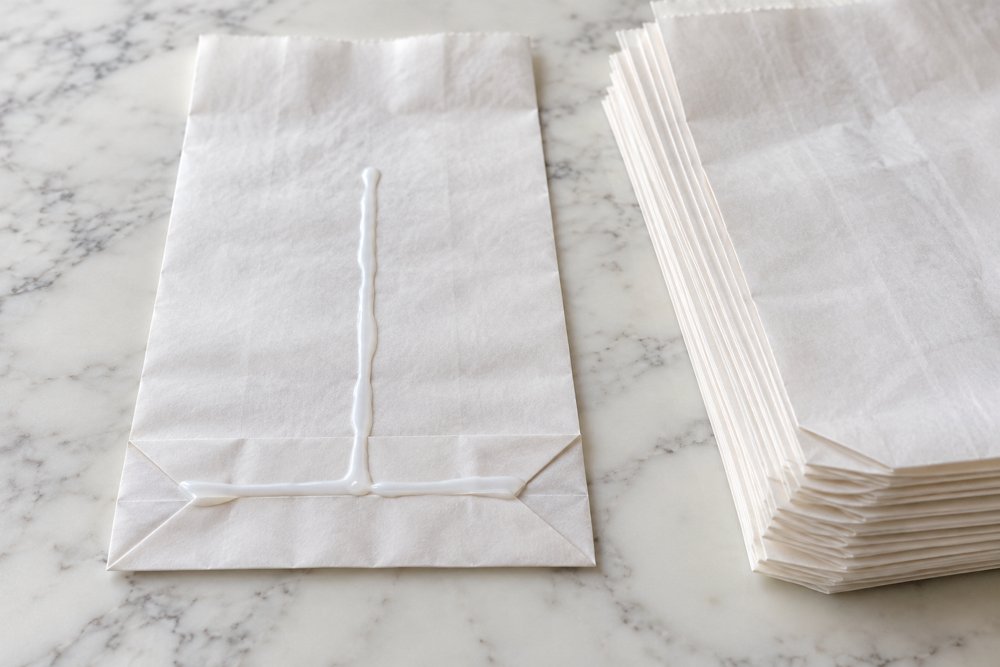
Lay the first bag flat, with its open end at the top and folded bottom facing you. Apply a narrow glue line down the center, then another across the bottom to make an upside-down T.
Place the next bag directly on top, keeping every edge aligned. Repeat until you have a stack of seven bags, leaving the top face unglued for now. Press firmly and let the adhesive set before cutting. Keep glue away from the long side edges; those folds need room to expand when you open the snowflake. Too much glue can wrinkle or soak through thin paper.
Cut the Points and Add a Simple Pattern
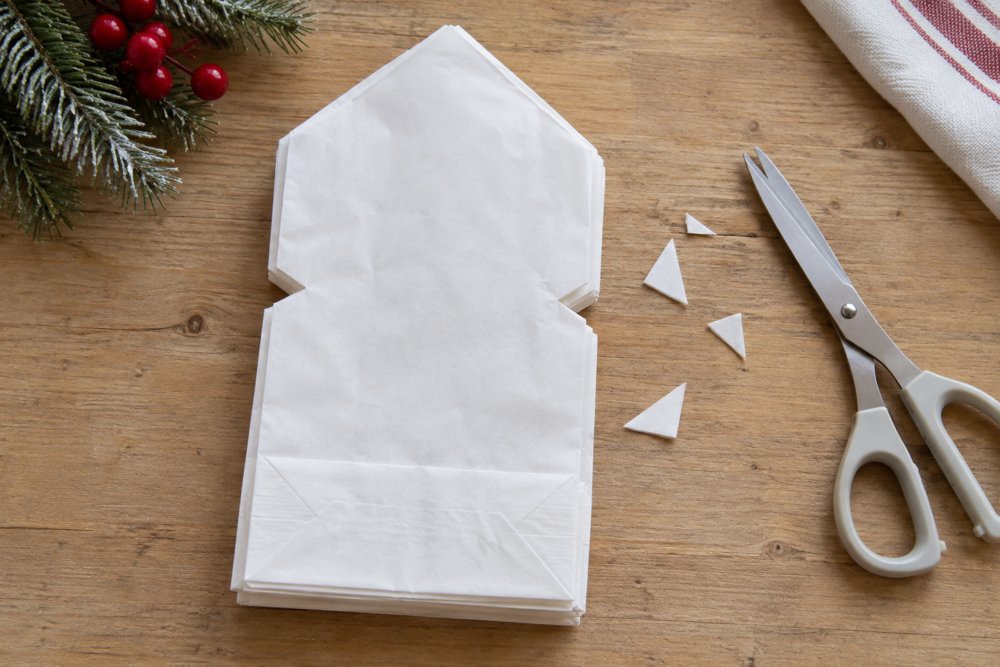
Draw a point at the open end of the stack, like the roof of a little house, and cut through all the layers. Add one small triangular notch along each side for a simple decorative pattern.
Keep the folded bottom intact and avoid cutting into the central glue line. Small notches are a good starting point; deep cuts can weaken the paper. If the stack feels difficult to cut, cut the bags individually to match a template before gluing them. Children can help choose the design, while an adult handles cutting through thick layers.
Open the Stack into a Snowflake
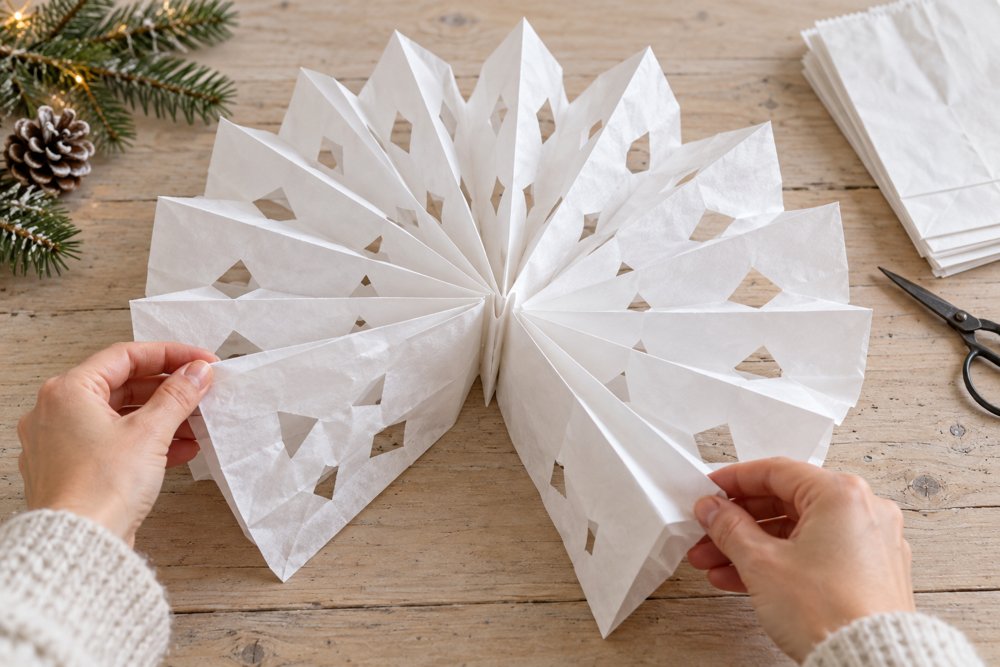
Here comes the satisfying part: gently pull the first and last bags apart, letting the stack fan into a circle. Open each fold slowly rather than tugging at the pointed edges.
If the ends won’t meet comfortably, flatten the stack and add another matching, pre-cut bag. The number needed depends on the bags’ proportions. Once the circle opens easily, apply the same T-shaped glue pattern to an outside face and press the first and last faces together. Hold the join until secure. For a decoration you can fold away afterward, use removable clips to connect the ends instead.
Hang Your Snowflakes for Christmas
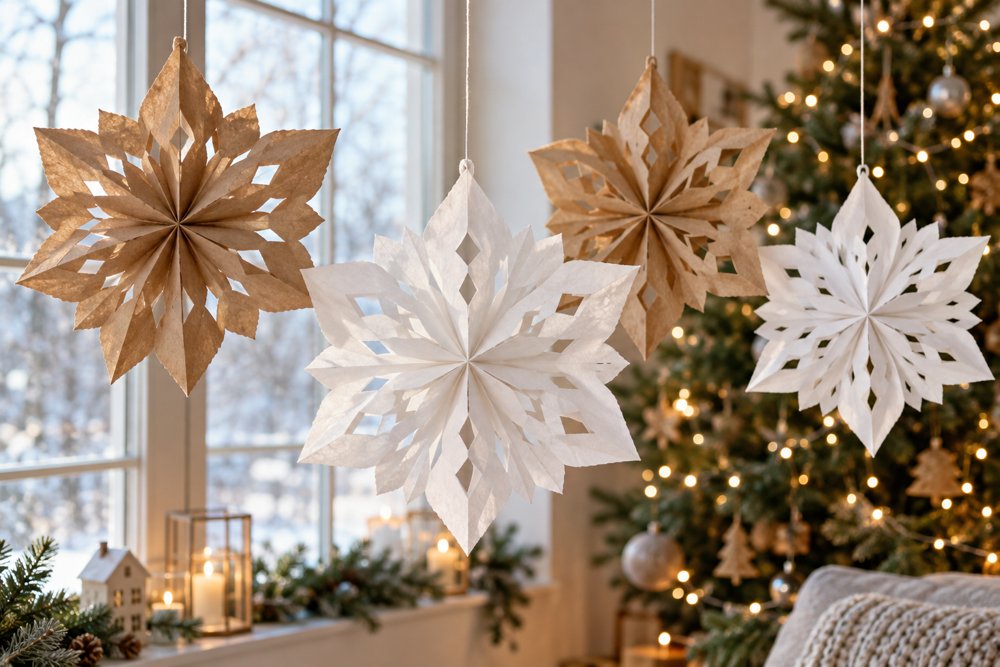
Punch a hole through a sturdy outer point, leaving enough paper around it to prevent tearing. Reinforce the spot with clear tape, then thread through a length of string.
Try hanging three snowflakes at different heights in a window, where daylight can highlight their cutout patterns. A mix of white and kraft paper looks lovely beside evergreen branches and warm LED lights. For variety, make separate snowflakes using different bag sizes. Keep paper decorations away from candles, fireplaces, and heaters. Start with one simple design, then experiment with rounded tips or extra small notches for your next set.
More Handmade Christmas Projects to Try
Once your paper bag snowflakes are hanging, keep the handmade theme going with a few more festive projects. Combine lightweight paper decorations with a small tabletop display, a welcoming wreath, or personalized holiday cards. Explore these Shilpidea ideas to plan your next craft afternoon and bring a coordinated Christmas look to different corners of your home.
- Paper and Recycled Material Christmas Wreath Ideas
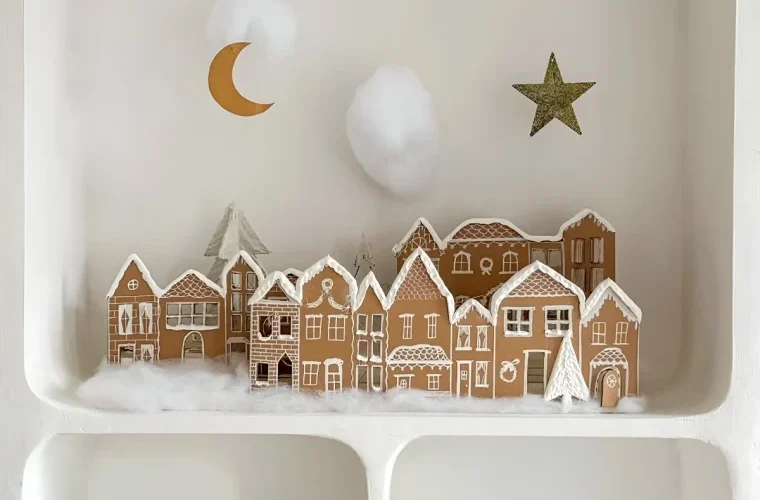
- How to Make a Cardboard Christmas Village
- DIY Holiday Cards: Creative Ideas and a Step-by-Step Guide
- 10 DIY Winter Holiday Decorations for a Cozy Home
- 10 Christmas Centerpiece Ideas for Your Table
- 10 Paper Tree Craft Ideas for Kids to Make and Display







0 Comments