18 DIY Halloween Photo Booth Props from Cardstock
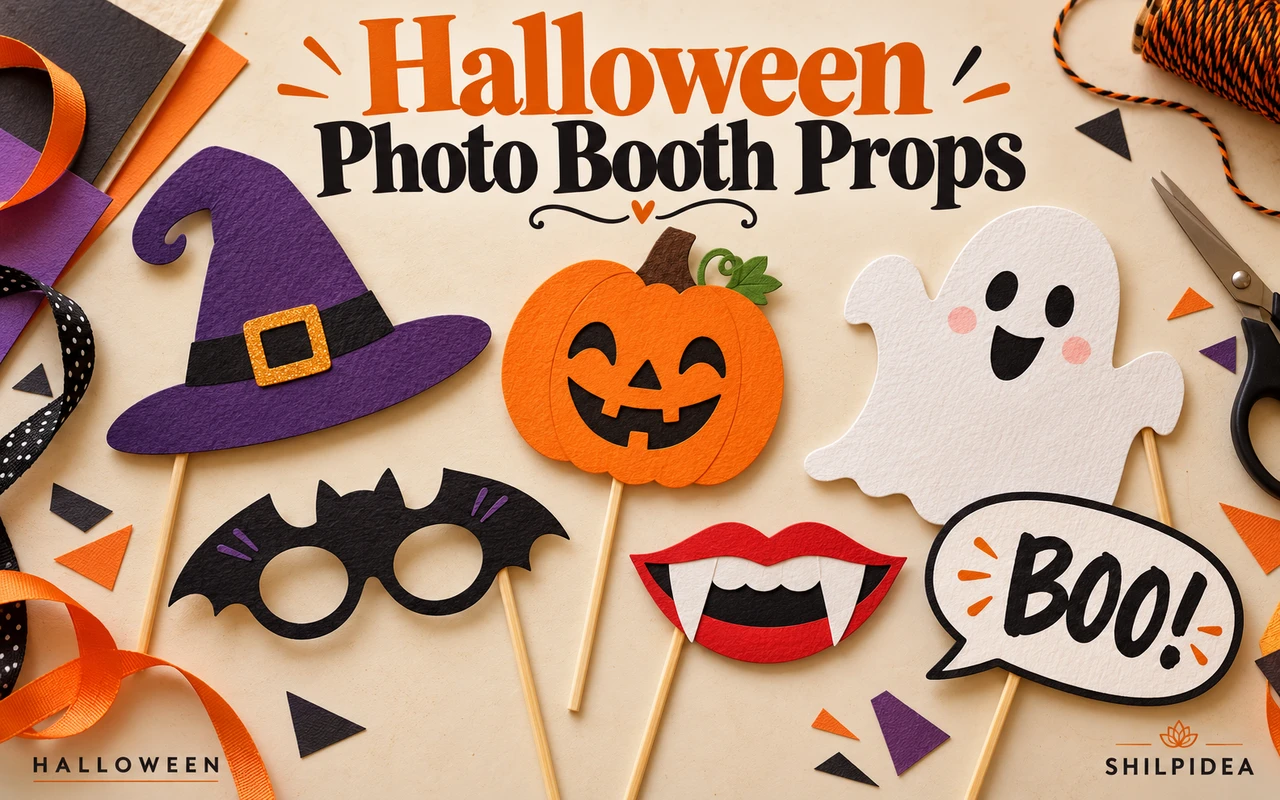
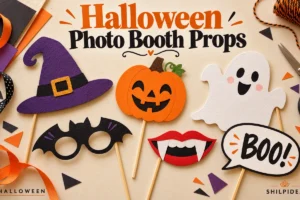
Halloween photo booth props can give guests an easy way to join the fun without planning a full costume. A paper mask, a bold speech bubble, or a pair of novelty glasses can be enough.
These 18 ideas include finished cardstock projects and clearly labeled design previews. Follow the original creator links for tutorials, printable options, or product details where available.
Choose a small, coordinated set and test it with your camera. Use comfortable handles, keep eye openings clear, and let adults handle sharp tools and hot glue.
1. A Bat Mask on a Handle

A bat-shaped eye mask gives a quick costume effect without needing an elastic strap. The wide wing outline is the part that makes it recognizable in a photograph. A handle lets the person lift it into place for a moment. Keep the eye openings clear and check the fit before the party.
2. A Feeling Spooky Speech Bubble
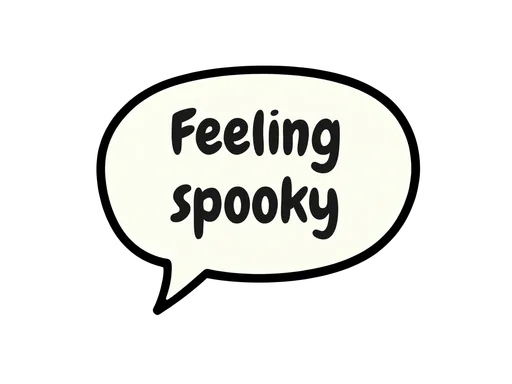
A short speech bubble gives camera-shy guests something to do with their hands. This simple preview uses dark lettering on a pale shape, keeping the phrase easy to read. Try a similar high-contrast layout when planning your own message. The image is a design preview, not a finished cardstock prop photograph.
3. A Layered Eyeball with a Bright Iris

A large eyeball works as a playful handheld accent beside a face rather than a mask covering it. Cardstock Warehouse’s layered pieces show how a strong green iris can stand out against white and black. Keep the circular shape fairly generous so it reads in a group photograph. A blunt craft-stick handle is easier to manage than a pointed skewer, especially when children are joining in.
See Cardstock Warehouse’s tutorial.
4. Bold BOO Glasses

Turning the two round letters into eye openings gives this word prop a clear purpose. The preview sheet also shows bat and pumpkin-mouth alternatives, making it a useful starting point for a small coordinated set. Keep the bridge strong enough to hold its shape. Check where the handle sits before trimming delicate areas.
5. Colorful Glasses for a Softer Halloween Look
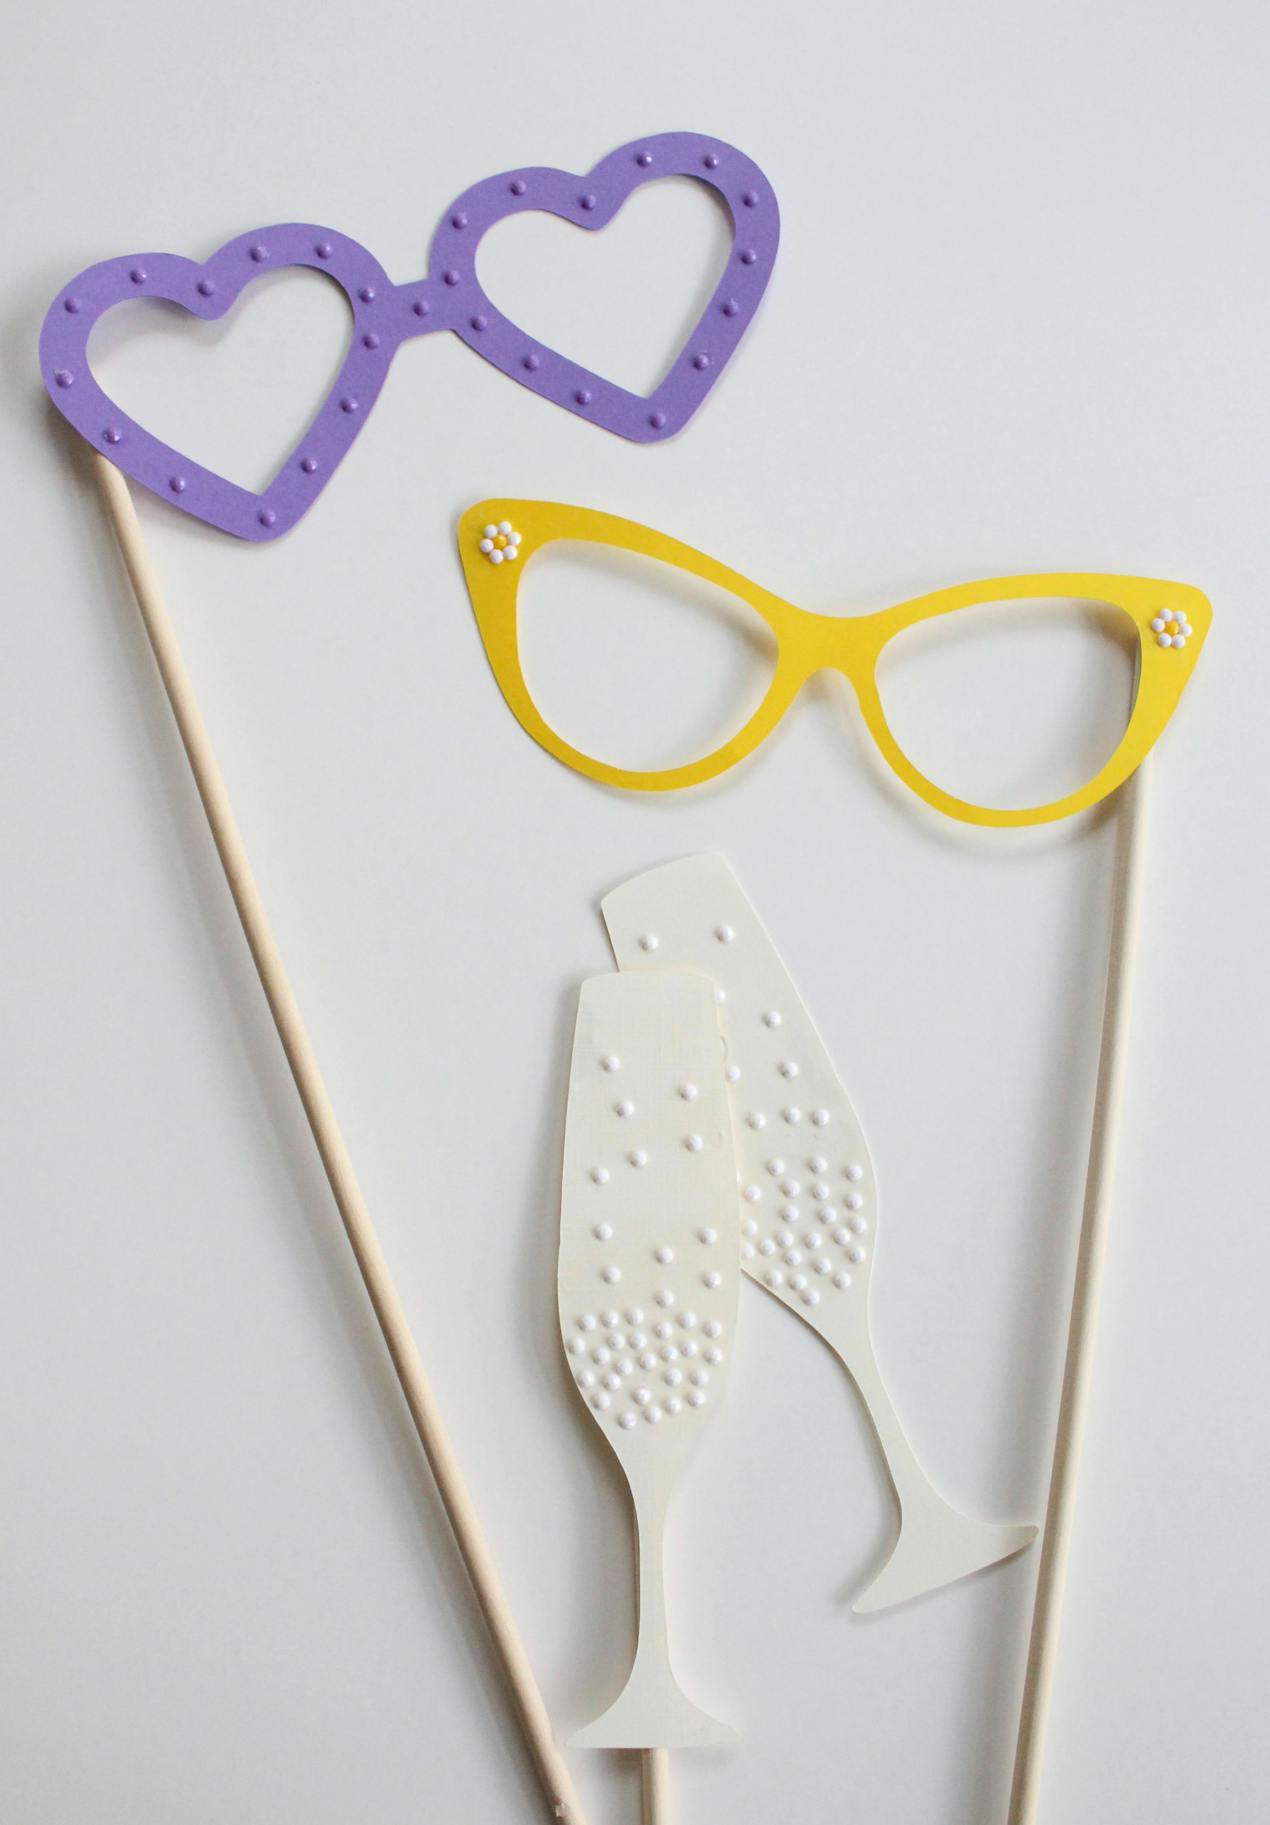
Bright paper glasses can suit a party that leans playful rather than frightening. The LoveCrafts example uses clear shapes and strong color instead of tiny printed details. A Halloween adaptation could repeat purple, orange, or black from the backdrop. Keep the openings large enough for a comfortable pose, and avoid covering the person’s natural expression. Glossy finishes may catch reflections, so take a quick test photo in the actual light.
6. Pumpkin Glasses and a Halloween Greeting

Two pumpkin shapes make novelty glasses feel immediately seasonal. Craft with Sarah pairs the orange frames with a short Halloween greeting, showing how a face prop and a sign can work together without hiding the portrait. Keep the openings clear and the handle to one side. The linked tutorial explains the creator’s layered cardstock approach and cutting files; check the current access details there. Test the finished size before preparing several copies.
See Craft with Sarah’s tutorial.
7. A Pumpkin-Shaped Headpiece Preview
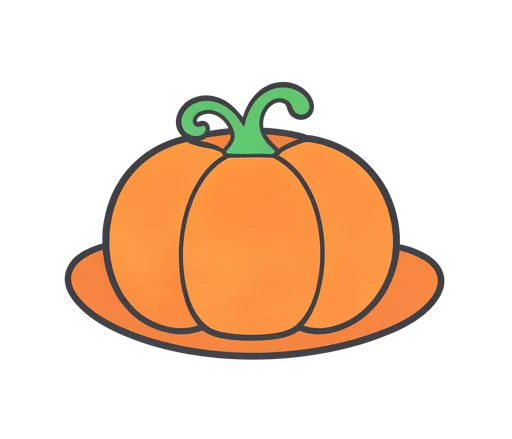
A rounded pumpkin shape offers a friendly alternative to a pointed witch hat. The green stem helps the outline read immediately, even when the decoration is held just above the head. Use a sturdy backing for a handheld adaptation. This is a creator’s illustration preview, so test your own printed size before cutting a whole set.
8. Monster Foreheads for Paired Portraits

A flat forehead or hairpiece can suggest a character while leaving most of the face visible. The pictured pair shows how a small prop and an expressive pose can work together. Keep the headpiece broad enough to read in the photo, with the handle held to one side rather than directly across the face.
9. A Coordinated Black-and-Orange Prop Set

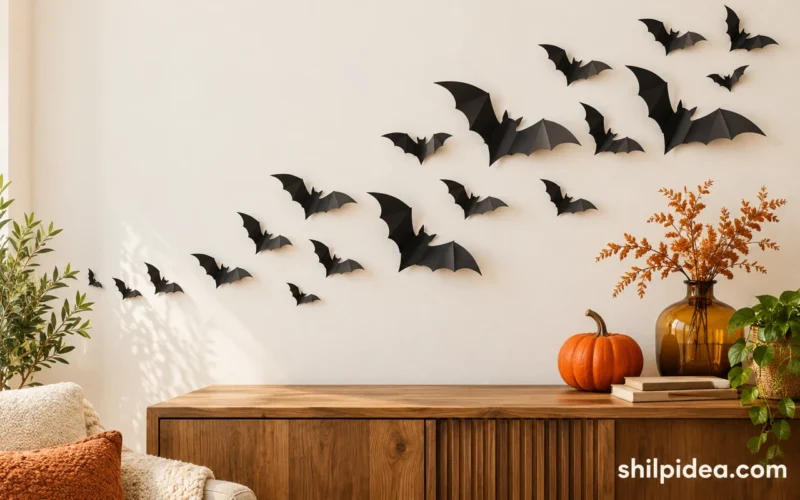
A repeated palette helps several different props look like one collection. SVG Nation combines masks, novelty glasses, and bold words without making every shape identical. This is useful for a party where guests will choose different pieces for a group picture. Keep the number of colors limited and make the outlines generous enough to cut cleanly. For matching room accents, try our paper bat wall decoration ideas.
10. A Wide Skeleton-Grin Cutout
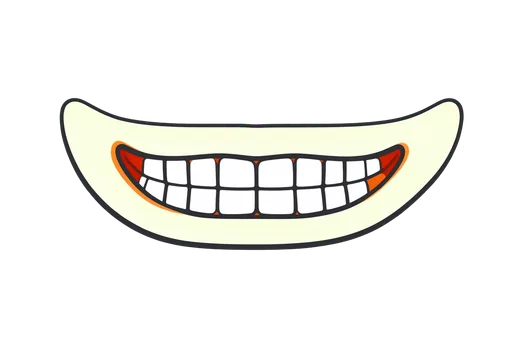
A broad grin can sit below the nose without hiding the eyes. The pale teeth and dark gaps make this skeleton-jaw preview readable from a distance. Keep its handle away from the center of the smile when planning a cardstock version. Use it briefly for posing rather than holding paper against the mouth.
11. A Large Halloween Frame to Hold Together

A frame turns the whole pose into the prop, making it useful for pairs or small groups. The SVG Nation example leaves a wide opening beneath a bold Halloween header. Cardstock decorations need a supporting board at this size; a single thin sheet will bend. Check that everyone can hold the frame comfortably without blocking faces. Adults should handle large cuts, and the finished edges should be smooth before guests use it.
12. A Tall Monster Hairdo

A tall hair silhouette changes the outline of a portrait without needing a wig. The strong light streaks in this preview keep the dark shape from becoming a plain block. Hold it just above the head and leave the face uncovered. A broad backing and a secure handle help a tall paper prop stay upright.
13. A Classic Witch Hat with a Broad Brim

A pointed hat is recognizable even when made as a flat cardstock shape. The broad brim in Cardstock Warehouse’s project gives it a clear base, while a colored band supplies a simple accent. Hold it above the head for the photo rather than trying to wear a fragile paper piece for the whole evening. Pair it with comfortable clothes from our everyday-clothes costume collection if guests want an easy theme.
14. A Wrapped Mummy Mask for a Spookier Pose

Layered bandage lines can make a flat mask feel more detailed without adding bulky materials. The Paper & Cake examples show several horror-themed directions, including a mummy look that leaves the eyes as the main expression. Treat the finished kit photographs as design references and check the source for its current product format. For a home version, keep sightlines clear and choose a handheld shape that the person can remove immediately.
15. Round Wizard Glasses with a Quote Bubble

Round paper glasses can hint at a wizard costume with very little decoration. In this example, the speech bubble adds the character reference while the face remains easy to see. Keep the frames fairly bold so they do not disappear on camera. A plain dark backdrop can help lighter paper edges stand out.
16. Glow-Accent Props for a Dim Photo Corner
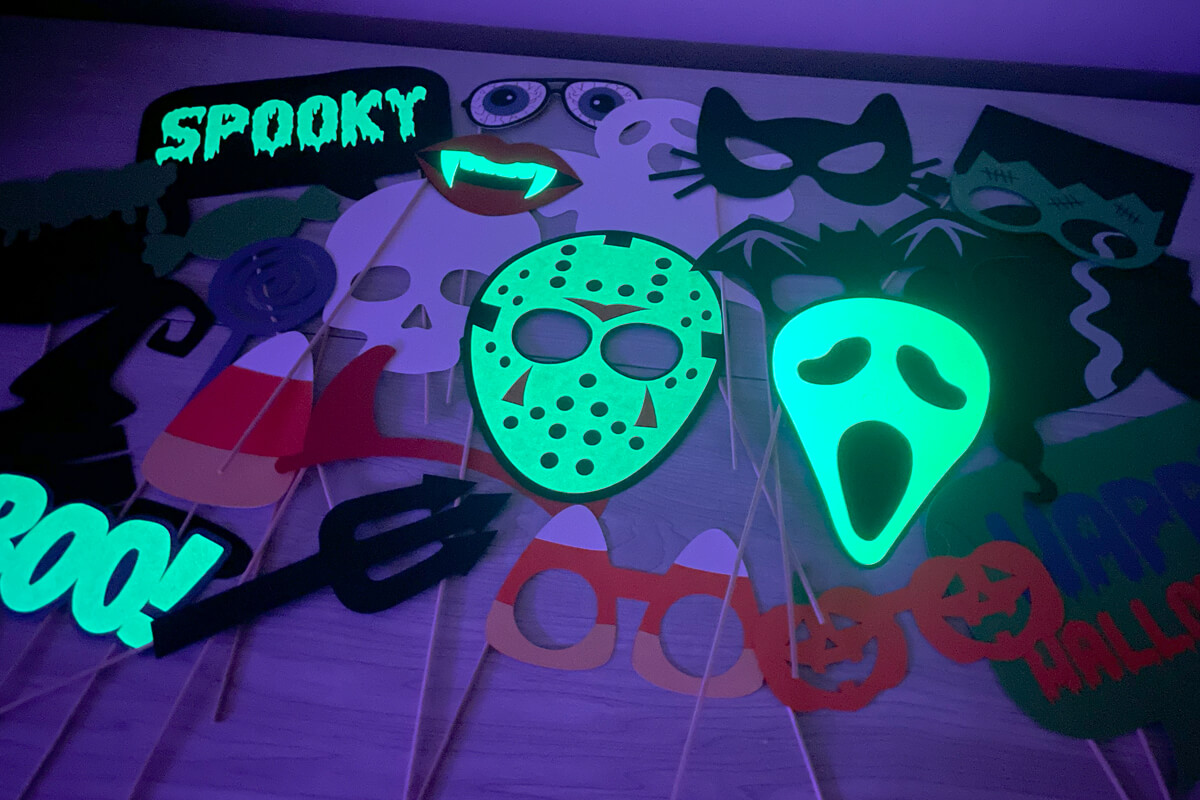
A glowing accent can change the same cardstock shapes for an evening party. SVG Nation’s example uses a glow treatment on selected areas rather than covering every surface. Test the result with the camera and lighting you intend to use; a dramatic glow in person may photograph differently. Keep enough ordinary light on faces so the portrait still works. The creator’s tutorial explains the specific materials used in this version.
17. A Green Monster Brow

A bold green forehead and a black-and-white mummy face give guests two different moods from one preview sheet. The straight hair edge is easy to recognize, while the wrapped mouth has a more graphic effect. Choose one as the main prop for a photograph. Too many overlapping pieces can hide the expression you wanted to capture.
18. Movie-Night Props for a Themed Photo Station

A horror-movie theme can extend beyond masks to paper popcorn, drinks, and other cinema-inspired shapes. Paper & Cake’s finished collection shows how a shared style can connect those different objects. Use it as a theme reference rather than presenting the pictured kit as your own printable. A small basket of larger, readable props gives guests a clear choice and is easier to reset between photographs than many tiny accessories.
Give the Props a Photo Corner of Their Own
Try a few test photos before guests arrive. Check that the backdrop supports the prop colors and the light reaches faces without harsh shadows. Keep finished pieces in a shallow basket, with larger frames nearby rather than buried underneath. A simple costume detail or a few paper bats can connect the photo corner to the rest of your Halloween decorations.
- 18 Last-Minute Halloween Costumes Using Everyday Clothes
- 18 Quick DIY Halloween Costumes for Couples
- 18 Paper Bat Wall Decorations for a Last-Minute Halloween Party
- 25 Halloween Door Signs Made with Paper and Foam Board
Which prop would you reach for first—a bat mask, funny glasses, or a spooky speech bubble? Tell us in the comments.

0 Comments