15 Paper Ghost Garland Ideas for Last-Minute Halloween Decor
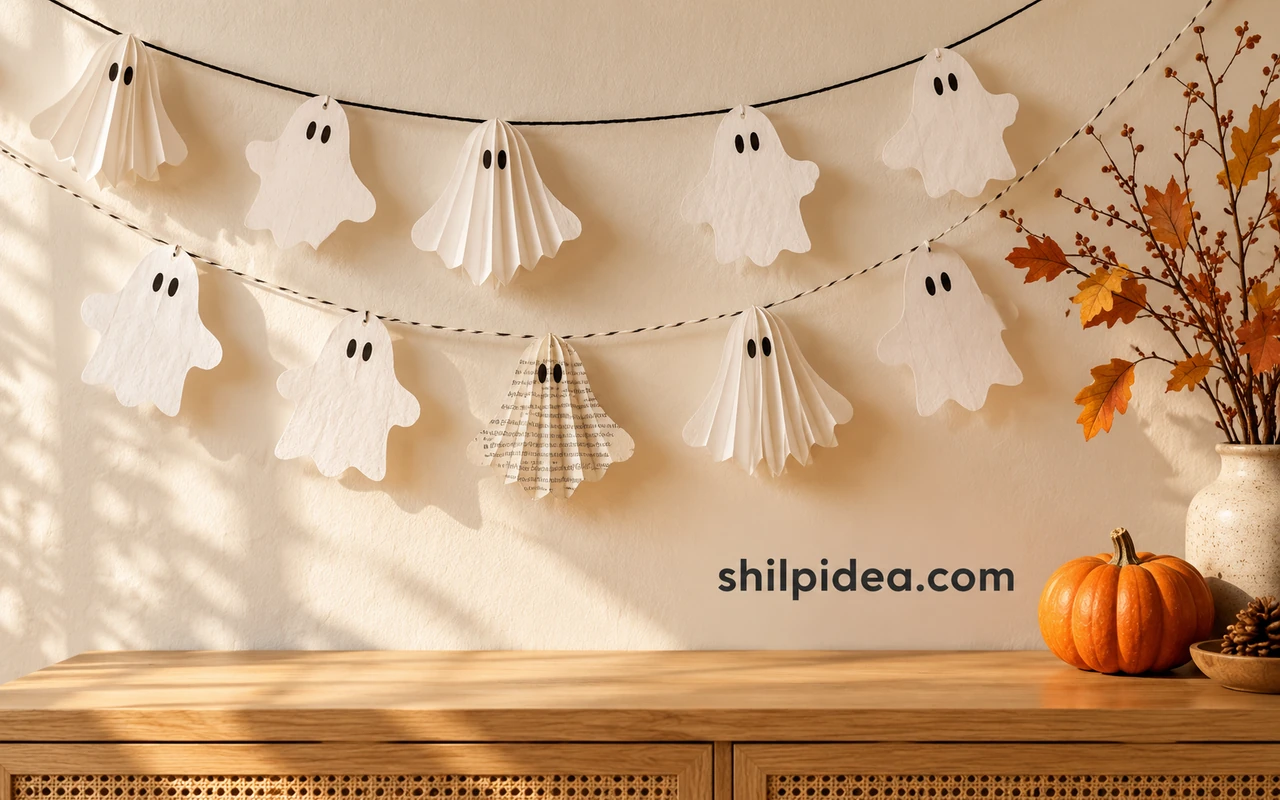
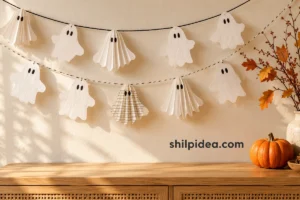
A paper ghost garland can give a plain wall or mantel a Halloween mood without a full room makeover. A row of little faces is often enough, especially when the shapes suit the space you already have.
These ideas range from flat paper chains to softly draped tissues, folded origami and lace-edged doilies. Some use everyday supplies; others are better suited to anyone who enjoys a little careful cutting.
Explore the 15 looks below, then follow the linked creator pages for templates or making details. Choose one manageable design rather than trying to make them all.
1. Keep It Simple With a Connected Ghost Chain

For a narrow wall or a small party corner, connected ghosts create a clear repeating outline without lots of separate attachments. Trixi Symonds’s version keeps the figures linked at their arms, giving the strip the charm of a paper-doll chain. Round cutout eyes keep the faces simple. A dark background makes white paper easier to see; avoid stretching the fragile connections tight when you hang it.
2. Try Pastel Origami for a Softer Halloween Palette

Pink, blue and lavender paper gives these folded ghosts a playful look that suits a bright living room. The angular bodies add dimension without bulky stuffing, while the small faces keep the design friendly. Gathering Beauty shows the folding method on the original page. Use patterned paper with a quiet print so the expression remains visible. If your room already has colorful accents, repeat one of those shades rather than introducing an entirely new Halloween palette.
3. Clip Book-Page Ghosts Onto Twine

Printed pages bring a softer, vintage texture to a ghost garland, especially beside wood, baskets or a chalkboard. Mini clothespins make the spacing easy to adjust and let you replace a damaged ghost without rethreading the whole string. Choose loose pages from a book already beyond repair, or use text-patterned scrapbook paper. Keep the silhouettes broad enough for the printed texture to read, and let the tiny clipped heads sit at slightly different angles.
4. Give the Ghosts Delicate Doily Edges

Paper doilies do much of the decorating here: their lace borders become the ghosts’ airy lower edges. Small black faces keep the cutouts recognizable without hiding that detail. Most Lovely Things pairs them with seasonal twine, a useful way to introduce orange while leaving the ghosts white. This look works particularly well for a coffee station or little shelf display. Keep glue away from the most open lace sections, where it can show through or leave a stiff patch.
5. Float Tissue Ghosts Beneath a Wispy Mantel Swag
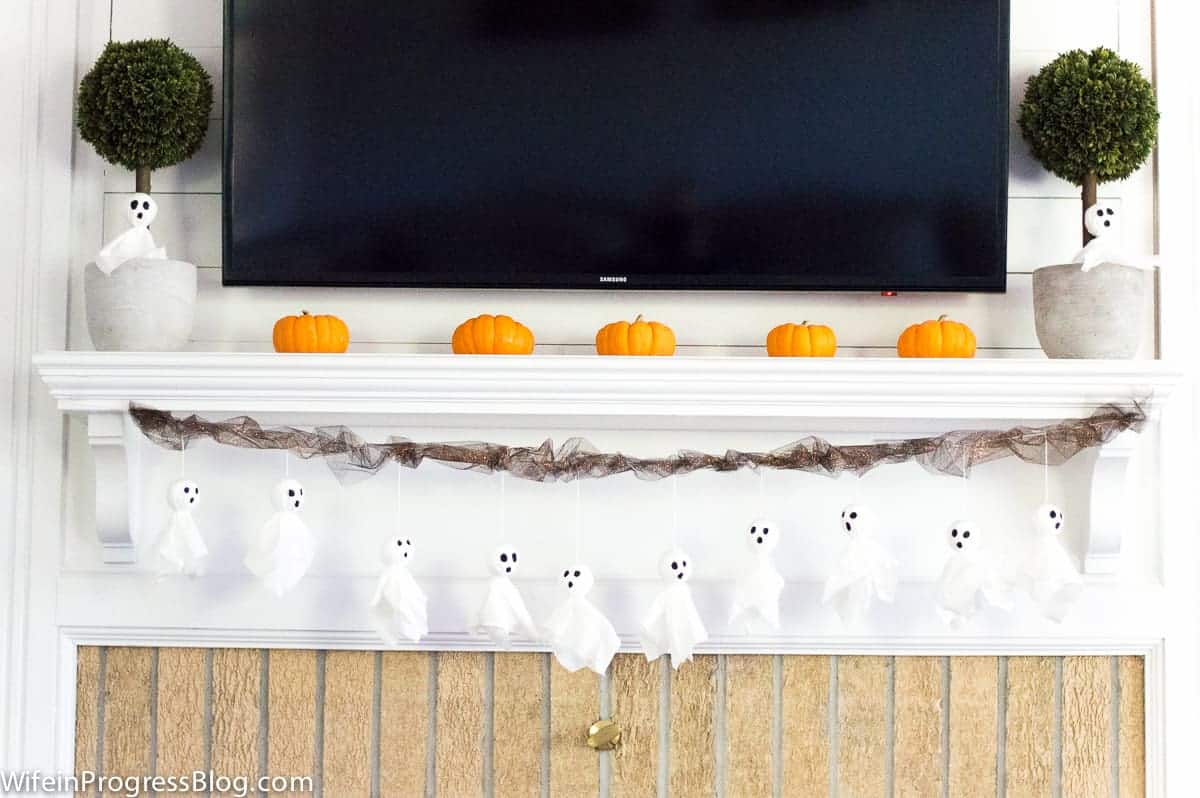
A wispy supporting swag gives round-headed tissue ghosts a floating effect, while a simple line of pumpkins adds color above. Jenna Kate at Home uses foam craft balls inside the ghosts, so the heads stay defined against the loose paper below. Balance the lightness with a few solid objects on the shelf rather than adding more hanging layers. Keep paper and tulle well away from a working fireplace or candles; the display belongs on a cool, unused mantel.
6. Drape Coffee-Filter Ghosts Across a Mirror

Coffee filters already have a pleated edge, which gives these ghosts their softly flared shape. Ashley’s mirror arrangement adds black gauze behind the pale figures, making the outlines stand out without covering the whole wall. A short garland is enough for this treatment. Let the mirror remain partly visible, and secure the string to suitable supports rather than relying on a loose drape that could slide. Small, simple eyes suit the delicate paper best.
7. Turn Newspaper Into a Graphic Ghost Garland

Newsprint creates a busier surface than plain paper, so a simple rounded ghost shape keeps the garland readable. Dark eyes and mouths provide the contrast, and the printed columns give each cutout a slightly different pattern. Homecrux’s version shows how effective a modest line of ghosts can look against dark wood. Sort through the pages first and choose sections you are comfortable displaying. Wide gaps between the figures help the individual outlines remain clear.
8. Use Torn Edges for a Handmade Ghost Motif

An uneven edge can be the point of the design. DIY Thought’s torn-paper ghosts have irregular bodies, newspaper details and expressive eyes, making them useful inspiration for a relaxed handmade garland. The source shows the individual motifs; to adapt them for hanging, attach a lightweight string behind the broad head area. Leave the ragged lower edges free. This approach suits a family craft display where every ghost can look different without breaking the overall theme.
9. Hang Ghosts From an Orange-and-Black Paper Chain

A linked paper chain makes the support part of the decoration. Orange and black rings supply the Halloween color, leaving the dangling ghosts easy to spot. Aunt Annie’s version spaces the figures along the chain rather than placing one on every link. Keep that breathing room when adapting the idea for a bookshelf or bulletin board. Lightweight paper ghosts suit the flexible rings better than heavy embellishments.
10. Turn Ghost Faces Into Printable Banner Flags

Pointed banner flags give ghost faces a neat frame, making this a useful alternative to cutting around individual arms and tails. MeganHStudio’s preview shows a row of different expressions inside black-bordered white flags. Keep the string and nearby decorations simple so the faces remain the focus. The designs are offered in three sizes through the creator’s members-only printable collection; check the linked page for access details before planning your display.
11. Let Printed Outlines Become a Family of Funny Faces
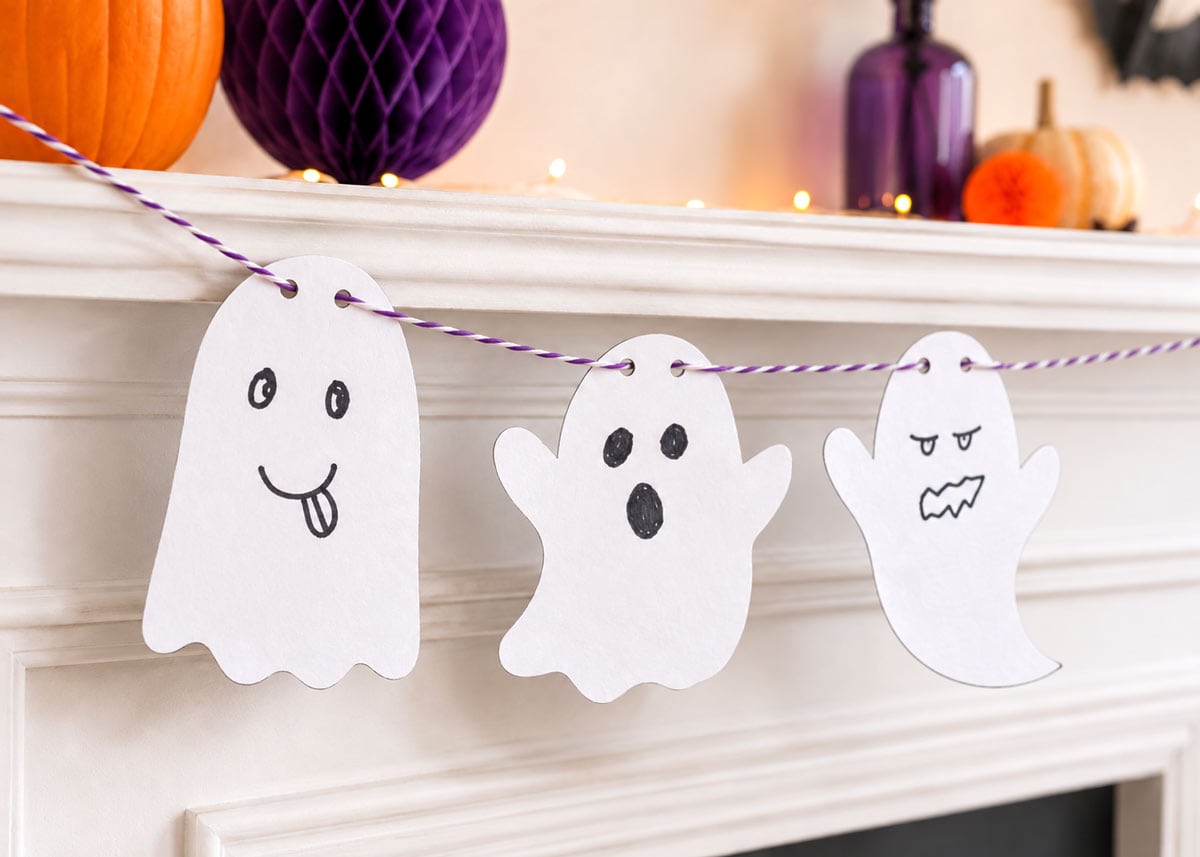
A printable outline removes the need to draw matching bodies, but the faces can still be completely individual. In Jamie Sanders’s version, different expressions give a short run of ghosts plenty of character. Use a broad, uncluttered shape if younger makers are decorating them, and leave enough room above the face for the hanging holes. A small garland can sit beside other recycled Halloween crafts without turning the whole shelf into a crowded scene.
12. Combine Paper Ghosts With Fall Leaves and a Branch
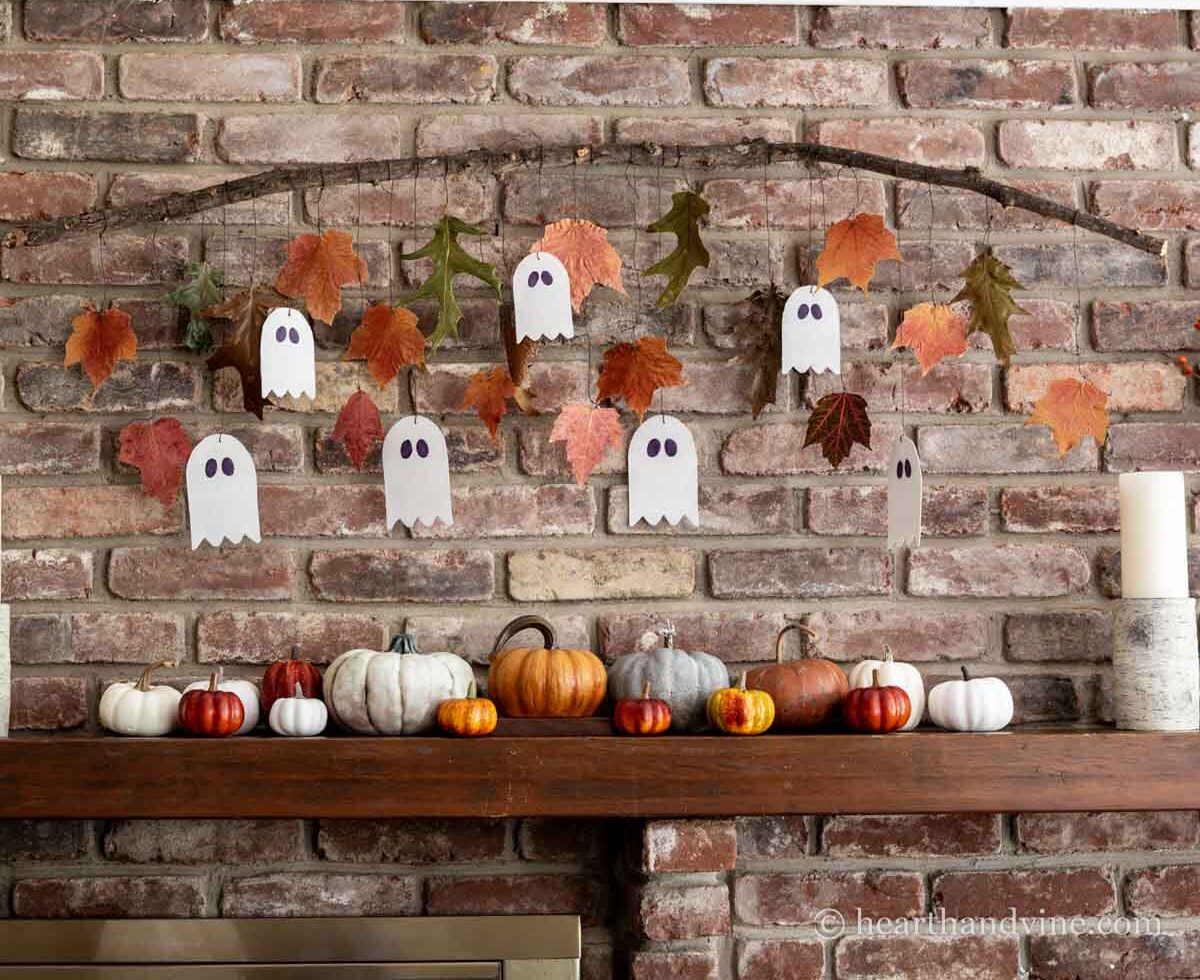
Vertical drops give this display a different rhythm from a traditional horizontal swag. Patti Estep combines little painted-cardboard ghosts with autumn leaves suspended from a branch, turning a garland into a wall feature. The warm leaves soften the contrast of black faces and white bodies. Keep the branch securely supported and let the drops end above the shelf surface. When Halloween is over, removing the ghosts leaves a fall arrangement that can stay in place a little longer.
13. Add a Retro Twist With Arcade-Inspired Ghosts

Black cardstock ghosts give the collection a graphic alternative to the usual white silhouettes. Mini Eco’s arcade-inspired design combines familiar game shapes with large contrasting eyes, making it especially suited to a game corner or playful party backdrop. Fine dark thread keeps attention on the shapes. Preserve the recognizable stepped lower edge when choosing a template, and leave a little white wall around the garland so the small figures do not disappear among other decorations.
14. Make Scrap-Paper Tassels the Ghosts’ Flowing Bodies

Narrow paper strips produce a loose, fringed body with a very different texture from a flat cutout. Austin Creative Reuse’s scrap-paper version is an appealing option for leftover paper that is too small for larger projects. Let a few strips vary in length to keep the lower edge lively. A dark wall helps pale scraps show up; for more ways to place a small handmade display, browse these wall shelf and display ideas.
15. Explore a Translucent Finish for Window Ghosts

For a window-facing garland, a translucent paper finish is worth considering. Aunt Annie’s shows wax-treated ghost motifs as an optional variation, giving the paper a different appearance from opaque cardstock. Follow the linked finishing guidance rather than assuming ordinary waxed kitchen paper will behave the same way. This is the more involved option in the collection; use plain paper if time is short, and keep either version away from heat.
Build a Little Halloween Corner Around Your Garland
Once your ghosts are hanging, choose just one or two nearby details to finish the scene. Paper-roll characters can sit on a shelf, small handmade boxes can hold party treats, and a clear wall display can keep everything at a comfortable height. These collections offer useful next steps without asking you to decorate the entire room:
- 10 Toilet Paper Roll Halloween Craft Ideas
- 16 Paper Gift Box Ideas for Handmade Packaging
- 10 Wall Shelf and Plant Display Ideas for Home Decor












0 Comments