How to Make a Paper Spiderweb Garland for Halloween
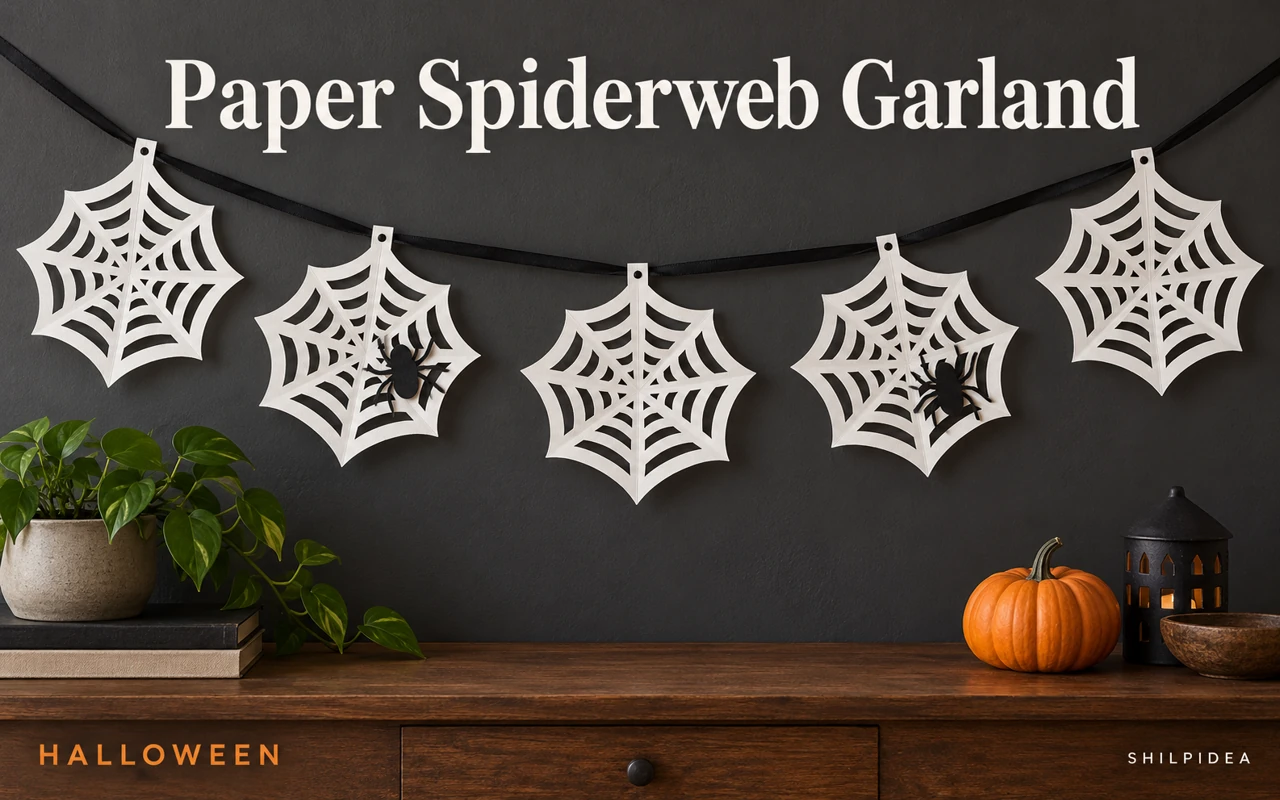
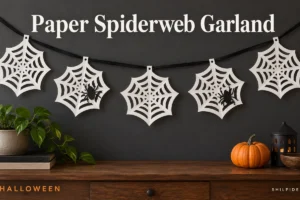
A paper spiderweb garland adds Halloween detail to a window, mantel or party backdrop without taking up table space. For this version, you will make five folded-paper webs and hang them along a narrow ribbon.
The guide combines a familiar fold-and-cut method with a reinforced-tab hanging option. Make one practice web before cutting the remaining four.
The credited process photographs come from three creators and show different papers and web shapes. Use them to understand the technique; your finished garland can have its own pattern.
Gather Your Paper and Hanging Supplies
For a five-web garland, set out:
- Five sheets of ordinary thin A4 or Letter copy paper, plus a spare sheet for practice
- Scissors that comfortably cut folded paper, a pencil and a ruler
- About 2 metres (6½ feet) of narrow ribbon or twine
- Ten small scrap-card tabs, approximately 1 × 2 centimetres each
- A glue stick or clear tape, and a small hole punch
- Removable hooks or another attachment suited to your surface
- Optional lightweight paper spider silhouettes
Cut each sheet into a 20-centimetre (roughly 8-inch) square. The finished webs will be smaller after trimming. Copy paper folds more easily than thick cardstock, although several layers still take some effort to cut. Try one spare square first and keep the cutouts broad. Allow extra ribbon at each end for tying; decide the final spacing after you have opened the webs.
1. Prepare Five Matching Paper Squares

Measure and cut one paper square for your practice web. Keep the other four sheets aside until you like the result. Starting with equal squares helps the finished garland feel balanced, even when the cutout patterns vary. The rectangular sheet in FirstPalette’s reference photo shows the starting material before squaring.
2. Fold the Square into a Small Triangle

Fold the square diagonally, matching opposite corners. Fold that triangle in half, then in half once more, keeping the corners aligned and pressing each crease. You now have a compact triangle made from several layers. If the layers slip, reopen the last fold and realign them before continuing.
3. Make the Narrow Wedge and Trim the End

Bring one short side of the triangle toward the opposite long edge, making a narrower wedge. Trim away the projecting excess beyond its shorter edge. Shape that broad end with a shallow inward curve. Keep the pointed centre intact; the next cuts will enter from a straight side rather than across the tip.
4. Draw a Simple Web Pattern

Draw several curved rectangular notches from one straight edge toward the other. Stop each notch short of the opposite edge so a continuous strip remains. For a first attempt, leave generous paper bridges instead of chasing delicate detail. The reference uses parchment; use your practice square to judge workable spacing in copy paper.
5. Cut the Openings Without Severing the Bridges

Cut out the marked notches slowly, supporting the folded layers with your other hand. Avoid cutting through the far edge or joining neighbouring openings. If the stack resists the scissors, widen the pattern and make fewer openings on a new square. Do not force a blade through a slipping stack.
6. Unfold, Flatten and Repeat

Separate the layers gently, opening one fold at a time. Ease apart any caught corners instead of pulling the web outward. Lay the opened web between clean sheets beneath a book to soften the creases. Once the practice version holds together, repeat your preferred pattern on the remaining four squares.
7. Add Reinforced Tabs and Thread the Ribbon

Alison’s reference shows ribbon threaded directly through a sturdier cut-paper web. For thin folded webs, add two small card tabs near the upper outer points instead. Secure each tab across a broad paper bridge, leaving its punched end projecting above the web. Let any glue dry, then pass the ribbon through both tab holes. Keep the ribbon loose enough that it does not pull the paper.
8. Space the Webs and Hang the Garland

Lay the five webs in order and adjust the gaps before lifting the ribbon. Tie its ends to suitable supports, leaving a gentle dip rather than stretching it tight. Alison’s window banner illustrates the hanging effect with a different web design. Add only lightweight paper spiders if desired. Keep the garland away from heat and moving door edges, and check that every tab holds before leaving it displayed.
Small Fixes That Help the Garland Last
A web tears while opening: save it as the practice piece and leave wider bridges on the replacement. A tiny split can sometimes be supported with a small piece of clear tape, but do not rely on a torn point for hanging.
A web tilts: check that both tabs sit at similar heights and spread the ribbon supports a little farther apart. Two attachment points give you more control than a single hole.
The paper curls: flatten it under a book before assembly. Avoid damp windows or outdoor exposure, where ordinary copy paper can lose its shape.
You want to reuse it: slide the webs off the ribbon and store them flat between sheets of paper. Keep the tabs attached so next year’s assembly is easier.
For the original photo sequences, visit FirstPalette’s paper spiderweb tutorial, One Little Project’s folded-paper web tutorial and Alison’s paper spiderweb decorations at Adventures in Making.
Give Your Paper Webs a Place in the Halloween Display
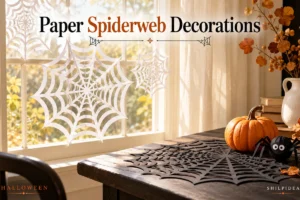
Hang the garland first, then decide whether the surrounding space needs anything else. A few bats above it or a small door sign nearby can repeat the paper theme without crowding the webs. These collections offer ways to extend the display, including other places to use individual spiderwebs if you have a spare.
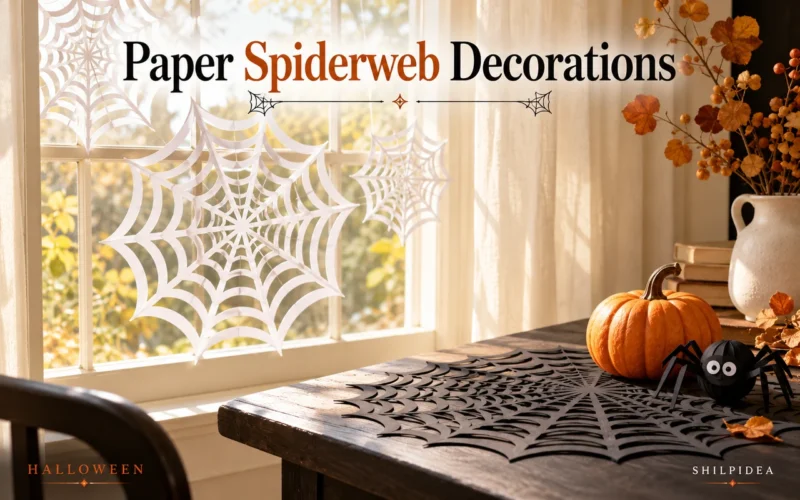
- 18 Paper Spiderweb Decorations for Windows and Party Tables
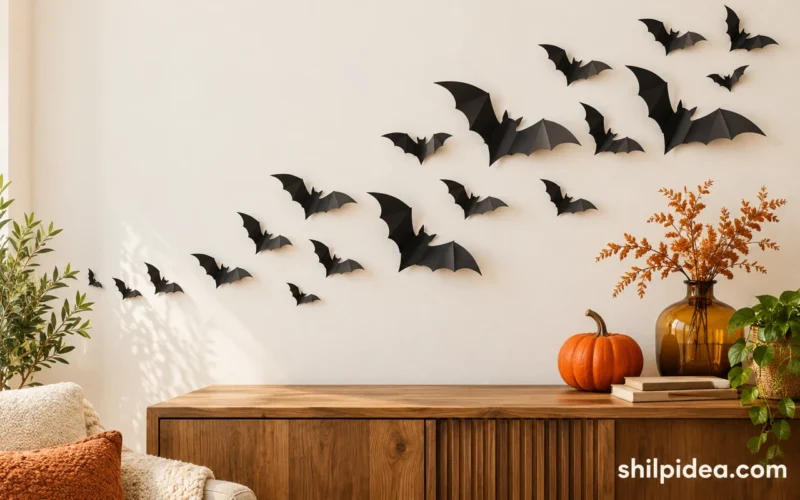
- 18 Paper Bat Wall Decorations for a Last-Minute Halloween Party
- 18 Halloween Door Signs Made with Paper and Foam Board
Where would you hang your paper spiderweb garland—a window, mantel or Halloween party backdrop? Tell us in the comments.

































0 Comments