20 Cardboard Halloween Decoration Ideas to Make from Boxes
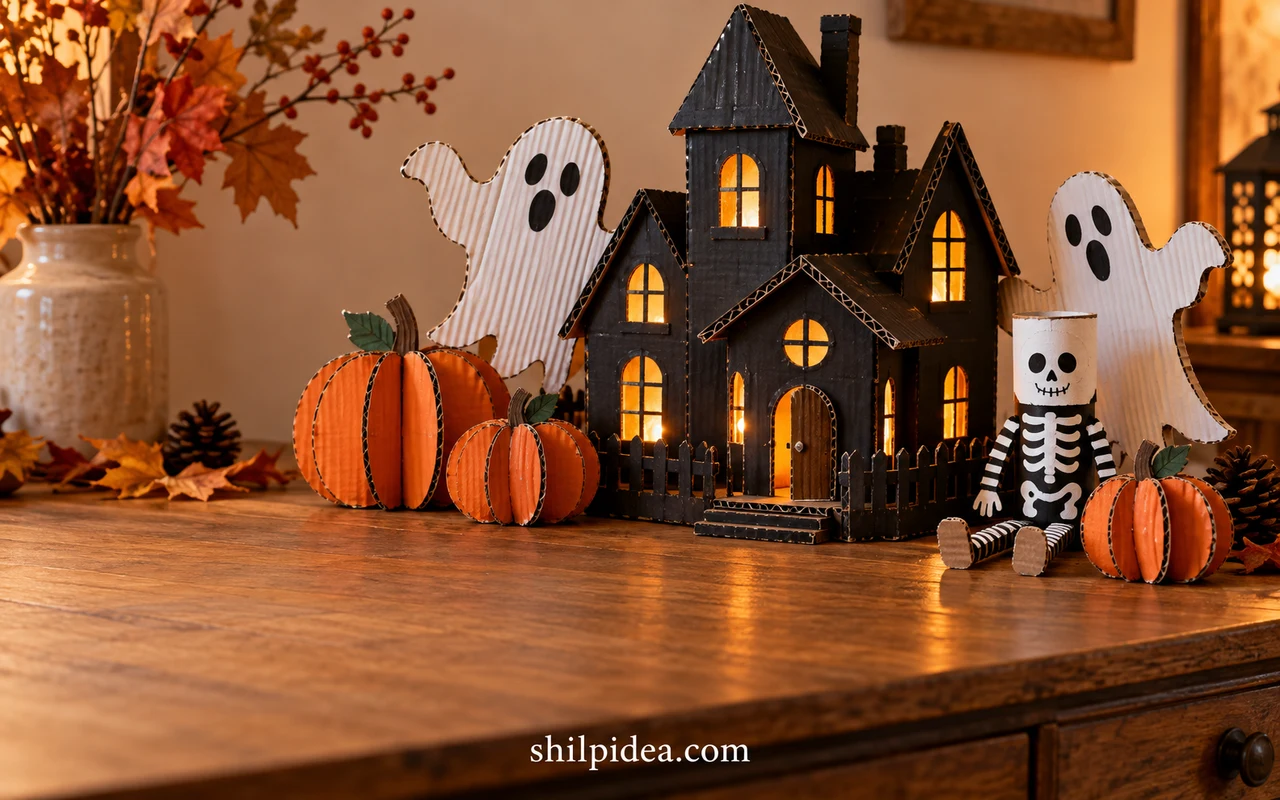
Cardboard Halloween decorations can turn spare delivery boxes into a haunted village, playful characters, or a striking party display. The best choice depends on where the finished piece will stand and how much detail you want to build.
These 20 creator projects range from small shelf accents to larger cemetery props. Start with the indoor ideas, then compare the doorway and porch options before choosing a project for your space.
Use the photographs for inspiration and the credited project pages for construction. Adults should handle sharp cutting tools, and any light placed near cardboard should be a cool battery-operated LED.
1. Corrugated Ghosts and Pumpkins for a Shelf
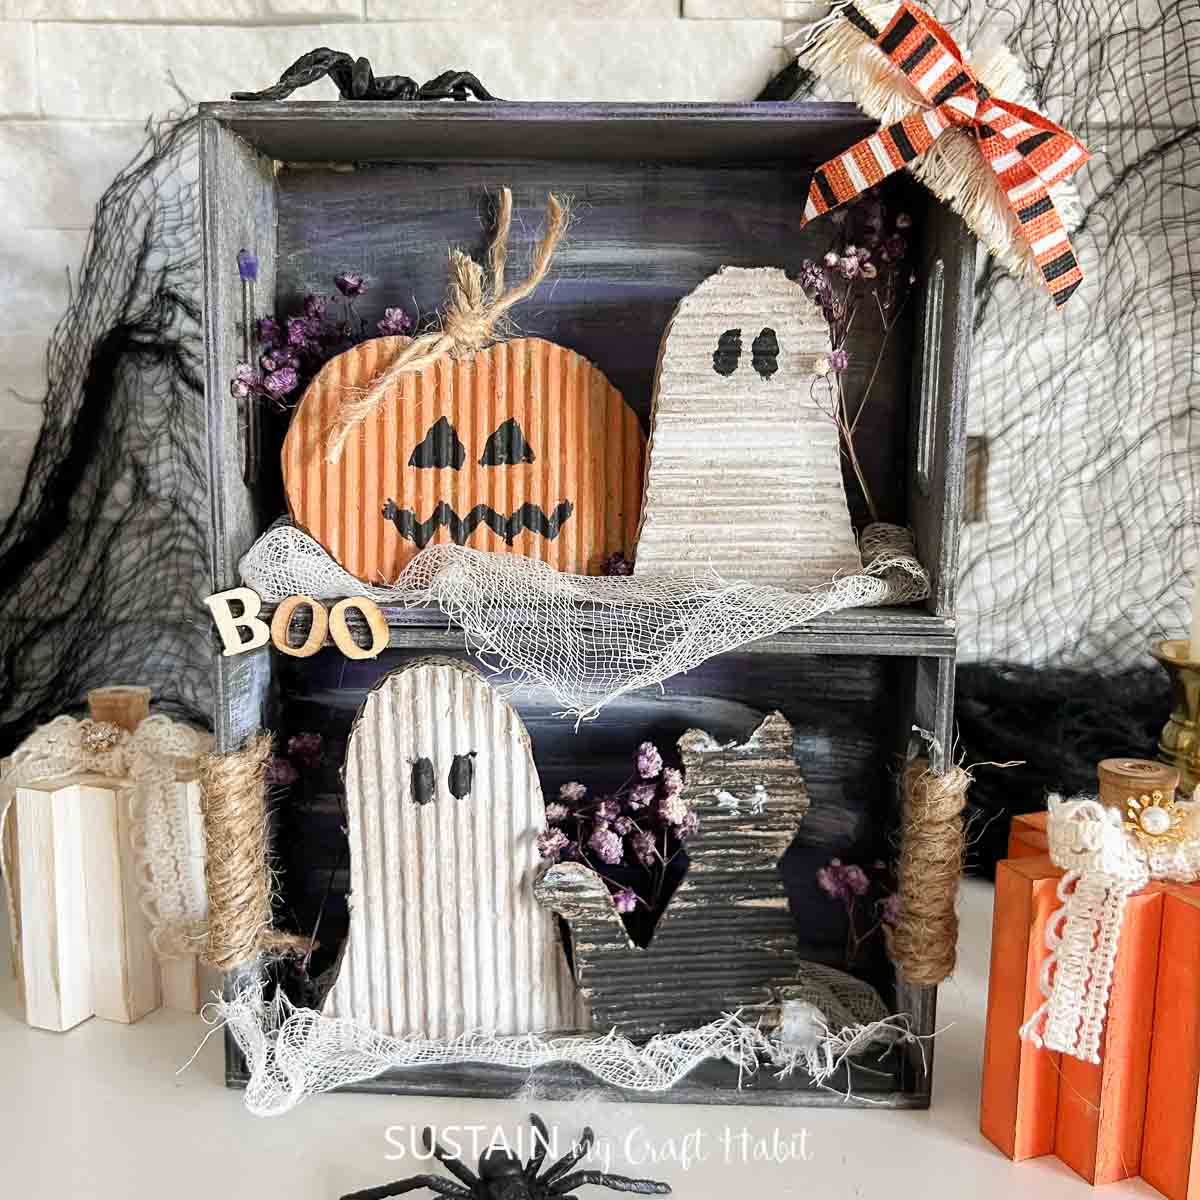
Sustain My Craft Habit groups ridged cardboard ghosts, a pumpkin, and a black cat inside a small display. The exposed corrugation adds texture that plain painted card cannot give. Keep the silhouettes simple so their faces remain readable. A shallow crate or shelf helps the pieces feel like one scene, with enough space around each character to show the uneven handmade edges.
2. A Dark Haunted House with Autumn Details

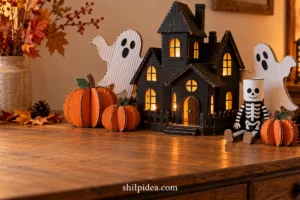
The House That Lars Built dresses a cardboard house with dark surfaces and autumn accents. The contrast between the building and the orange details makes it a useful focal point for a mantel. Leave the windows clear so their shapes remain visible. Follow the original project for construction, then place the finished house where its roofline can stand against a quiet background.
3. A Box Jack-O’-Lantern with a Glowing Face

Happy Toddler Playtime turns a rectangular box into a pumpkin with an orange surface, a green stem, and a cutout face. The box shape gives the familiar jack-o’-lantern a playful change of proportion. An adult should handle the blade work. Use only a battery-operated LED inside cardboard, and keep the light easy to reach without pulling apart the finished decoration.
4. Cardboard Tube Spiders with Bendable Legs

Learning 4 Kids uses a short cardboard roll as the body of a spider, with pipe cleaner legs spreading out on both sides. These little figures can fill the gaps between larger decorations on a shelf. Bend the legs to give each spider a stable stance, and keep any sharp wire tips tucked away. Let paint dry before attaching the eyes or moving the finished pieces.
5. Stenciled Pumpkins in Black and Cream

The Shabby Tree uses a pale pumpkin silhouette as the background for a dark decorative design. The flat format is useful when a mantel has little depth, and the wrapped stem adds a softer texture. Lean the piece against a stable support rather than balancing it on its narrow edge. Keep nearby objects plain enough for the stencil’s fine lines to remain visible.
6. A Colorful Spiderweb Art Panel

OOLY’s upcycled web project makes the spaces between the web lines the main color feature. A flat cardboard panel can sit behind party snacks or become a bright alternative to an all-black Halloween wall. Limit the surrounding decorations so the geometric pattern has room to show. If using tape to define the web, test a corner first because some cardboard surfaces peel easily.
7. Hanging Skeletons from Cardboard Tubes
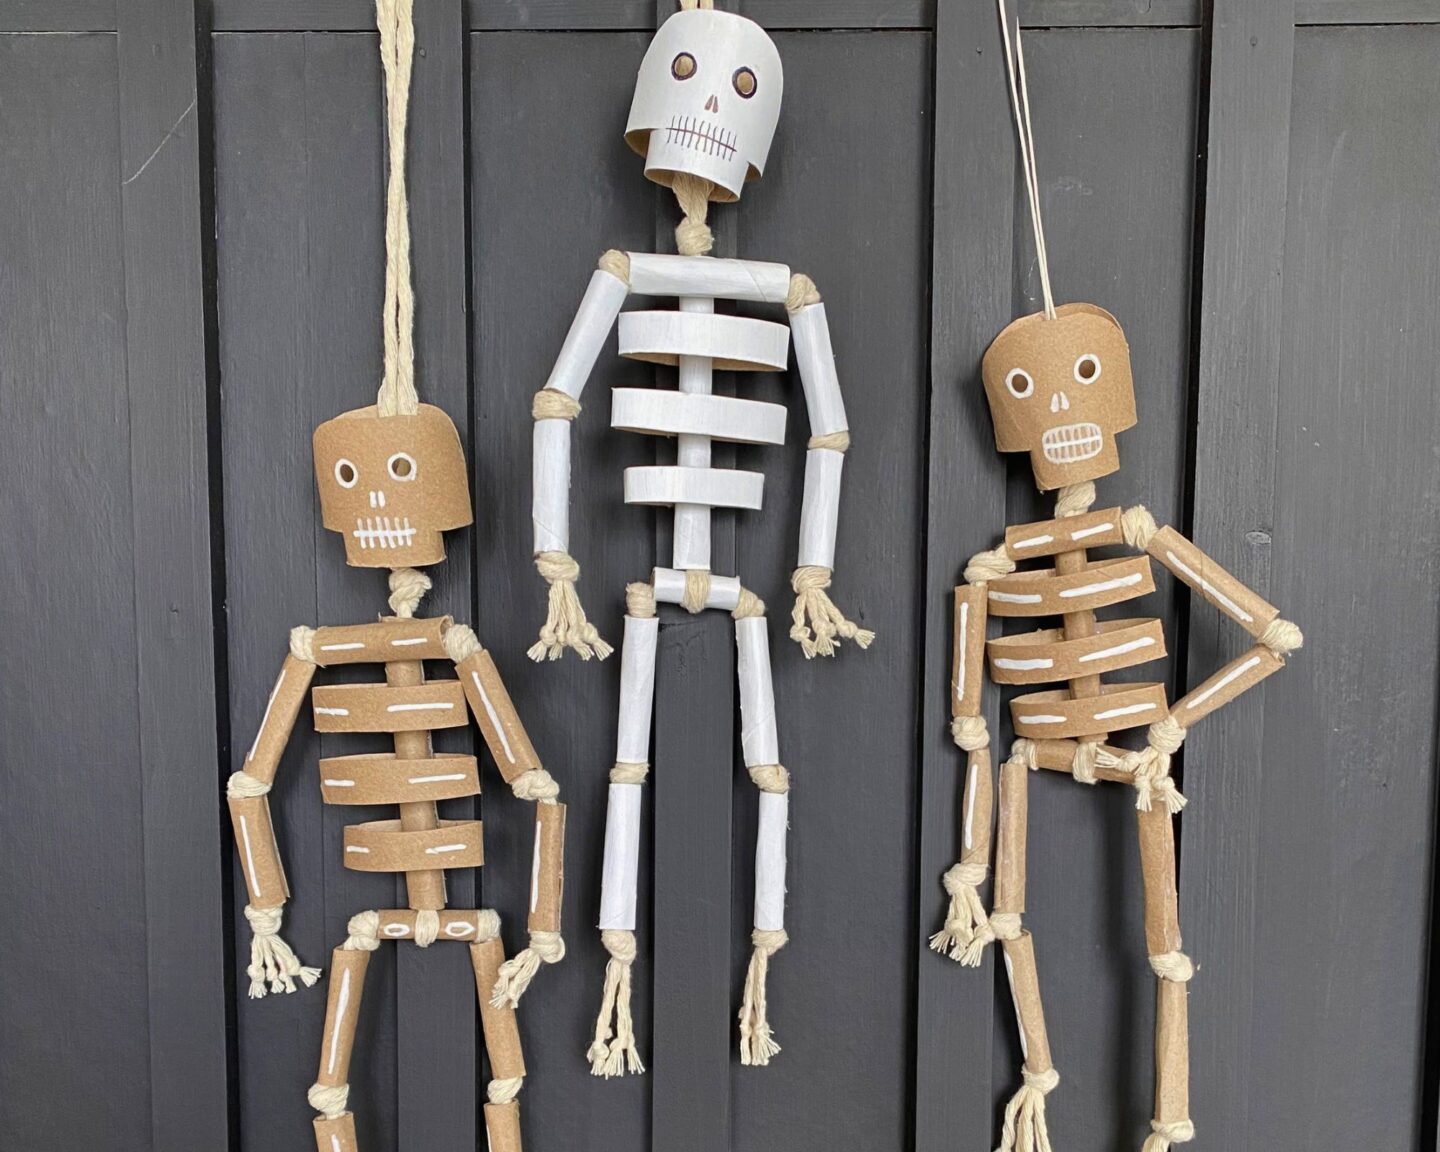
Ohoh deco builds a lightweight skeleton from cardboard tubes and cord. The separate ribs and limbs give it movement without requiring a large wall panel. Hang one beside a bookshelf or use several at different heights. Keep the hanging cord secure and out of walking routes. For more small character projects, explore these Halloween crafts using paper rolls.
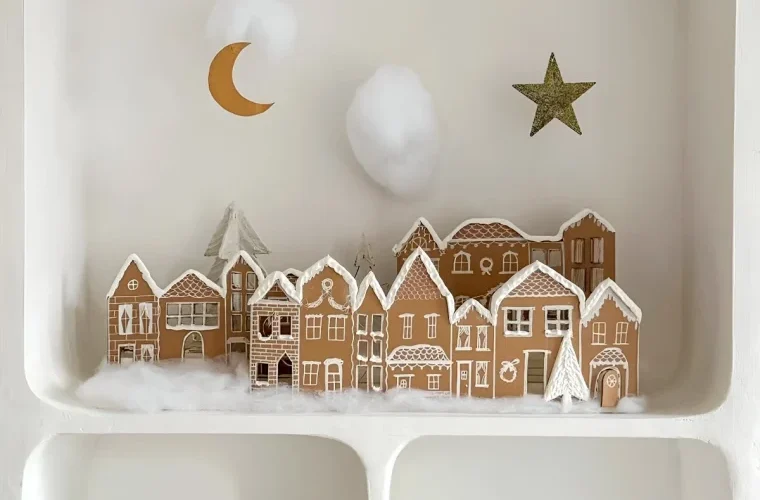
8. A Small Village of Haunted House Luminaries

Non-Toy Gifts groups small cardboard houses along a mantel, with distinct rooflines and window shapes. Several modest buildings can make a stronger display than one oversized prop. The same planning approach works for a cardboard Christmas village later in the season. Keep a little space between them so the outlines remain separate. Use cool battery LEDs for any lighting, and arrange the houses on a level surface where they will not be knocked by curtains or passing sleeves.
9. Slot-Together Pumpkins for a Mini Patch
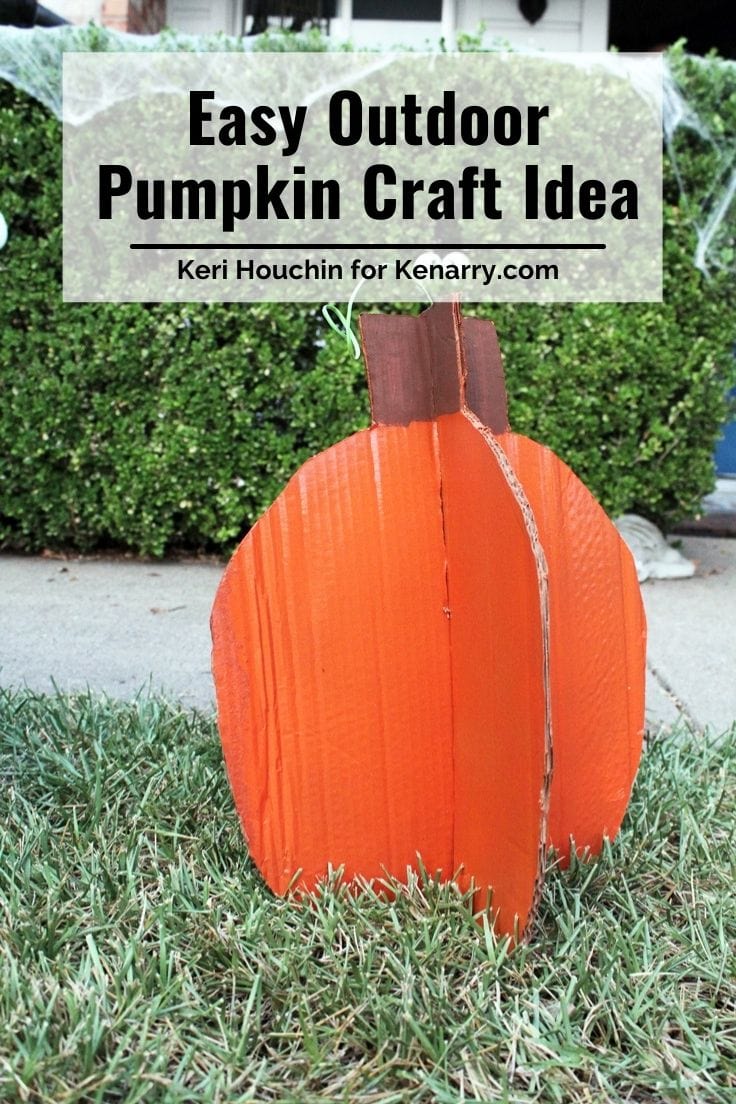
Keri Houchin’s project for Kenarry uses intersecting cardboard pumpkin shapes to make a standing decoration. The crossed construction gives each pumpkin depth while keeping its outline simple. Make a small group in different heights and leave room between them. Check each base before displaying, especially on uneven ground. Treat ordinary box cardboard as temporary dry-weather decor and bring it inside when rain threatens.
10. Rainbow Tube Bats for a Cheerful Display

Agnes Hsu’s colorful bats pair upright cardboard tubes with broad wings and expressive faces. This is a friendly direction for a family Halloween gathering where you want playful decorations. A repeated wing shape ties different colors together. Stand the bats along a shelf or cluster them beside a bowl, keeping the wings clear of food and the eye details securely attached.
11. A Miniature Coffin as a Table Prop

Clankk’s cardboard coffin on Instructables uses a dark exterior and a rich red lining to create a small theatrical centerpiece. The removable lid adds another shape to the arrangement. Keep the prop beside wrapped treats rather than placing loose food directly on painted craft surfaces. A plain cloth underneath can frame the coffin without hiding the decorative edges or making the table feel crowded.
12. A Haunted House Diorama on the Wall
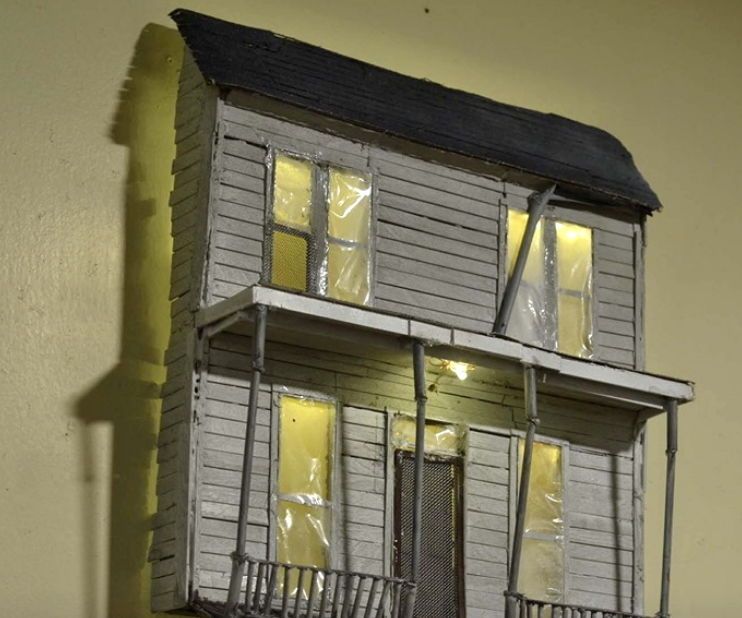
This Instructables house scene takes Halloween decorating upward, using a shallow building facade instead of a freestanding village. The porch and window details give the silhouette depth. Choose a wall position where people can see the small features without leaning over furniture. Use fixings suited to the finished weight and the wall surface, and follow the original build for how its layers are supported.
13. Bird Silhouettes in a Backlit Window

A raven and owl become striking shapes when placed against a lit window. The Instructables project uses cardboard silhouettes to create a scene that reads from outside after dark. Keep the outlines bold and leave some illuminated space between the birds. Check the view from both sides of the glass, and keep the display clear of heaters, curtain movement, and any window needed for access.
14. Cardboard Boards across a Keep Out Door
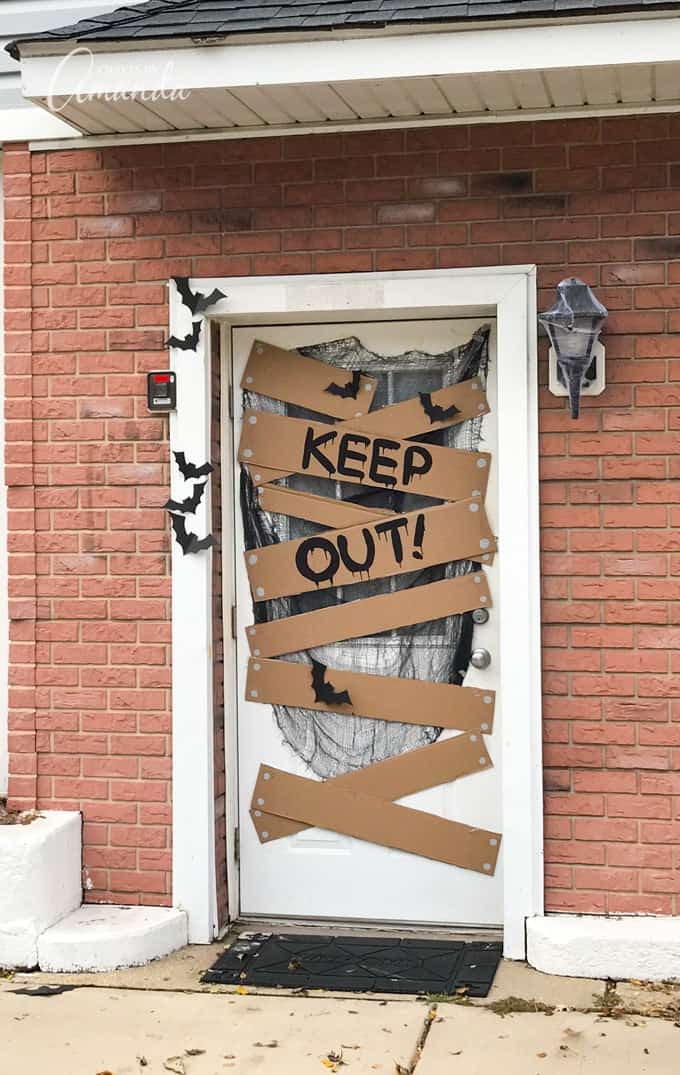
Crafts by Amanda paints cardboard strips to suggest boards across a haunted doorway. The uneven angles make the flat pieces feel more convincing than a perfectly aligned row. Keep the door handle, lock, and opening path usable. Test removable fixings on the finish first, since tape can damage paint. This works best as a temporary display with adult attention to how everything attaches.
15. A Monster Candy Conveyor for a Party

Hello, Wonderful’s monster turns a cardboard build into an interactive Halloween attraction, with candy traveling through an open mouth. It is a more involved project than the smaller shelf decorations in this collection. Follow the maker’s mechanism guide and test it before guests arrive. Keep moving parts supervised, offer wrapped treats, and place the setup where children can approach without blocking a walkway.
16. Box Tombstones with Tall, Simple Outlines
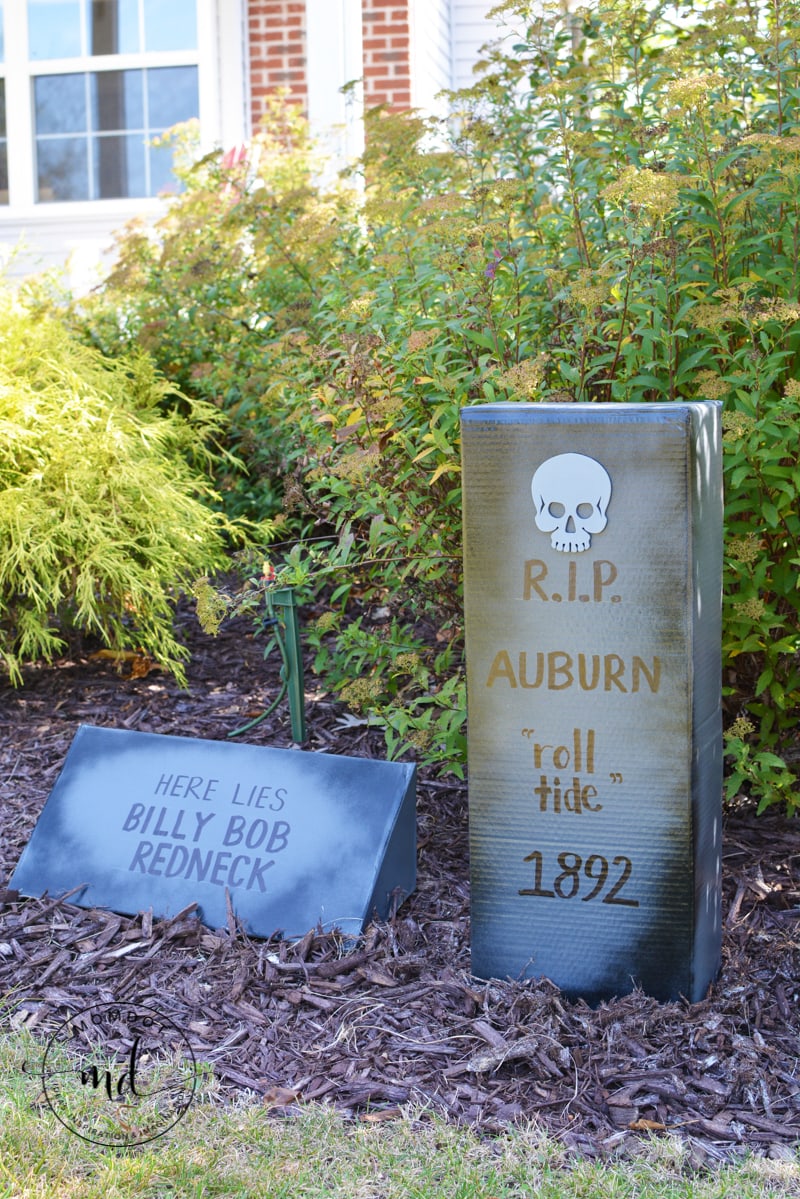
MomDot’s cardboard tombstones use tall rectangular forms and gray paint to suggest a miniature cemetery. A few clearly different heights make the group more readable than a dense line of identical shapes. Keep the lettering large enough to see from your viewing spot. Use a protected area, check that each piece is supported, and keep the whole arrangement away from steps or the main entrance route.
17. Funny-Name Tombstones on a Smaller Scale
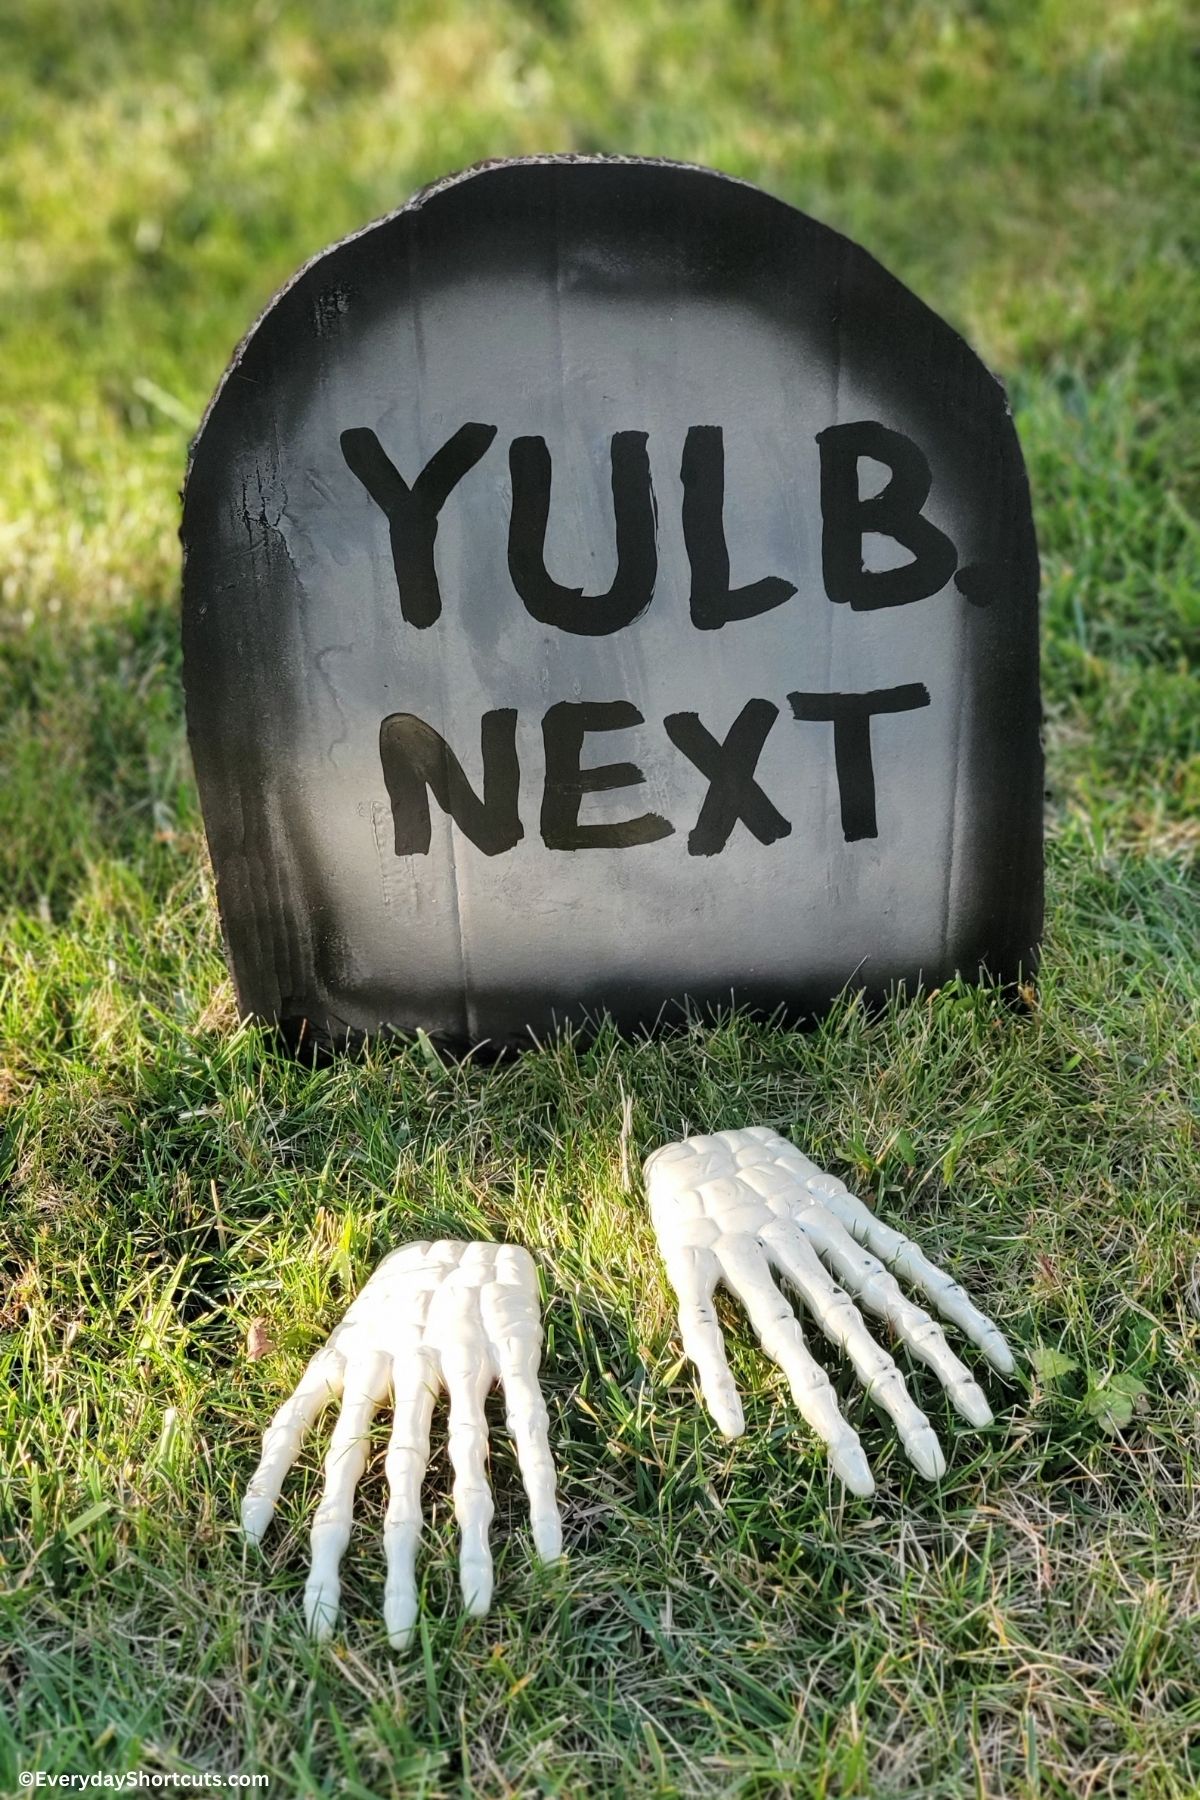
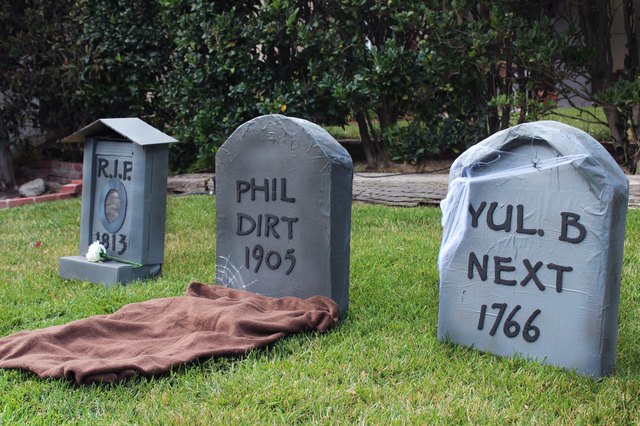
Everyday Shortcuts adds bold, playful lettering to a rounded tombstone. The joke becomes the main decorative detail, so you do not need many extra accents around it. Choose a short phrase that fits comfortably inside the outline. Follow the original project for support and assembly. Keep the lettering high enough to remain visible above grass or other decorations in front of it.
18. Dimensional Tombstones with Rounded Tops
The eHow project gives tombstones fuller bodies and shaped upper edges, creating more presence than a single flat cutout. This direction suits a small cluster where the side depth will be visible. Leave room around the bases so they can be checked and secured. Follow the source’s structure and weighting guidance, and allow wet finishing materials to dry fully before moving the pieces.
19. A Cardboard Cemetery Entrance with Columns
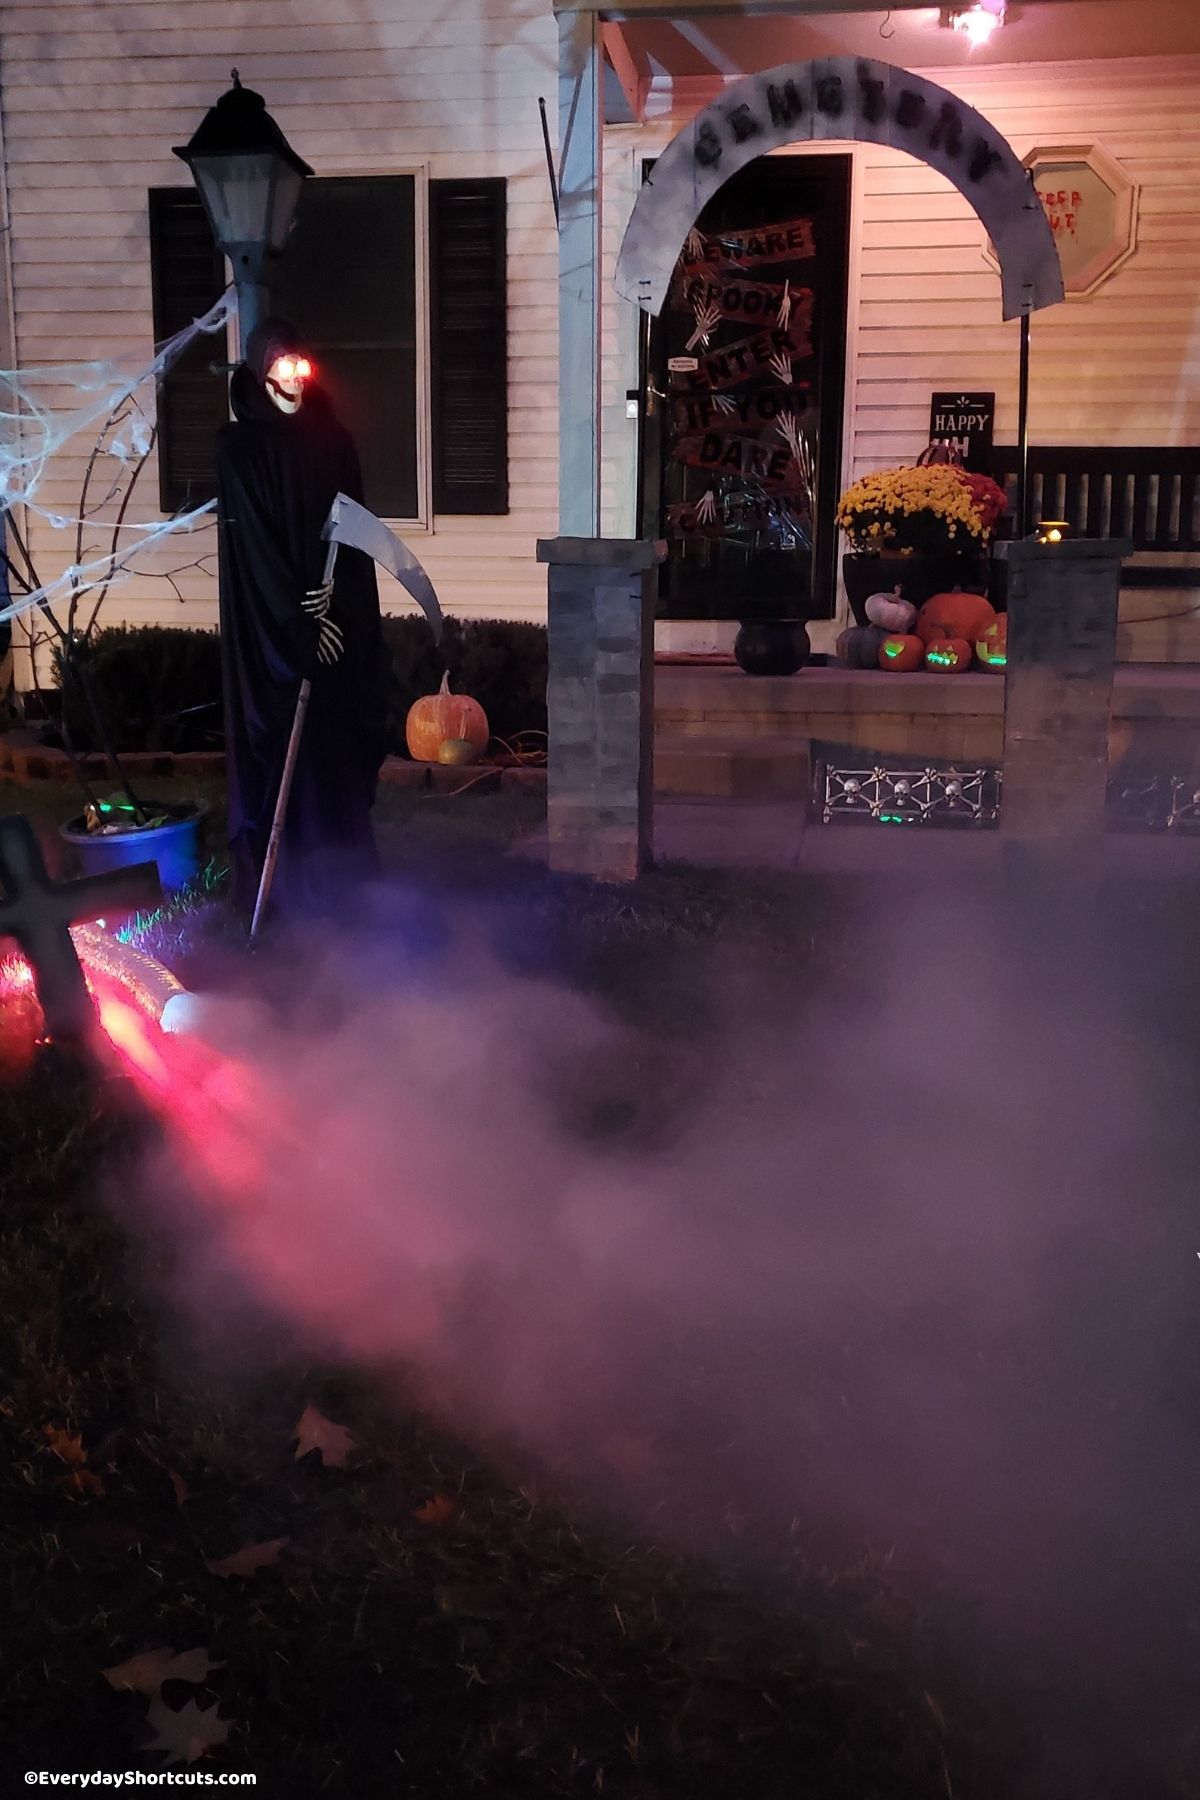
Everyday Shortcuts combines tall columns with a curved cemetery sign to mark the entrance to a display. The repeated stone pattern helps the separate parts read as one structure. This is a larger prop, so plan its position before building. Keep it clear of required exits, check its support carefully, and use the creator’s anchoring method rather than assuming an empty box will stay upright.
20. A Cardboard Headstone with a Concrete Finish
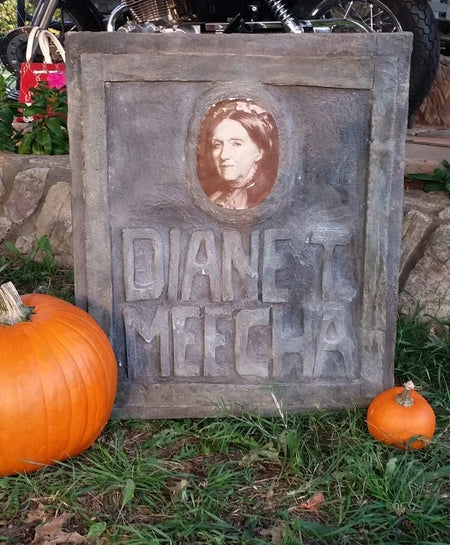
Direct Colors demonstrates a more advanced headstone project that combines a cardboard structure with a concrete-style finishing system. Its textured face offers a different look from painted flat board. Follow the full manufacturer project, including preparation, support, and product precautions. A coating does not automatically make an improvised cardboard build weatherproof. Choose a protected display and inspect the finished structure before putting it outside.
Build a Halloween Scene That Fits Your Space
Choose one main cardboard project, then repeat a color or character in the smaller details around it. A shelf village needs a different scale from a porch entrance, and open space helps both feel intentional. Add lightweight garlands or a few small recycled crafts where the scene needs balance. These projects offer useful ways to extend the handmade theme through the room:
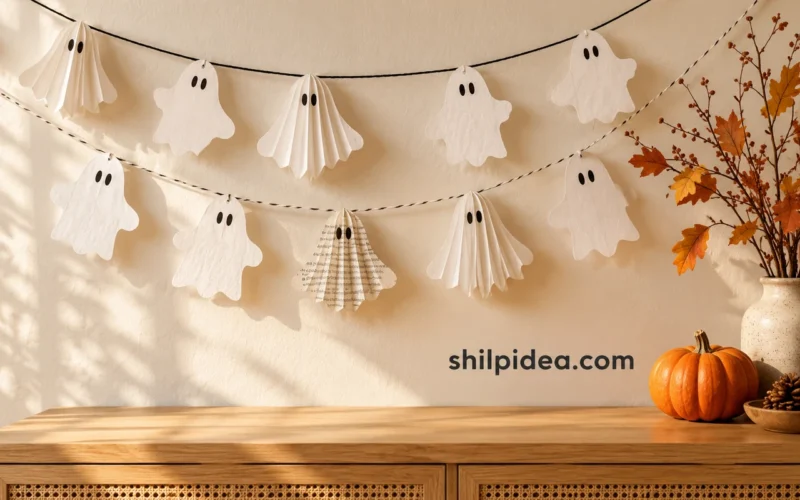
- 15 Paper Ghost Garland Ideas for Last-Minute Halloween Decor
- 10 Toilet Paper Roll Halloween Craft Ideas
- DIY Cardboard Photo Frames That Look Stylish on a Budget
- 10 Cardboard Animal Craft Ideas for Kids
- How to Make a Cardboard Christmas Village










0 Comments