How to Paint a Color-Blocked Arch with Painter’s Tape
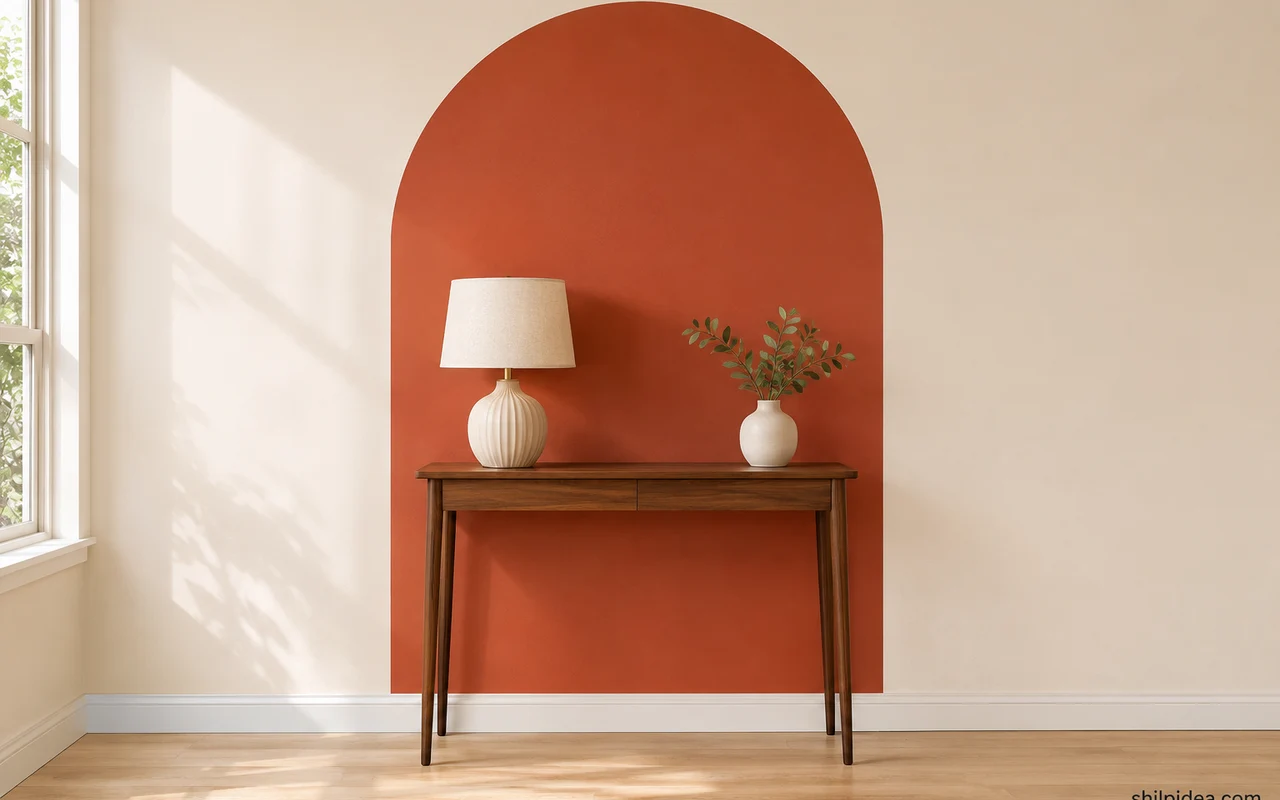
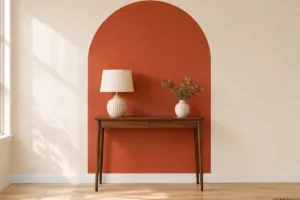
A painted arch can define a small area without adding furniture. Use a warm accent behind a console, beside a desk, or around a shelf, then let the existing wall color frame the shape.
Choose the width and height from the furniture you want to highlight. These color and finish ideas can help you pick an accent that fits nearby materials.
The example makes a 30-inch-wide arch that reaches 48 inches above the baseboard. The same layout works at another size. If you plan to hang something inside it, look at these personalized wall ideas before marking the wall.
Materials and Tools
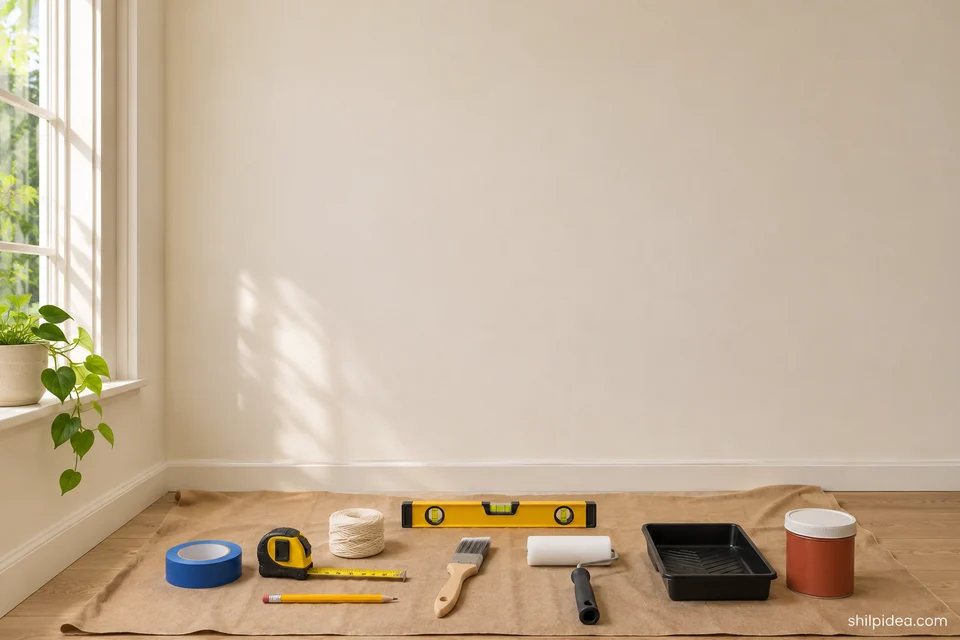
Gather the supplies before you draw the outline, and keep a little of the original wall paint for the edge.
- Painter’s tape – Choose a tape rated for the wall surface. Use a narrow roll for the curved edge.
- Measuring tools – Use a tape measure, a spirit level, and a sharp pencil.
- Cotton string – Use a nonstretch string, with extra length for attaching the pencil.
- Interior wall paints – Gather the accent paint and a small amount of the existing wall color.
- Angled brush, mini roller, and tray – Match the roller cover to the wall texture and paint.
- Drop cloth and clean rag – Protect the floor and wipe dust from the area before masking.
Precautions Before You Begin
Check the paint and tape labels before you start.
- Work with ventilation as directed by the paint label and keep the drop cloth flat to avoid trips.
- Apply tape to a clean, dry, sound surface. Test it in an inconspicuous spot and follow its guidance for freshly painted walls.
- Leave the trim outside the painted shape unless you have selected a compatible paint and want the color to continue onto it.
1. Measure and Draw the Arch
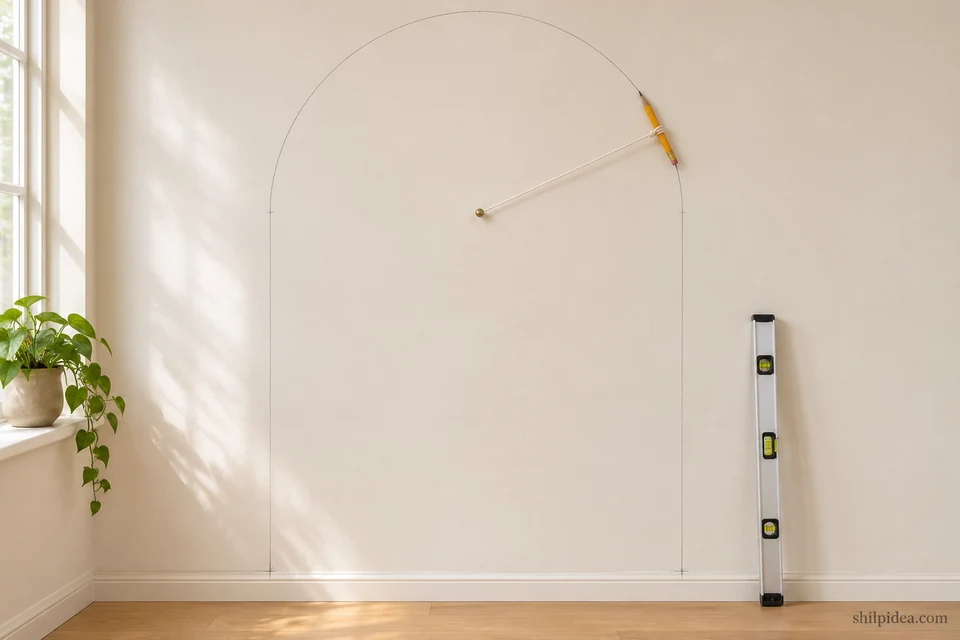
- Mark the width and the curve’s starting height. Mark the center of the arch above the baseboard. Measure 15 inches to each side and mark both sides at 33 inches high, using the top of the baseboard as your measuring point.
- Draw the curve and sides. Hold or secure one end of the string at the center mark, 33 inches up. Set the distance from that point to the pencil tip at 15 inches. Keep the string taut as you sweep the top half of a circle. Use the level to extend straight sides down to the baseboard.
2. Mask the Sides and Curve
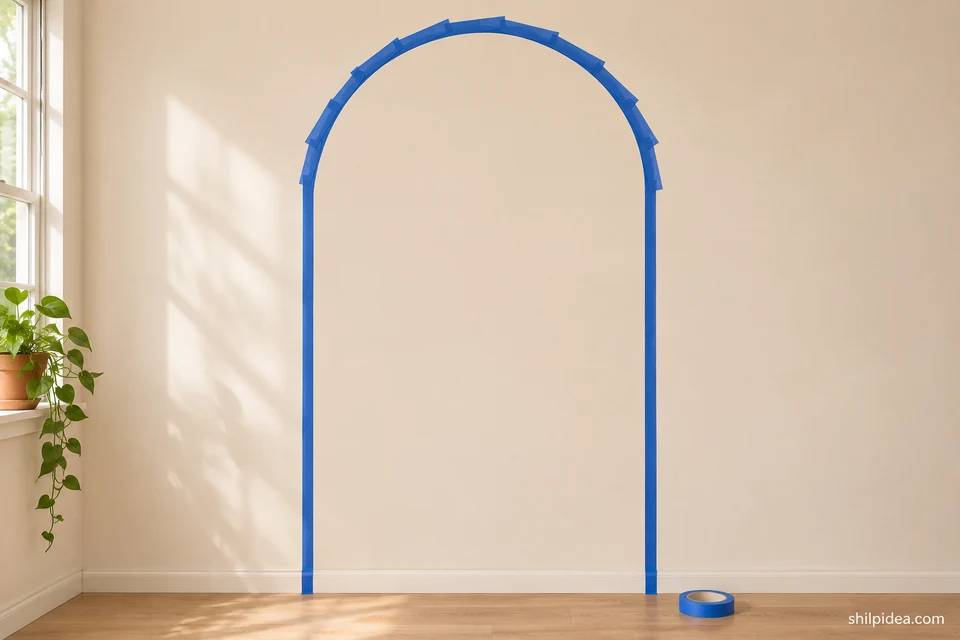
- Mask outside the pencil line. Lay straight strips down the sides, with the inner tape edge on the line. Use short overlapping pieces along the curve, making them shorter where needed. Protect the baseboard with a separate strip.
- Check the curve from across the room. Reposition any strip that makes a visible corner. Press down the paint-facing edge, including every overlap, without stretching the tape as you work.
3. Seal the Tape Edge
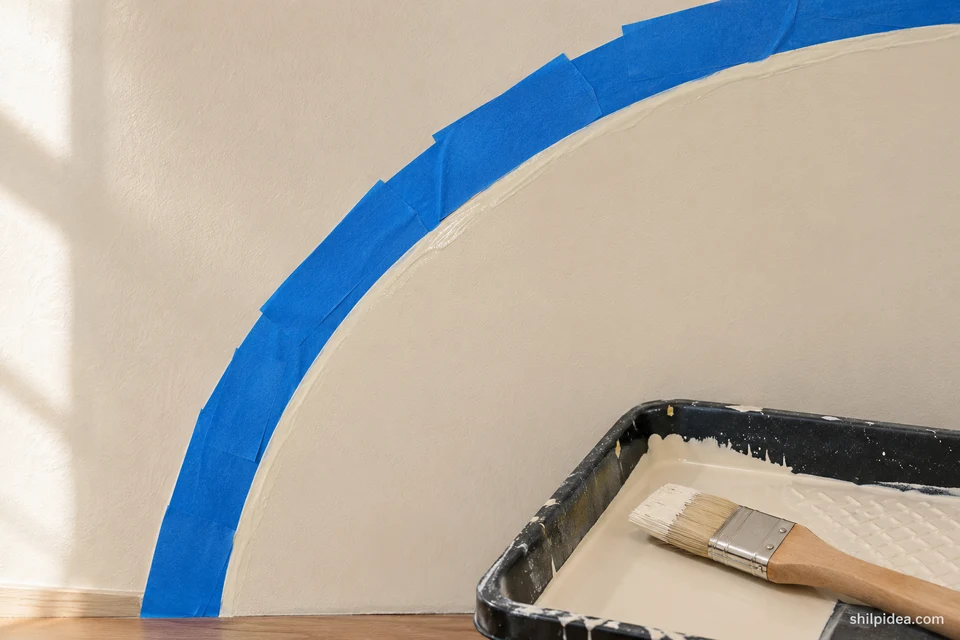
- Brush on a thin coat of the wall color. Brush the existing wall color along the inside edge of the tape. Any small seepage will match the wall. Use a light coat so paint does not build up into a ridge.
- Let the edge coat dry. Follow the paint label for recoat timing. Check that the tape still lies flat before adding the accent color.
4. Fill the Arch With Accent Paint
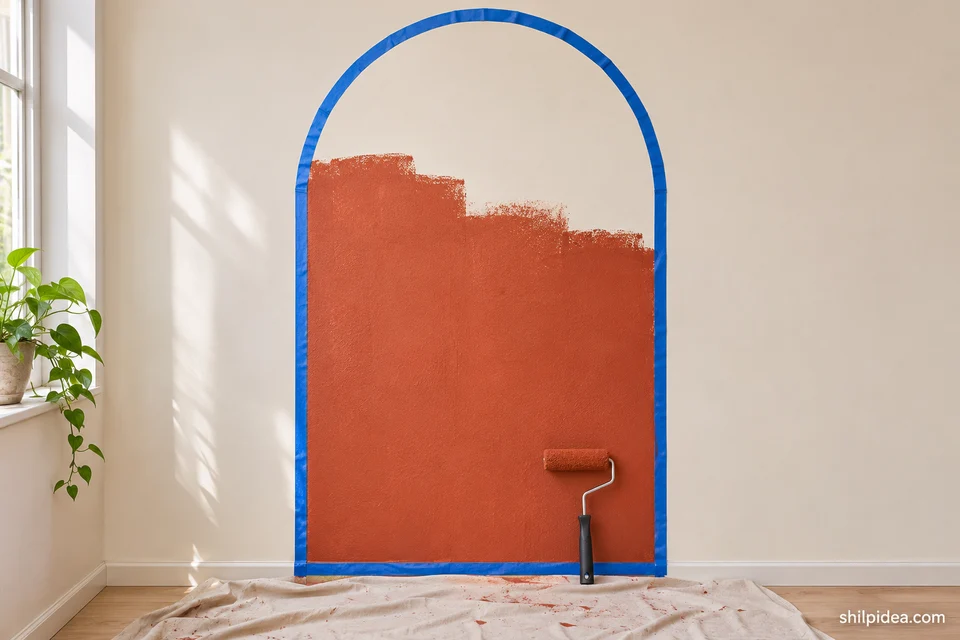
- Cut in along the taped outline. Use a lightly loaded angled brush at the edge. Work from the tape toward the inside of the arch and keep the rest of the coat even.
- Roll the open area. Fill the center with a mini roller and overlap the brushed band while it is wet. Add another thin coat if needed after the label’s recoat interval.
5. Peel the Tape and Finish the Edge
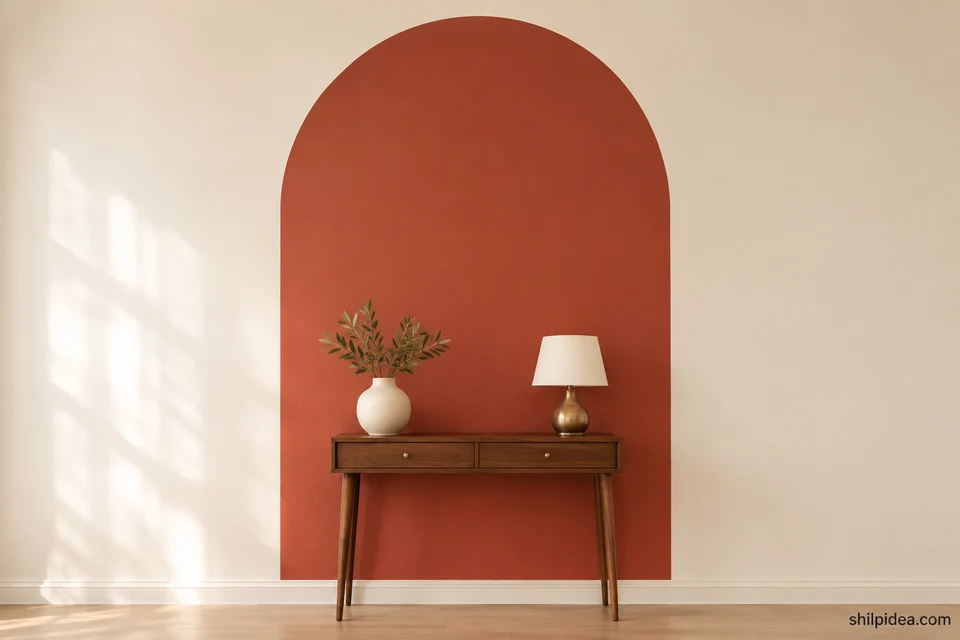
- Remove the tape according to its label. Many painter’s tapes are designed to be removed while the final coat is still wet. Peel slowly back on itself at about 45 degrees and keep the loose tape away from the painted wall. Check the FrogTape removal instructions if you use that tape.
- Touch up after drying. Use a small brush and the matching wall or accent color to tidy any small marks. Give the paint the drying time specified on the label before pushing furniture back against it.
Try Another Wall Update
Use these projects to decide what belongs near the arch or carry an accent color into another corner of the room.
- Personalized wall decor for everyday rooms
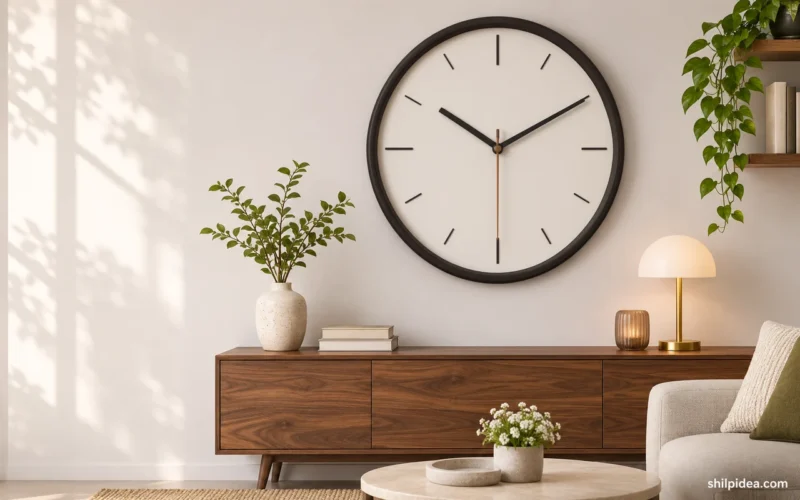
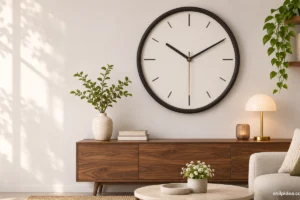
- Wall clock displays for different rooms
- Handmade frames for wall mirrors
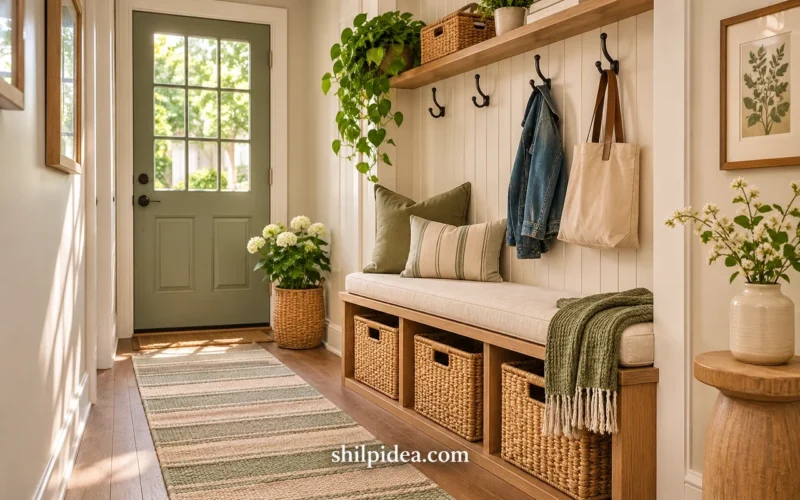
- Creative ways to refresh interiors
Where would you paint an arch, and what color would you put inside it? Share the wall and furniture you have in mind. If you’ve already tried masking a curve, tell us which part took the most adjustment.





















0 Comments