21 Bathroom Tile Ideas with Color and Pattern
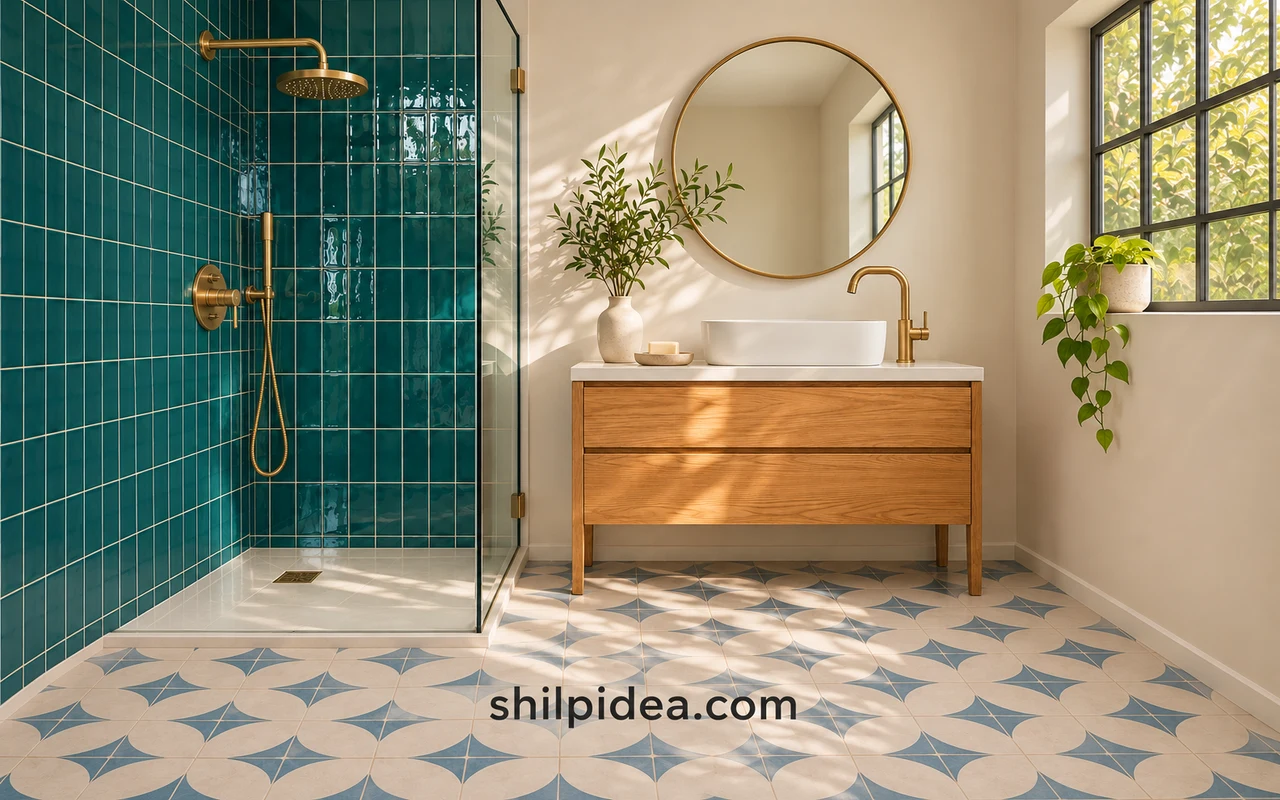
Bathroom tile can change the mood of a room through color, shape and the direction of its joints. A small backsplash, a patterned floor or a fully tiled shower each gives you a different place to begin.
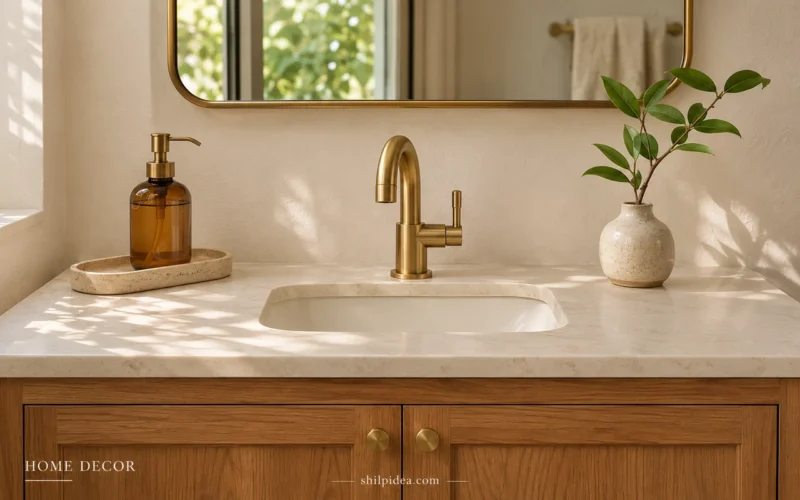
These bathroom tile ideas explore 21 combinations and planning choices. Our bathroom counter ideas can help you finish the space without filling every surface.
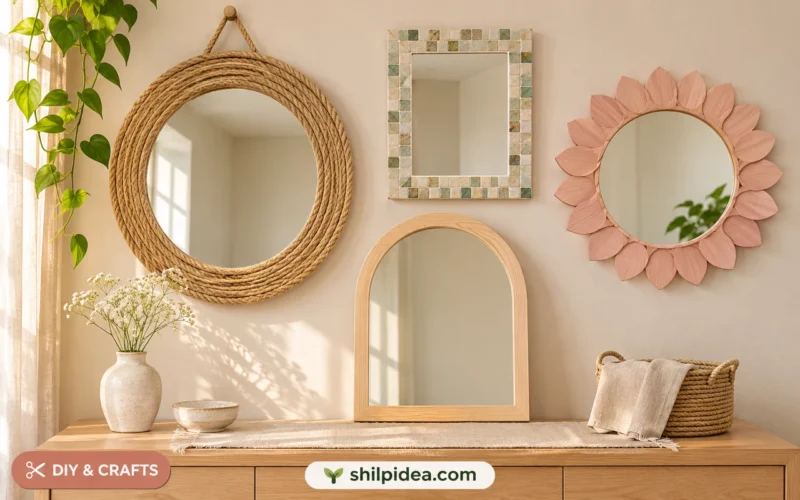
Compare quiet neutrals, geometric repeats and stronger color blocks, then consider the surrounding details with our mirror frame ideas.
1. Let Large Marble-Effect Panels Set a Quiet Backdrop

Broad pale panels give the eye a restful surface before you add a mirror, basin or shelf. In this example, soft veining supplies the pattern instead of a strong repeated motif. Compare several full-size samples or product images before ordering, since the distribution of veins can change the final effect. Let accessories pick up one of the quieter tones rather than competing with the wall.
See the original project: Let Large Marble-Effect Panels Set a Quiet Backdrop — Mandarin Stone.
2. Pair Pale Wall Tile with a Simple Floor

A restrained wall-and-floor combination can make a compact shower room feel considered without relying on a bold feature. Keep the contrast gentle, then use fixtures or a towel rail to supply a sharper outline. Similar colors do not mean interchangeable specifications: check each product’s intended application, floor suitability and wet-area requirements. The layout should support everyday use as well as the photograph.
See the original project: Pair Pale Wall Tile with a Simple Floor — Mandarin Stone.
3. Give a Basin Alcove a Fine Hexagonal Pattern

Small hexagonal tiles create a delicate background around a basin. Their repeated edges add detail even when the palette stays nearly white. This is useful when a compact corner needs interest without another object on the counter. Leave enough plain space around the mirror to read its shape clearly. Our bathroom counter ideas offer ways to finish the area while keeping the sink clear.
See the original project: Give a Basin Alcove a Fine Hexagonal Pattern — Mandarin Stone.
4. Use Veined Green Tile Behind a Floating Basin

A dark tiled backsplash can give a simple white basin a strong outline. Here, pale veining keeps the green surface visually active without introducing a second geometric pattern. View the tile beside the actual basin material and metal finish before choosing grout. A small sample can look very different from a full wall, so check the arrangement at the scale you plan to install.
See the original project: Use Veined Green Tile Behind a Floating Basin — Mandarin Stone.
5. Make a Narrow Vanity Recess Feel Intentional

A slim tiled recess can become a focused design feature rather than an awkward leftover gap. The long, fine tiles in this example follow the vertical shape of the space. Keep shelves and basin details simple so the repeated lines remain visible. If you are planning a recess in an existing wall, establish the construction and plumbing constraints with the installer before settling on the decorative layout.
See the original project: Make a Narrow Vanity Recess Feel Intentional — Mandarin Stone.
6. Highlight an Arched Shower Niche with Smaller Tile

An arched niche introduces a curved detail within a larger tiled wall. Using a smaller format inside it gives the recess its own texture without needing a completely different palette. Plan the arch, shelves and surrounding joints together; a good-looking reference photo does not reveal the waterproofing behind the finish. Confirm those details before construction, and keep the niche sized for the bottles you actually use.
See the original project: Highlight an Arched Shower Niche with Smaller Tile — Mandarin Stone.
7. Wrap a Bath Corner in a Small Square Grid

Small square tiles can create an enveloping surface around a bath and shower. The grid becomes a quiet pattern when the grout stays close to the tile color. Let natural light and a simple bath silhouette provide the contrast. A few carefully chosen materials are enough here; extra patterned accessories can weaken the effect of the continuous tiled surface.
See the original project: Wrap a Bath Corner in a Small Square Grid — Fireclay Tile.
8. Change Tile Size Within One Green Palette

A restrained color family can still support several scales. In this bathroom, smaller dark squares sit below taller pale-green rectangles, giving the wall a clear change of rhythm. Test where that transition lands in relation to the bath edge, fixtures and niche. Keeping the overall palette close helps the size change read as a deliberate detail instead of two unrelated tile choices.
See the original project: Change Tile Size Within One Green Palette — Fireclay Tile.
9. Frame a Colored Shower with Pale Side Walls

Limiting the stronger color to the shower creates a clear destination within the bathroom. Pale side walls help define the opening and give the green tile room to stand out. Repeat the color in one small detail if you want a connection to the basin area, then stop. For softer finishing accents nearby, our bathroom plant ideas explain options to consider alongside the room’s actual light.
See the original project: Frame a Colored Shower with Pale Side Walls — Fireclay Tile.
10. Make Herringbone the Main Decorative Move

Herringbone has enough movement to become the feature by itself. Deep green gives this shower a strong backdrop while the zigzag joints supply the pattern. Before ordering, ask the installer how the layout will meet corners, the shower controls and any shelf. A small adjustment in the starting position can change the look of the cuts at the edges. Use a sample layout to agree on that position rather than leaving the decision until installation day.
See the original project: Make Herringbone the Main Decorative Move — Fireclay Tile.
11. Combine Pink Squares with a Contrasting Floor Shape

A pink square-tile wall and a darker geometric floor can share the room without looking identical. The change in shape helps separate the surfaces, while simple white fixtures keep the combination readable. Start with the wall-and-floor pairing before adding another finish. If both tiles have visible variation, lay out enough samples together to see whether the whole palette feels balanced.
See the original project: Combine Pink Squares with a Contrasting Floor Shape — Fireclay Tile.
12. Outline Pink Wall Tile with a Fine Border

A narrow contrasting border can define a tiled area much more quietly than a second full-wall pattern. This vanity uses a slim outline to organize the pale pink surface behind the mirrors. Plan how the border turns at corners and ends beside cabinets before setting the main field. Use the same degree of restraint in nearby accessories so the outlined shape remains the detail you notice.
See the original project: Outline Pink Wall Tile with a Fine Border — Fireclay Tile.
13. Use Longer Pink Tiles for a Softer Graphic Wall

Long rectangular pink tiles create a broader rhythm than small squares. The surface feels decorative through proportion and grout lines rather than through a printed motif. Try the sample in your bathroom’s evening lighting as well as daylight; pink can read warmer or cooler beside different bulbs and surrounding materials. Our mirror frame ideas can help you think about the shape above a quieter backsplash.
See the original project: Use Longer Pink Tiles for a Softer Graphic Wall — Fireclay Tile.
14. Balance Small Wall Squares with a Different Floor Scale

A change in tile scale can keep a richly colored bathroom from feeling visually flat. Here, smaller squares cover the bath wall while a different floor treatment gives the lower surface its own rhythm. Choose which plane should attract attention first, then let the other support it. Carry one shared tone between them rather than expecting completely different materials to coordinate automatically.
See the original project: Balance Small Wall Squares with a Different Floor Scale — Mandarin Stone.
15. Move a Three-Color Checkerboard Up the Wall

A checkerboard can travel beyond the floor when the colors have a clear relationship. Three shades make this version more complex than a simple light-and-dark alternation. Draw the repeat before buying tile, including the places where it meets a door or a change in direction. Keep the rest of the room relatively quiet so the sequence can be understood at a glance.
See the original project: Move a Three-Color Checkerboard Up the Wall — Fireclay Tile.
16. Soften Checkerboard with a Pastel Palette

Checkerboard does not have to rely on black and white. A group of gentle colors can give the grid a playful feel while white fixtures provide a visual pause. Choose the full group together rather than adding shades one at a time. The balance depends on how often each color appears, so prepare a layout with the intended proportions before approving the final mix.
See the original project: Soften Checkerboard with a Pastel Palette — Fireclay Tile.
17. Use a Contrasting Tile Shape to Mark the Light

An accent can respond to the room’s architecture rather than filling a randomly chosen wall. This shower pairs pink triangles with a yellow area near the skylight, creating a clear relationship between geometry and daylight. Consider where natural light actually falls in your room before adapting the idea. You do not need the same colors to use the principle: one localized change in tone can make an architectural feature feel intentional.
See the original project: Use a Contrasting Tile Shape to Mark the Light — Fireclay Tile.
18. Turn Stripes into a Room-Wide Rhythm

Alternating bands can connect several walls when their spacing is planned around the whole room. A soft ivory-and-gray combination keeps the graphic treatment from becoming too harsh. Sketch the stripe heights across the vanity, corners and shower opening before setting tile. Keep visible shelves and storage considered too; our creative shelf ideas offer styling inspiration, although any bathroom material must suit its moisture exposure.
See the original project: Turn Stripes into a Room-Wide Rhythm — Fireclay Tile.
19. Separate the Bath Area with Two Tile Textures

Two tile fields can define a bathing area without adding another physical divider. The warm and pale brick-like surfaces in this example differ in both tone and direction. Choose the transition deliberately and check how it looks from the doorway. Textured surfaces also deserve a practical conversation about cleaning access, especially near fixtures and joints, before you commit to the finish.
See the original project: Separate the Bath Area with Two Tile Textures — Fireclay Tile.
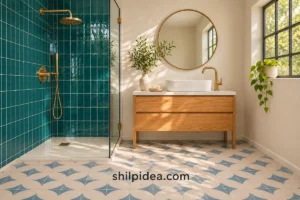
20. Add One Bright Color to Black-and-White Geometry

A vivid blue changes the character of an otherwise monochrome pattern. The stronger color can anchor the floor while narrow black-and-white elements keep the wall lively. Limit the palette elsewhere so the tiles remain the main event. Repeat one of their colors in a small accessory if needed, but avoid adding a competing print simply because the room already has a bold pattern.
See the original project: Add One Bright Color to Black-and-White Geometry — Fireclay Tile.
21. Plan a Multicolor Repeat Before Ordering Tile
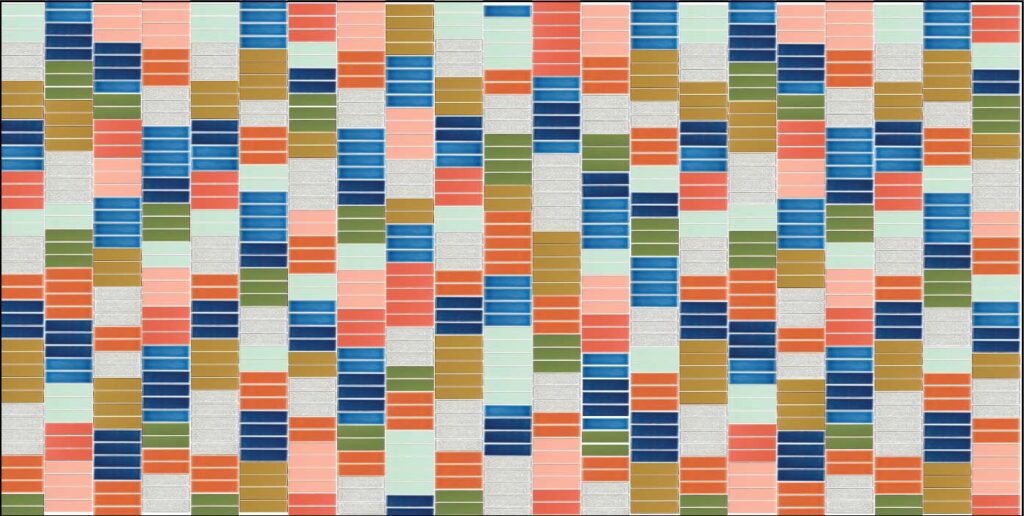
A layout drawing is useful when the design depends on several colors in a specific sequence. Racheal Jackson’s mockup shows the planning stage of her bathroom floor rather than an installed surface. Use a scaled plan to record the repeat, quantities and edge conditions, then agree it with the installer. A clear drawing makes it easier to discuss changes before individual tiles are fixed in place.
See the original project: Plan a Multicolor Repeat Before Ordering Tile — Racheal Jackson / Banyan Bridges.
Finish Your Bathroom Palette with Useful Details
Choose one main tile decision first, then compare the other surfaces beside it. A consistent metal finish, a clear counter and practical storage can give a patterned room breathing space. Before ordering, confirm the exact tile’s floor or wall rating, wet-area suitability, maintenance needs and installation requirements with the supplier and installer. These ideas can help with the finishing choices around the tile.
- Bathroom Counter Details That Leave Space
- Handmade Frames for a Decorative Mirror
- Eggshell White Walls with Warm Accents
- Bathroom Plants for Suitable Light Conditions
- Creative Details for a Thoughtful Interior
Which tile detail would make the biggest difference in your bathroom? Share the colors, shapes or layout you are considering in the comments. If you have already chosen tiles for a similar space, we would welcome a practical tip about what helped you decide.




















0 Comments