How to Make a Fabric-Scrap Poinsettia Gift Topper
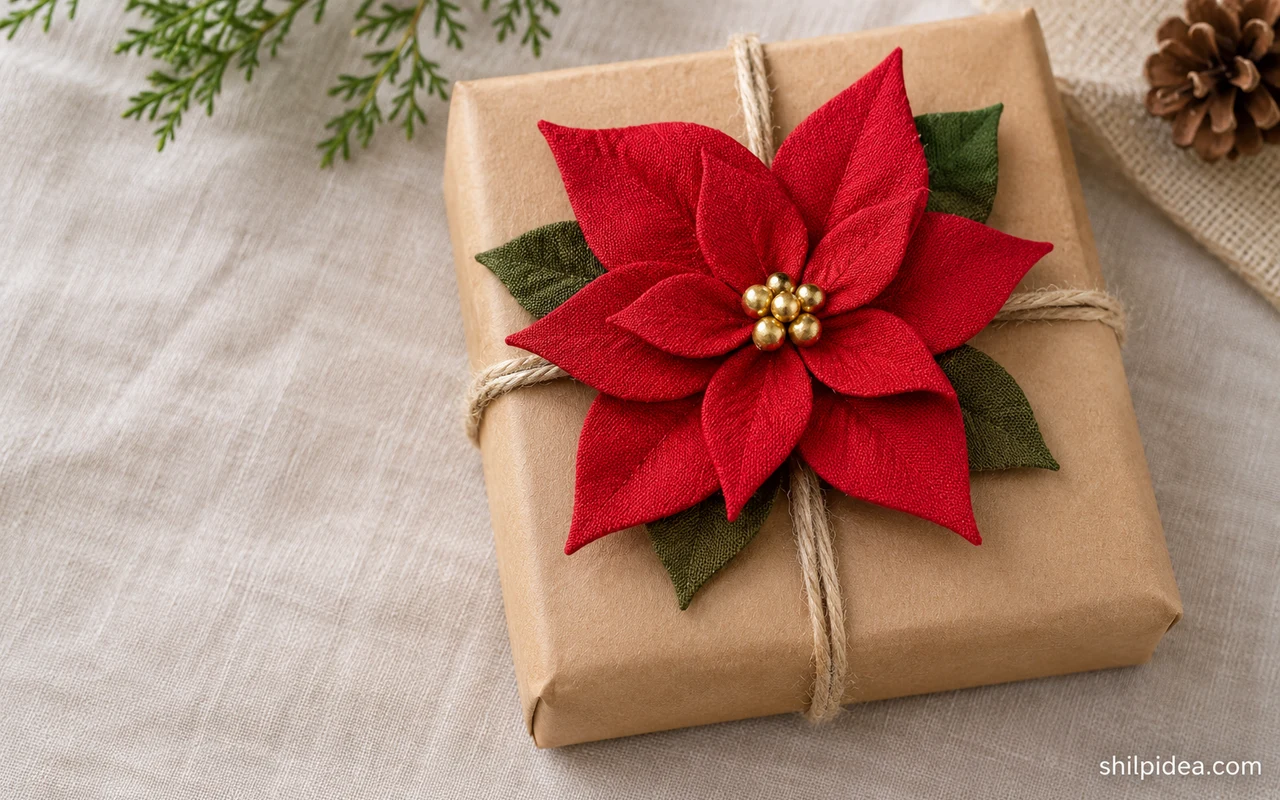
A fabric-scrap poinsettia gift topper turns plain wrapping into a keepsake. Five gathered red petals, two green leaves, and a yellow stitched center make one small flower.
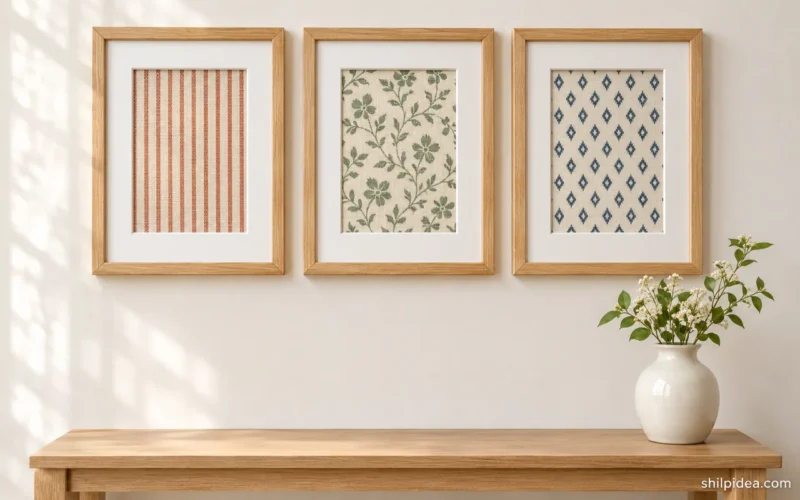
Use tightly woven cotton that holds a crease. Leftovers from framed fabric wall art are large enough if you can trace a full petal on each scrap.
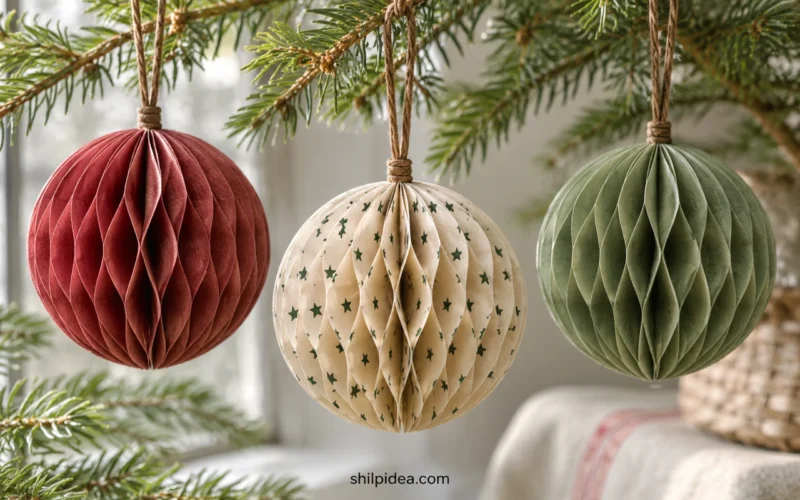
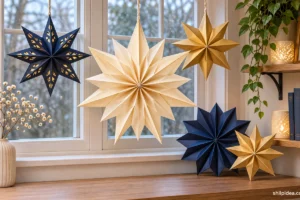
You’ll cut the pieces, gather the flower by hand, and attach a removable tie. Pair it with paper honeycomb ornaments if you’re wrapping several handmade gifts.
Materials and Tools
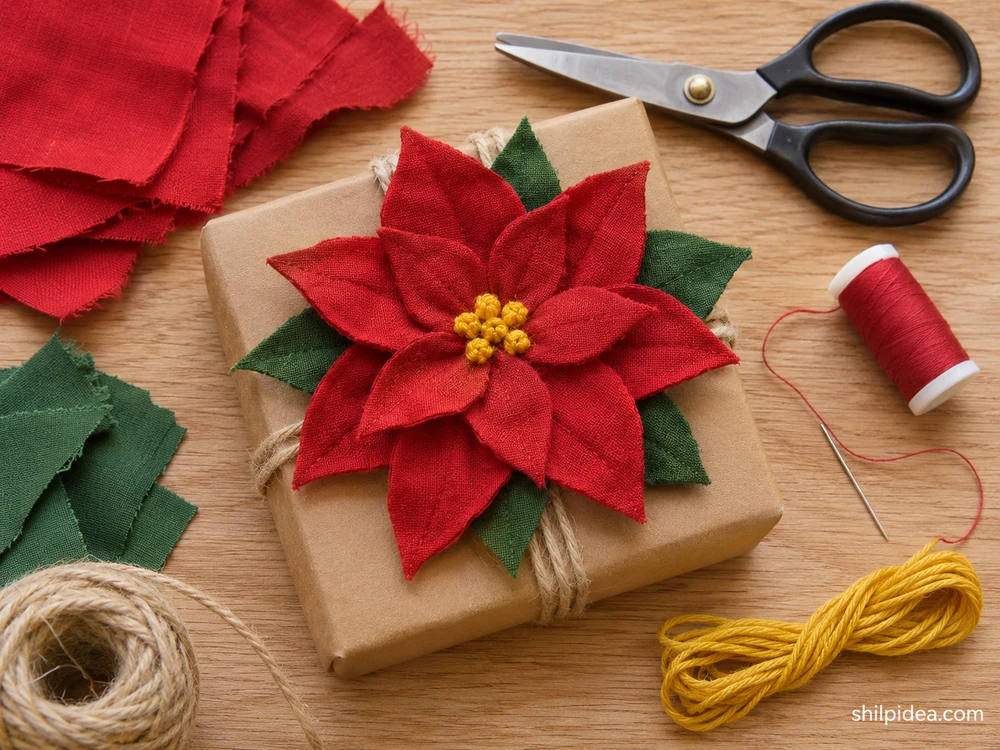
Gather these supplies for one topper about 3 to 4 inches across, depending on how tightly you gather the petals.
- Red woven cotton – Use enough for five petals, each about 2 inches (5 cm) long and 1 inch (2.5 cm) wide.
- Green woven cotton – Set aside enough for two leaves, each about 2 inches (5 cm) long and a little narrower than the petals.
- Paper and pencil – Use them to make a reusable petal template.
- Fabric scissors – Choose a sharp pair that cuts the curves cleanly.
- Hand-sewing needle and matching thread – Use one length to gather the petals and another for the leaves or tie loop if needed.
- Yellow embroidery floss – Use a short length for the small stitches at the center.
- Twine or ribbon – Measure it around the package and leave enough at both ends to tie a bow.
Precautions Before You Begin
Set up a clear work surface before tracing or sewing.
- Press wrinkled scraps before cutting, using the iron setting recommended for the fabric.
- Keep scissors, loose needles, and pins in a tray as you work.
- Keep the finished cotton topper away from candles and other open flames.
1. Trace and Cut the Petals and Leaves
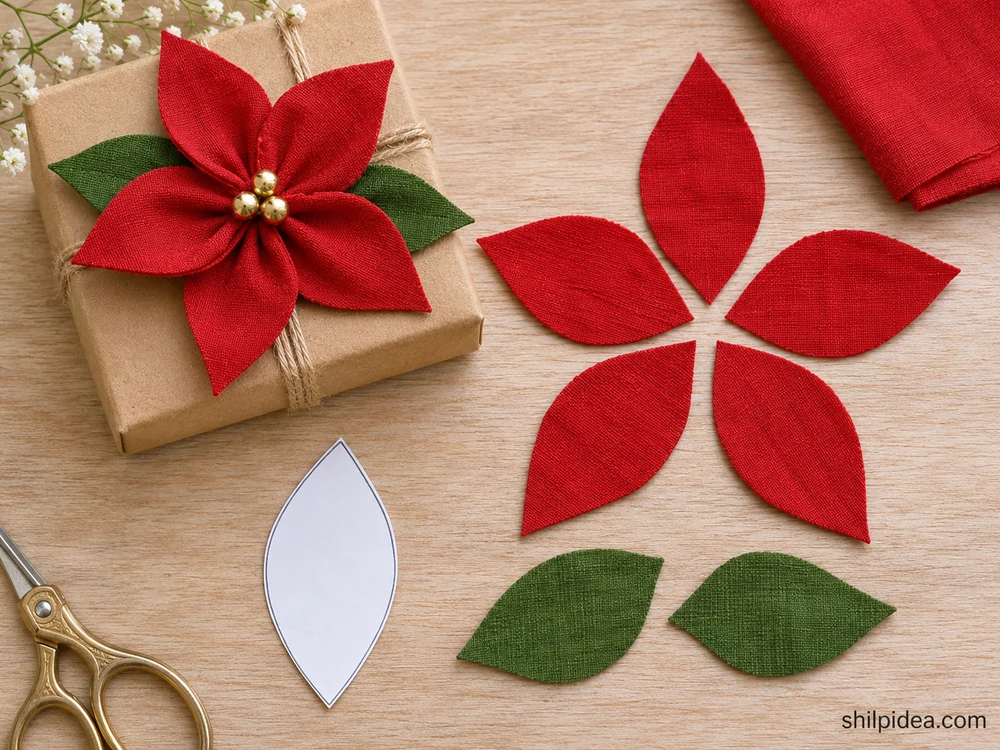
- Make a template. Draw a pointed oval with a slightly flattened bottom. Keep the bottom wide enough for a few gathering stitches, then cut out the paper template.
- Cut seven fabric pieces. Trace five red petals and cut them just inside the pencil lines. Cut two narrower green leaves and lay them beside the petals to compare their lengths.
2. Gather the Five Petal Bases
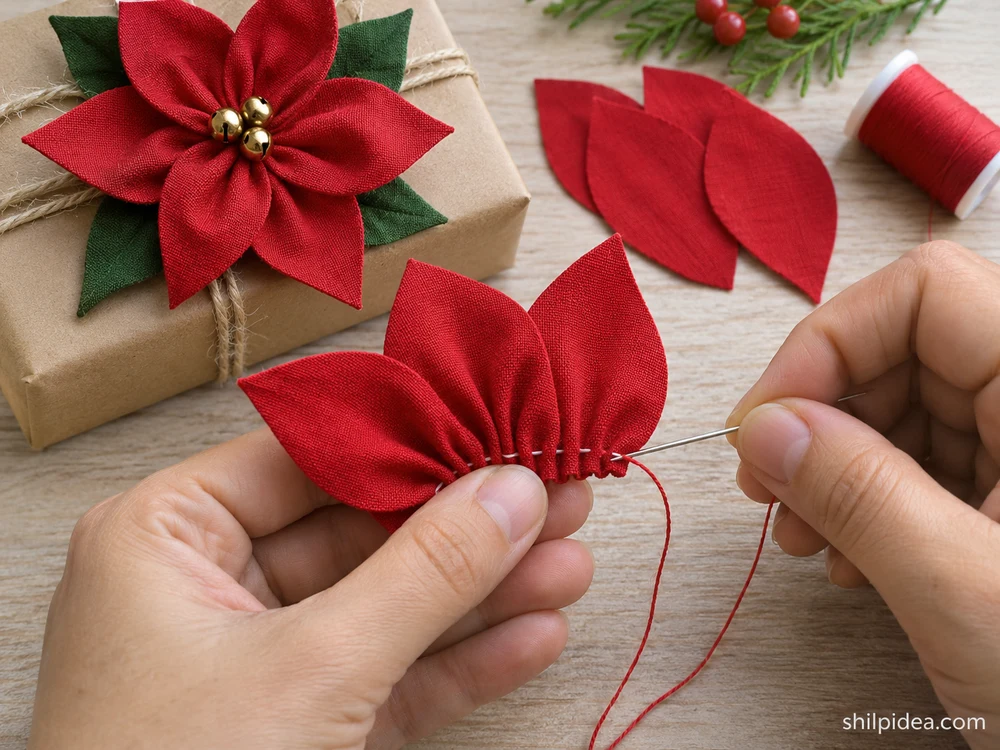
- Start the running stitches. Knot the end of matching thread. Sew two or three short running stitches across the flat base of the first petal, a little in from the raw edge.
- Thread the remaining petals. Add the other petals to the same thread with their tips pointing the same way. Leave the thread loose enough to spread the petals before closing the circle.
3. Join the Petals into a Flower
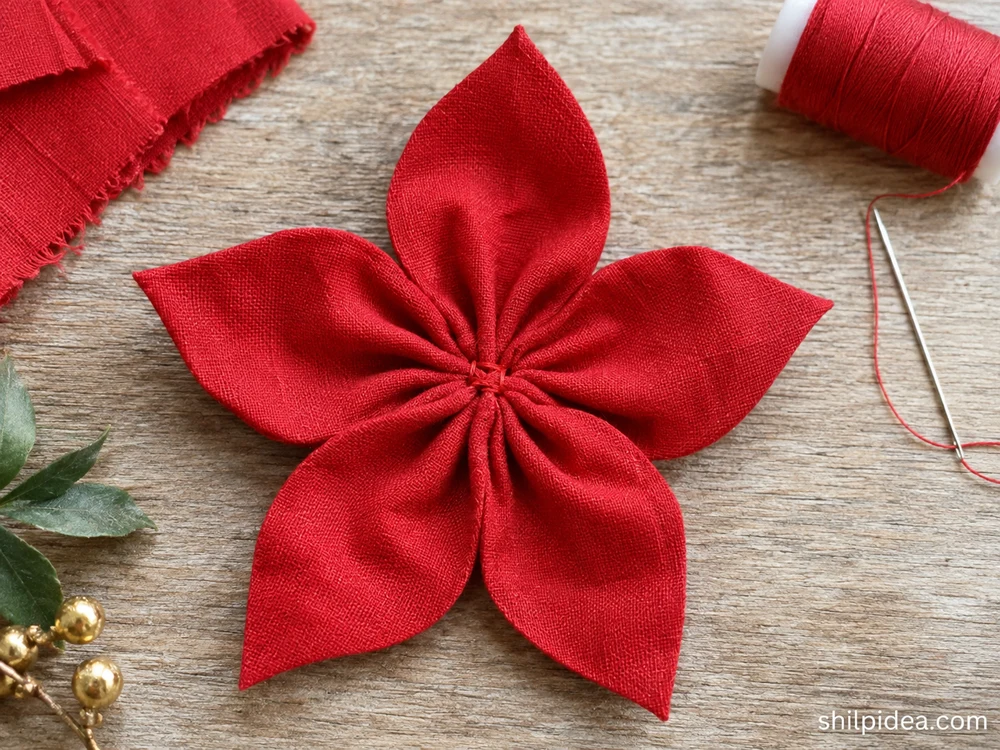
- Close the circle. Hold the first and last petals near each other and draw the thread in slowly. Fan the tips outward and shift any petal that sits on top of its neighbor.
- Secure the center. Pass the needle through the gathered bases several times. Knot the thread on the back after checking that all five petals stay in position.
4. Add the Leaves and Stitched Center
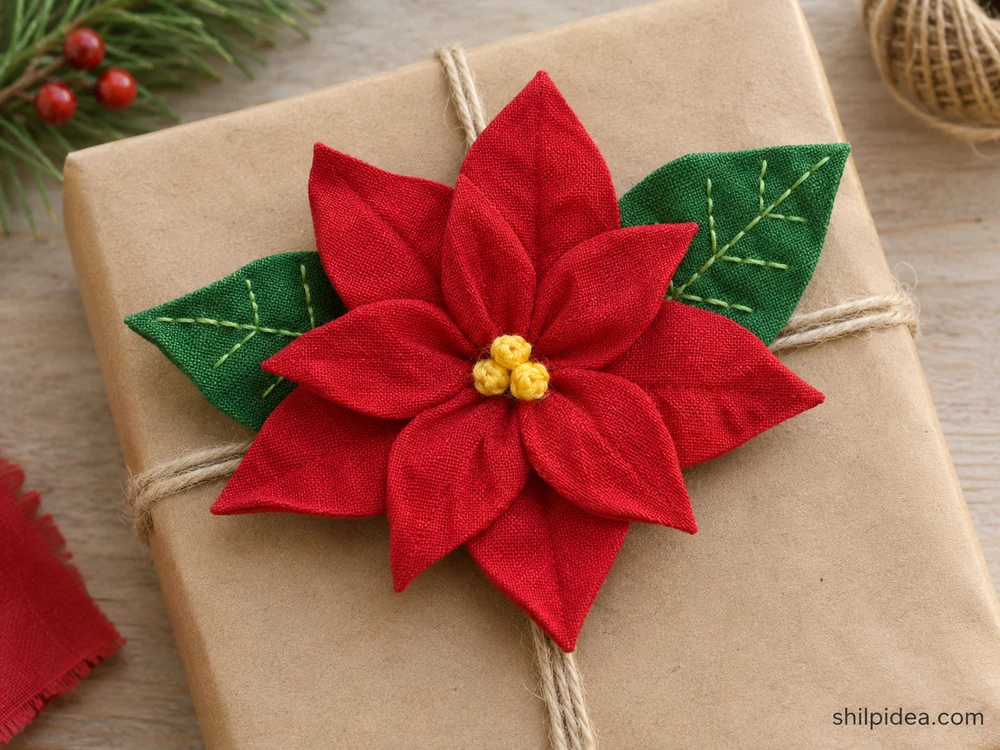
- Sew on the leaves. Tuck the green leaves behind the red petals so their tips show. Sew through each leaf base and the gathered center to keep the leaf tips free.
- Stitch the yellow detail. Work a small cluster of short yellow stitches or French knots over the center. Bring the thread to the back to tie it off.
5. Tie the Poinsettia onto the Gift
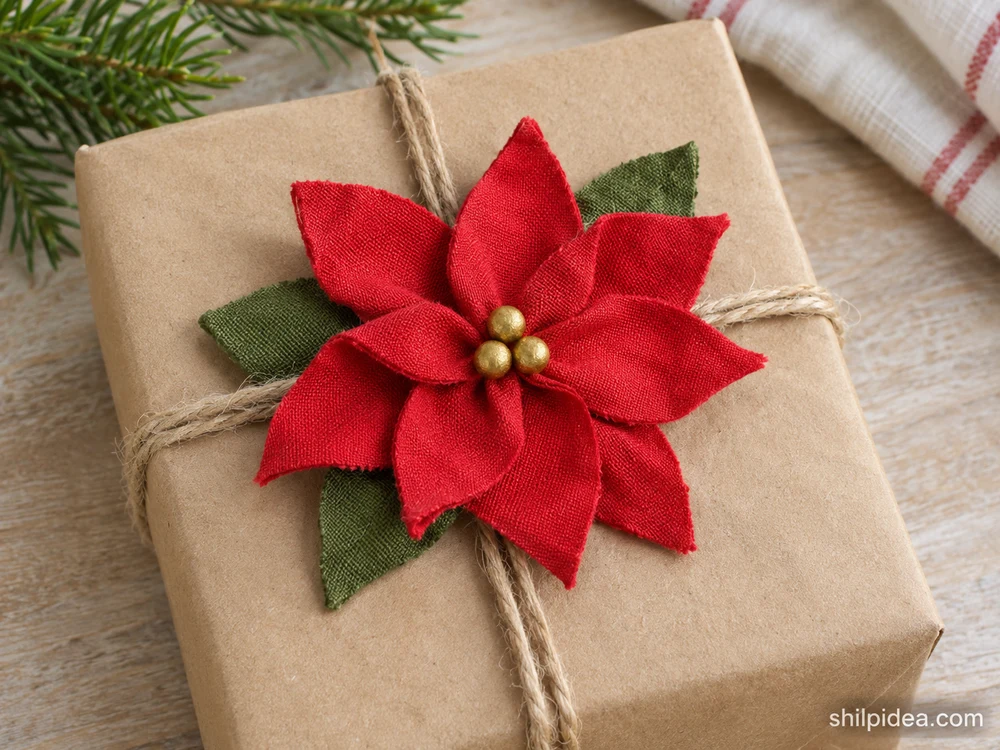
- Make a removable attachment. Sew a small thread loop behind the flower and pass the twine through it. Tug the loop gently before tying it to the package.
- Position the topper. Wrap the twine around the package and tie a bow. Slide the flower along the tie until it lies flat, then straighten the petals and leaves.
How to Keep the Fabric Poinsettia Looking Its Best
Untie the twine before opening the gift. If the flower picks up lint, lift it away with a soft brush, working from the center toward the tips. Store the topper flat in a shallow box with tissue between layers so the gathered center keeps its shape.
Replace worn twine by threading a new length through the back loop. For the next package, try the same topper against a different paper or tie it to one of these Christmas bow ideas if the scale suits the gift.
Troubleshooting the Fabric Poinsettia
Check the flower from the front and the back before you finish the last knot.
- The center puckers into a lump. Ease the gathering thread, fan the petal bases into a single layer, and secure them again.
- A petal frays near the stitches. Replace that petal with tighter-woven cotton and move the gathering line slightly inward.
- The topper turns on the package. Shorten the back loop and snug the ribbon around the box before adjusting the flower.
More Handmade Christmas Details
A few scraps can carry the same color through several small holiday projects. Try these ideas if you have paper, ribbon, or a larger piece of fabric left over.
- Framed Wall Art from Fabric Samples
- Recycled Paper Honeycomb Christmas Ornaments
- Paper Bag Snowflakes for Christmas
- Giant Christmas Bows for Holiday Decor
What colors would you use for the topper? Tell us in the comments whether you’d pair it with kraft paper, patterned wrapping, or fabric.


























0 Comments