18 Owl Craft Ideas Using Pinecones and Wood
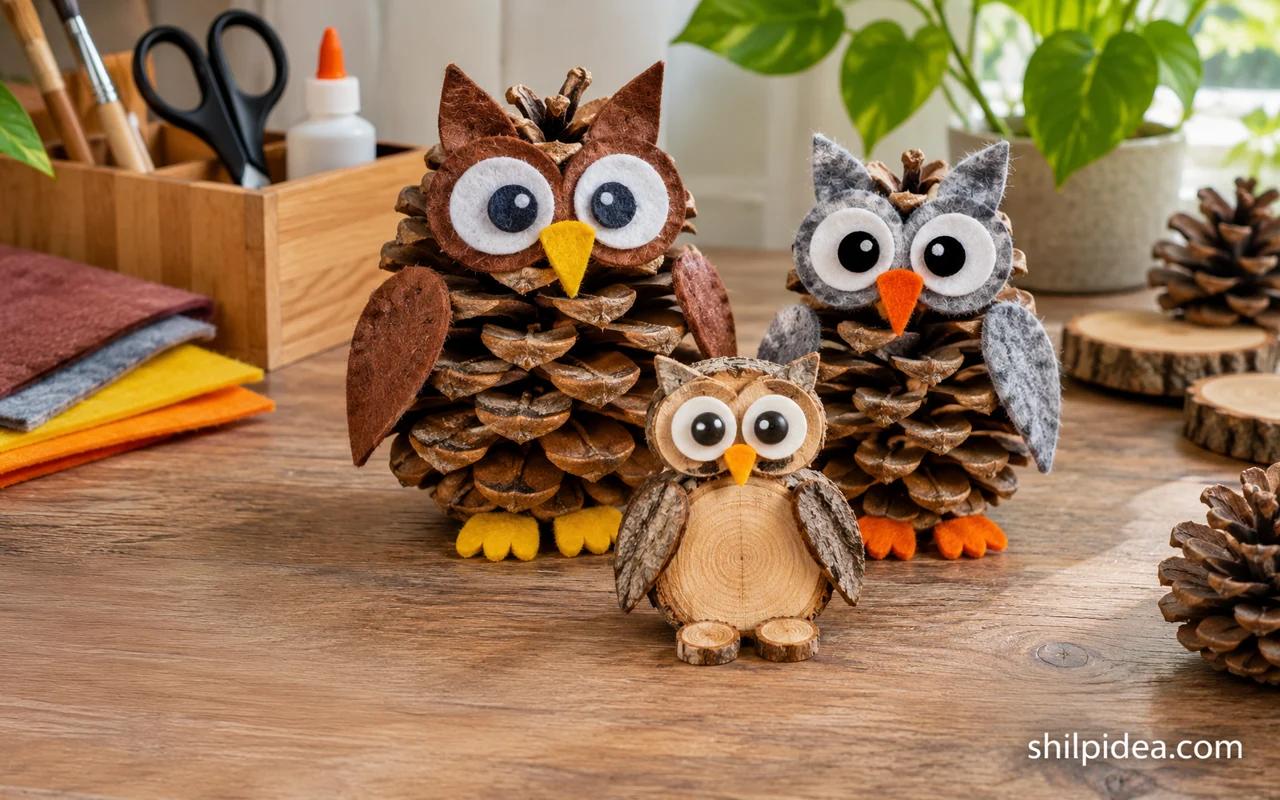
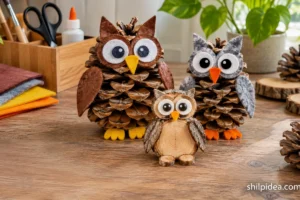
A pinecone already has the shape and texture of a little owl. Add two eyes and a beak, and small changes in the materials can give each bird a different expression.
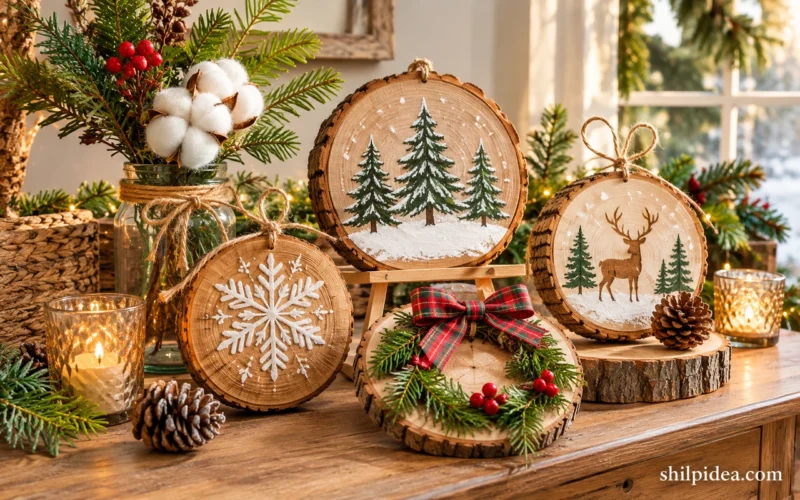
Pick a base that suits the makers and the time you have. These wood slice decorations show how a flat wood round can become a simple ornament or shelf piece.
Set out a few choices before starting and let everyone build a different face. The supply swaps in these recycled preschool crafts can help you plan a session around materials you already have.
1. Use Felt Circles for a Friendly Face

Cut two felt circles and try several positions on the wide part of the cone before attaching them. Close-set eyes look curious and wider eyes give the owl a softer expression. Add two short wings in the same color so the face stays easy to see. Adults should handle any hot glue and keep small pieces out of reach of children who mouth objects.
2. Tuck Cotton Between the Scales for a Snowy Owl
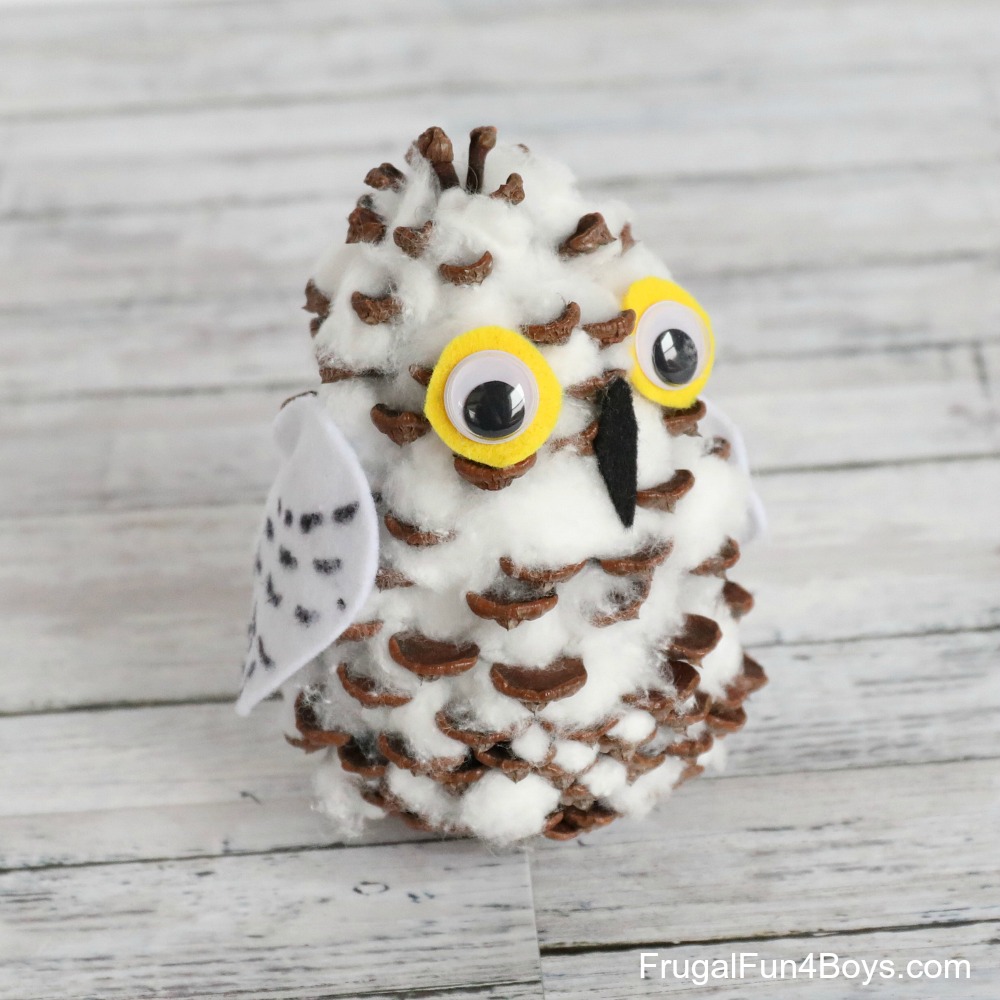
Pull cotton into small wisps and tuck a little into the spaces between the scales. Leaving some brown tips exposed makes the finished bird look more textured. Put the light-colored material on the body first, then decide where dark eyes will show clearly. Try setting the owl against a plain blue or green backdrop for a winter display.
3. Give the Owl a Wide Googly-Eyed Expression

Large eyes change the personality of a plain cone in seconds. Try shifting one slightly higher before gluing if you want an inquisitive look. Add a beak cut from stiff paper or felt and keep the wings simple. For young makers, swap tiny loose eyes for oversized paper shapes and choose an adult-approved adhesive suited to the surfaces.
4. Use Acorn Caps for Small Round Eyes

Acorn caps have a rough rim that suits a naturally colored owl. Choose a similar-sized pair and place them where the cone offers a reasonably flat surface. Try dark paper circles inside to help the pupils show. Check gathered materials for loose pieces before bringing them inside, and keep the finished craft out of reach of very young children.
5. Add Feather Wings to a Tall Cone

A tall cone can take longer wings without losing its shape. Choose two feathers of similar length and point them down toward the base. Keep the eye circles lighter than the cone so the head stays clear. For a paper alternative, cut two feather shapes and snip short lines along their edges. Test their placement before attaching them.
6. Perch a Pinecone Owl on a Branch

A short branch turns a small owl into a display with a definite base. Set it on a level surface and test the bird at several points along the branch before fixing it. A wider base is useful if you want two owls to sit together. Try natural pinecone decorations for other ways to repeat the texture nearby.
7. Hang a Pinecone Owl as an Ornament

Choose a light cone for a hanging project and keep the eyes and wings close to its body. Test the hanger before decorating so you can tell where the front will face. A simple cord or ribbon gives the pinecone plenty of room to show. Repeat one color in wood slice ornaments if you’re building a small group for the tree.
8. Make a Woodland Owl With Bark Wings

Thin bark pieces give the wings an uneven edge that feels at home with the rough cone. Look for dry pieces already loose on the ground and avoid any with sharp tips. Test the two wings from the front so you can see both shapes. Two pale circles around the eyes keep the darker materials from swallowing the face.
9. Paint Just the Tips of the Pinecone

A little paint on the outside tips can make an owl look dusted with snow or dipped in a favorite color. Use a small brush and let each coat dry before adding eyes. Leave the deeper areas of the cone natural so the scales still show. Pick a simple wing color that echoes either the face or the painted tips.
10. Make an Owl Face on One Wood Slice
A wood slice gives you a flat place to plan the face. Lay out the eyes, beak, and wing shapes before attaching anything, and turn the round until the grain works with the face. A clean design will still read from the far end of a room. Use a second round for a matching bird with a different expression.
11. Use Small Wood Rounds for the Eyes
Two smaller rounds make a strong pair of eyes on a larger slice. Try placing the smaller pieces high on the body with just enough room for a triangle beak below. Keep the edges of the main slice visible. If the grain is dark, use a lighter round for the face so you can see the layered effect clearly.
12. Try a Rustic Owl With Button Eyes

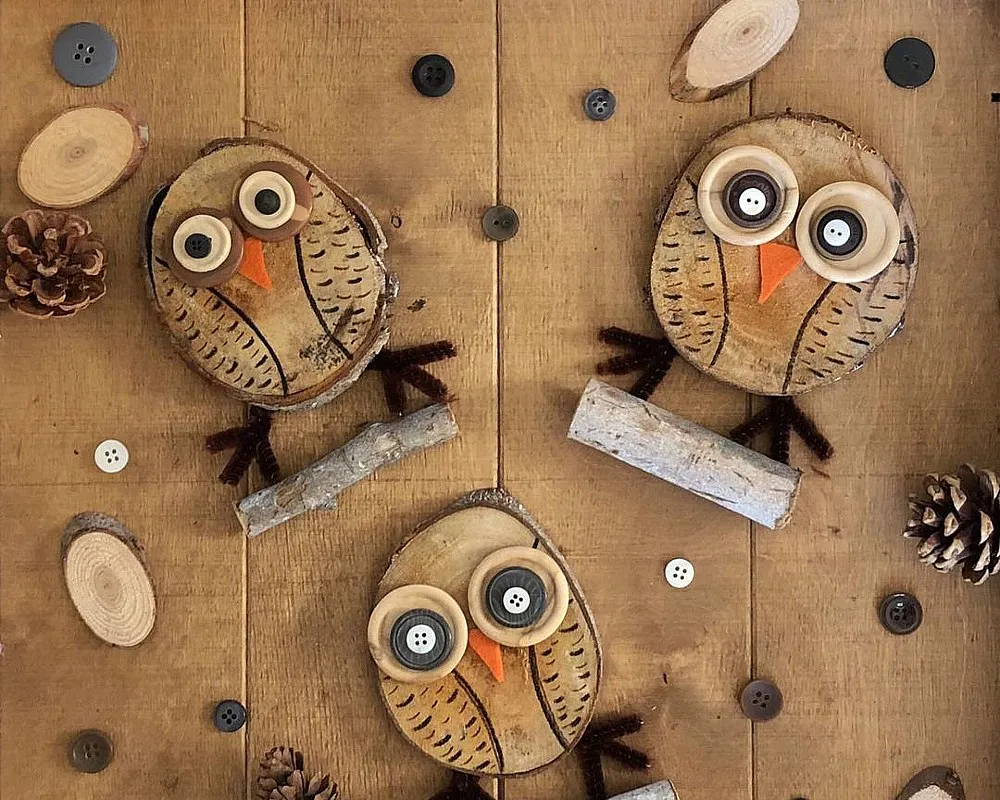
Buttons give a slice owl strong contrast and plenty of room to play with color. Compare a matching pair with two mismatched ones before choosing the final face. A small felt beak keeps the project simple. Make it as a supervised craft for children old enough to work with loose parts, and secure the finished display where younger siblings can’t reach it.
13. Give a Slice Owl Twig Feet

Two short twig shapes can make an otherwise flat owl look as though it is standing. Position them under the lower edge and check the piece from the front before gluing. If it will sit upright, add a stable base behind it. Keep the twigs small enough that the eyes and face remain the first things you see.
14. Build an Owl From Scrap Wood Shapes
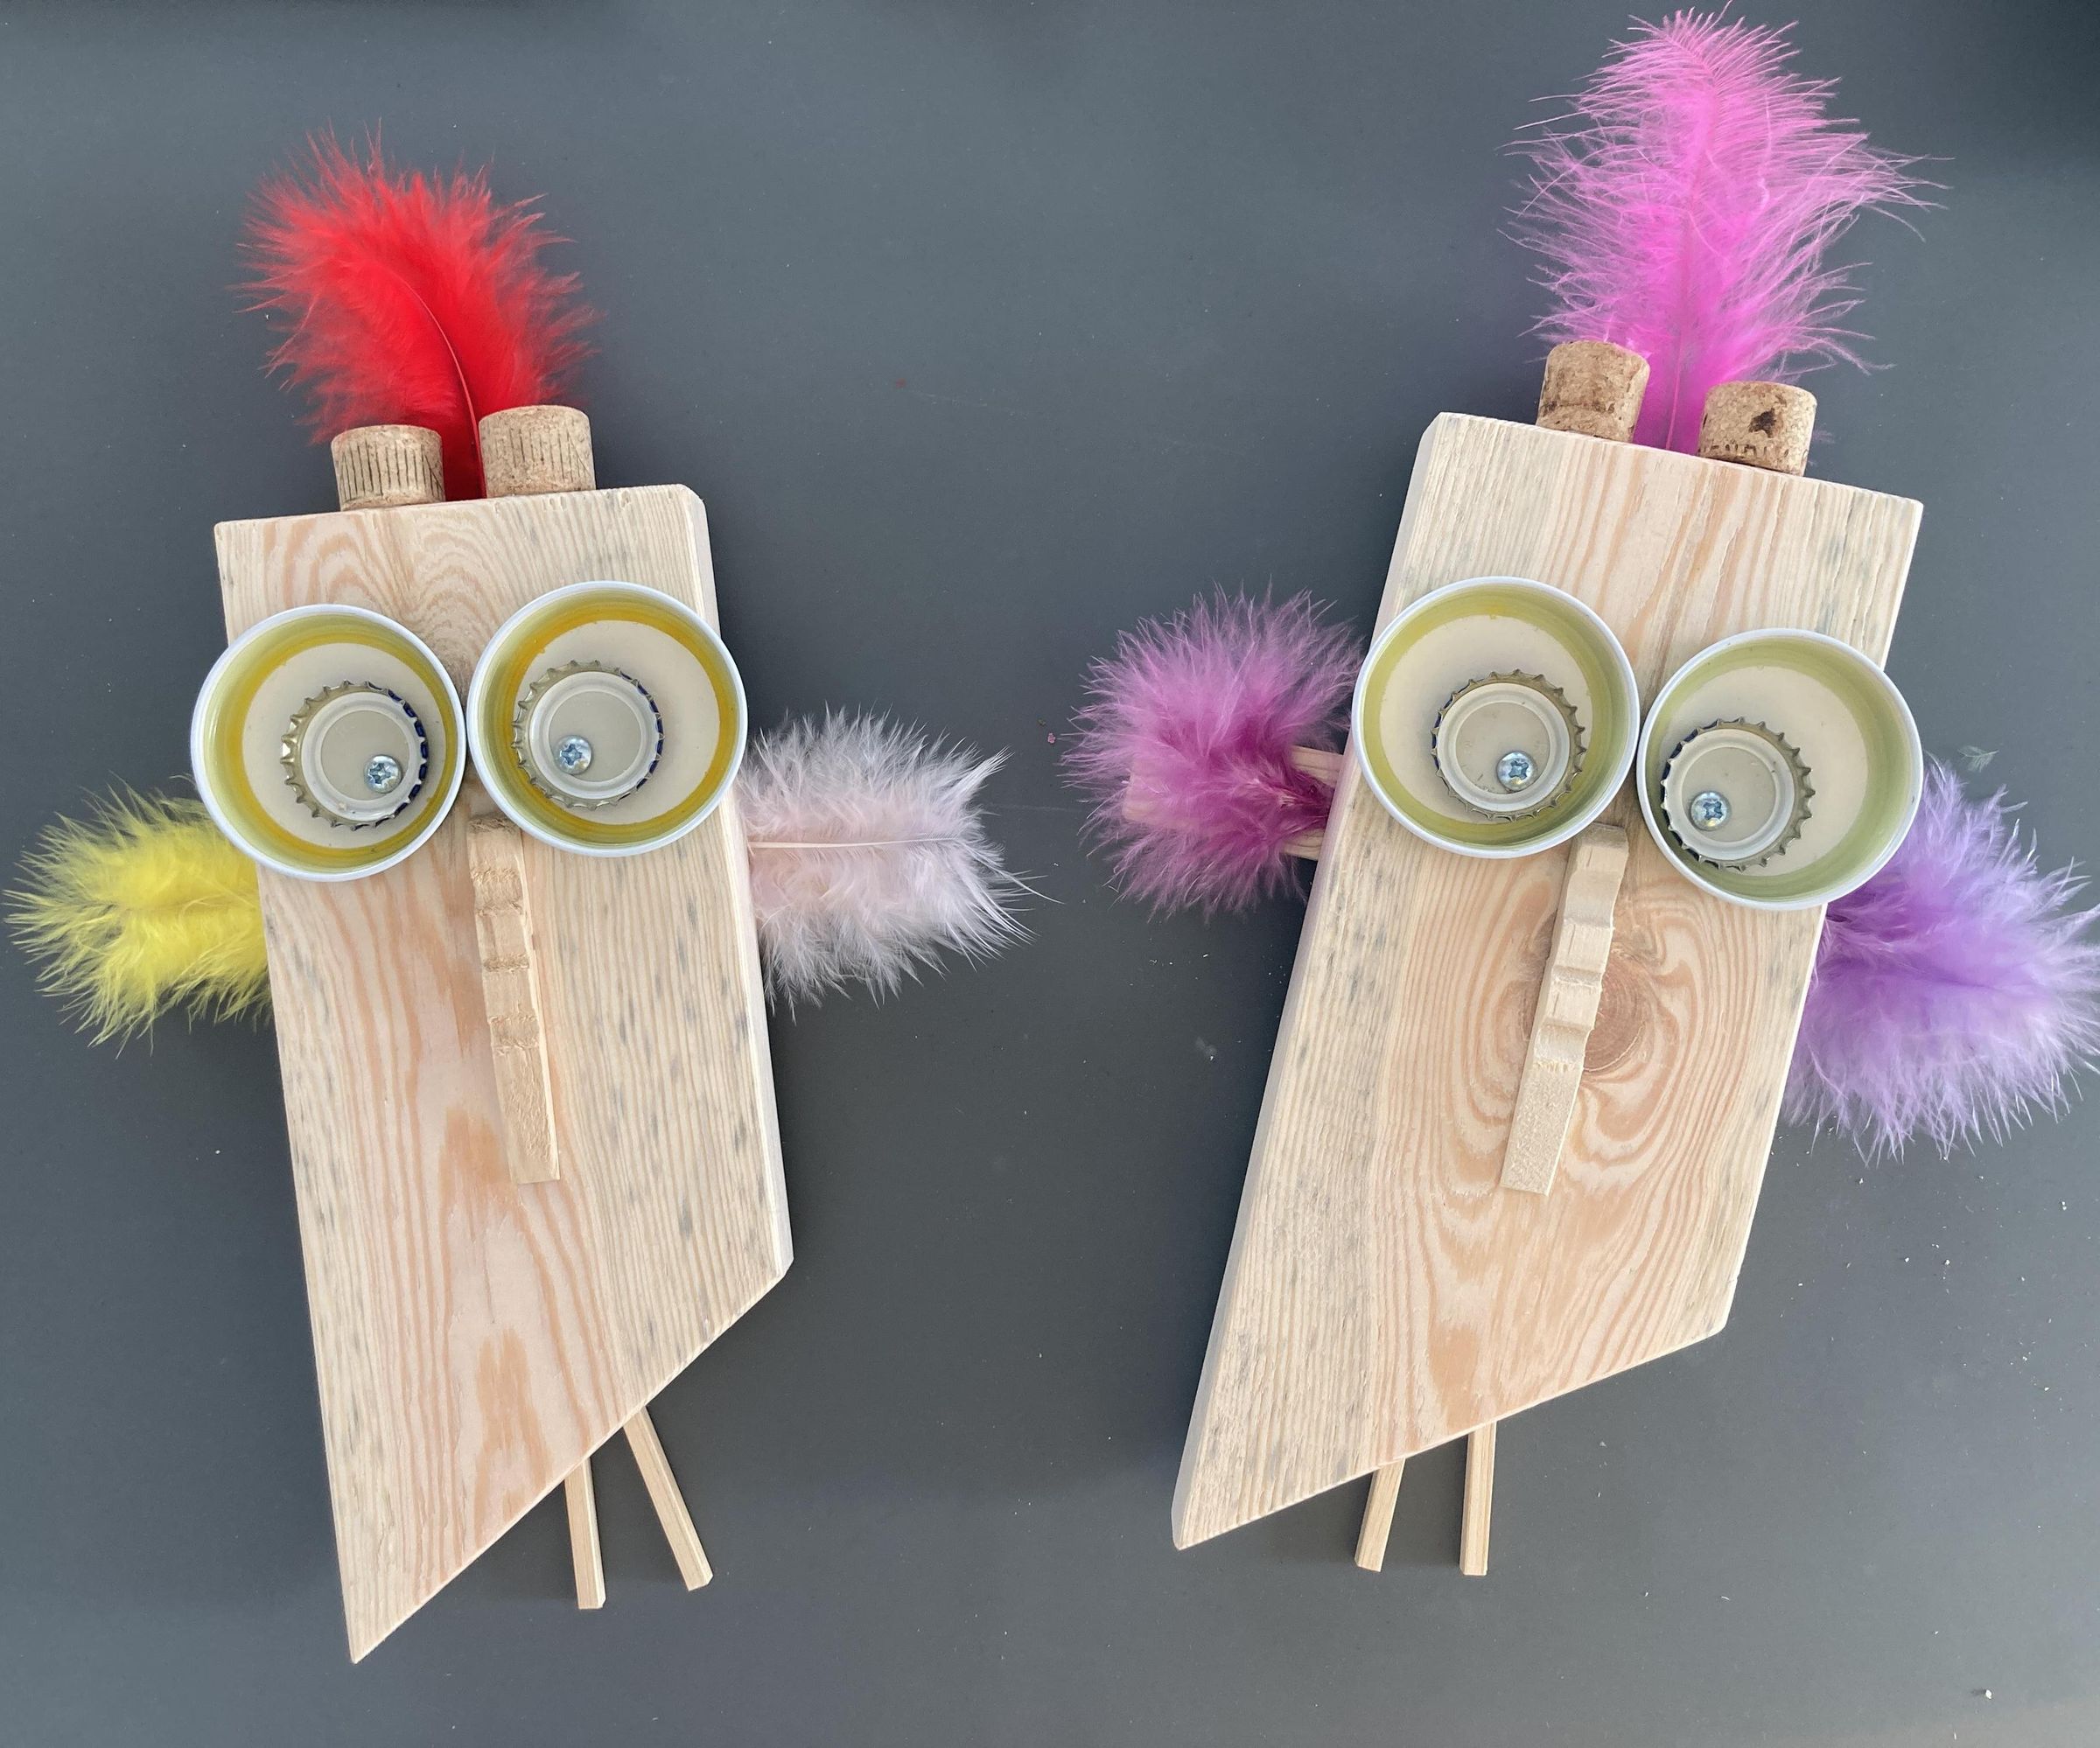
A small offcut can become an owl body if it already has an interesting grain or irregular outline. Use wood circles or painted eyes to bring the face forward. Sand rough edges as appropriate before decorating and check for old hardware or finishes before using reclaimed wood. Let the wood color guide the rest of the materials.
15. Turn a Wood Block Into a Shelf Owl
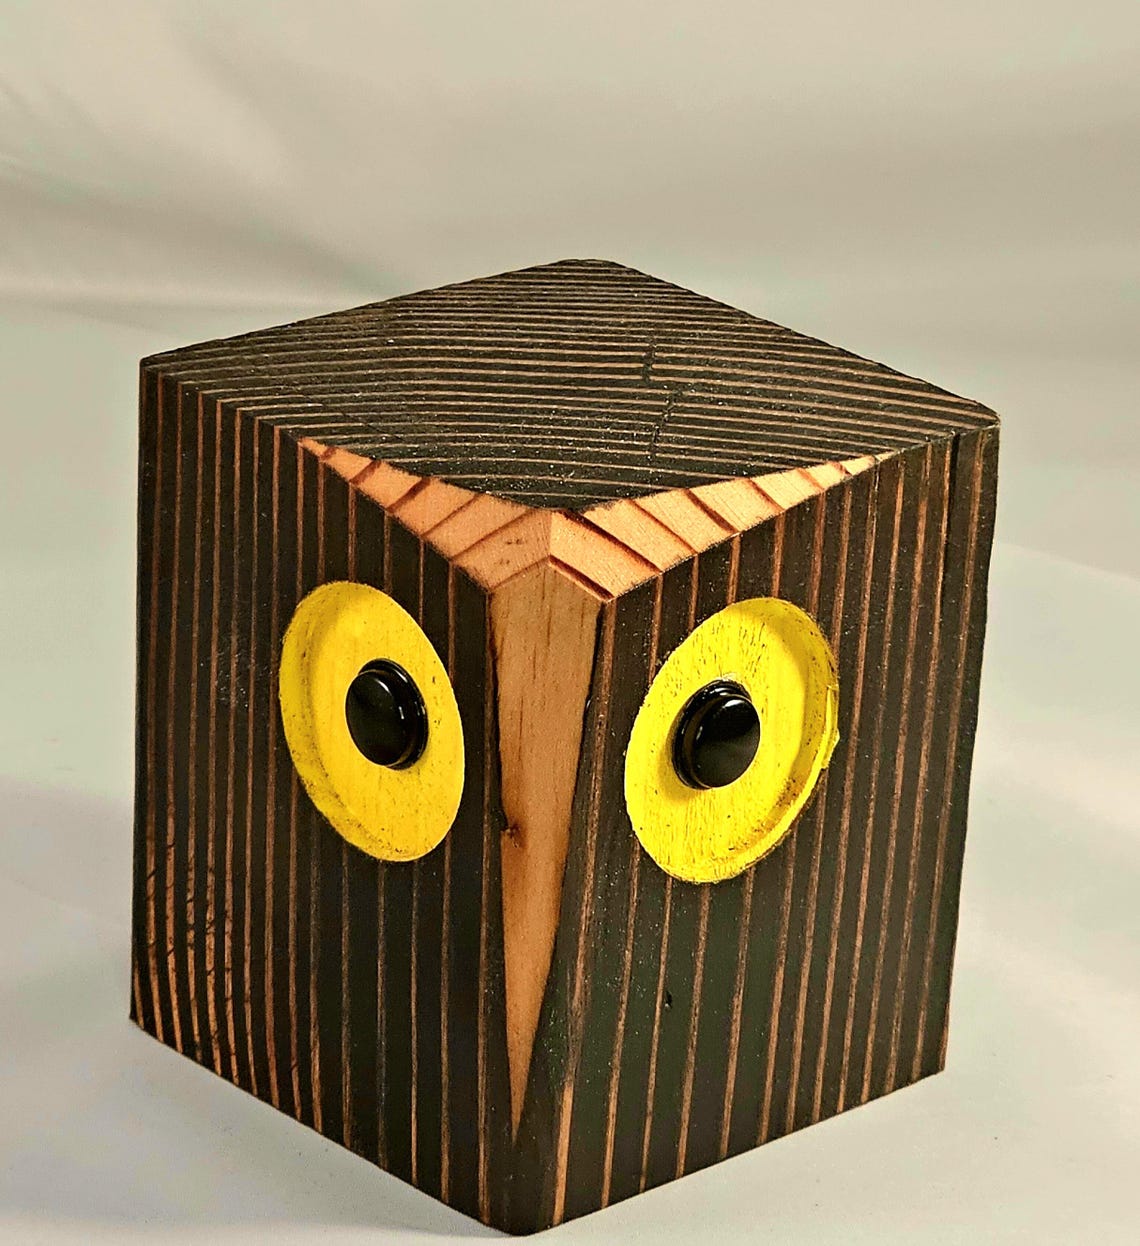
A freestanding block makes an owl that can sit at the back of a bookshelf. Choose a shape that rests firmly on its base. Draw the facial features on paper first to check their size, then paint them or add separate pieces. A pale eye ring and a dark pupil are usually enough to make the expression visible.
16. Set a Pair of Wooden Owls Side by Side

Make two owls with the same material and change their heights or eye positions. Use a darker stain or paint color on just one bird if you want a stronger contrast. Stand them with a bit of air between them so their outlines stay clear. The pair can work with handmade wall art without taking up the whole display area.
17. Use Craft Sticks for a Lightweight Owl

Flat craft sticks give you a lightweight body to color and decorate. Arrange several side by side and secure them to a backing before adding paper or felt eyes. Trim or place the top pieces to suggest little ear tufts. A wider paper wing on each side helps the body read as a bird even from a distance.
18. Make a Clothespin Owl for a Place Card
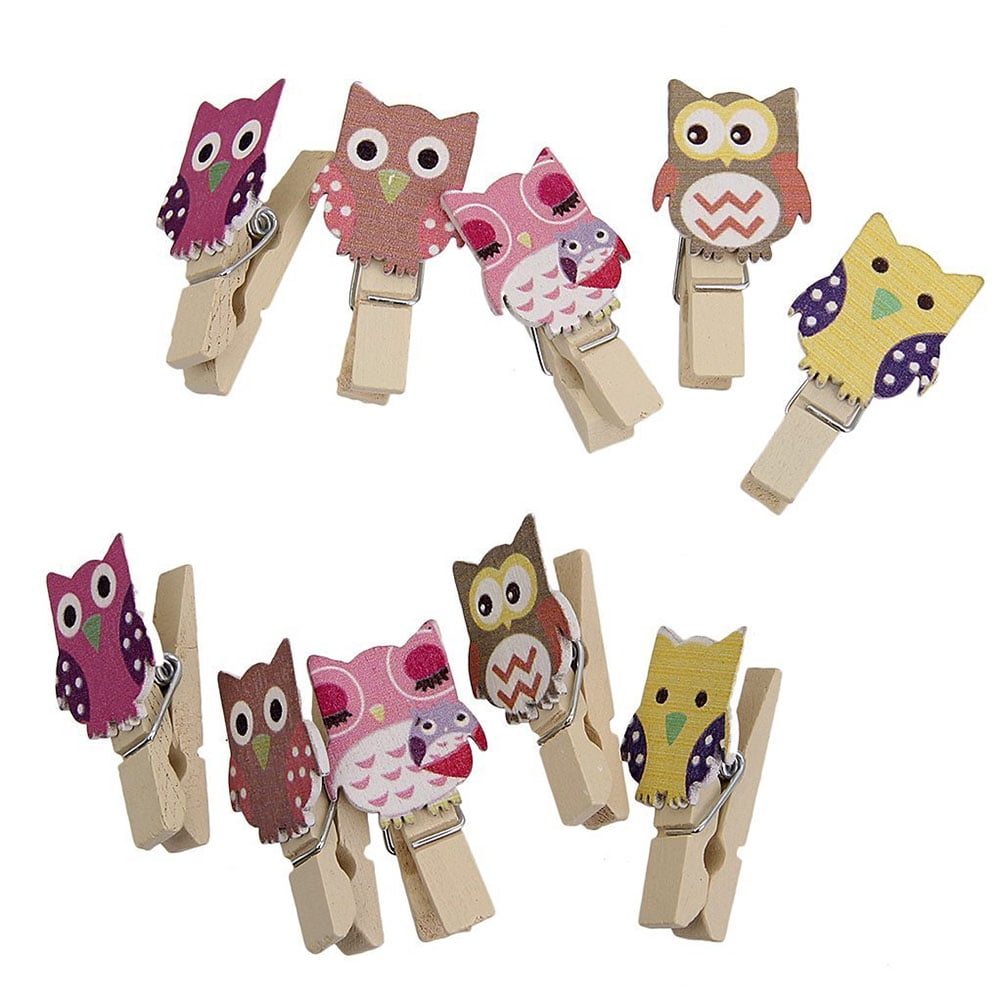
A decorated wooden clothespin can hold a place card or a little message after the craft session is over. Attach a lightweight face to one side and keep the opening end accessible. Try initials or simple colors so each owl has a different job. Keep small parts secure and treat the finished clip as a decoration for age-appropriate use.
Keep the Woodland Craft Table Going
Once the owls are standing or hanging, use the remaining materials for smaller projects. Pinecones, wood rounds, and simple paper details can make a whole little display without buying another set of supplies.
- Make Rustic Wood Slice Decorations
- Decorate With Greenery and Pinecones
- Try Recycled Preschool Craft Activities
What would give your owl its personality, bright felt eyes, a tuft of feathers, or an oversized wood-slice face? Share your materials and the age group you’re making it with in the comments. If you’ve tried pinecone owls before, tell us what worked for keeping them upright or hanging straight.
















0 Comments