24 Wooden Clock Designs for Home
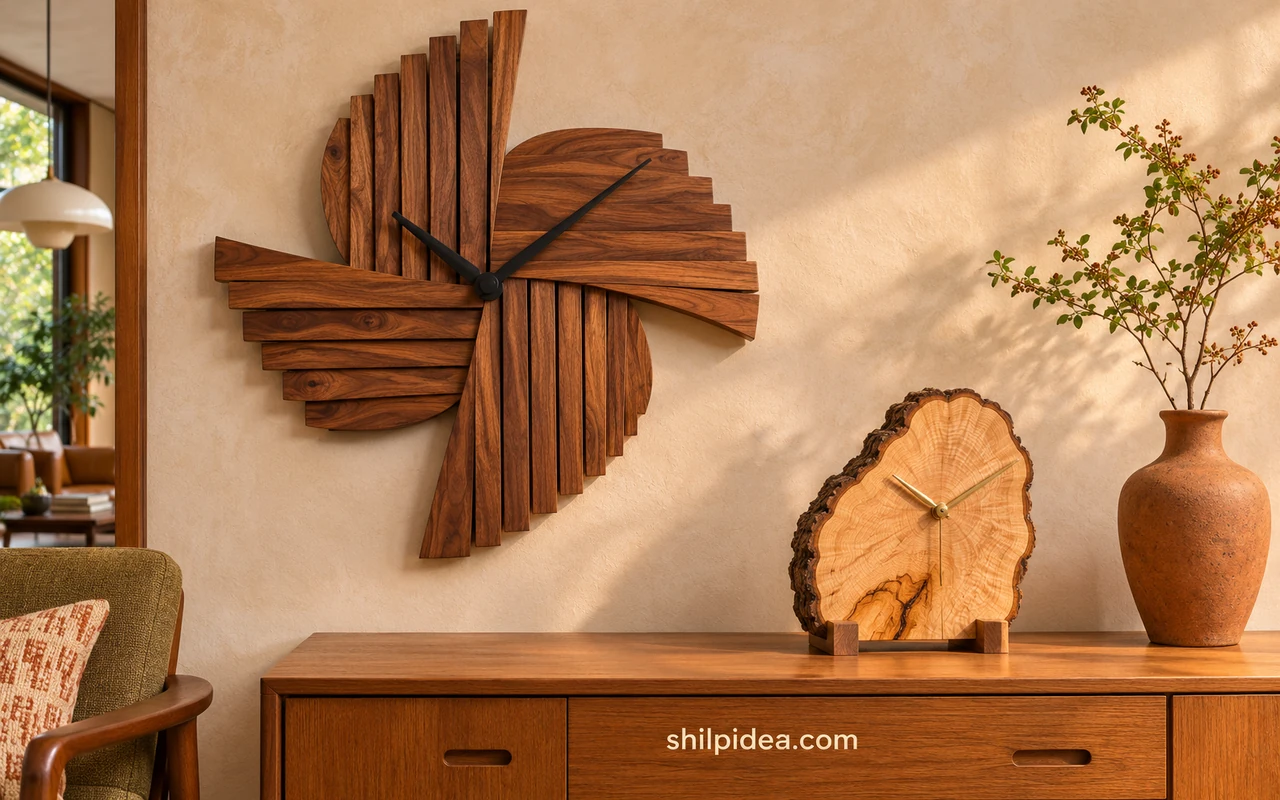
Wooden clock designs can bring the grain of a tree slice, the pattern of a parquet floor or the depth of a carved panel to a small part of the room. Start by choosing where you want to read the time and how much wall or shelf space you have.
On a plain wall, a block mosaic or an open steel ring can stand on its own. For placement help, browse these wall clock displays.
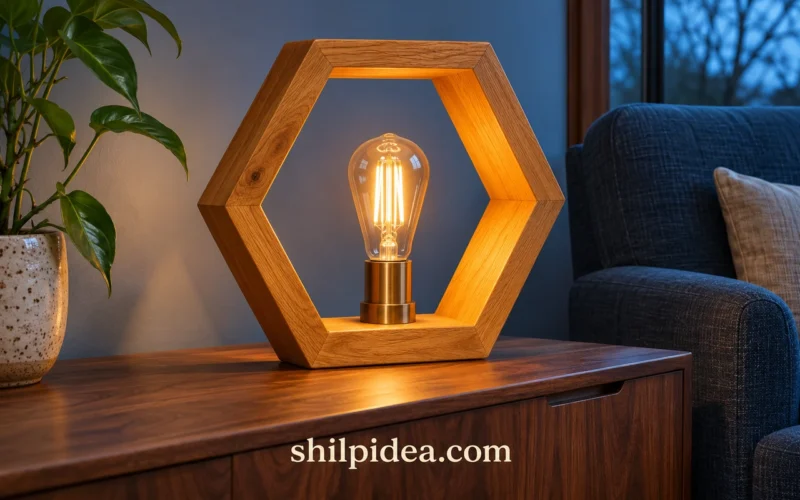
For a desk or sideboard, try a wood slice or a small clock on a stand. Pair it with one of these wooden lamp designs to repeat the timber tones in the room.
1. Layered Wood Relief Clocks

These two clocks use depth in different ways. The first varies the length of parallel slats to create a stepped outline. The second stacks square frames around a small central dial. Either approach brings texture to a bare wall, especially where daylight falls across the face. Keep the surrounding wall simple so the shadows between layers stay visible.
2. Triangular Wall Clock with Black Discs

An elongated timber frame wraps around a dark circular dial, with smaller black discs taking the eye above and below it. Its narrow shape suits the strip of wall between a cabinet and a doorway. Pay attention to the dial size when choosing a spot. This one reads as a sculptural accent from across the room and as a clock from nearer the wall.
3. Round Clock with a Black Hanging Strap

A dark hanging strap gives this pale disk a distinct outline, and the slim black hands keep the unnumbered face open. Leave enough space above the disk to show the triangle the strap makes. In an entryway, repeat the black in one or two pieces of hardware and let the wood bring warmth to a plain wall.
4. Rectangular Clock with Radiating Markers

A vertical timber panel becomes the whole clock face, with small dark marks radiating from the hands. The warm finish holds its own against patterned brick. When arranging something similar, carry the shape into one other object, such as a narrow picture frame. The photo gives a useful sense of how much open wood to leave around a compact dial.
Make This at Home: Build a Scrap Wood Clock
5. Bark-Edge Wood Slice Clock

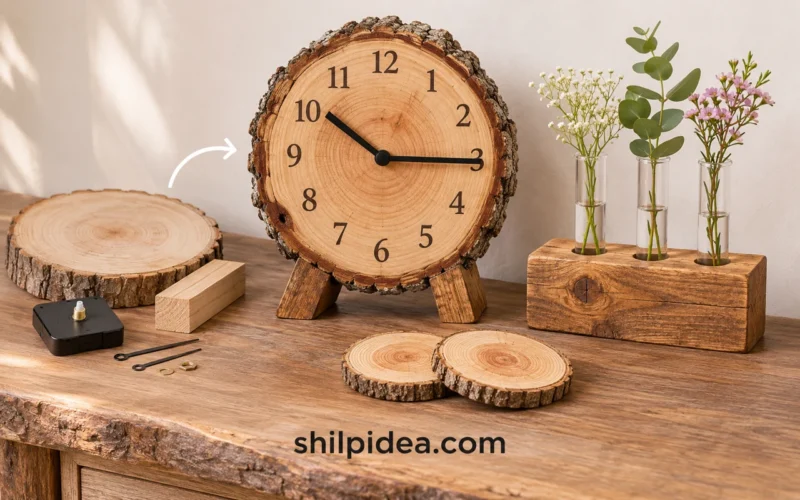
The uneven bark rim frames the round growth rings and gives this small clock its shape. Black hands stand out against the honey-coloured face without covering much of the grain. Set a piece like it where you can see the bark from the side, such as the open end of a bookcase. A stable foot or cradle keeps a round slice steady.
6. Coffee Cup Clock on a Wood Panel

A cup, two curls of steam and a slim saucer turn a square wood panel into a picture clock. The hands sit inside the cup, so the silhouette stays easy to recognise. Hang it near a mug rail or breakfast nook where the warm wood feels at home. Give the shapes room by keeping neighbouring signs and artwork simple.
7. Four-Way Grain Square Clock

The four sections of this square change grain direction as they meet around the centre. Even with a nearly uniform colour, the shifts draw attention to the hands. A square like this sits comfortably between straight-sided shelves or next to a cabinet door. Choose dark hands when the grain has a lot of movement so the time remains easy to read.
8. Raised Wood Block Mosaic Clock

Small blocks in several tones create a mosaic with highs and lows around the clock hands. An undecorated wall gives the shadows enough room to show. When adapting the idea, plan a flatter area around the middle and check the clearance through a full turn. Tall blocks near the tips can get in the way of the hands.
9. Octagonal Clock with a Display Ledge

A dark half-face gives the yellow hands plenty of contrast, while an open section above the ledge makes space for two tiny ornaments. The eight-sided frame gives both halves a clear outline. Use small, light objects if the clock has a ledge like this one. Leaving gaps between them keeps the silhouette clear and the dial easy to see.
10. Clear Ring Clock with Driftwood

A transparent circle surrounds the hands, which sit on a narrow piece of driftwood suspended across part of the face. A second piece forms the low base. The ring catches light around its edge, especially against a quiet background. Try a shelf with a solid back so books, cables or other busy details do not compete with the hands.
11. Open Steel Ring with a Timber Spine
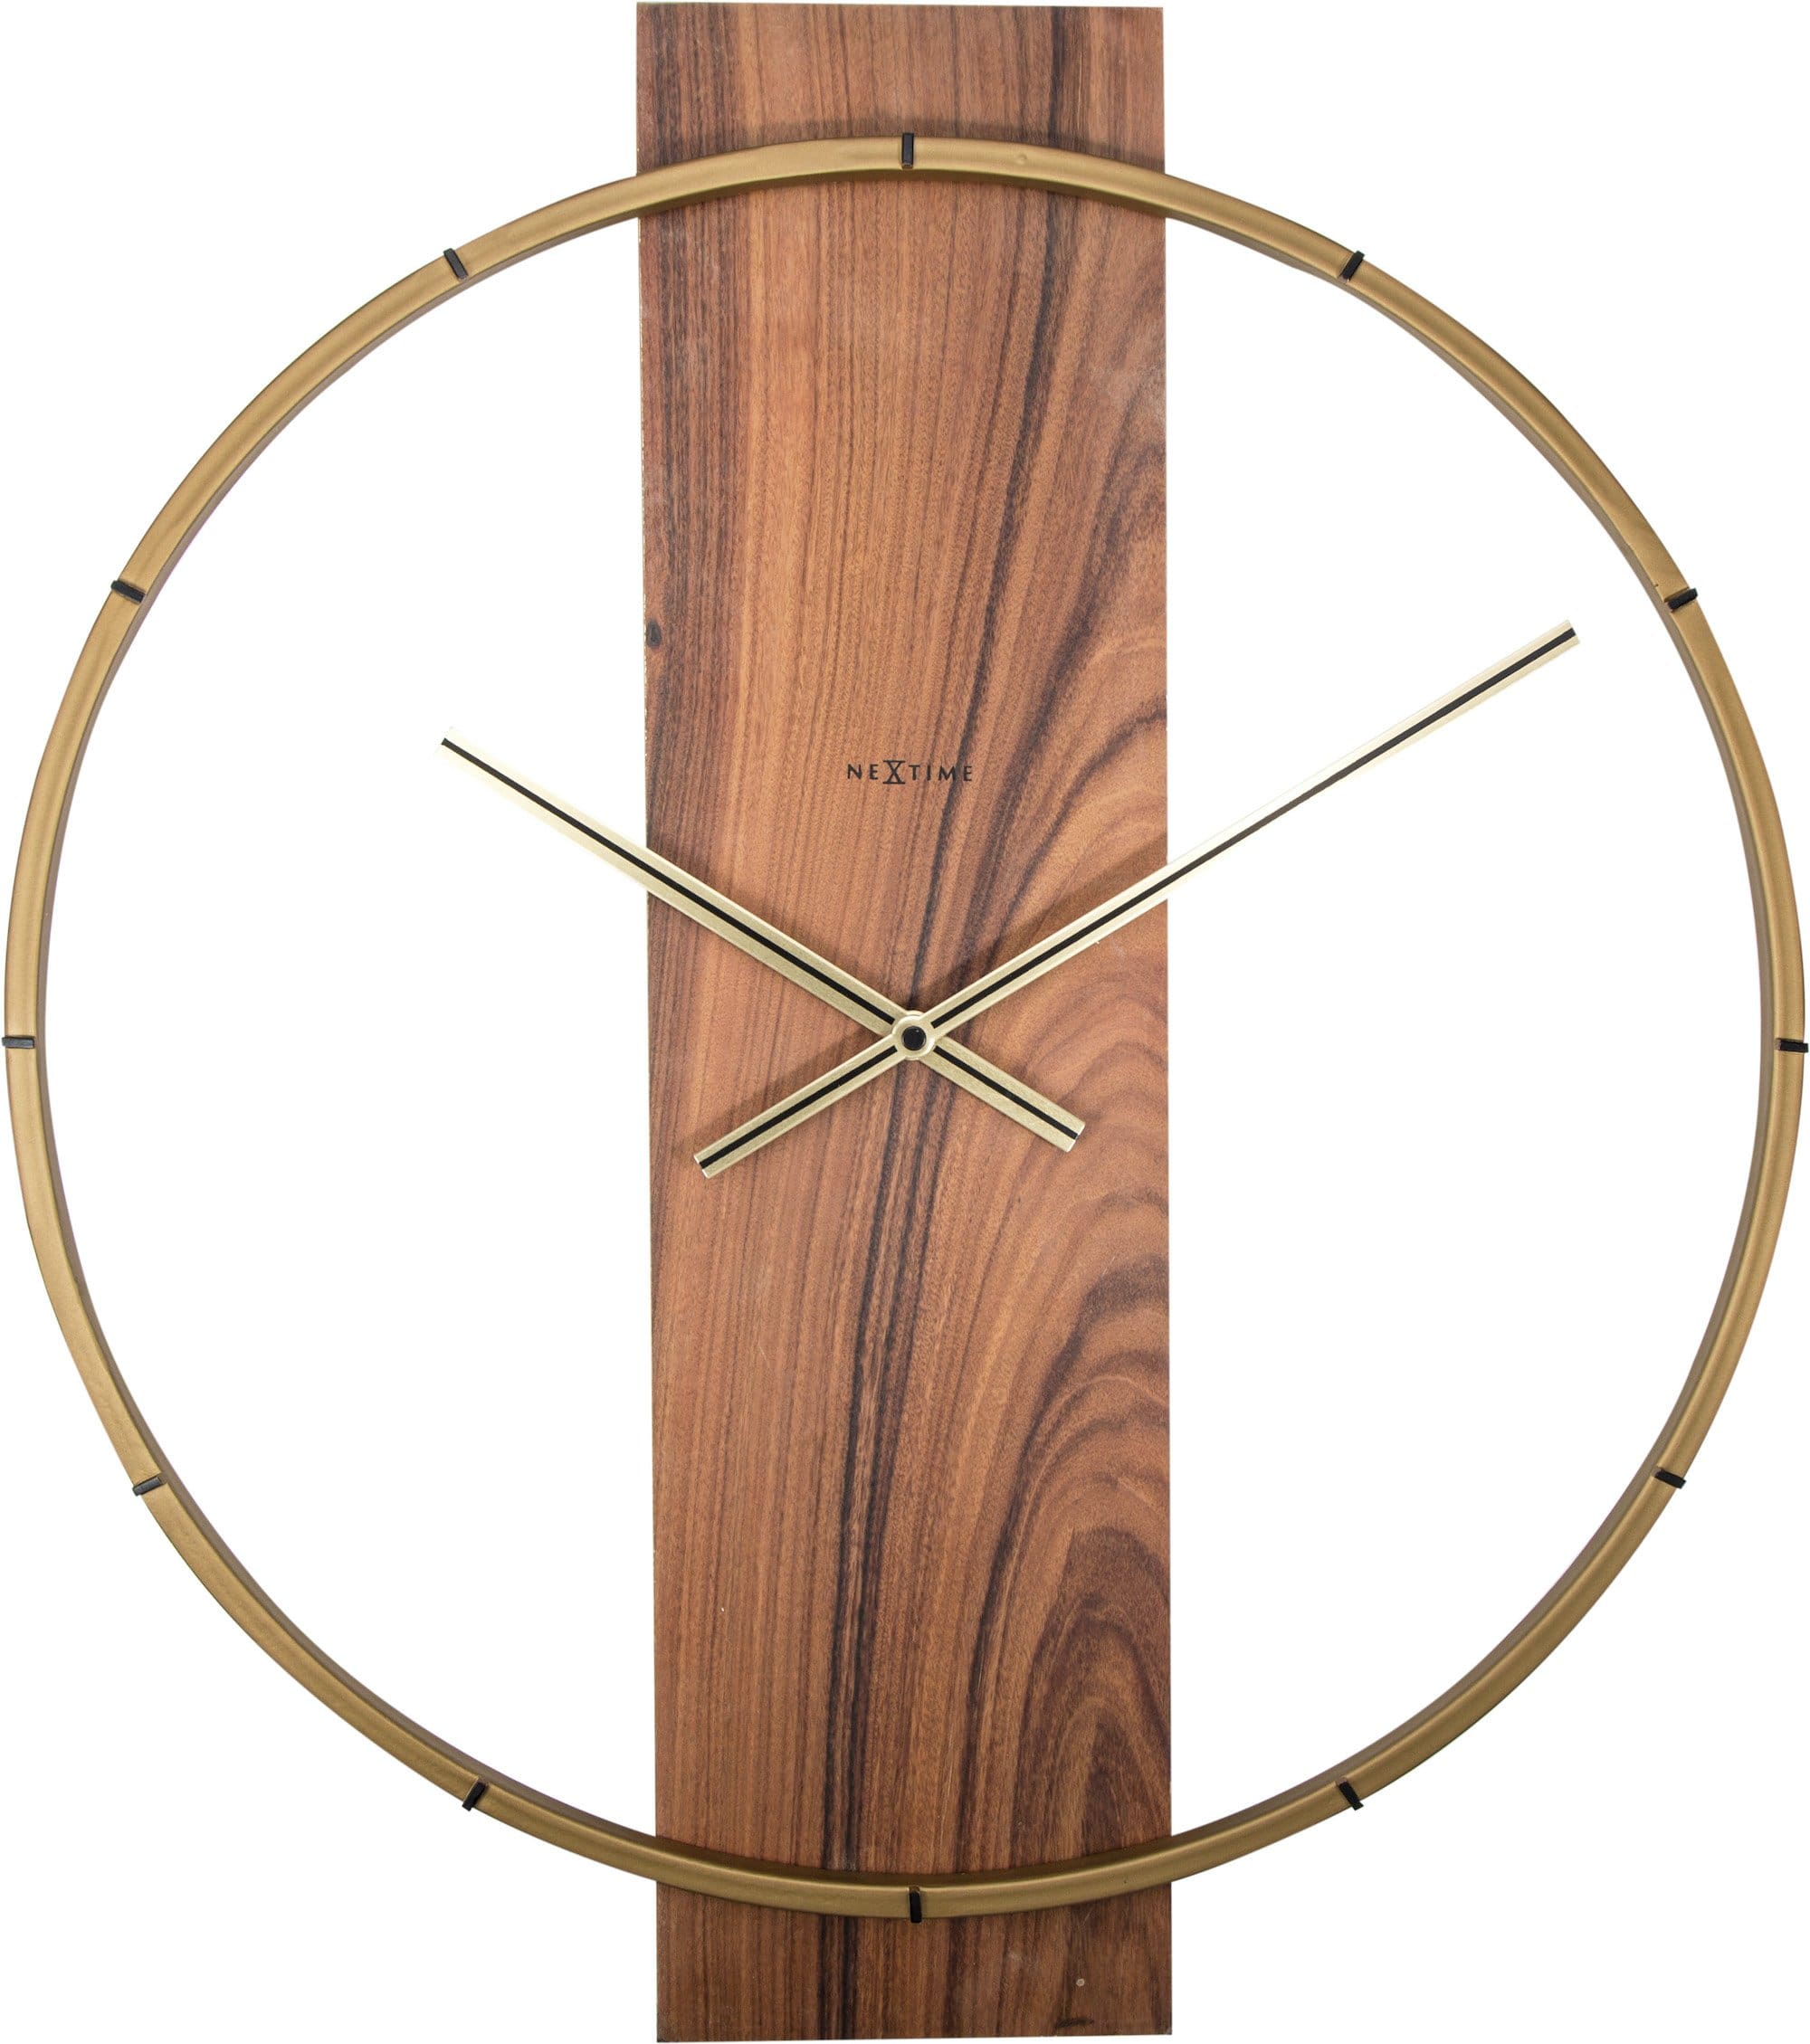
The Carl design places a single vertical wood panel inside a wide steel ring. The open area lets the wall colour become part of the face, while the tall board adds a strong stroke of natural grain. This is a good shape for a large expanse of uninterrupted wall. On patterned wallpaper, check that the hands are visible from your usual seat.
12. Dark Pallet Block Grid

Nine chunky blocks form a square, with the hands crossing the seams at the centre. The dark finish emphasises the uneven grain and gives the grid a strong shadow against a pale wall. It works well above a console with plain lines. If you already use pallet wood shelves, repeat one finish to connect the two pieces without matching every tone.
Follow the Maker’s Method: Build a Pallet Block Clock
13. Pine Cones Cast in Resin

Pine cones spread across a clear cast face, where their dark scales read almost like a print. The smaller wood details make more sense up close, so try this style near a reading chair or on a landing wall. If you use a clustered face, leave the hands visually simple so they remain distinct against the bolder shapes.
Follow the Maker’s Method: Cast a Pine Cone Clock
14. Timber Desk Clock with Hidden LEDs

A low rectangular case sits on the desk with coloured digits glowing through the wood veneer. The design fits a workspace where you want to see the time with a quick glance. Place it slightly off to one side of your monitor to keep the front visible. A slender case also works on a shallow shelf as long as there is room for its cable.
Follow the Maker’s Method: Make a Wooden LED Clock
15. Exposed Wooden Gear Clock

The wooden gears do much of the decorating in this open pendulum clock. Its layered silhouette needs clear space beneath the dial so the pendulum can swing and remain visible. Consider it for a wall that people can approach to see the smaller parts. Give an intricate piece like this some distance from a gallery wall or heavily patterned fabric.
Follow the Maker’s Method: Build an Exposed Gear Clock
16. Round Clock with a Striped Plywood Face

Stained plywood strips divide this round face into bands of warm brown. The smooth outline keeps the pattern contained, while pale hands and numbers stay legible over the darker boards. Work with two or three wood tones if you want the stripes to read from across the room. A single strip can echo a similar shade in your wood wall decor.
Follow the Maker’s Method: Make a Striped Plywood Clock
17. Rounded Desk Clock on a Stand

A circular face rests on a separate stand, keeping the clock upright without wall fittings. The broad pale surface leaves room for a simple cut-out or applied motif. This works on a desk or bookcase where you may want to move the clock later. On a low surface, a slight backward angle can make the face easier to see from a chair.
Follow the Maker’s Method: Make a Freestanding Desk Clock
18. Laser-Cut Clock with Branch Detail
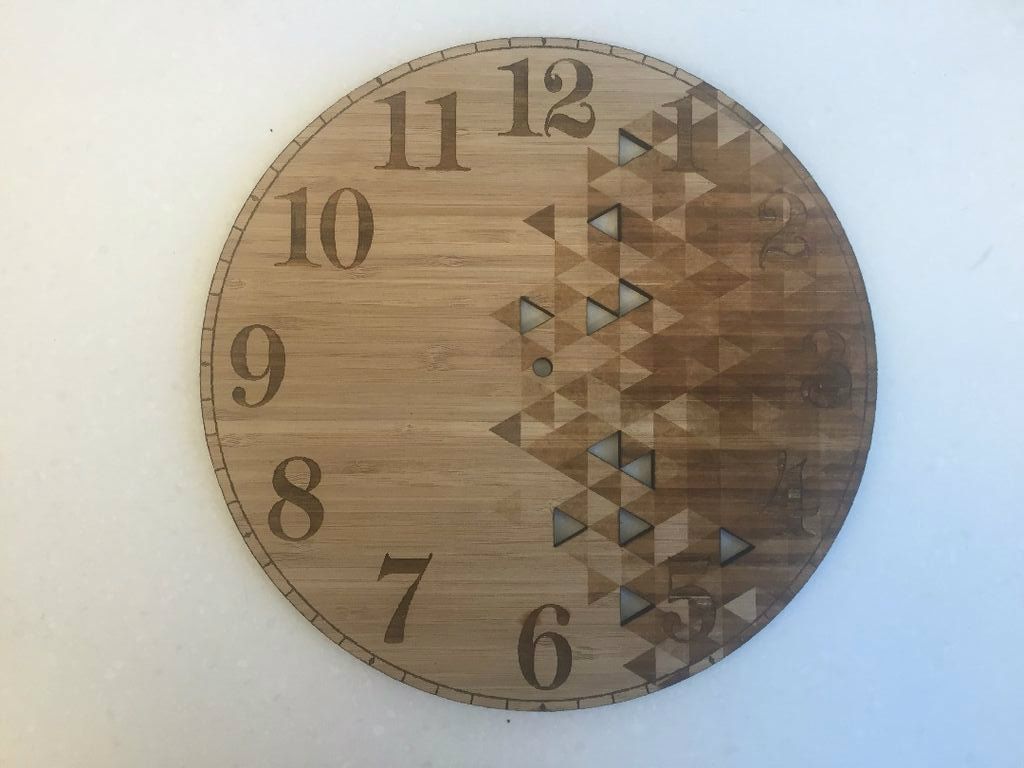
The face pairs prominent numerals on one side with an open branch pattern on the other. The pattern works because the cutouts stay near an edge while the hands pivot over a solid area. Choose a plain wall that shows through the openings. With a pale wood face, darker numbers and hands will stand out in softer evening light.
Follow the Maker’s Method: Cut a Branch Pattern Clock
19. Paint Stick Clock in a Square Frame

Light painted strips create a quiet square face inside a salvaged wood frame. The face reads clearly across a room, and the soft contrast feels right among neutral textiles and baskets. It also makes a useful first project if you already have a frame and a clock movement to reuse. Compare finishes with these rustic wood decorations.
Follow the Maker’s Method: Turn Paint Sticks into Clocks
20. Unpainted Stump Slice Wall Clock

A single thick cross-section gives this clock its outline, with the tree rings visible between the dark hands. The irregular edge adds character against a smooth wall. Side light helps bring out the shallow grooves in the face. Choose a dry piece of wood if you plan to make your own and leave grain checking and small irregularities visible where the hands can still move freely.
Follow the Maker’s Method: Make a Stump Slice Clock
21. Live-Edge Cherry and Coffee Bean Clock

A dark band of coffee beans in resin follows the uneven edge of a cherry board. The tall, straight outer shape makes the irregular seam more noticeable. This is a natural fit for a coffee station, particularly alongside plain ceramic cups. Keep the dial markings restrained so the boundary between the wood and the beans stays visible from across the room.
Follow the Maker’s Method: Build a Cherry Coffee Clock
22. Staggered Game Block Clock

Short game blocks form horizontal rows, with gaps and overhangs giving the face its jagged outline. Mixed numerals add a playful touch suited to a craft room or game shelf. When using mismatched digits, mark their positions first so the time still makes sense at a glance. One dark pair of hands gives the busy face a clear centre.
Follow the Maker’s Method: Make a Game Block Clock
23. Round Clock with Illuminated Markers
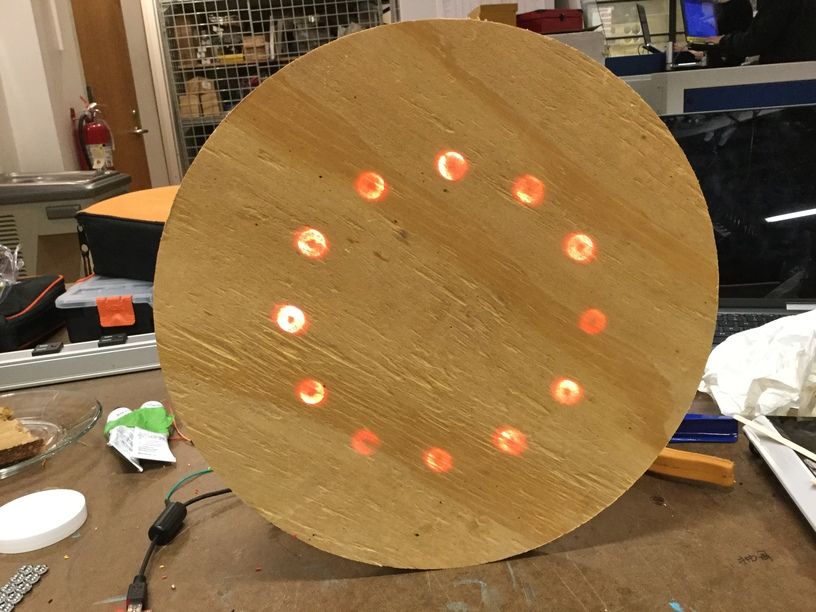
Small lights show through the wood around the perimeter to indicate the time in the familiar layout of an analog dial. Between the illuminated markers the timber still reads as a single surface. Put the clock in a spot you use after dark, where the lights stay visible without distracting from a screen. Allow room behind the face for the electronics.
Follow the Maker’s Method: Build an Analog LED Clock
24. Round Hardwood Clock with Recessed Markers
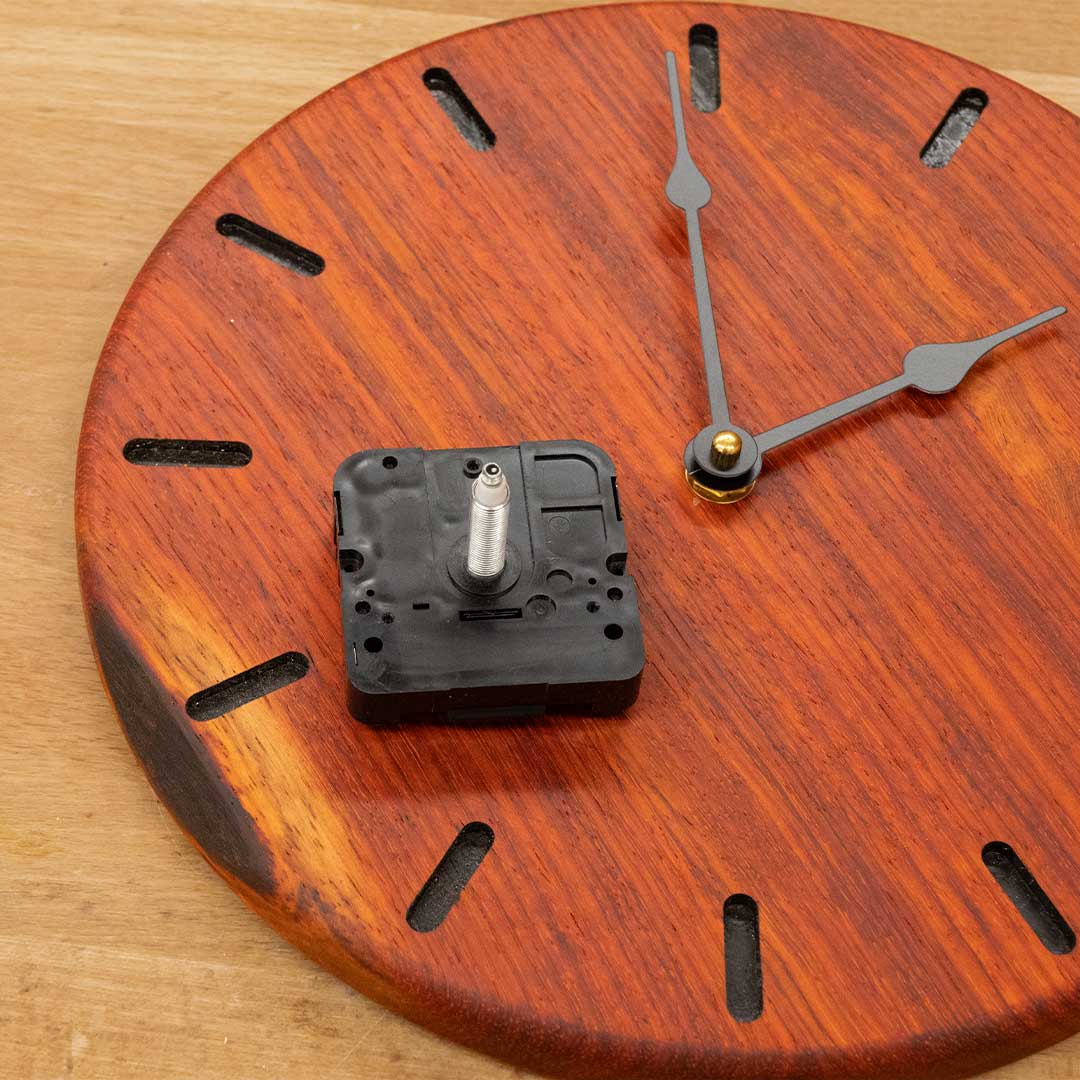
Dark recessed markers show the hours without interrupting the reddish grain of the hardwood. The photo shows the movement beside the face, giving you a sense of the parts that sit behind the finished clock. If you make a similar design, check shaft length against the thickness of the face before drilling. Slim hands leave the markers easy to read.
Follow the Maker’s Method: Make a Hardwood Wall Clock
Choose a Clock for Your Space
Start with one feature you want to see every day: the bark edge of a wood slice, the holes in an open frame or the changing grain in a block mosaic. Check the face from your usual seat, then use the surrounding finishes to pick a wood tone. A clear dial and an uncluttered spot let both the grain and the time show.
- Rustic Wooden Lamps for Home
- Wood Slice Christmas Decor Ideas
- Wooden Pallet Wall and Garden Ideas
- Creative Wooden Crate Decor Ideas
- Rustic Wood Wall Ideas
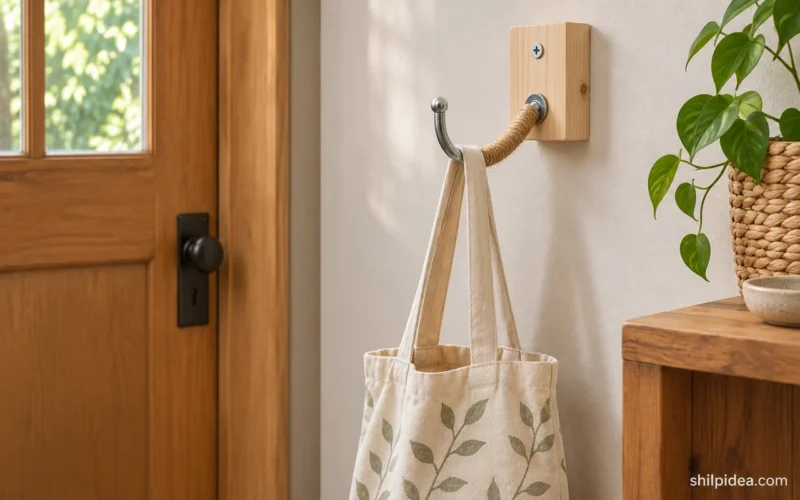
- Rope Wrapped Wood Wall Hook
Which would you put in your home: a rugged wood slice, a striped plywood face or a small clock on a stand? Share your pick and where you would display it.





















1 Comments
Gilcilene Mendonça
09/17/2021 atOlá, bom dia
Amo artesanato e, principalmente quando as peças são feitas com requinte e bom gosto. Parabéns pelo trabalho e apresentação.