How to Paint a Two-Tone Terracotta Pot Without Brush Marks
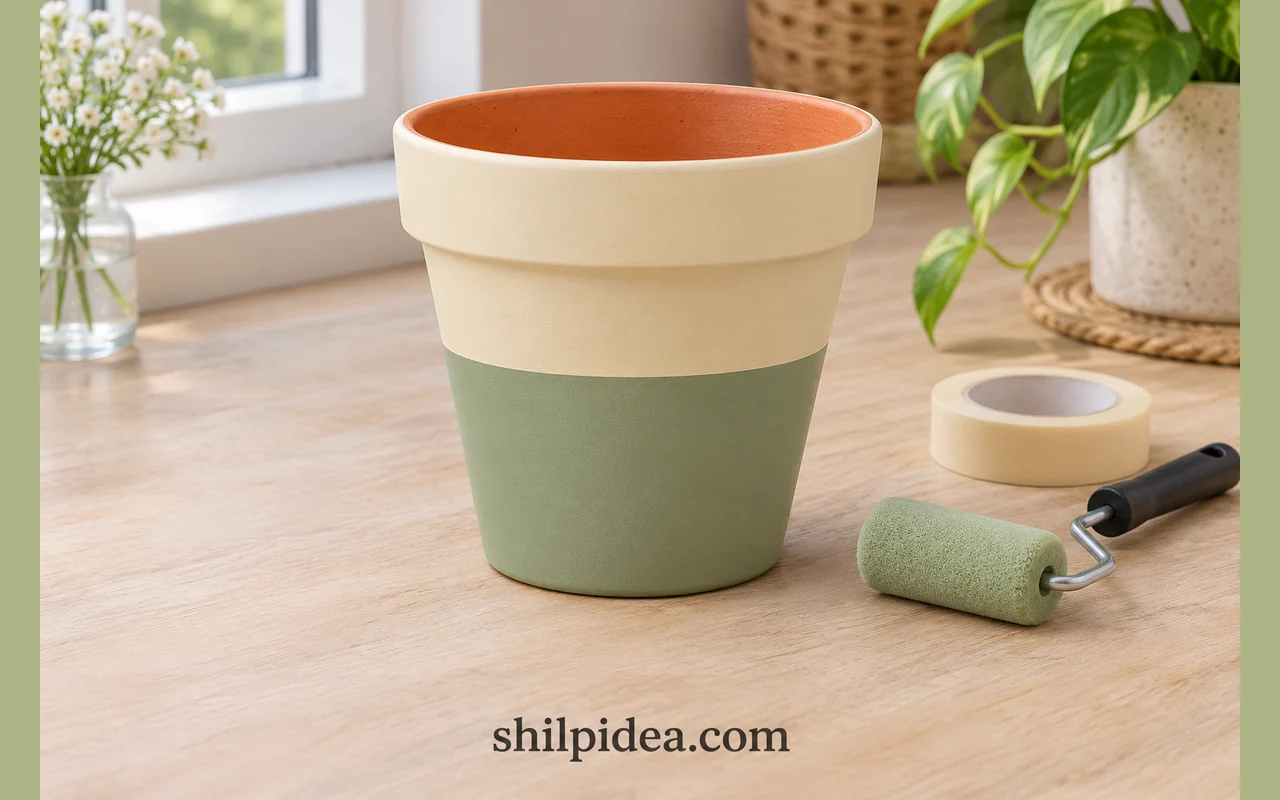
A two-tone terracotta pot looks best when the color break is crisp and the finish is even. A small foam roller helps you coat the exterior in thin layers without leaving long brush strokes.
Choose one light base color and one accent. These painted wall accents can help you choose a pairing that works with the room.
Start with an empty pot and paint only the exterior. If you are planning a larger display, these indoor plant displays can help you decide where the finished pot will go.
Materials and Tools
Gather the tools and set the empty pot on a protected work surface.
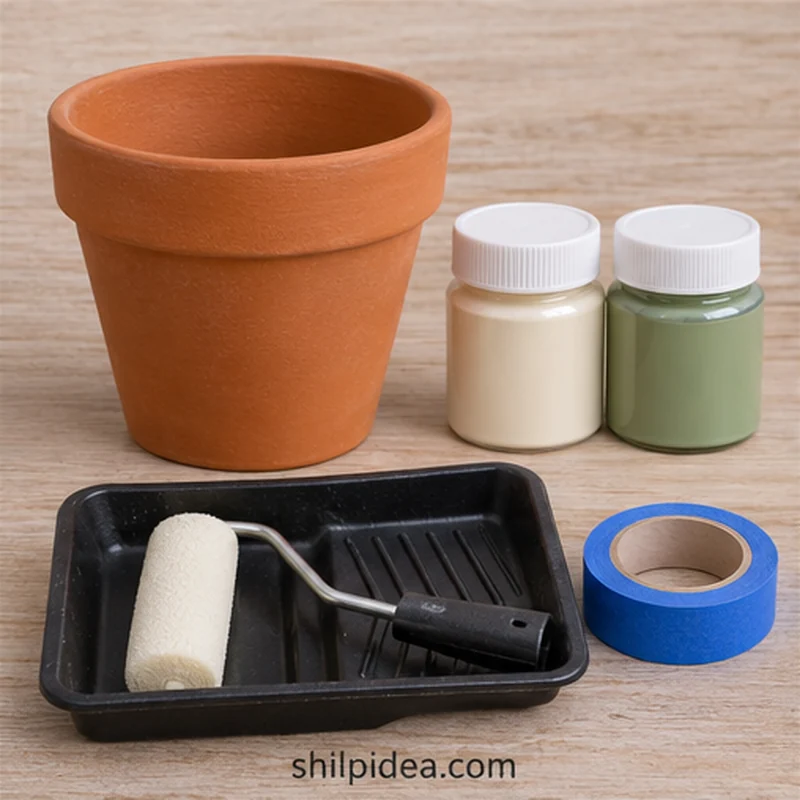
- Terracotta pot – Use one clean, dry unglazed pot with a drainage hole.
- Two compatible paint colors – Choose paints labeled for porous clay or masonry and the conditions where the pot will sit.
- Mini smooth foam roller and tray – Use a clean roller for each color or wash and fully dry it between coats.
- Low-tack painter’s tape – Pick tape suitable for a painted surface and check the paint’s safe masking time.
- Soft cloth and fine sanding sponge – Use the sponge only if the pot has raised rough spots.
- Ruler and pencil – Use them to mark an even distance below the rim.
- Drop cloth and gloves – Protect the work surface and follow the paint label’s handling directions.
Precautions Before You Begin
Read the paint and tape labels before you open either container.
- Work with the ventilation and protection specified on the paint label.
- Keep the interior, drainage hole and bottom contact surface clear of paint.
- Test the tape in a discreet spot. If it lifts the base color, allow more drying time according to the paint instructions.
1. Clean and Dry the Pot
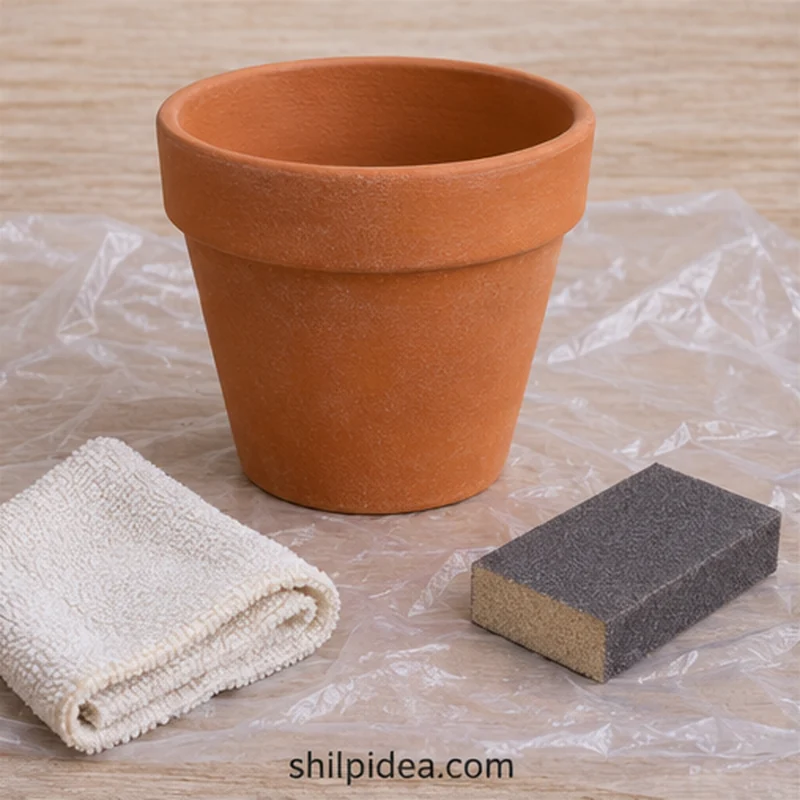
- Remove loose grit. Brush away soil and dust. If a rough spot would catch the roller, smooth it lightly and wipe away the dust.
- Let the clay dry. If you washed the pot, wait until it is dry throughout before coating it. Check that the drainage hole is clear.
2. Roll On the Base Color
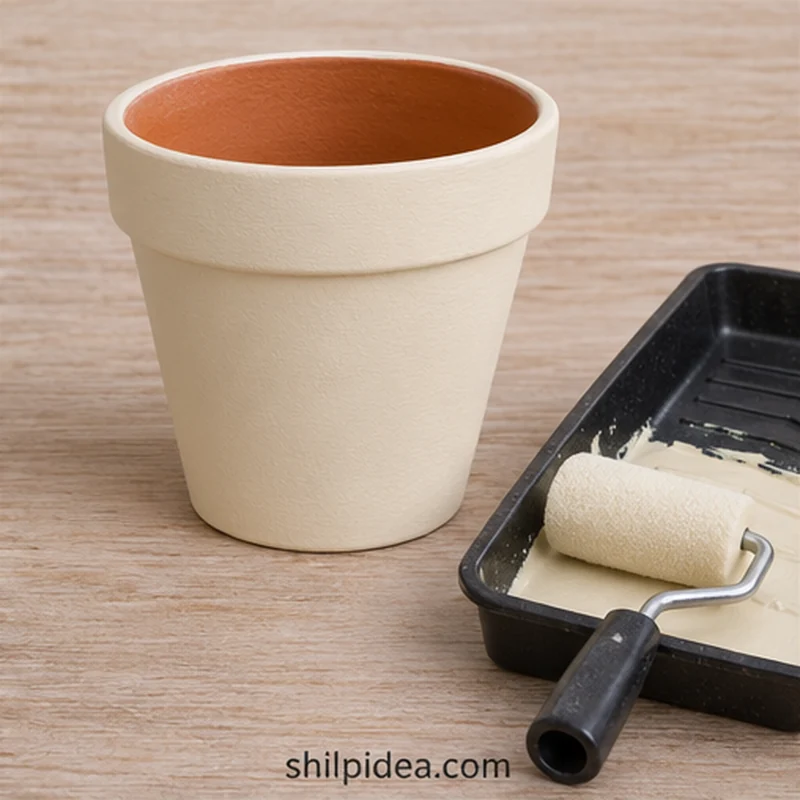
- Load the roller lightly. Dip it in the paint, then roll it on the tray’s ridged area. The foam should look evenly damp with paint without dripping.
- Apply thin coats. Work around the pot in short overlapping passes. Stop rolling as soon as the paint starts to tack. Follow the label’s recoat and masking times.
3. Mask an Even Color Break
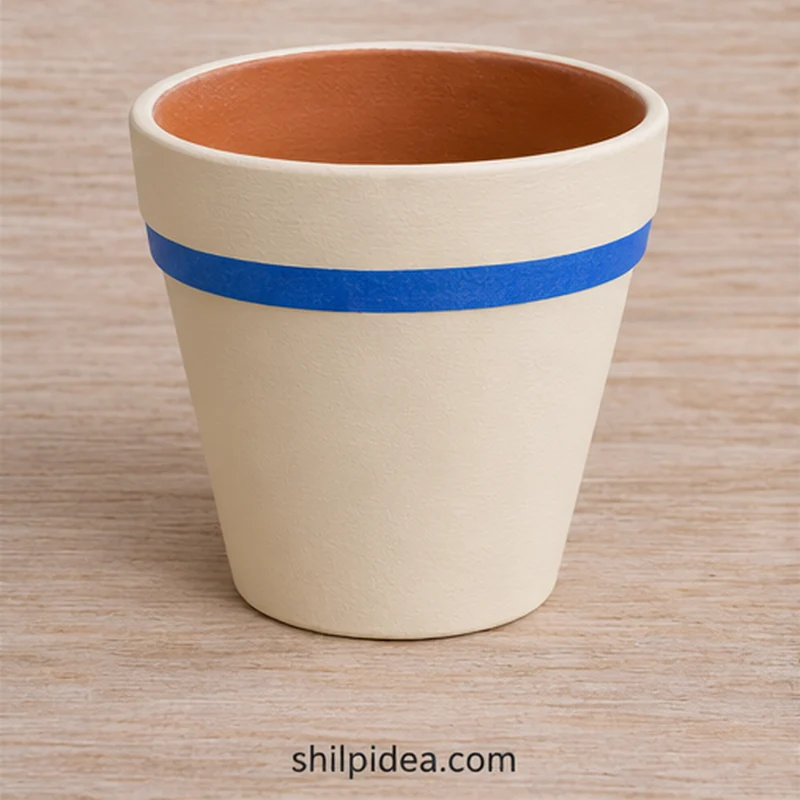
- Mark the line. Measure the same distance below the rim at several points and mark it lightly in pencil. Place the tape just above the marks.
- Press the edge. Smooth the tape in short sections around the curve. If the paint and tape directions allow it, seal the lower tape edge with a thin pass of the base color and let it dry before adding sage.
4. Roll On the Accent Color
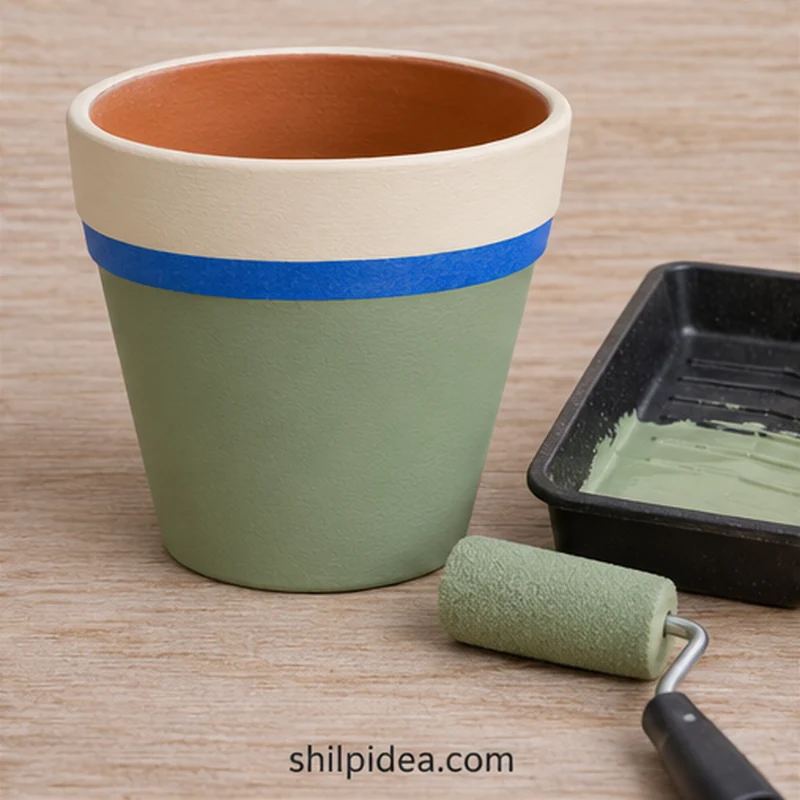
- Work away from the tape. Use a lightly loaded roller and begin each pass just below the tape edge. Use thin coats so paint does not build up at the division.
- Check the surface in side light. Look for missed spots or thick ridges before a coat starts to set. Wait the specified recoat time if the base color still shows through.
5. Remove the Tape and Let the Paint Cure
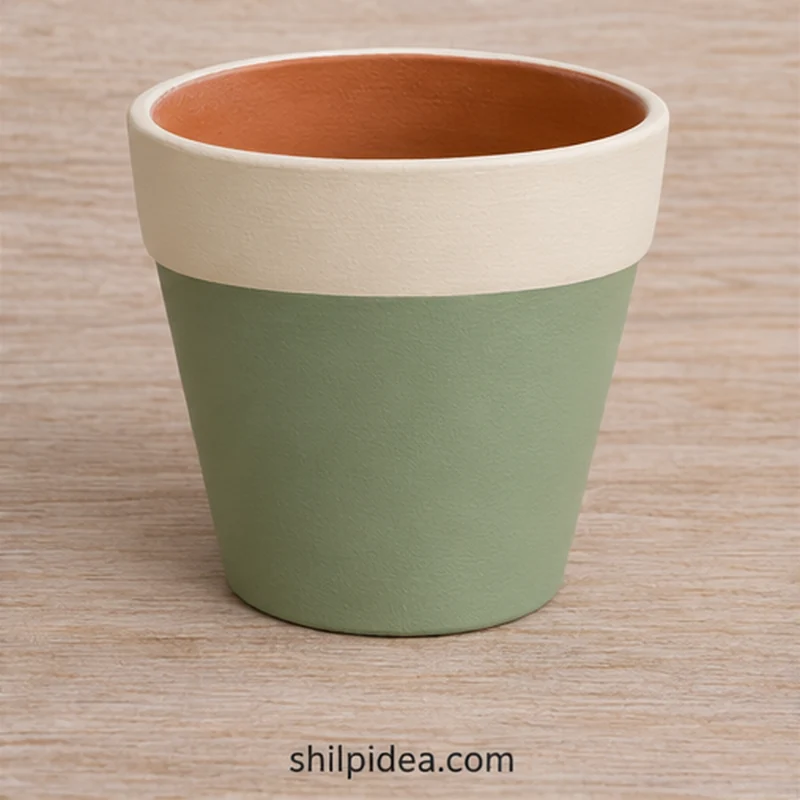
- Peel at the recommended time. Pull the tape back slowly along the painted edge. Follow the tape and paint instructions for removal timing. If a small spot needs touching up, wait until the surface can be handled.
- Wait before planting. Let the finish cure for the time on the label. Keep the drainage hole open and set the pot on a saucer or put a removable nursery pot inside.
Choose What to Put Around the Pot
Once the finish has cured, try the pot where it will get the light your plant needs. Use one of its colors on a nearby saucer, shelf, or second container to connect the display. These ideas can help you decide what belongs beside it.
- Paint a Color Blocked Wall Arch
- Indoor Plant Displays for Small Spaces
- Dried Flower Centerpiece in a Tin
- Creative Ideas for Welcoming Interiors
Which two colors would you use on your pot? Share the pairing in the comments. If you try a foam roller, tell us how the finish looks once it dries.




















0 Comments