How to Build a Gratitude Message Box from a Recycled Cereal Carton
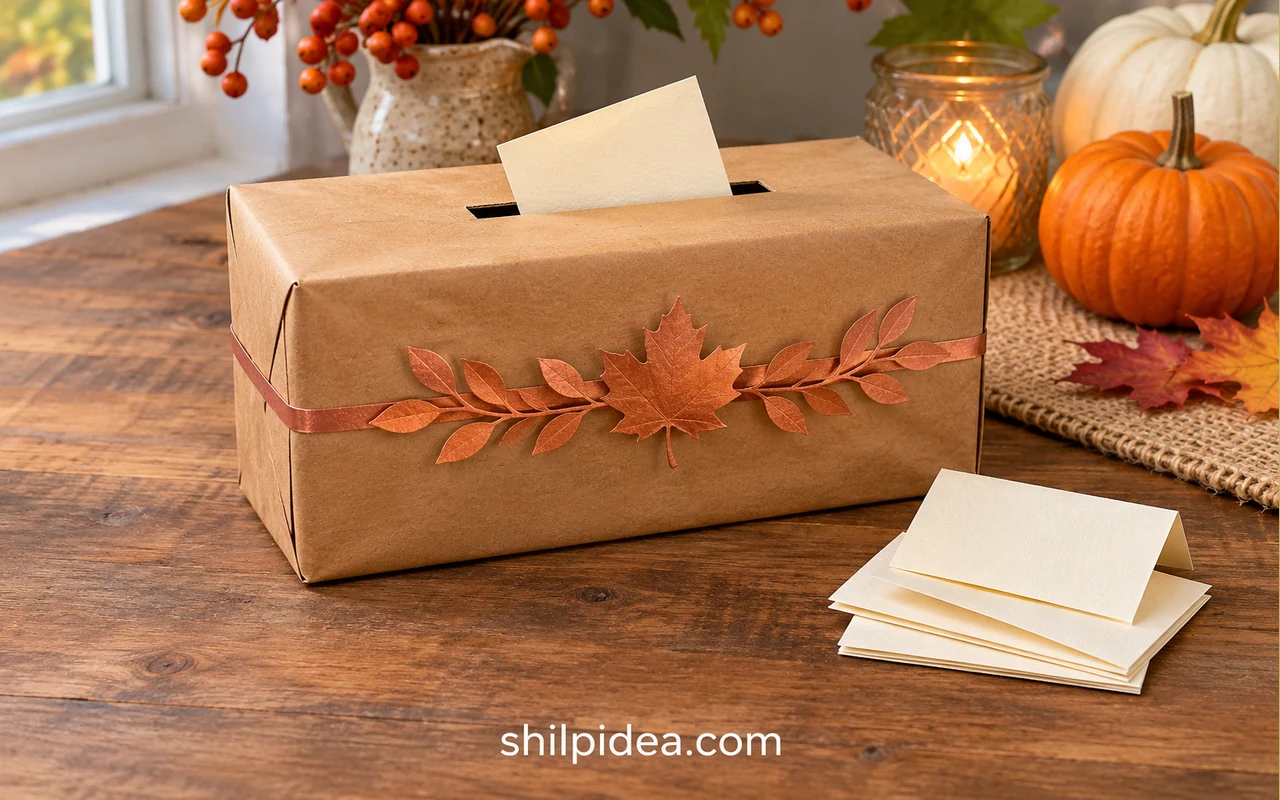
A gratitude message box gives everyone a quiet way to leave a note before or during a gathering. An empty cereal carton is big enough for folded slips and light enough to set on a shelf or pass around the table.
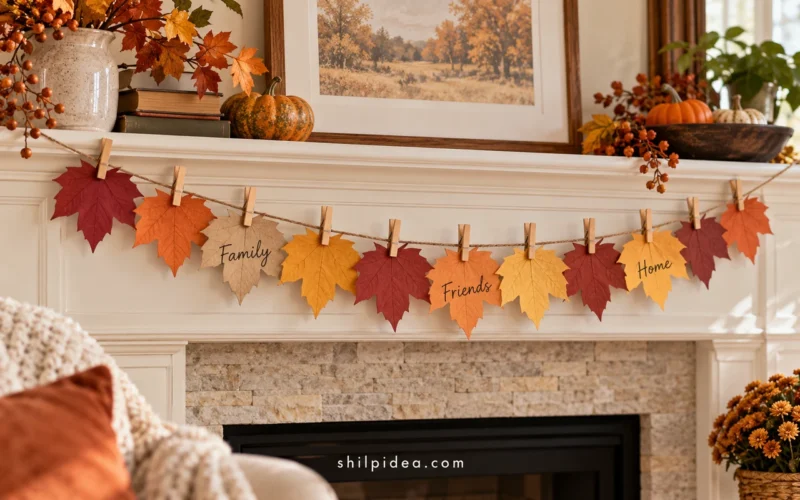
For a display that keeps the notes visible, these gratitude garland ideas use the same habit with a different setup.
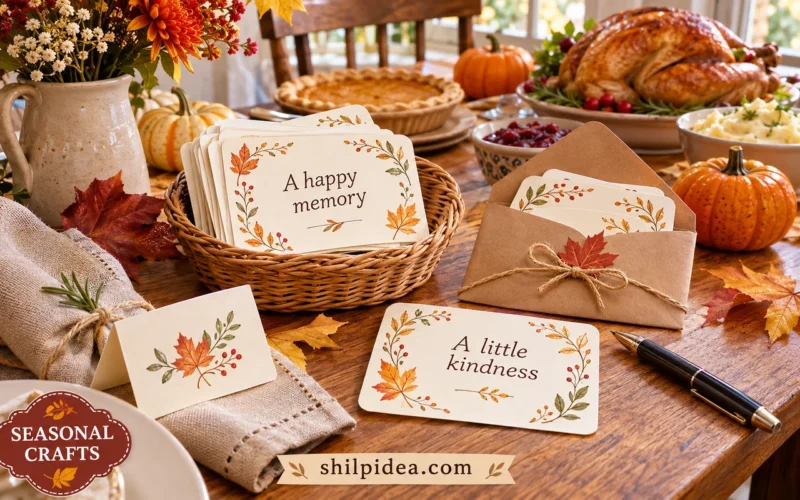
Set this version beside your thankful tree or leave it on a sideboard with slips and a pencil. You can read the notes together or save them for later.
Materials and Tools
Gather these supplies before you start. Adjust the paper and slot measurements to suit your carton.
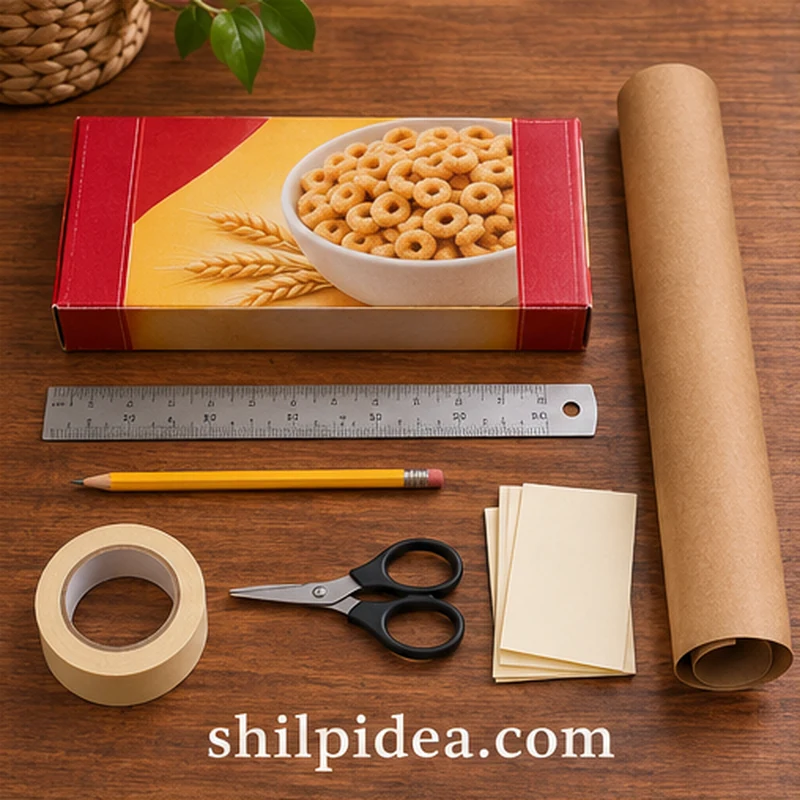
- Empty cereal carton – Use one clean, dry carton with an end flap you can reopen.
- Kraft paper – Choose a sheet long enough to wrap around the carton with a small overlap.
- Ruler and pencil – Use them to mark a centered slot about 3 inches long and 3/8 inch wide.
- Paper scissors – Use these for the wrapping and note slips.
- Craft knife and cutting mat – An adult can use these to cut the slot.
- Paper tape or double-sided tape – Use enough to close the carton and secure the wrap.
- Cardstock scraps – Cut a few leaves or use a narrow strip of paper for decoration.
- Blank note slips – Cut 12–20 slips about 2 by 3 inches. Fold them once if needed.
Precautions Before You Begin
Choose a stable work surface and check the carton before cutting.
- Remove the inner bag and crumbs. Use a dry carton with sound seams.
- An adult should use the craft knife on a cutting mat with fingers clear of the blade. Let children decorate the finished box or write notes.
- Keep paper decorations away from candles, hot serving dishes and other heat sources.
1. Close the Carton and Mark the Slot
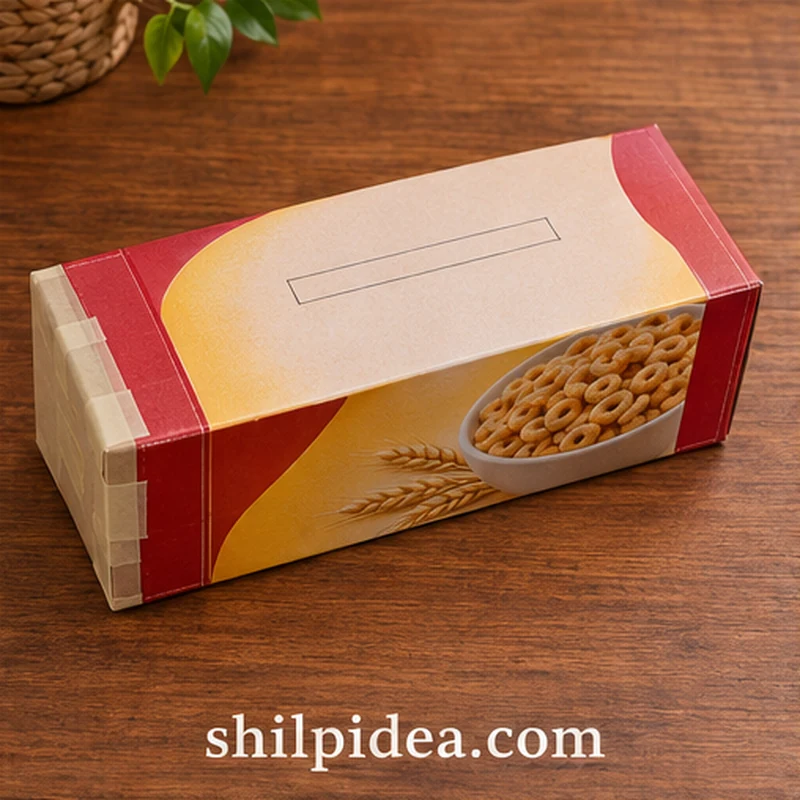
- Set the carton on a broad side. Tuck its end flap into place or use a short piece of removable tape. Decide which end will open later so you can collect the messages.
- Mark the opening. Draw a centered 3-inch by 3/8-inch rectangle on the broad top face. Keep it away from folded edges so the top stays firm.
2. Cut the Opening
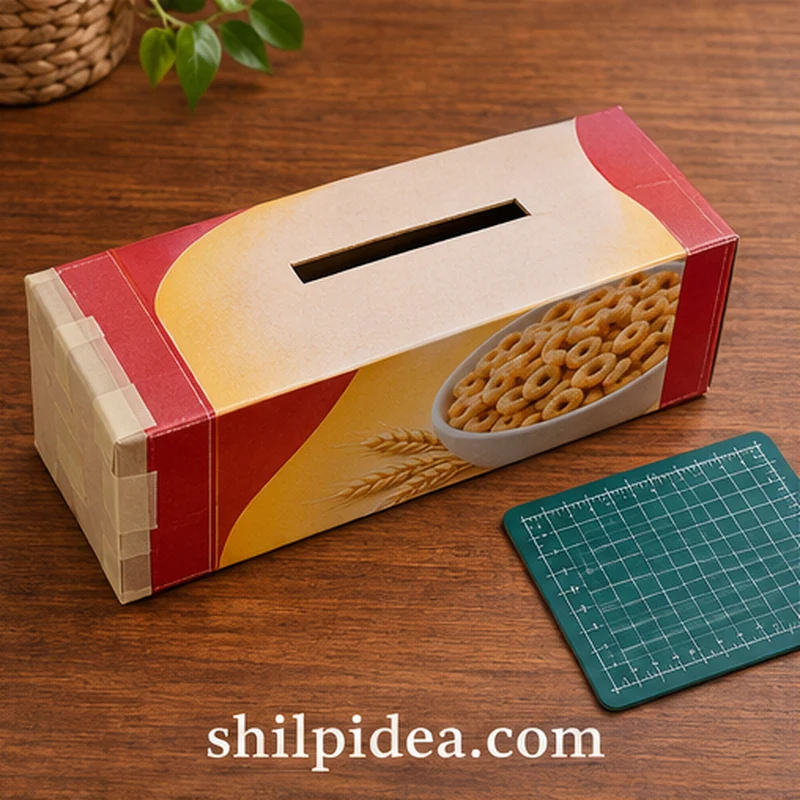
- Support the top panel. Open one end and slide a piece of scrap cardboard under the slot area to shield the opposite wall. Set the carton on the cutting mat.
- Cut along the outline. Use short, controlled cuts. Lift out the rectangular piece and push a folded slip through to make sure it clears the edges.
3. Wrap the Carton With Kraft Paper
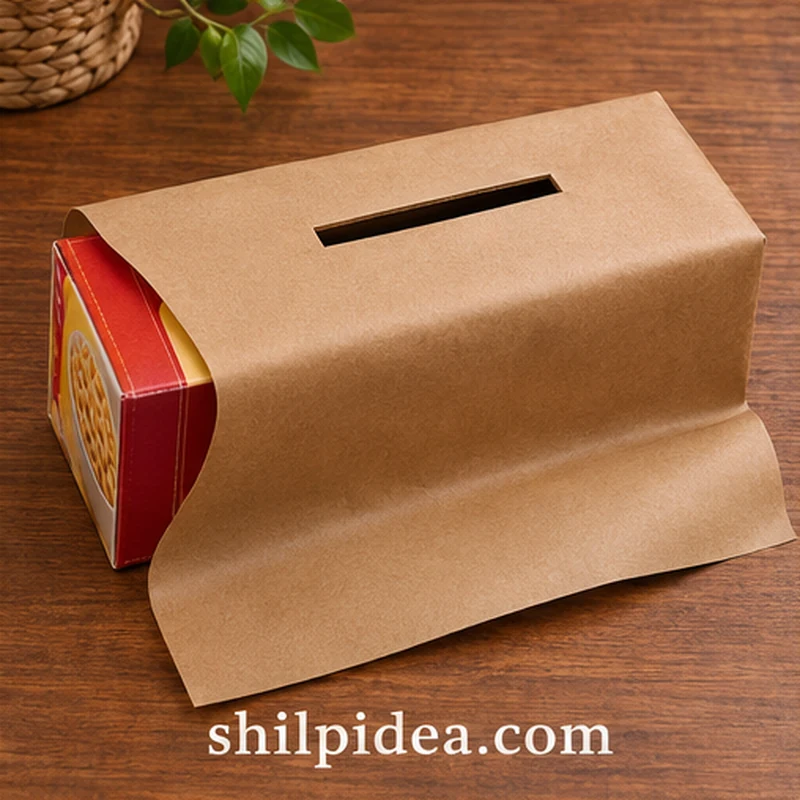
- Fit the wrapper. Wrap kraft paper around the four long faces and mark the slot on the paper while the wrapper is in position. Keep the seam underneath.
- Trim and attach the paper. Take the wrapper off to cut its opening. Align it with the carton slot, tape the overlap underneath and fold the ends. Leave the chosen end flap accessible.
4. Add Paper Leaves or a Simple Band
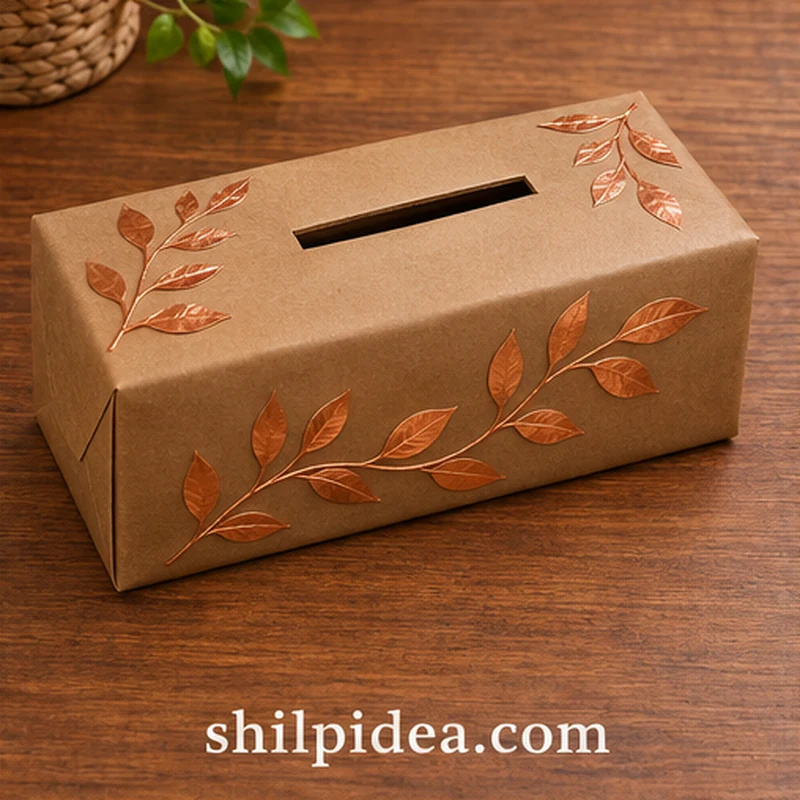
- Decorate the visible faces. Arrange copper or rust paper leaves across the front and attach them with double-sided tape. Leave the slot and opening flap clear.
- Check the finish. Press down the loose edges and confirm the carton still sits flat. A narrow paper band is enough if the box will sit on a busy table.
5. Set Out Slips and Try the Box
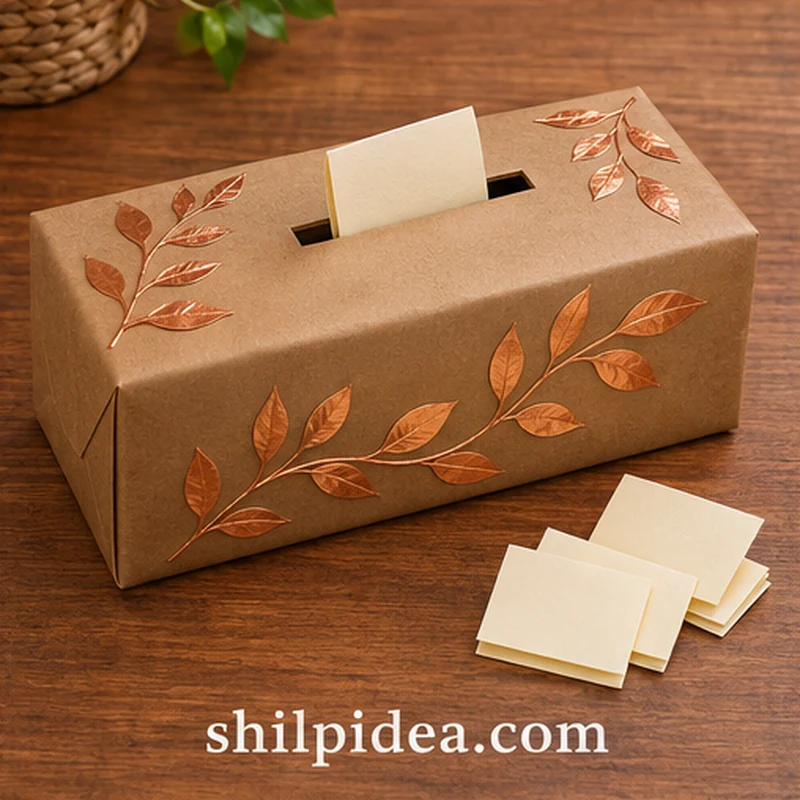
- Test and display. Drop a folded slip through the slot, then check that it comes out through the flap. Set the box with note slips and a pencil in a spot where guests can stop comfortably.
More Ways to Share Gratitude at the Table
Decide whether you want to read the notes during the meal or save them to open together later. Put a pencil where guests can reach it and keep a few spare slips near the box. These projects offer simple ways to carry the same paper, colors or handwritten messages to other parts of the table.
- Gratitude Garlands for Family Gatherings
- A Thankful Tree With Notes
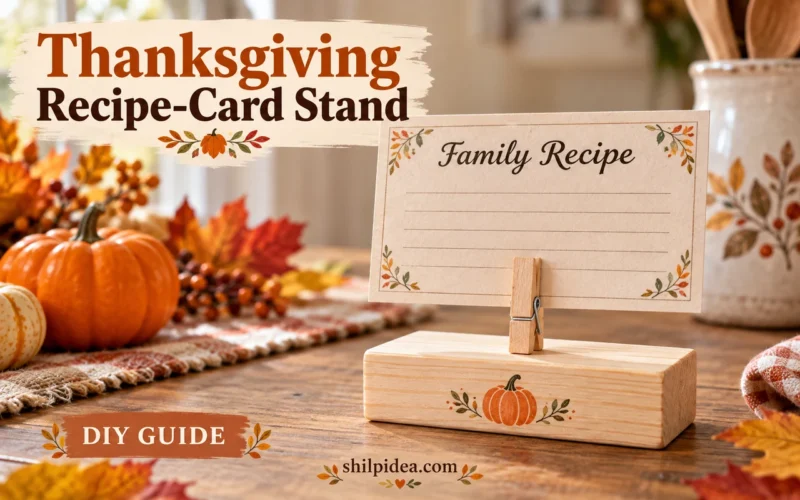
- A Thanksgiving Recipe Card Stand
- Dried Flowers in a Reused Tin
- Personal Holiday Cards to Make
Where would you set your gratitude box so everyone gets a chance to leave a note? Share your plan in the comments. If your family already has a tradition for reading the messages, tell us how you do it.





















0 Comments