How to Hang a Gallery Wall with Paper Templates Before Drilling
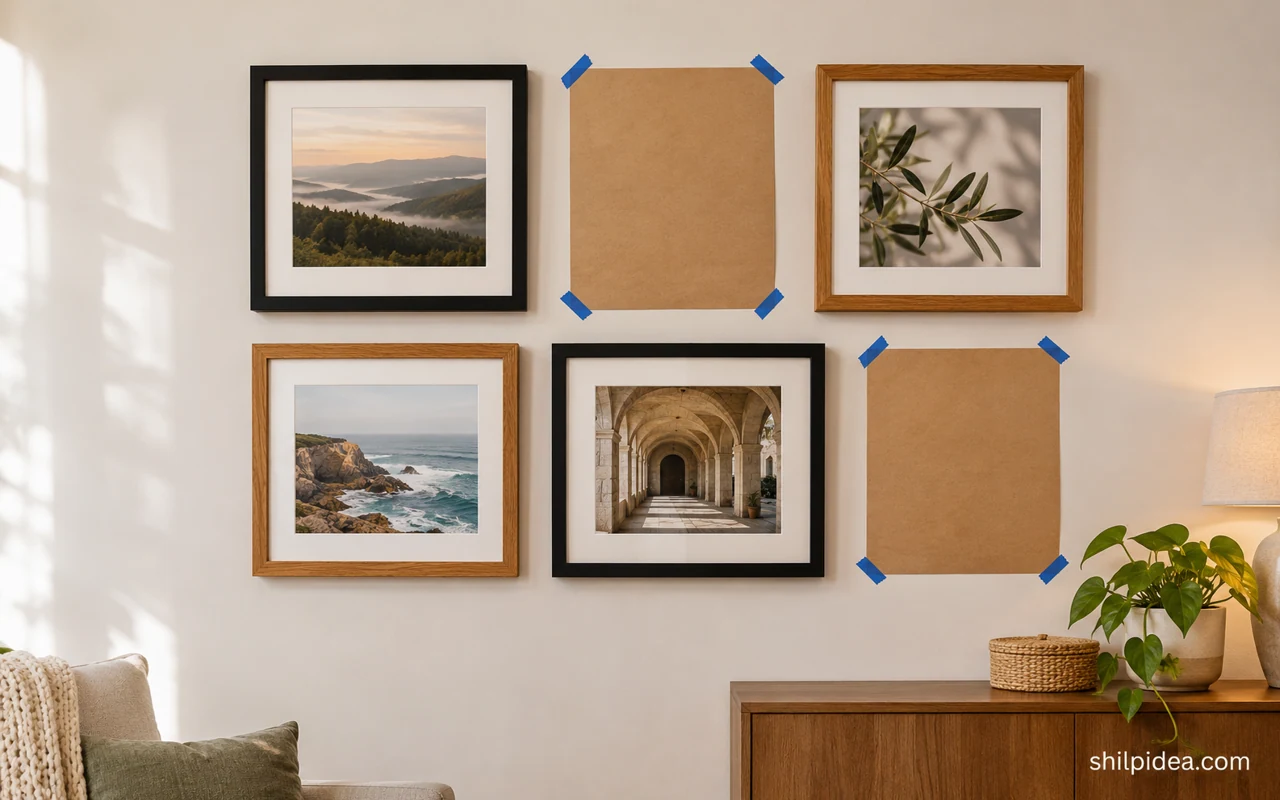
Paper templates let you see a gallery wall at full size while you can still move every frame. Mark each hanging point on paper before you make any holes.
Start with the frames and hardware you plan to use. These personalized wall displays can help you choose what to frame.
Lay the pieces out, trace their outlines, then test them on the wall. Use these mirror placement ideas if the gallery shares a wall with a mirror.
Materials and Tools
Gather everything on a clear work surface before starting.
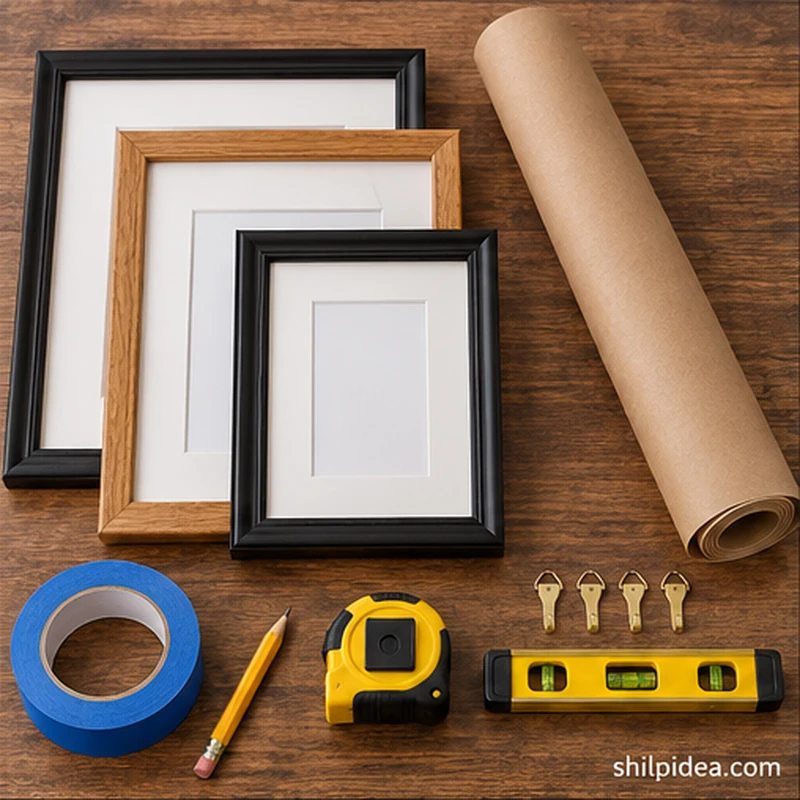
- Picture frames – Use frames with sound, securely attached hangers and record the weight of each loaded frame.
- Kraft paper – Allow enough paper to trace each frame at full size.
- Pencil, scissors and tape measure – Use them to trace, trim and mark the templates.
- Low-tack painter’s tape – Check suitability for the wall finish and test a small spot.
- Level and suitable wall scanner – Use them to check the layout and investigate the wall before drilling.
- Hooks, fasteners and tools – Match them to the wall material, hanger type and loaded frame weight.
Precautions Before You Begin
Check the materials and the space where the finished project will go.
- Check what may run behind the wall before drilling. If you cannot rule out wiring or pipes at a mark, move it or ask a qualified professional.
- Use hardware rated for the wall material and the actual loaded frame. Follow the manufacturer’s installation instructions.
- Check the suitability of the painter’s tape and the mounting hardware on wallpaper, fragile plaster or newly painted surfaces.
1. Trace and Label Every Frame
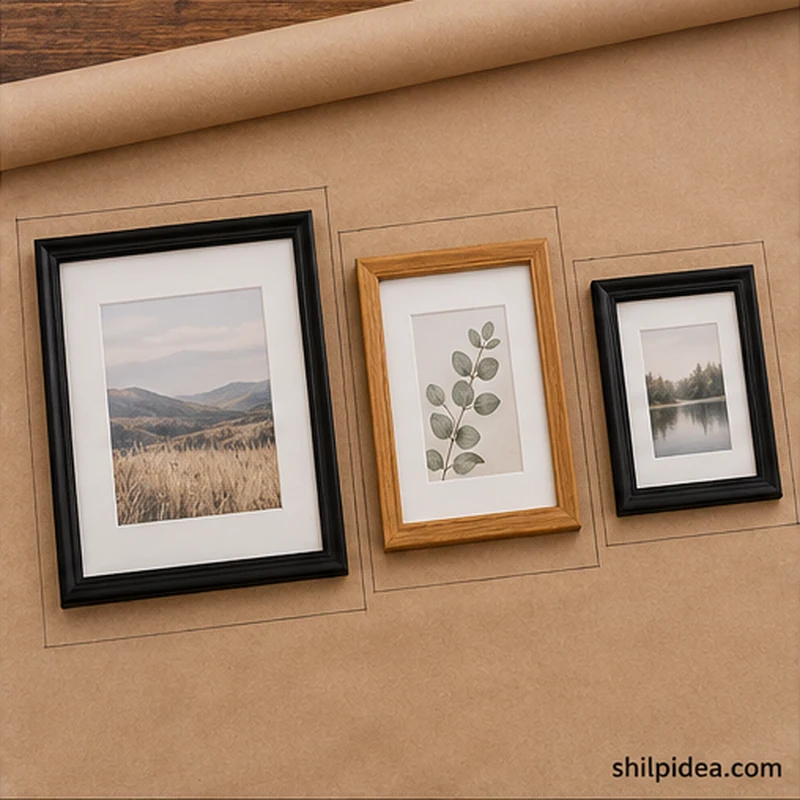
- Lay out the collection. Arrange the frames on the floor where you can step back and see the whole group. Pick an initial gap, such as 2 inches, and measure the footprint.
- Cut full-size templates. Trace the outside edges on kraft paper and cut to the pencil lines. Add a short label and an arrow for the top of each frame.
2. Transfer the Hanging Points
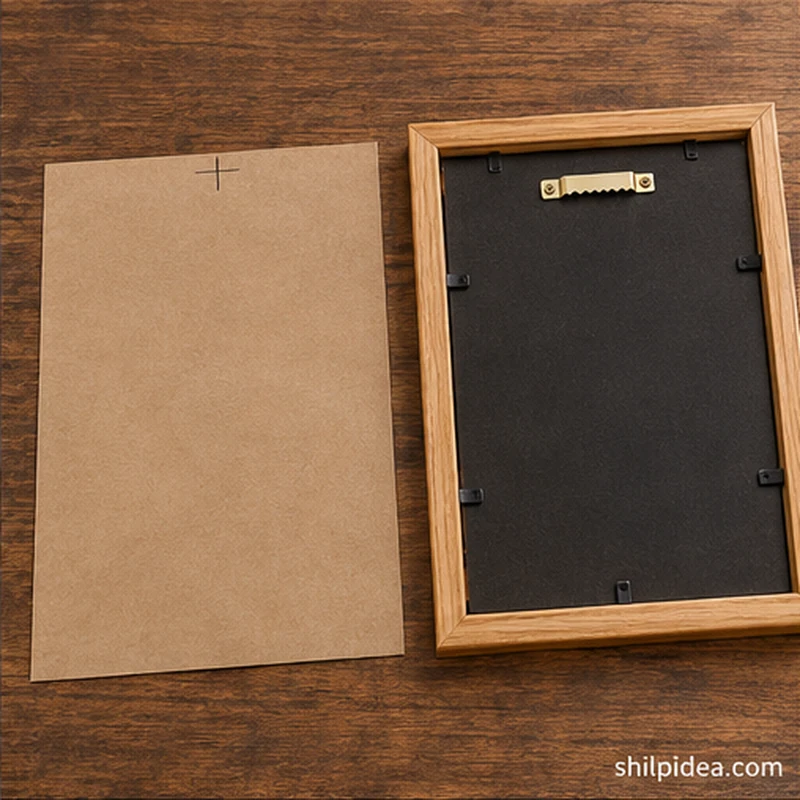
- Measure the hardware. Turn one frame face down. Measure from the top and side to the point where the hanger will sit. For a wire hanger, pull it up under light tension as it will hang.
- Mark the matching paper. Transfer those measurements from the top and matching side of the template. Mark both support points on frames that use two hooks and check their spacing.
3. Tape the Layout to the Wall
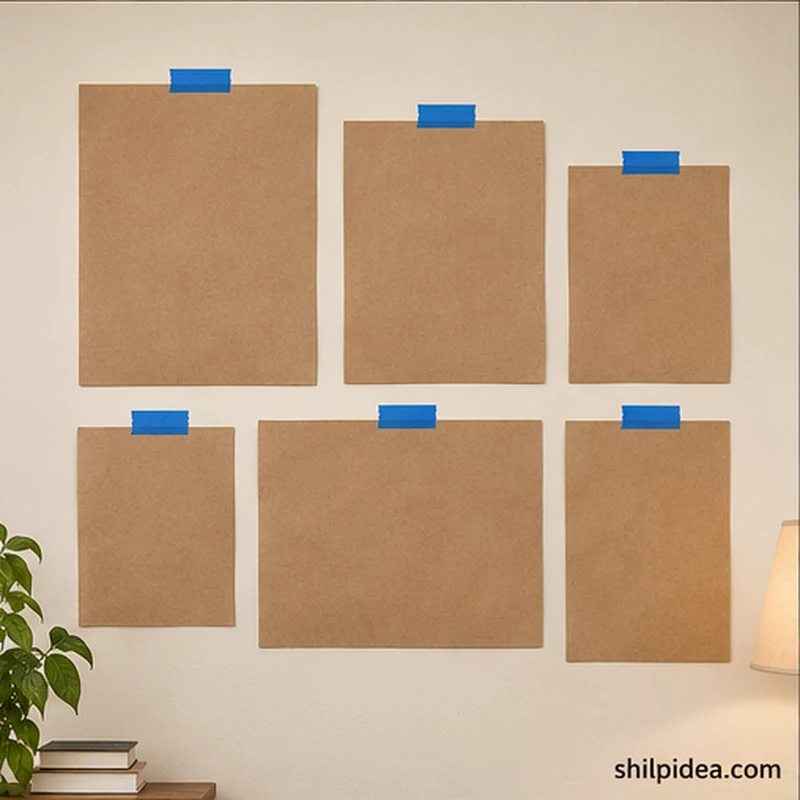
- Place the largest template first. Tape it where you want the center of the arrangement to sit. Add the smaller templates around it and use a level to check edges that should align.
- Check the view. Step back to the doorway and your usual seat. Reposition any template that looks crowded or too high, and measure gaps between the paper edges before making marks.
4. Check the Wall and Install the Hardware
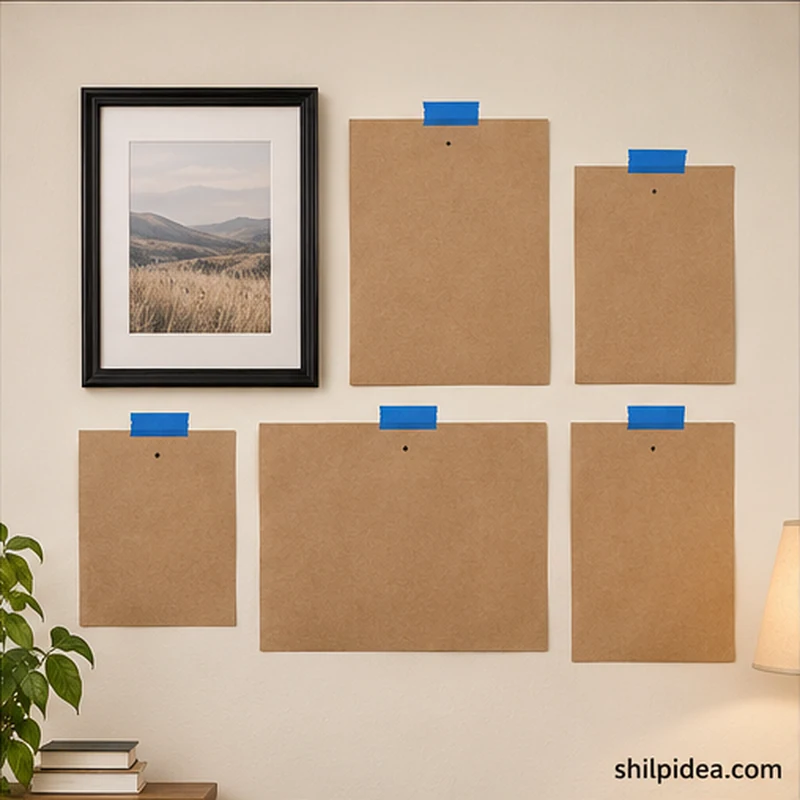
- Confirm each position. Check the wall type and scan for relevant framing and possible concealed services. Move any questionable position before drilling and update its template if needed.
- Transfer the verified marks. Make a small pencil mark at each confirmed hanger location and remove the paper. Install the fasteners according to their instructions, allowing for any offset between the hook seat and its screw.
5. Hang and Level the Frames
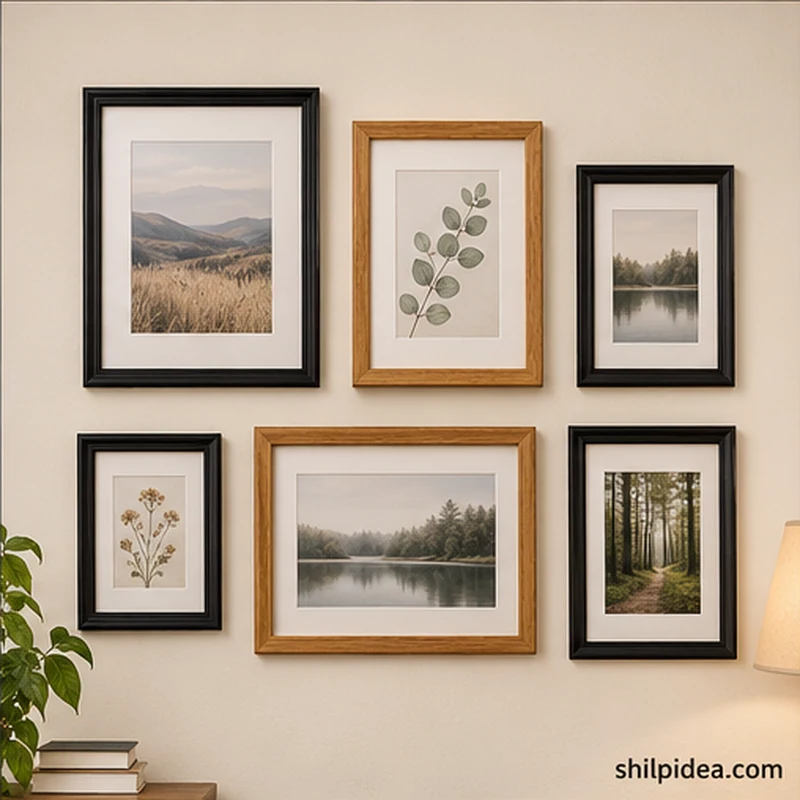
- Hang the anchor frame first. Set the largest frame on its hardware, check that it sits firmly, and level it. Hang the remaining frames one at a time and check the spaces between them.
- Review from a distance. Compare the final layout from the same places you used to assess the templates. Gently straighten any skewed frame and remove visible pencil marks without scuffing the finish.
Choose What the Gallery Wall Will Hold
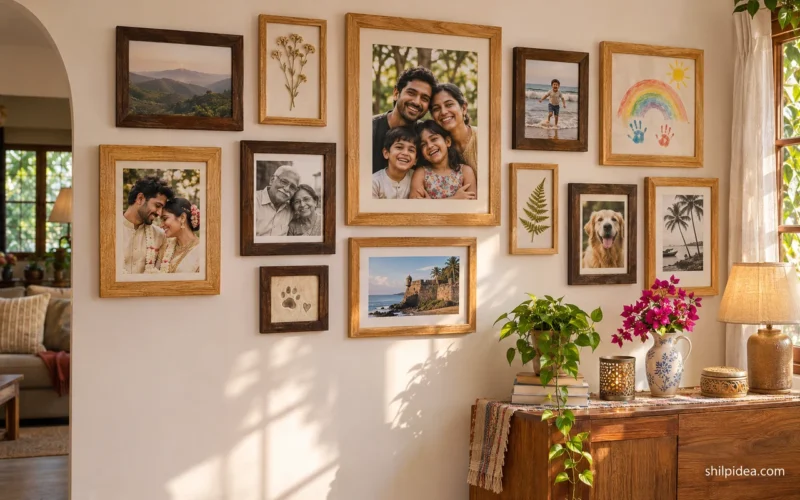
A few shared frame finishes or mat colors can make unrelated pictures feel at home together. Keep the pieces you want people to see first close to the center. These room and wall ideas can help you choose artwork, photographs and nearby decor.
- Personalized Wall Decor With Meaning
- Large Mirror Ideas for Home Walls
- Creative Ideas for Welcoming Interiors
- Modern Ideas for Welcoming Living Rooms
What would you put in your gallery wall, and where would it go? Tell us about your layout in the comments. If you have used paper templates before, share which adjustment you made before hanging the first frame.



















0 Comments