

DIY Paper Christmas Trees for Small-Space Holiday Decor
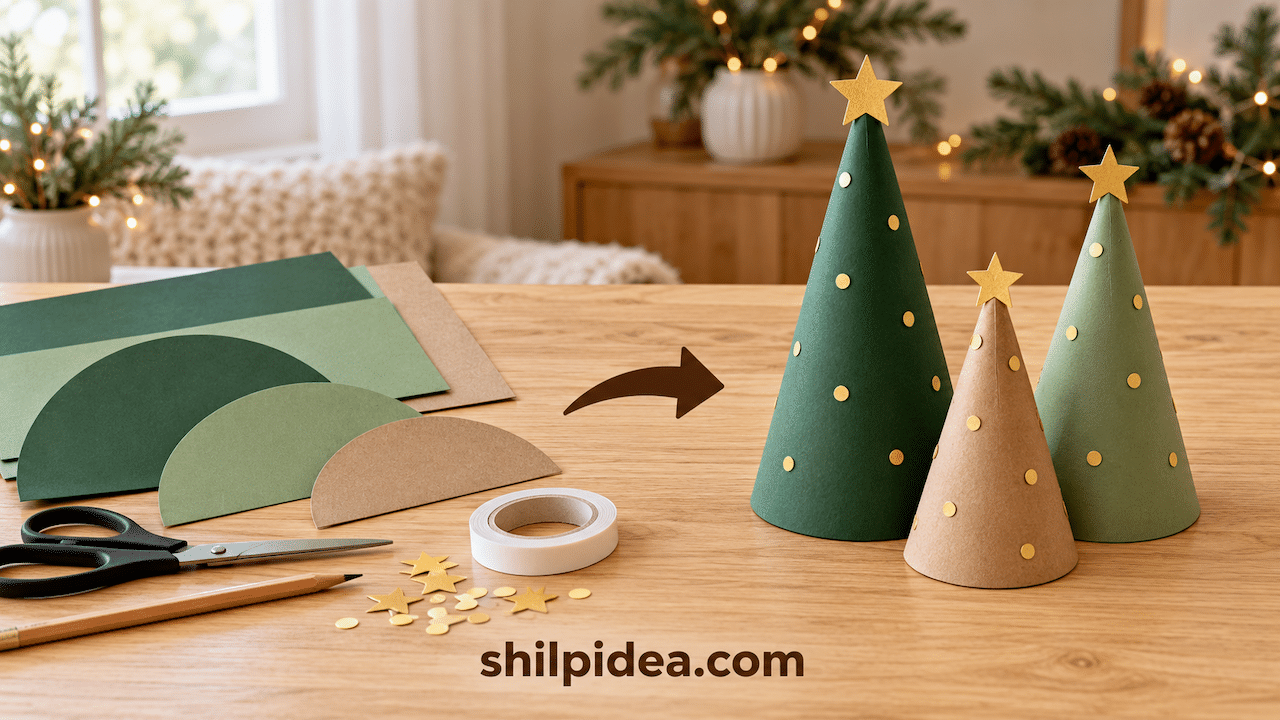
A small shelf, desk, or entryway table can feel festive without making room for a full-size Christmas tree. A few handmade decorations are enough to give that little corner a holiday look.
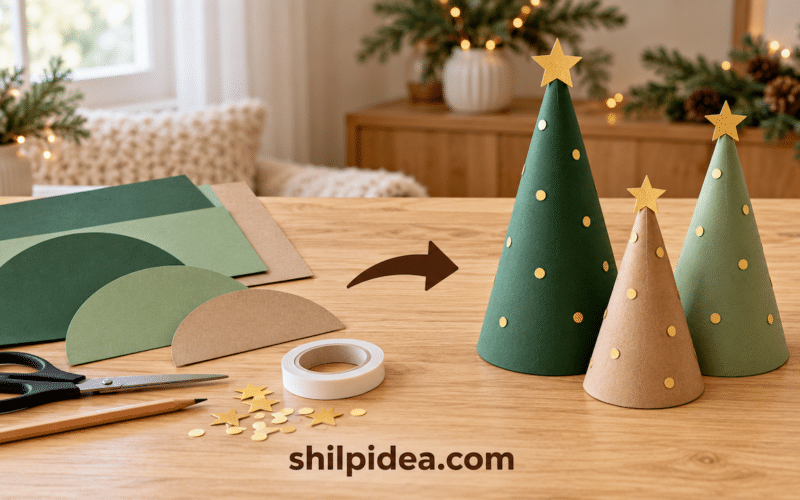
These paper Christmas trees use cardstock rolled into simple cones, with gold paper details for a finishing touch. Choose forest green, soft sage, and kraft brown for a coordinated miniature display.
Follow the steps below to cut, assemble, and decorate your trees, then arrange them to suit the space you have.
Table of Contents
Gather Your Paper and Craft Supplies
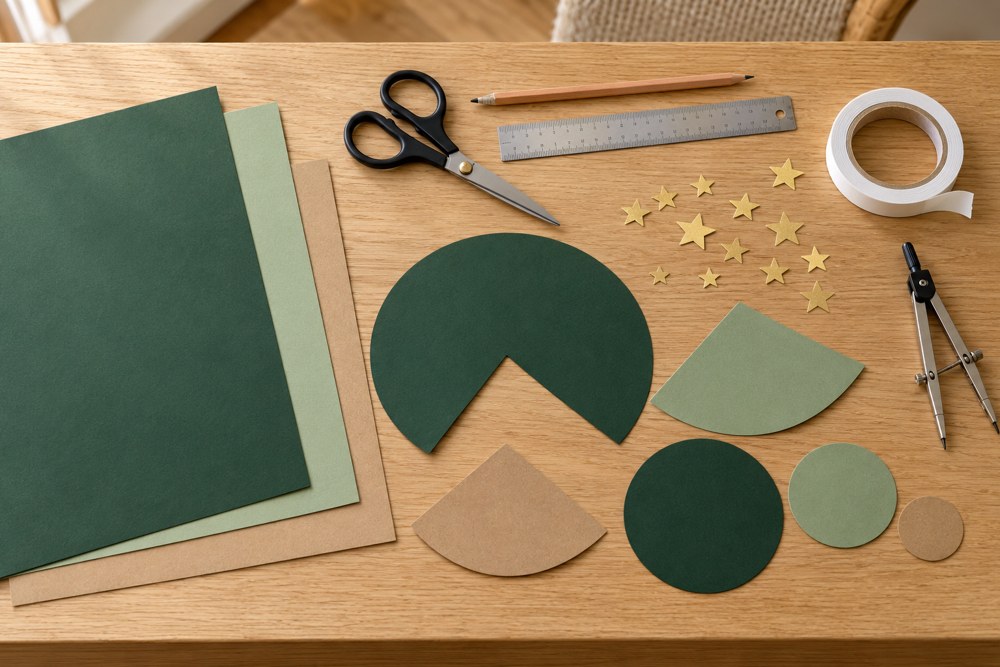
For a three-tree display, gather:
- Lightweight cardstock in two or three coordinating colors
- A pencil, ruler, and drawing compass
- Scissors
- Double-sided craft tape
- A glue stick suitable for paper
- Gold paper for small stars and dots
Choose cardstock that bends smoothly without cracking. Large sheets, such as 12 × 12 inches, give you room for different sizes. Ordinary printer paper can work for a practice cone, but cardstock makes a firmer display. Adults should supervise children using scissors or the pointed compass.
Cut Semicircles in Three Different Sizes
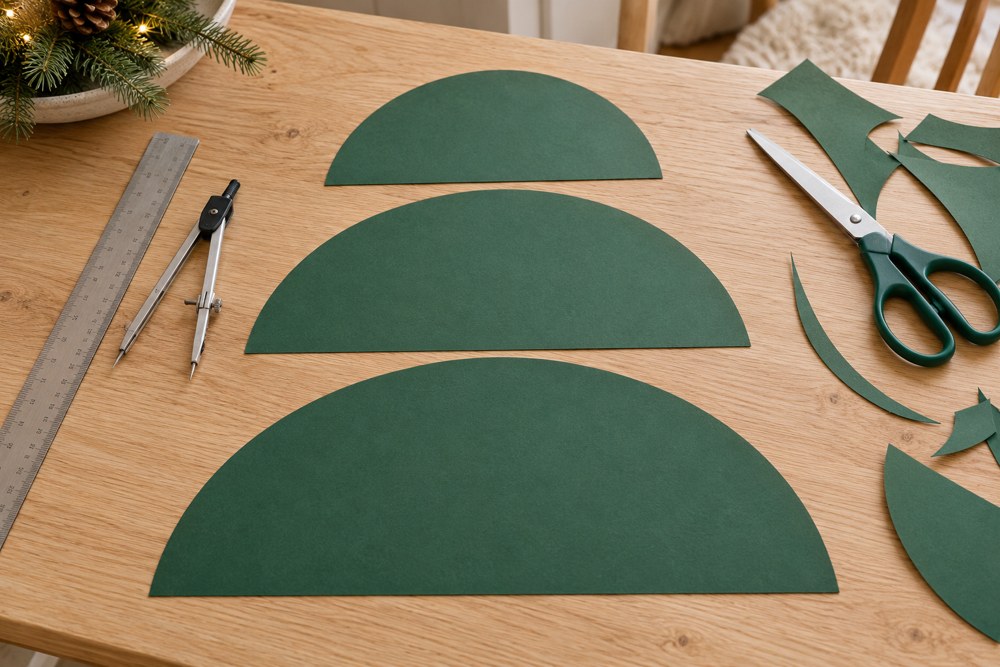
Draw a straight line across your cardstock and mark its midpoint. Place the compass point on that mark, then draw a half-circle above the line. Cut along the curved edge and the straight line to release your semicircle.
For a graduated set, try diameters of 8, 10, and 12 inches—approximately 20, 25, and 30 cm. Use the same method for each size. These are starting dimensions, not finished tree heights. Make a practice version first if you need the trees to fit beneath a particular shelf.
Roll the Paper into a Cone and Secure the Seam
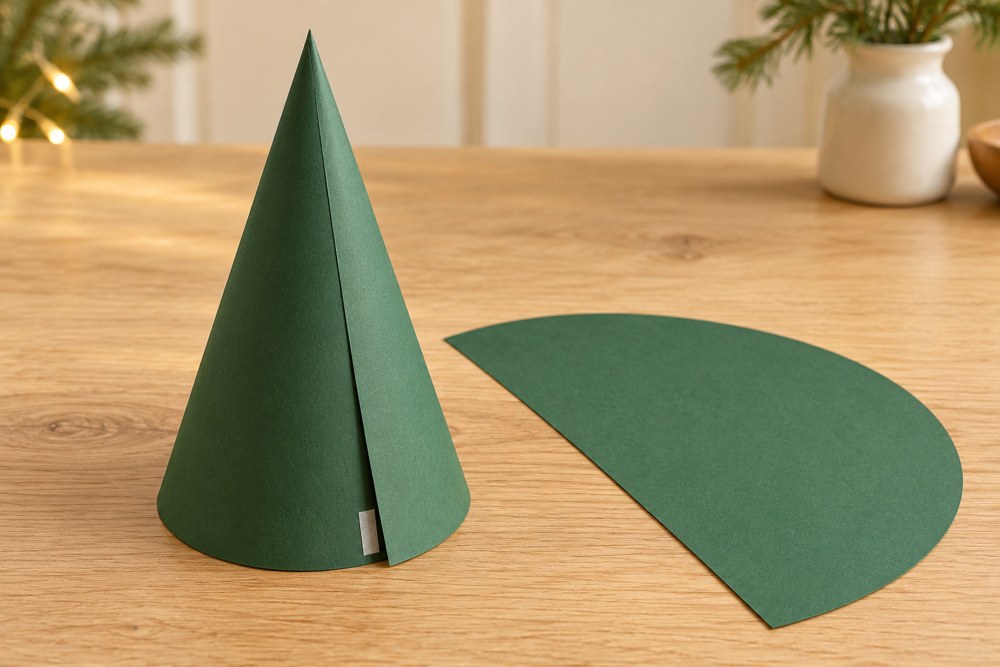
Gently curl a semicircle without folding it. Bring its two straight edges together, overlapping them slightly to form a cone. The midpoint of the original straight edge becomes the pointed top, while the curved edge forms the base.
Check the shape before attaching tape. Run double-sided tape along the inside of the overlapping edge, then press the seam closed from top to bottom.
Stand the cone on a flat surface. If it rocks, check the seam alignment before trimming small uneven spots around the bottom. Avoid squeezing the cone while adjusting it.
Decorate with Gold Paper Stars and Dots
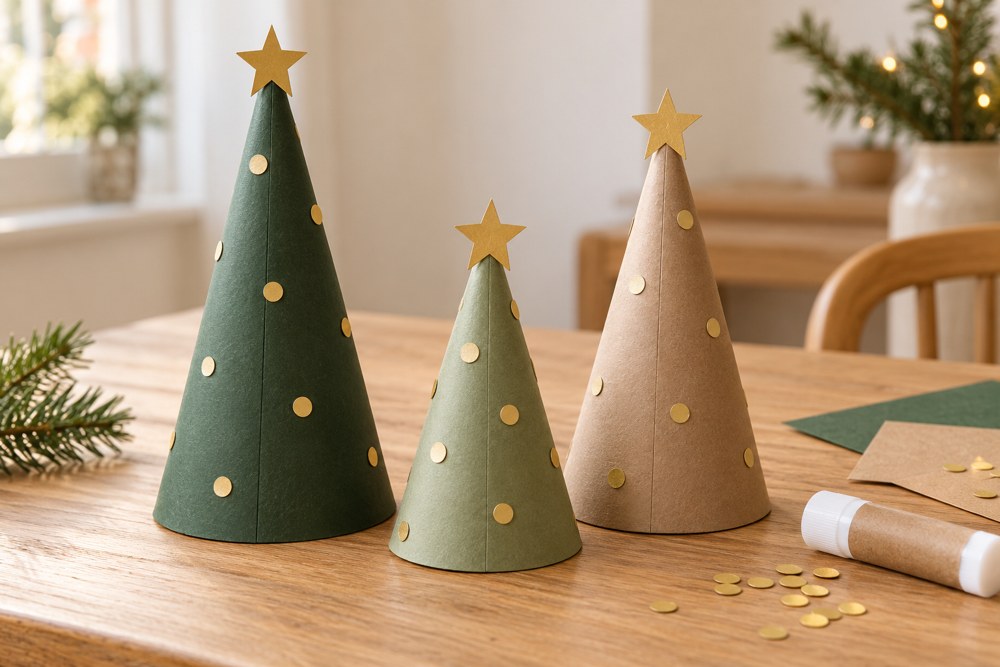
Cut small circles from gold paper and attach them with a light application of glue. Leave generous space between them so the cardstock color remains the main feature.
For the topper, attach the lower part of a small paper star to the front of the cone near its tip. Keep it lightweight rather than adding a heavy ornament.
Repeat a few details across all three trees to connect the display. If you prefer a quieter look, use stars alone or leave one tree undecorated. Let the adhesive set according to its directions before moving the trees.
Style Your Paper Christmas Trees in a Small Space
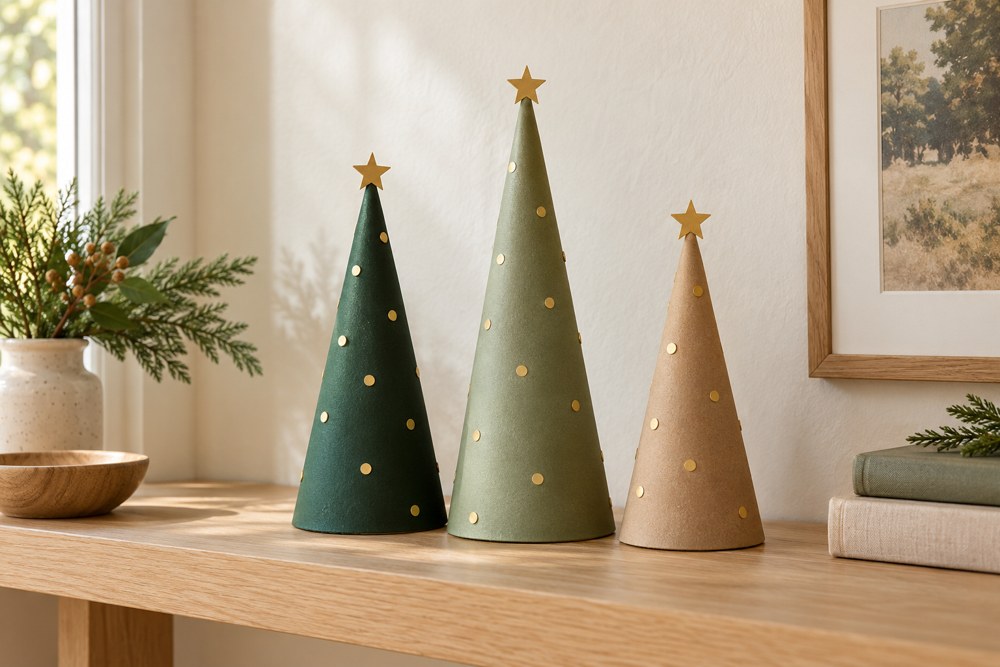
Arrange the trees with the tallest slightly behind the others, turning the seams toward the wall. Leave space around the group so the display feels intentional rather than crowded. On a desk, a single tree may be enough.
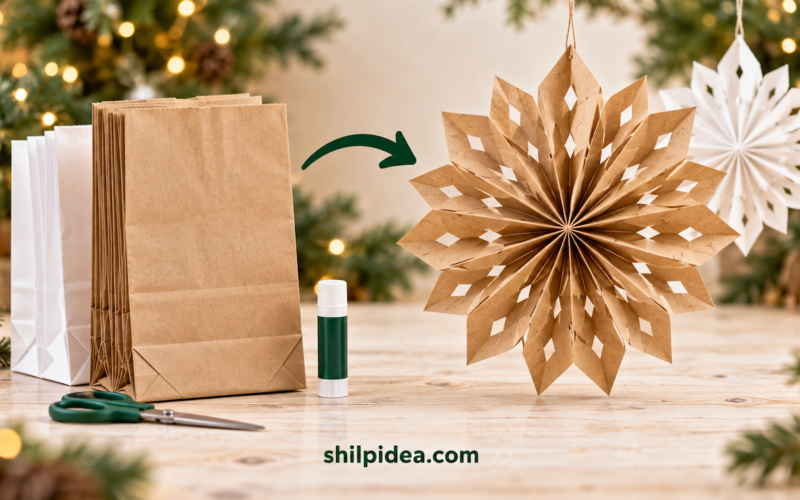
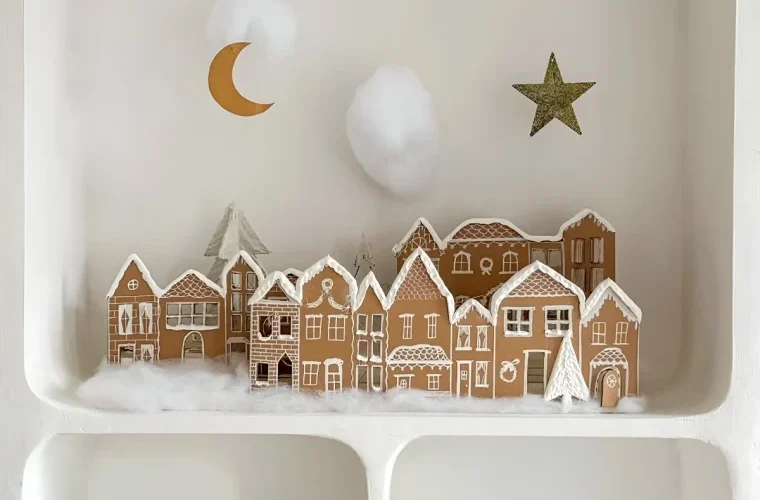
Place them on a dry, level surface away from candles, heaters, and splashes. For a larger handmade scene, pair them with a cardboard Christmas village. You could also hang paper bag snowflakes above the arrangement to decorate vertically without using more tabletop space.
If a seam starts opening: Press it closed again and add a small piece of suitable craft tape inside. Stiff cardstock may need a stronger paper adhesive; follow its directions and allow it to set before displaying.
Store the trees without crushing them: Keep the finished cones upright in a box with enough clearance for the stars. Avoid placing heavier decorations on top. Save unused cardstock scraps for next year’s stars, gift tags, or handmade cards.
More Handmade Christmas Projects to Try
Keep your holiday decorations coordinated by repeating the paper colors and simple gold accents in another project. You could add a hanging decoration above your trees, build a miniature village beside them, or create a separate display for the dining table. These Shilpidea projects offer different ways to continue the handmade theme while working with the space and supplies you already have.
- How to Make Paper Bag Snowflakes for Christmas Decor
- How to Make a Cardboard Christmas Village
- Paper Tree Craft Ideas for Kids to Make and Display
- Christmas Centerpiece Ideas for Your Table
- Glass Jar Christmas Decoration Ideas for Your Home





0 Comments