DIY Cardboard Photo Frames That Look Stylish on a Budget
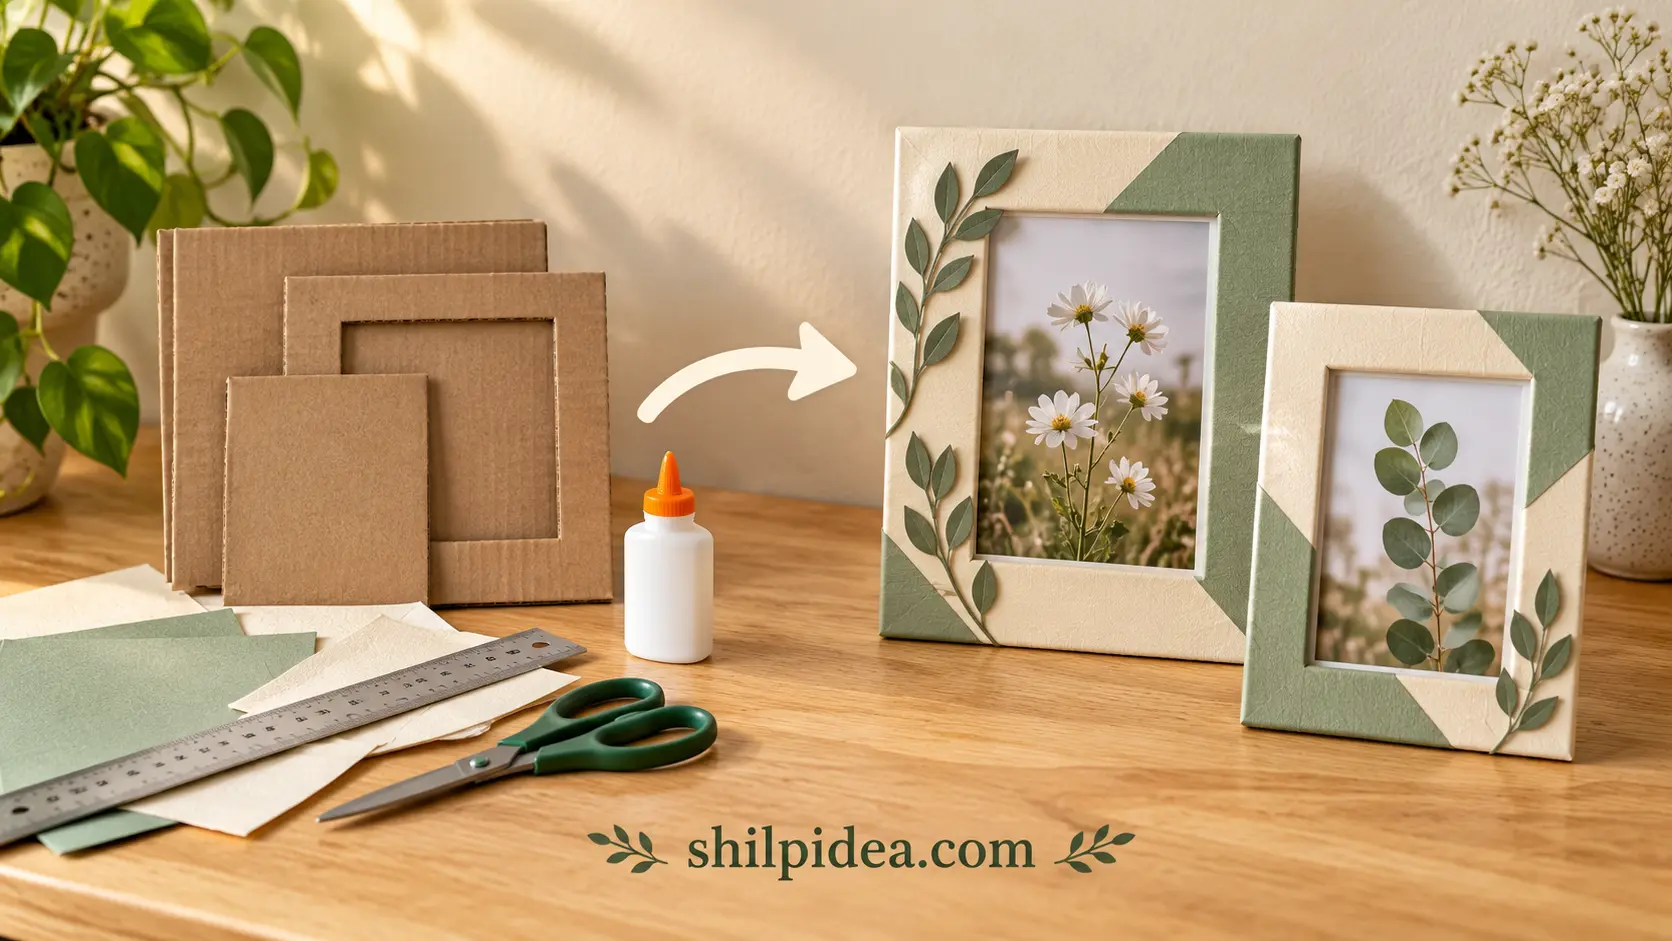
Give a favorite photo a place on your shelf with a frame made from a clean cardboard box. Decorative paper covers the front, while a top-opening pocket lets you change the picture without taking the frame apart.
This version fits a portrait 4 × 6-inch print and uses cream or sage paper. For a different handmade border, explore our craft-stick frames.
The guide covers measuring, wrapping the edges and keeping the photo centered. Pair the finished frame with painted craft sticks for a coordinated display.
Materials and Tools
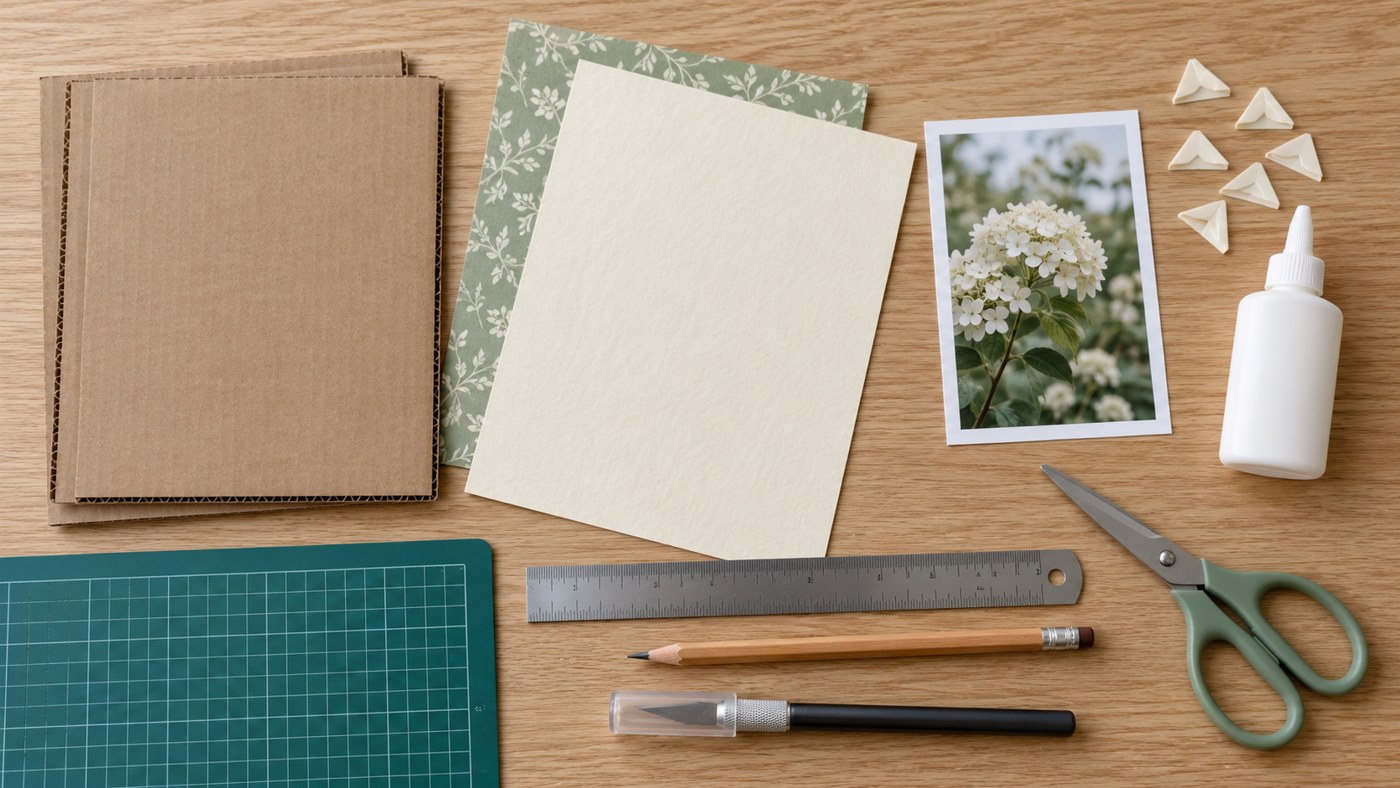
Gather these supplies for one portrait frame with a removable photo.
- Flat corrugated cardboard – Enough for two 7 × 9-inch (about 18 × 23 cm) rectangles, plus narrow spacer strips and removable positioning shims.
- Decorative paper – One sheet large enough to cover the front with about ¾ inch (2 cm) extra around the outside; slightly heavier paper hides cardboard texture better than thin wrapping paper.
- Pencil and metal ruler – For marking straight edges, the centered window and spacer positions.
- Scissors – For cutting decorative paper and trimming its tabs.
- Craft knife and cutting mat – For adult use when cutting the cardboard and photo window.
- Paper craft glue – An adhesive suitable for the cardboard and covering paper; apply thinly and follow its setting instructions.
- Duplicate photo print – One portrait 4 × 6-inch (about 10 × 15 cm) print, plus a scrap-paper rectangle of the same size for testing.
Precautions Before You Begin
Check the materials and work surface before cutting.
- An adult should use the craft knife on a cutting mat, keeping fingers outside the blade path.
- Use clean, dry cardboard without grease, deep creases or crushed edges.
- Use a duplicate print; this cardboard-and-glue frame is not an archival photo enclosure.
- Let glued parts set before inserting the photo, and keep glue out of the pocket.
- This version has no stand or hanging hardware; display it supported against a wall on a stable shelf with a retaining lip.
1. Measure and Cut the Frame Pieces
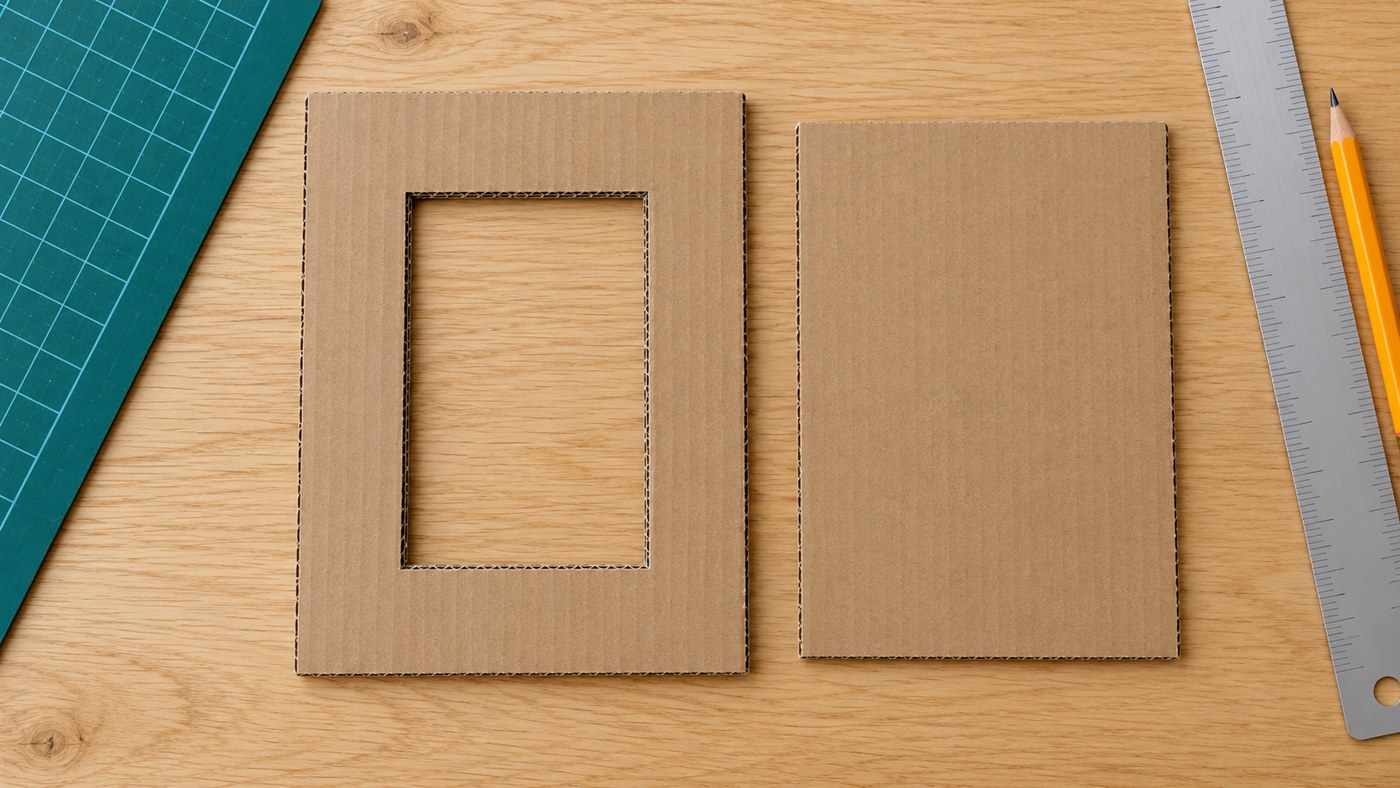
- Cut matching outer rectangles – Mark and cut two cardboard rectangles measuring 7 × 9 inches (about 18 × 23 cm). Keep one solid for the backing and use the other as the windowed front.
- Mark the photo window – Center a 3½ × 5½-inch opening (about 9 × 14 cm) on the front. This leaves a 1¾-inch border and overlaps the edges of a centered 4 × 6-inch photo by ¼ inch.
- Cut and check the opening – Cut the window on a mat with controlled, shallow passes. Hold it over the duplicate print to check the crop; important faces or details should remain visible before you cover the front.
2. Cover the Front and Fold the Paper Edges
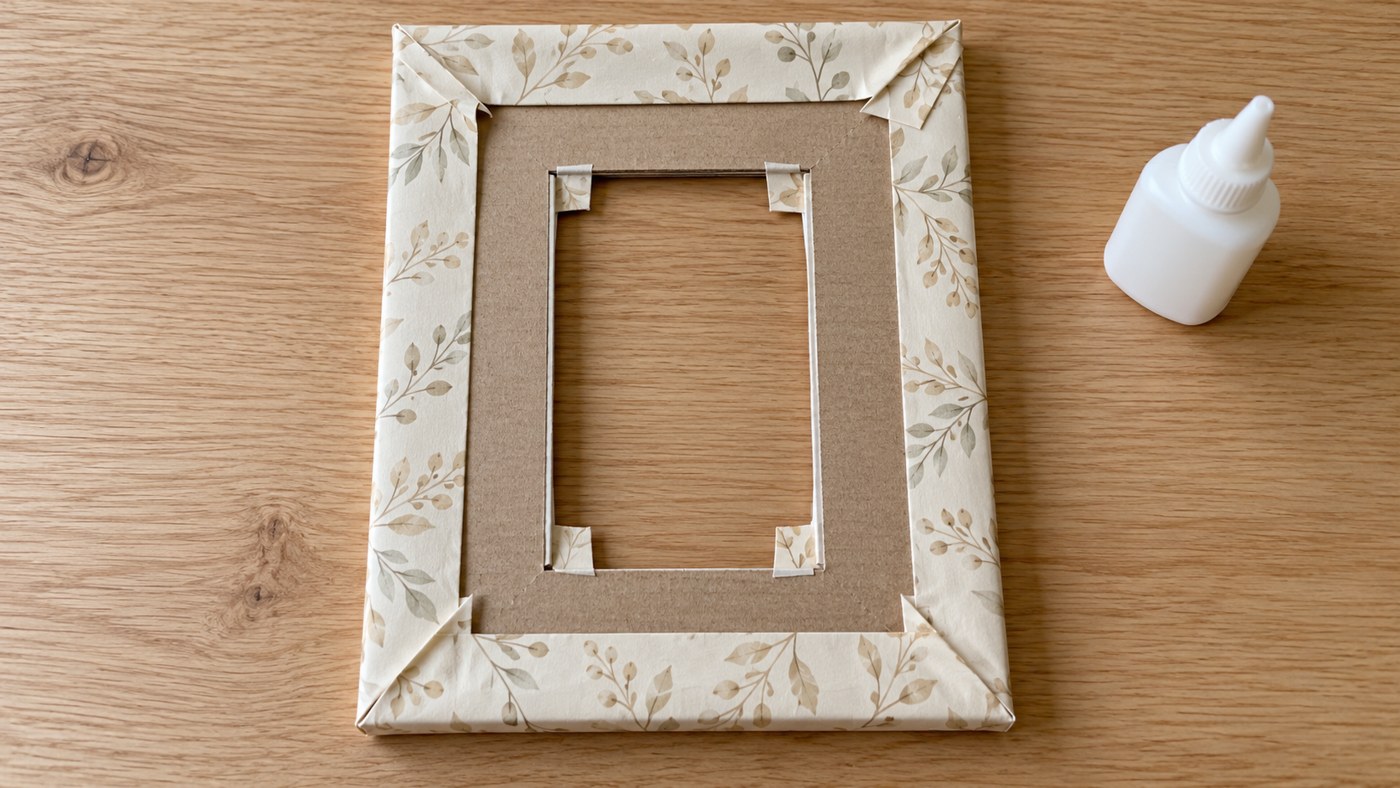
- Attach the decorative paper – Cut paper with about ¾ inch (2 cm) extra around the frame’s outside. Spread a thin, even layer of glue on the cardboard front, lay it face down on the paper and smooth gently.
- Wrap the outer edges – Trim the paper’s outer corners diagonally, leaving enough allowance to cover the cardboard corners. Fold and glue the outside edges onto the back, smoothing bulky overlaps without crushing the frame.
- Wrap the window edges – Cut an X through the paper covering the opening. Trim the flaps into manageable tabs, fold them backward over the window edges and glue them down. Let the covered front set flat before assembly.
3. Build the Top-Opening Photo Pocket
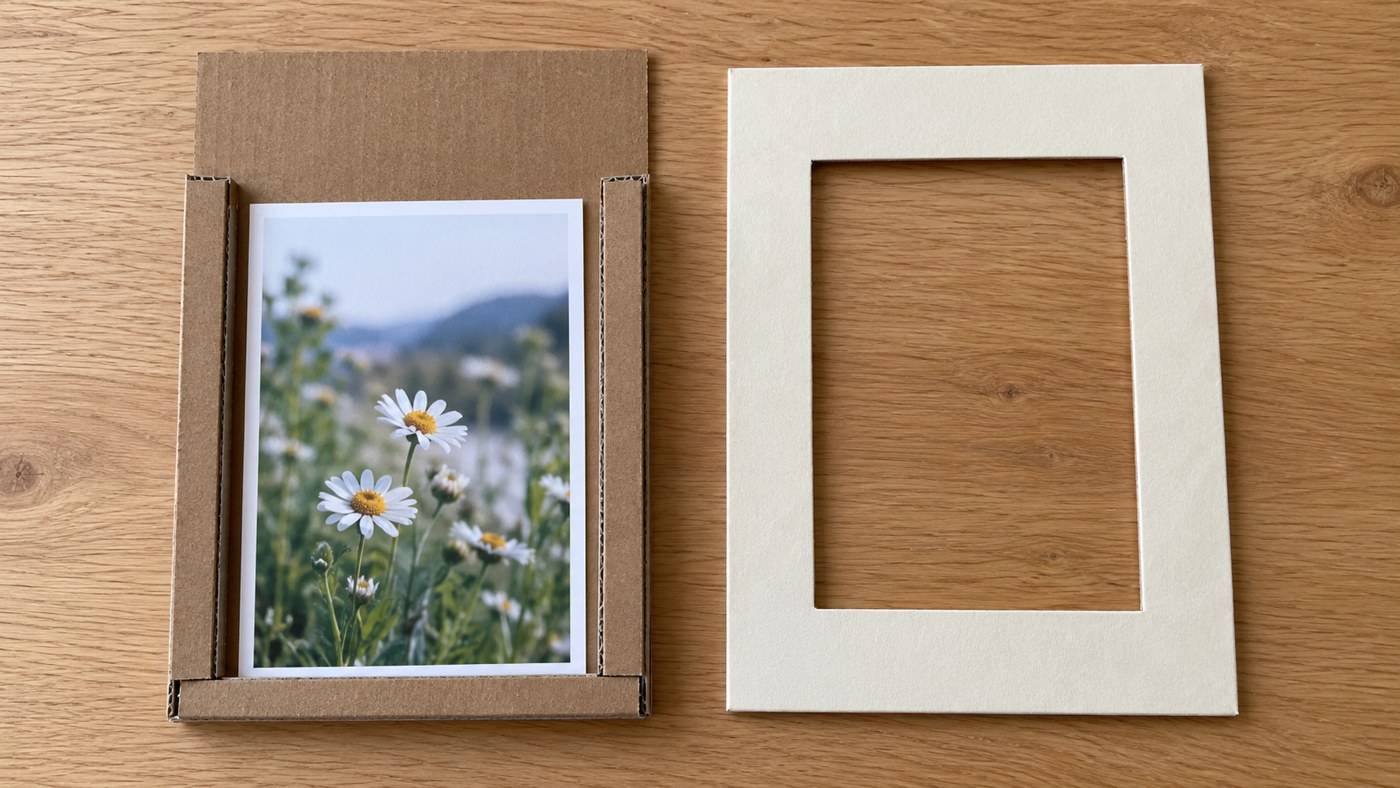
- Attach three spacer edges – Glue ½-inch-wide (about 1.3 cm) cardboard strips along the backing’s left, right and bottom outer edges. Keep the top completely open and the strips an even thickness so the front will sit level.
- Plan the photo position – Test the channel with a 4 × 6-inch paper rectangle and lay the front over it without glue. Add removable cardboard shims beside and beneath the test piece to hold it centered behind the smaller window.
- Join the front and back – Remove the test rectangle and loose shims. Apply glue only to the exposed spacer surfaces, align the front and backing, and press gently. Keep the top slot and inner channel clear while the glue sets.
- Insert and center the photo – After the adhesive has set, slide the positioning shims and duplicate print into the pocket. Check the crop through the window and adjust the shims so the photo cannot drop below it or slide sideways.
4. Finish and Display the Frame
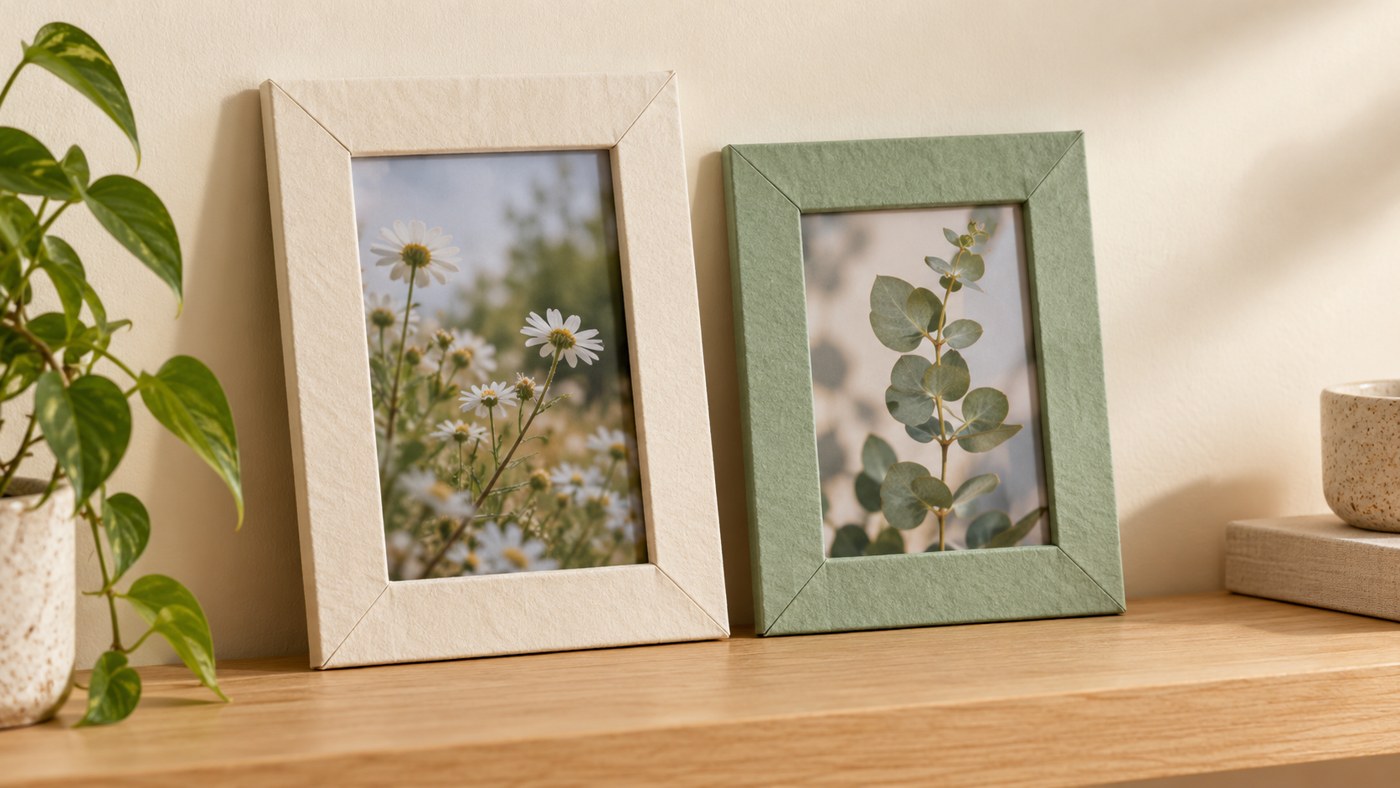
- Keep embellishments flat – Leave the frame plain or add a few flat paper leaves or a contrasting corner. Attach decorations before inserting the photo where practical, keeping the window, top slot and pocket clear.
- Choose a supported position – Rest the frame against a wall on a stable shelf with a retaining lip, away from edges and busy areas. It has no freestanding support or hanging hardware, so do not treat it as a self-supporting frame.
Keep the Photo Centered Without Gluing It
The outer spacer strips make a pocket wider and taller than a 4 × 6-inch print. For the dimensions above, the channel is roughly 6 × 8 inches. Start with removable side shims about 1 inch wide and a bottom shim about 1 inch high, then adjust them to the actual covered frame.
Keep the shims beside and beneath the print rather than over the image. Use smooth scraps no thicker than the pocket gap, and test with paper first. They should hold the print centered while allowing it to slide out; do not glue the photo into place.
Fix Catching Photos and Bowed Cardboard
If the photo catches, remove it and check for dried glue, a raised paper tab or an over-tight shim. Do not force the print through the slot. Smooth the obstruction or reduce the shim before trying again with the test rectangle.
If the cardboard bows, use less glue on the next frame and let each covered piece dry flat before assembly. Avoid soaking the paper or squeezing the frame while the adhesive sets.
Care for Your Handmade Frame
Dust with a soft, dry brush and keep the frame away from splashes and damp surfaces. Store it flat with nothing heavy on top, protecting raised paper details from pressure.
Use replaceable prints and keep treasured originals in suitable photo storage. Before changing the display, check that the seam, spacers and paper tabs are secure and that the top slot remains clear.
More Handmade Frame and Wall Decor Projects to Try
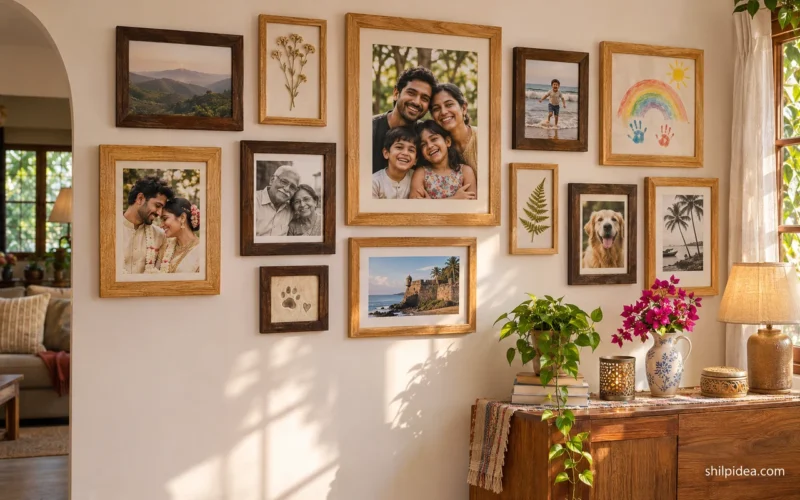
Once you’ve made the basic frame, try another material or create a small collection of handmade accents. Repeating one color across different projects helps the display feel coordinated. These ideas offer different textures and techniques, from craft-stick borders to mixed-media artwork. Choose a project that suits your supplies and the space where you plan to display it.
- Popsicle Stick Photo Frame Ideas
- Creative Picture Frames with Wine Corks
- Popsicle Stick Painting Ideas for Home Decor
- Mixed-Media Art Ideas Using Everyday Materials
- Pebble Art Ideas for Interior Wall Decoration
What photo and paper colors would you choose for your frame? Share your display plans in the comments. If you have made a cardboard frame before, tell us what helped keep the edges neat or the photo easy to change.















0 Comments