

DIY Cardboard Photo Frames That Look Stylish on a Budget
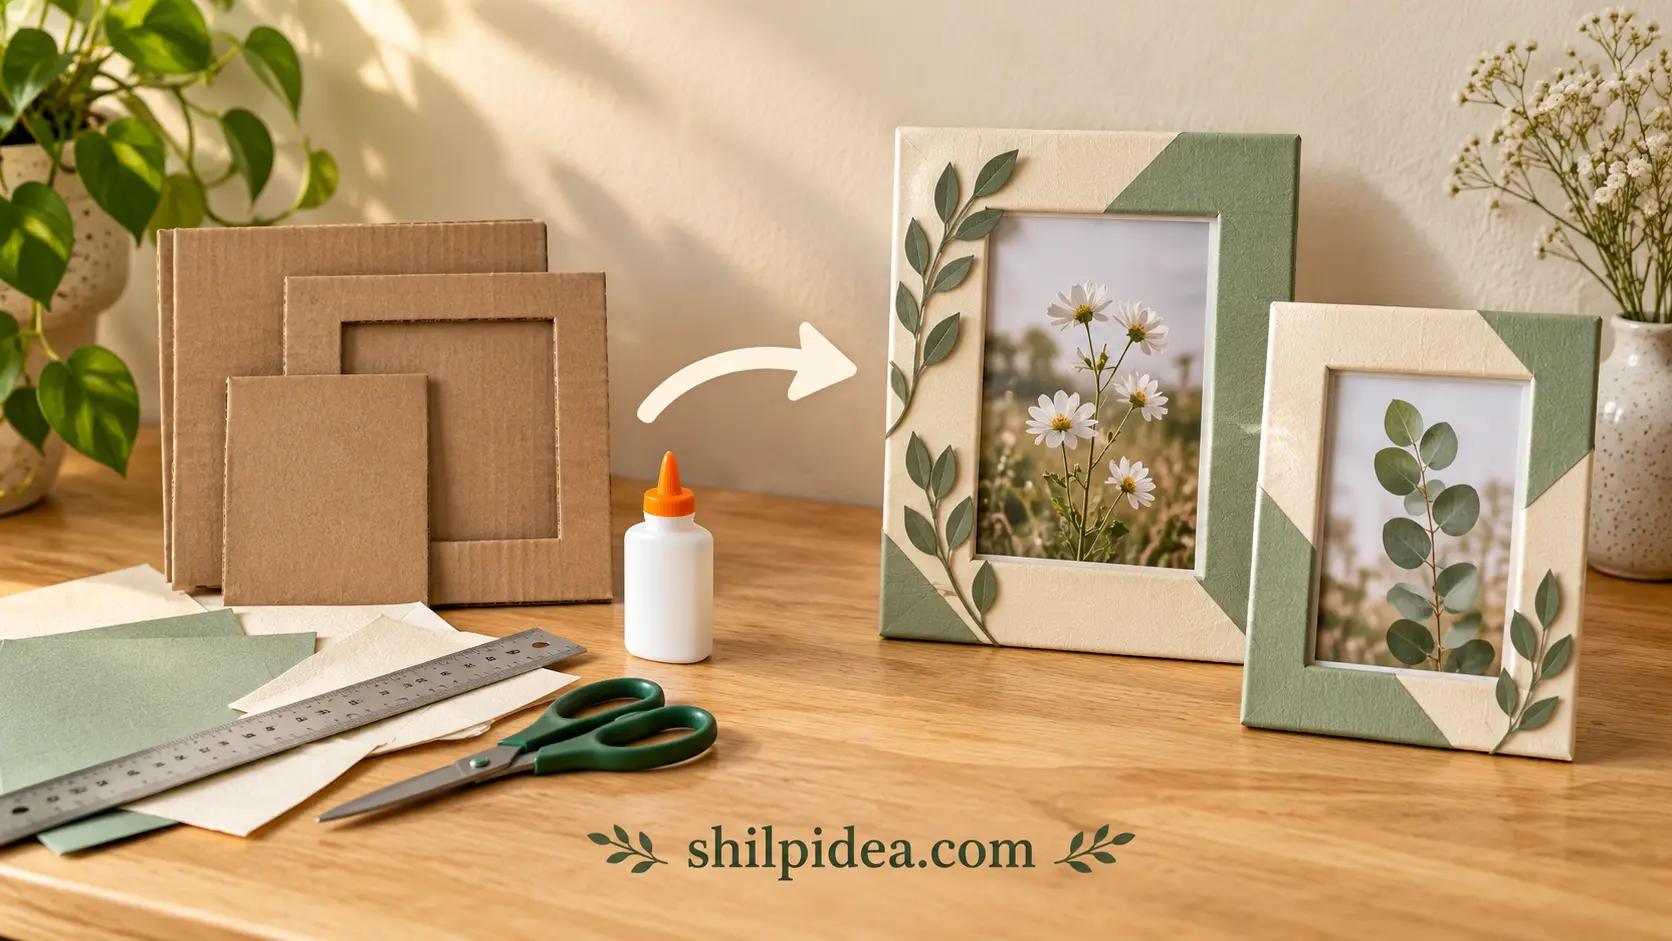
A favorite photo deserves a place outside your phone, but decorating with printed pictures doesn’t have to mean buying several new frames. A clean cardboard box can become the starting point for a personal handmade display.
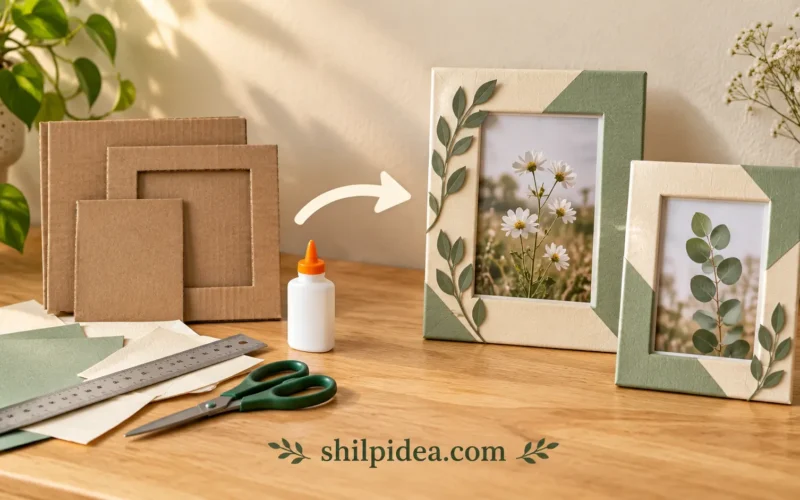
These DIY cardboard photo frames use decorative paper, simple rectangular shapes, and a top-opening pocket that lets you change the picture. Cream and sage colors give the finished pieces a coordinated look.
Follow the steps below to measure your frame, cover the edges neatly, and assemble a lightweight display for a shelf or sideboard.
Table of Contents
Gather Your Cardboard and Frame-Making Supplies
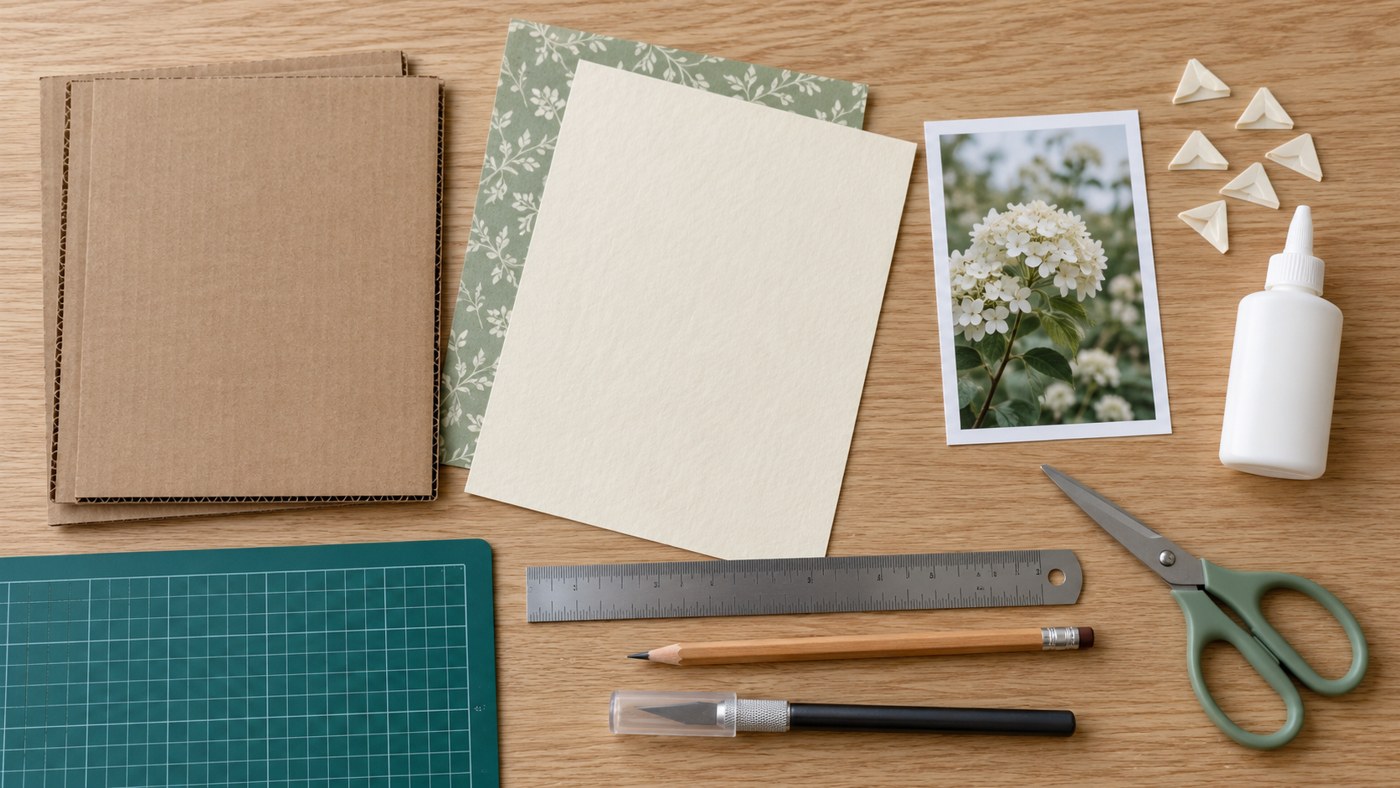
For one frame sized around a portrait 4 × 6-inch photo, gather:
- Clean, flat corrugated cardboard
- Decorative paper large enough to cover the front
- A pencil and metal ruler
- Scissors for paper
- A craft knife and cutting mat
- Paper craft glue
- Extra cardboard for spacer strips
- A duplicate photo print
Choose cardboard without deep creases, grease, or crushed edges. Thin wrapping paper may reveal the corrugated texture; slightly heavier decorative paper gives a more even finish. Adults should handle the craft knife, keeping fingers away from the cutting line.
Measure and Cut the Front and Back Pieces
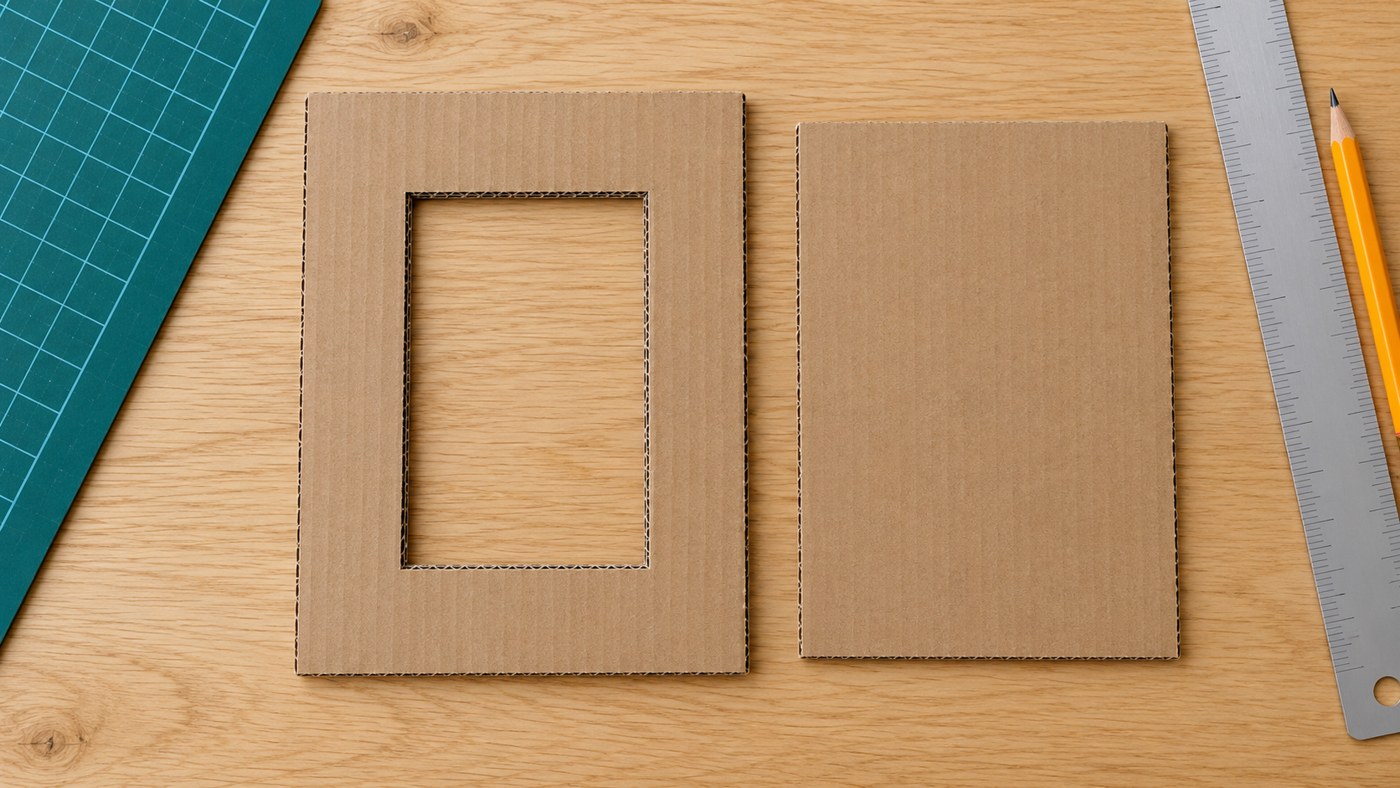
Cut two rectangles measuring 7 × 9 inches, approximately 18 × 23 cm. One becomes the front; leave the other solid for the backing.
On the front, mark a centered opening measuring 3½ × 5½ inches, approximately 9 × 14 cm. This creates a 1¾-inch border and lets the frame overlap a 4 × 6-inch photo slightly on every side.
Cut the opening on a cutting mat using controlled, shallow passes. Check that the window won’t hide an important part of your picture before continuing.
Cover the Frame and Fold the Edges Neatly
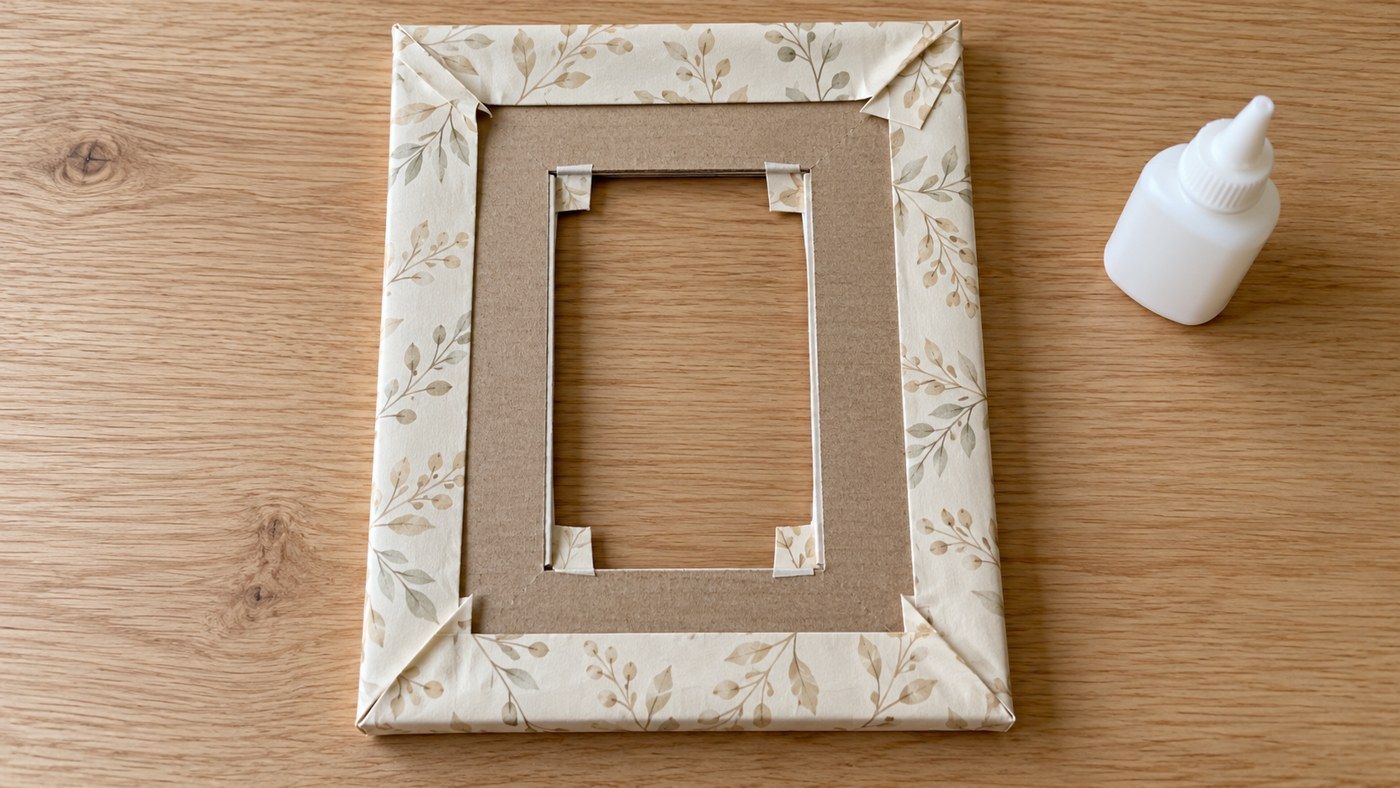
Cut decorative paper with roughly ¾ inch of extra material around the frame’s outside. Apply a thin, even layer of glue to the cardboard front, place it face down on the paper, and smooth gently.
Trim the outer paper corners diagonally, leaving a little allowance beyond the cardboard. Fold and glue the edges onto the back.
Inside the window, cut an X through the paper. Trim the resulting flaps to manageable tabs, then fold them backward over the opening’s edges. Let the glue set flat before assembly.
Build a Photo Pocket That Opens at the Top
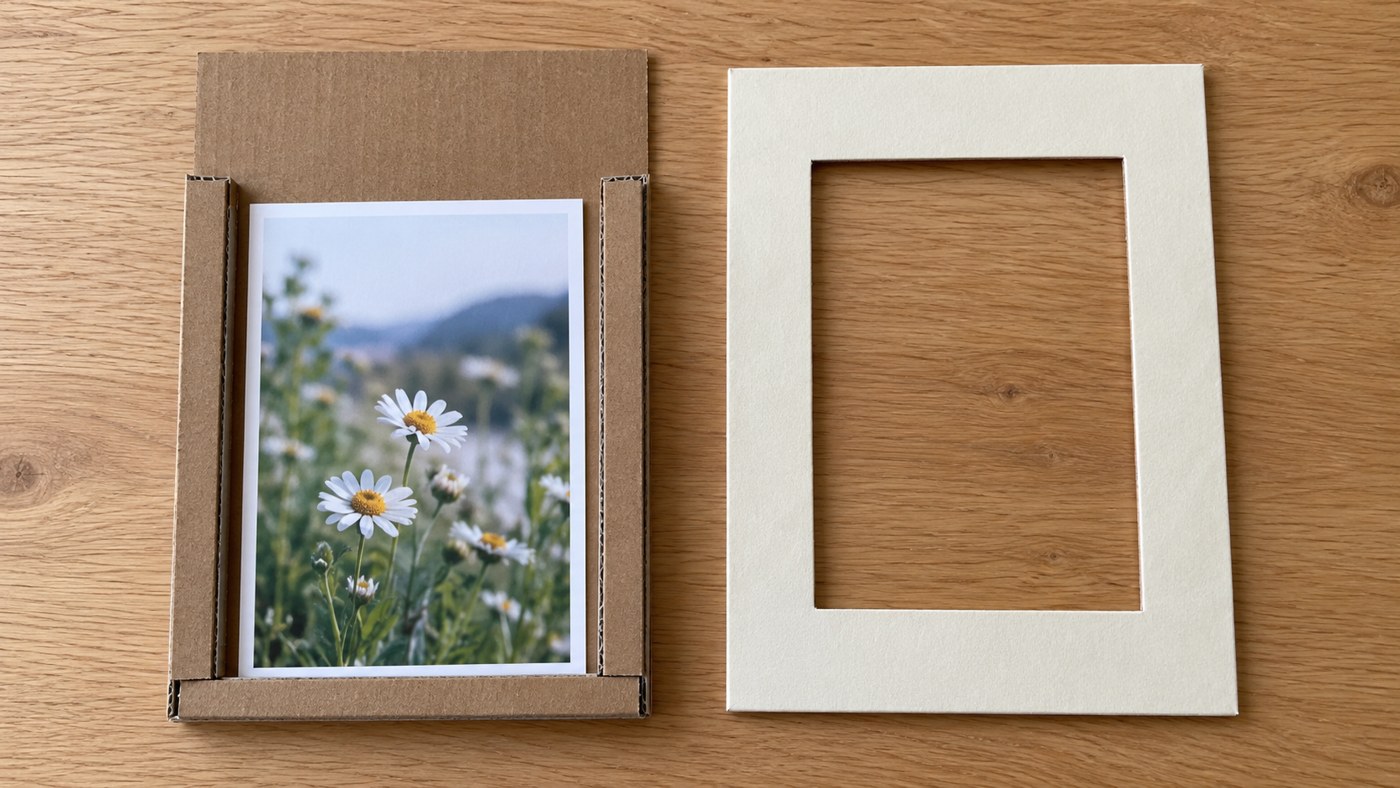
On the solid backing, glue ½-inch-wide cardboard strips along the left, right, and bottom outer edges. Keep the top open. These spacers create a shallow pocket between the backing and front.
Test the channel with a scrap cut to your photo’s size, then remove it. Apply glue only to the exposed spacer surfaces and attach the covered front, aligning the outside edges.
Keep glue out of the channel. Once everything has set, slide the photo down from the top. Use a removable paper shim behind it if it needs help staying centered.
Finish and Display Your Cardboard Photo Frames
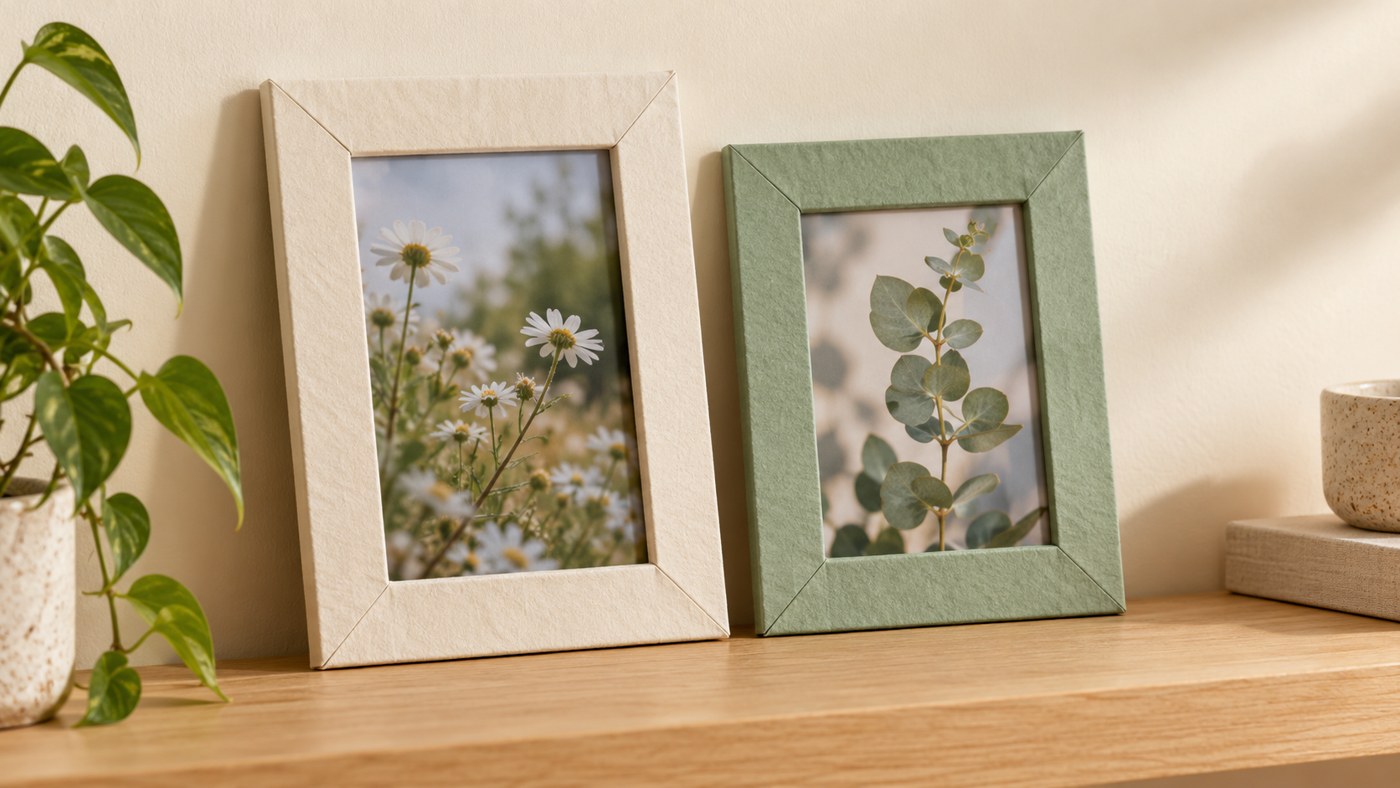
Leave one frame plain and cover another in a coordinating color. For extra detail, add flat paper leaves or a contrasting corner before inserting the photo. Keep embellishments away from the opening and photo slot.
Rest the frames against a wall on a stable shelf with a retaining lip, away from edges and busy areas. This version has no freestanding support or hanging hardware.
For another handmade approach, explore these craft-stick frames. A coordinated display can also include small painted craft-stick artwork.
If the photo catches: Remove it and check for glue or a folded paper tab inside the pocket. Don’t force the print through.
If the cardboard bows: Use less glue on your next frame and allow each covered piece to dry flat before assembly.
For care and storage: Dust with a soft, dry brush and keep away from splashes. Use duplicate prints rather than irreplaceable originals; this simple cardboard frame is not an archival photo enclosure.
More Handmade Frame and Wall Decor Projects to Try
Once you’ve made the basic frame, try another material or create a small collection of handmade accents. Repeating one color across different projects helps the display feel coordinated. These ideas offer different textures and techniques, from craft-stick borders to mixed-media artwork. Choose a project that suits your supplies and the space where you plan to display it.
- Popsicle Stick Photo Frame Ideas for Handmade Decor
- Cork Frame Ideas for Creative Handmade Wall Decor
- 10 Popsicle Stick Painting Ideas for Home Decor
- 10 Mixed-Media Art Ideas Using Everyday Materials
- 10 Pebble Art Ideas for Interior Wall Decoration







0 Comments