How to Make a Mini Christmas Tree with Yarn and Cardboard
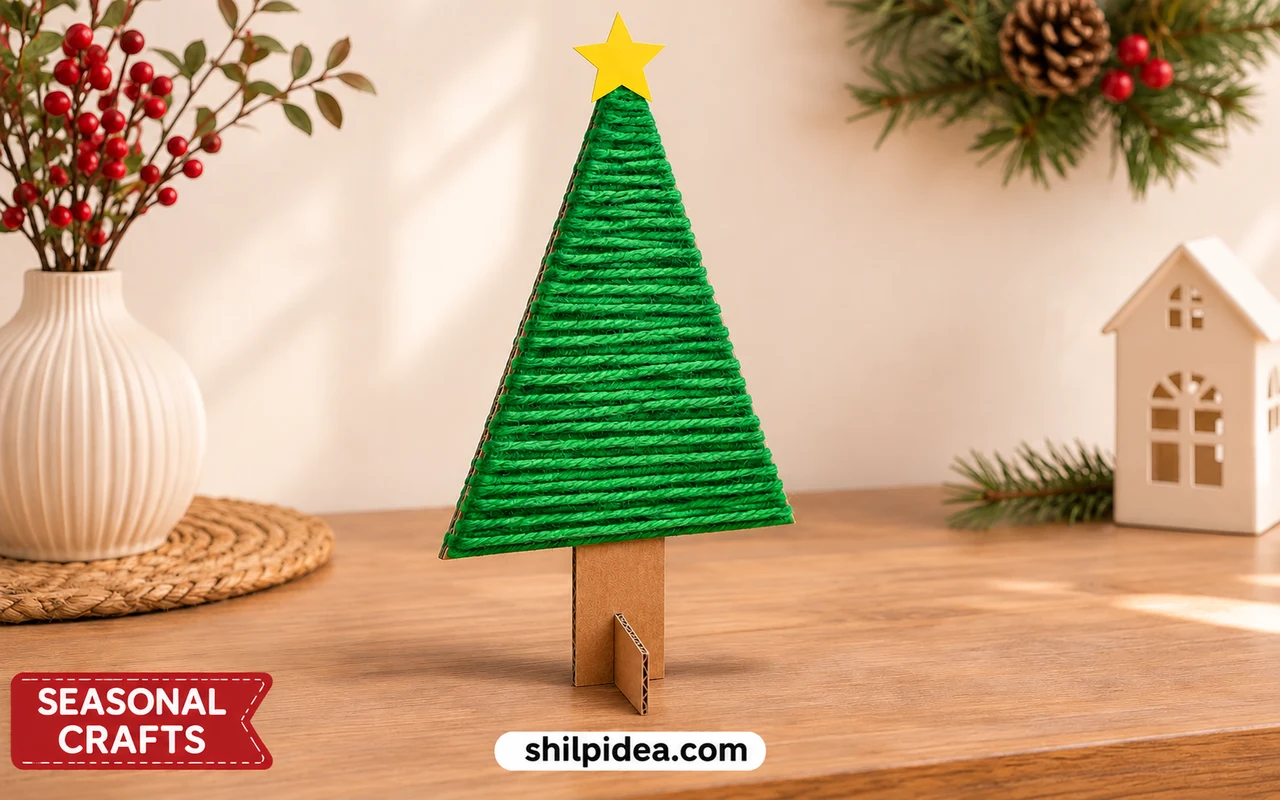
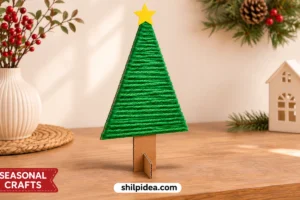
Make a small yarn Christmas tree from a cardboard offcut, a little green yarn and a paper star. This flat design uses a slotted cardboard foot, so you can display it on a shelf without making a cone.
If you enjoy paper Christmas trees, the wrapped surface offers a softer texture. The main pieces stay simple: one tree silhouette and one cross-foot.
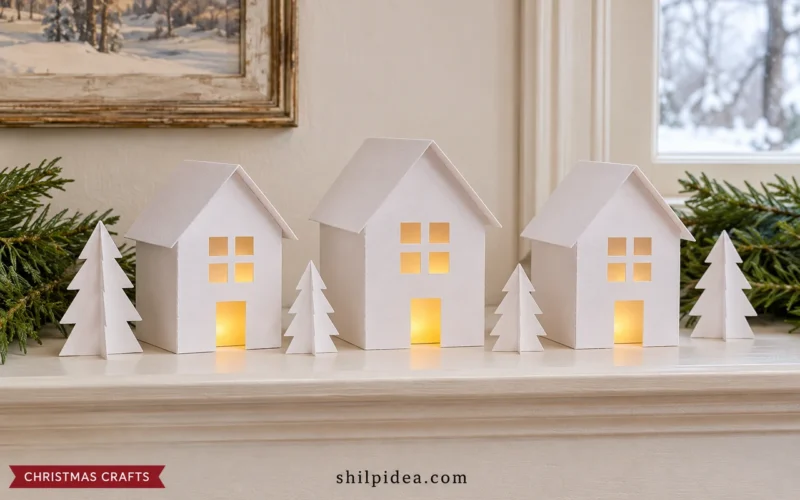
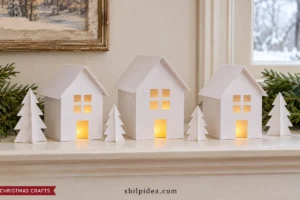
You can pair the finished tree with a cardboard Christmas village. Use the measurements below and check the fit as you work; the images are not scale templates.
Materials and Tools
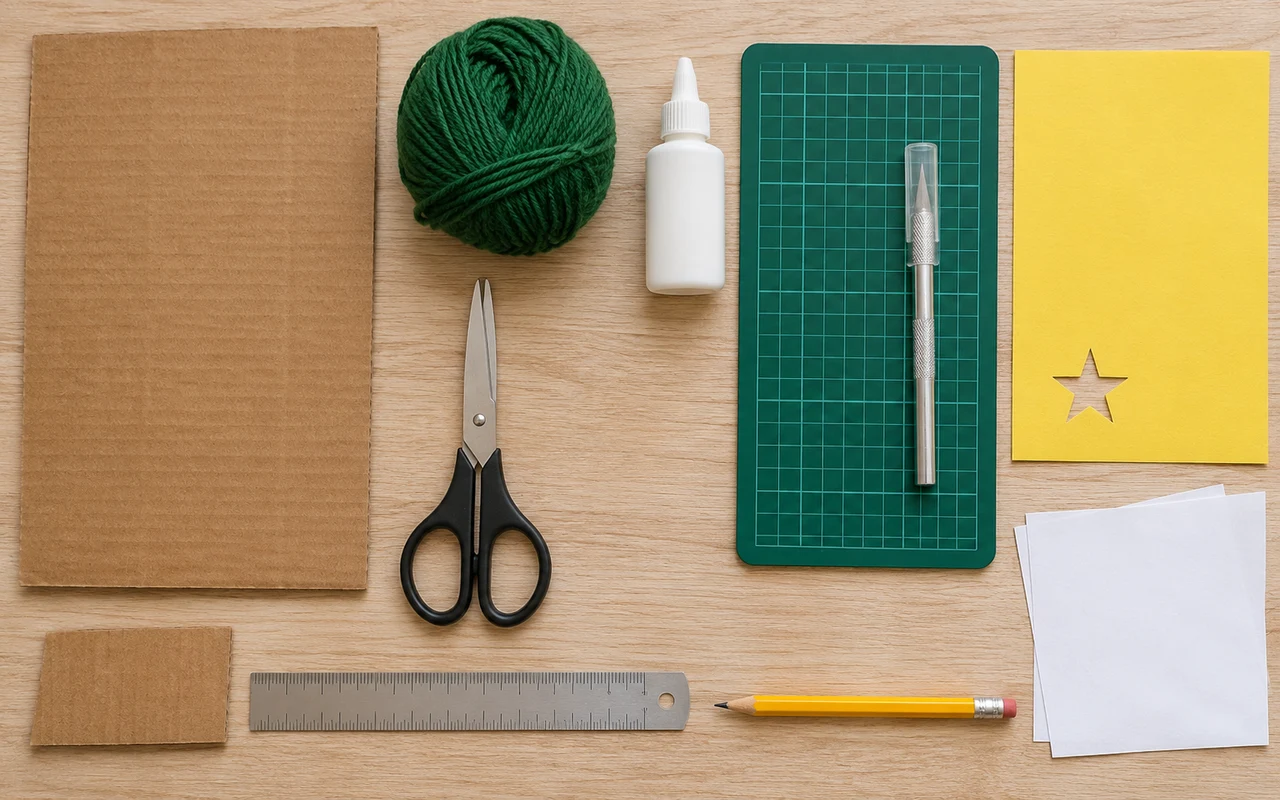
Gather these supplies for one tree about 26 cm (10¼ in) tall before the star.
- Corrugated cardboard – Firm, dry board, 2–3 mm thick: one piece at least 27 × 15 cm for the tree and a 10 × 3 cm foot.
- Green yarn – Medium-weight yarn; allow about 20 m (22 yd). The amount varies with yarn thickness and wrapping density.
- PVA craft glue – Paper-and-fiber glue, plus scrap paper to protect the table. Follow the label’s drying and curing times.
- Yellow cardstock – Enough for one light star, about 2.5 cm (1 in) across. Avoid heavy toppers.
- Pencil and ruler – Measure consistently in centimeters; rounded inch conversions can change the slot fit.
- Cutting tools – Scissors for yarn and paper; a craft knife and cutting mat for an adult to cut cardboard and slots.
Precautions Before You Begin
Prepare a clear work area and check these points before cutting.
- An adult must cut the cardboard and slots on a cutting mat, keeping hands clear of the blade.
- Use thin glue dabs and gentle yarn tension; moisture and tight wrapping can bend the cardboard.
- Keep the trunk and slots free of yarn and glue. Never force a tight joint.
- Keep this decoration away from real candles, heat and water. It is not a toy.
1. Cut the Tree and Check the Stand
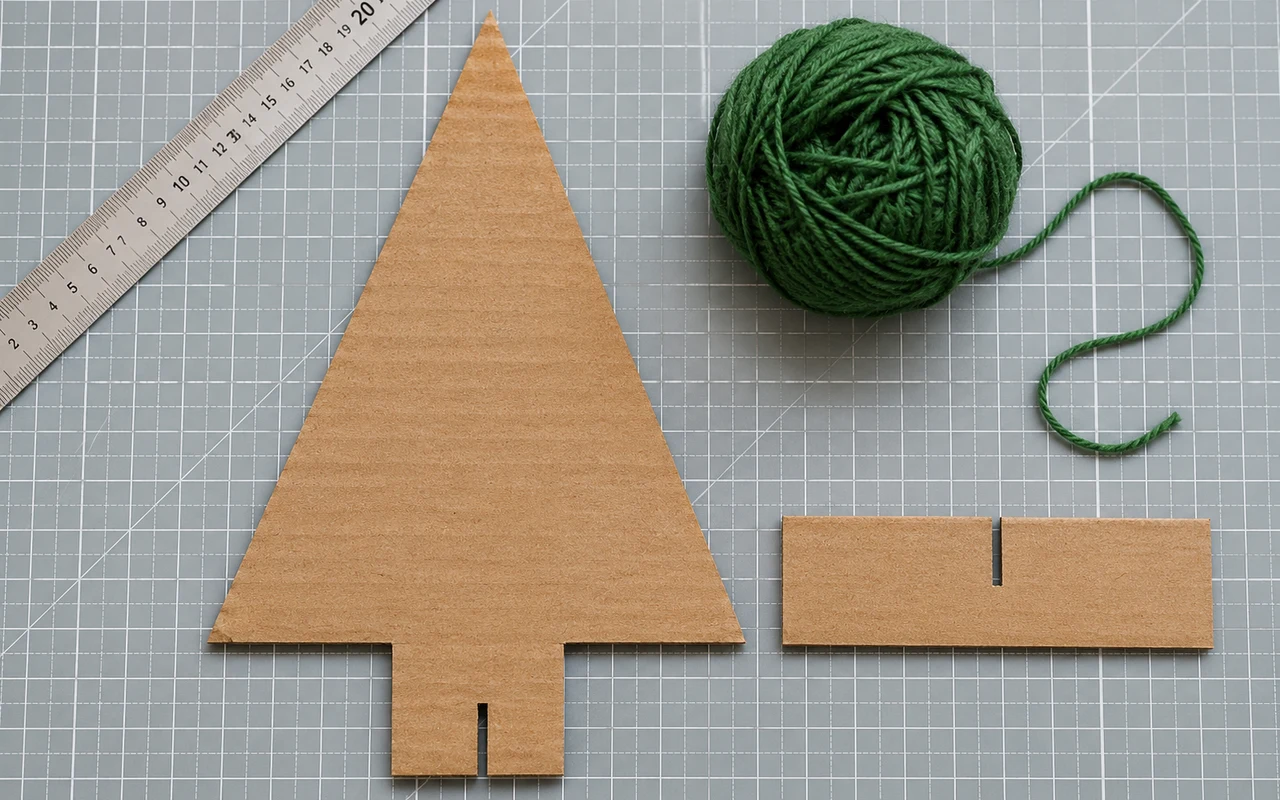
- Draw the silhouette. Make a 20 cm-high triangle with a 14 cm base. Add a centered 4 × 6 cm trunk below it, keeping both shapes joined.
- Cut the pieces. An adult should cut out the silhouette and a separate 10 × 3 cm rectangular foot. Keep both bottom edges straight.
- Cut opposing slots. Cut 1.5 cm upward from the trunk’s bottom center and 1.5 cm downward from the foot’s top center. Match each slot’s width to the cardboard thickness.
- Check the fit. Slide the pieces together at right angles. Both bottom edges should touch the table; adjust slot depths carefully if needed. Separate the pieces before wrapping.
2. Anchor the Yarn and Wrap Upward
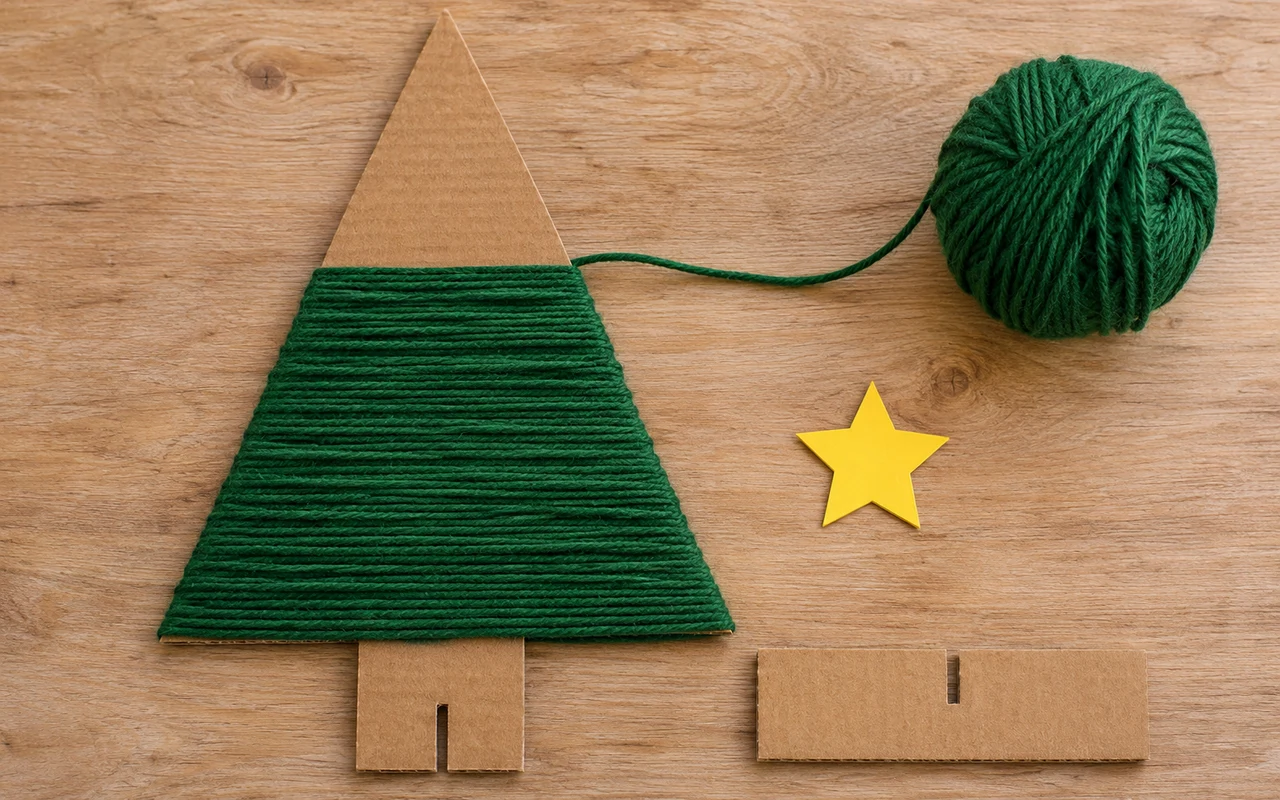
- Secure the starting end. Glue the yarn to the back near the triangle’s bottom edge. Let it grip before wrapping; keep the rectangular trunk bare.
- Wrap toward the tip. Wind around the front and back in close rows with gentle tension. Add tiny glue dabs as needed to stop slipping; do not bend the point.
3. Secure the Yarn Tail and Let It Dry
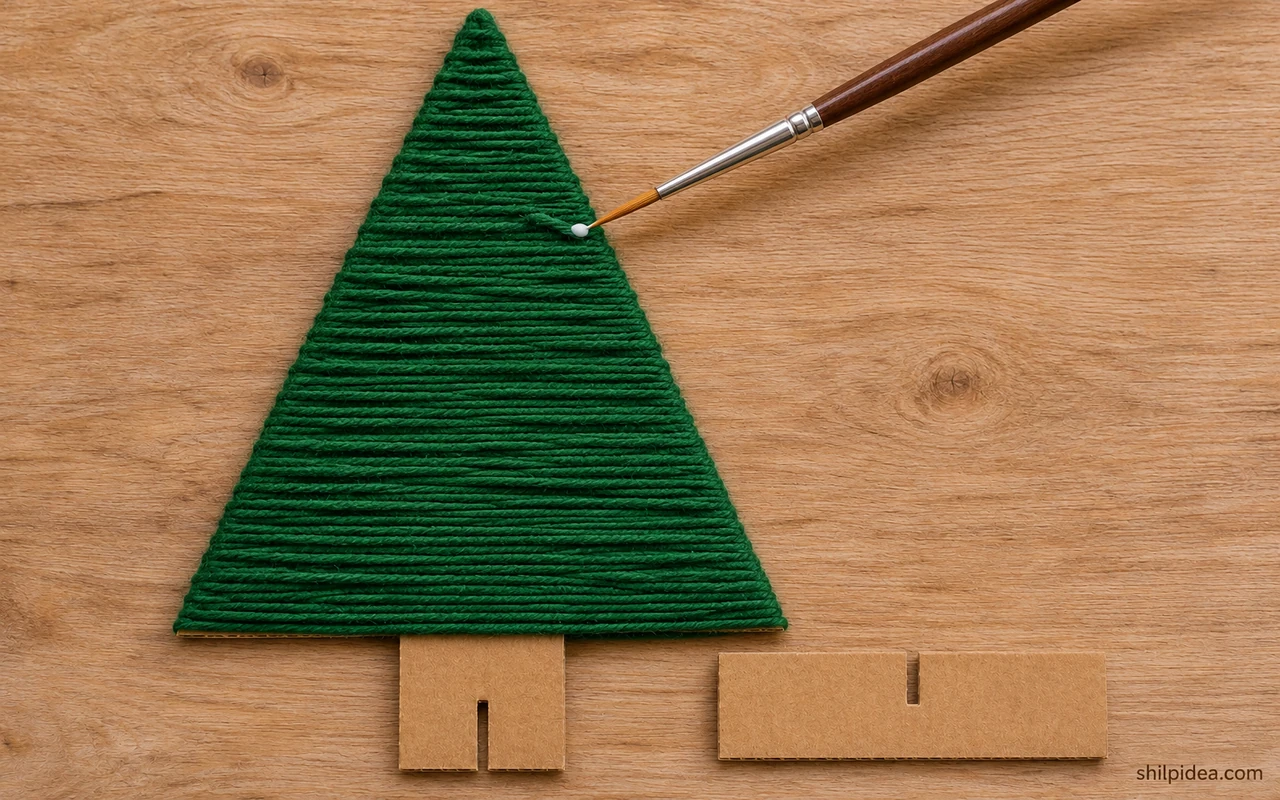
- Finish the wrapping. Cover the tip, trim a short tail and tuck it beneath a back row. Secure with a tiny dab of glue; check for gaps or loose strands.
- Let the glue cure. Rest the tree flat on protected paper for the full time on the glue label. Leave it undisturbed until the bonds are firm.
4. Add the Paper Star
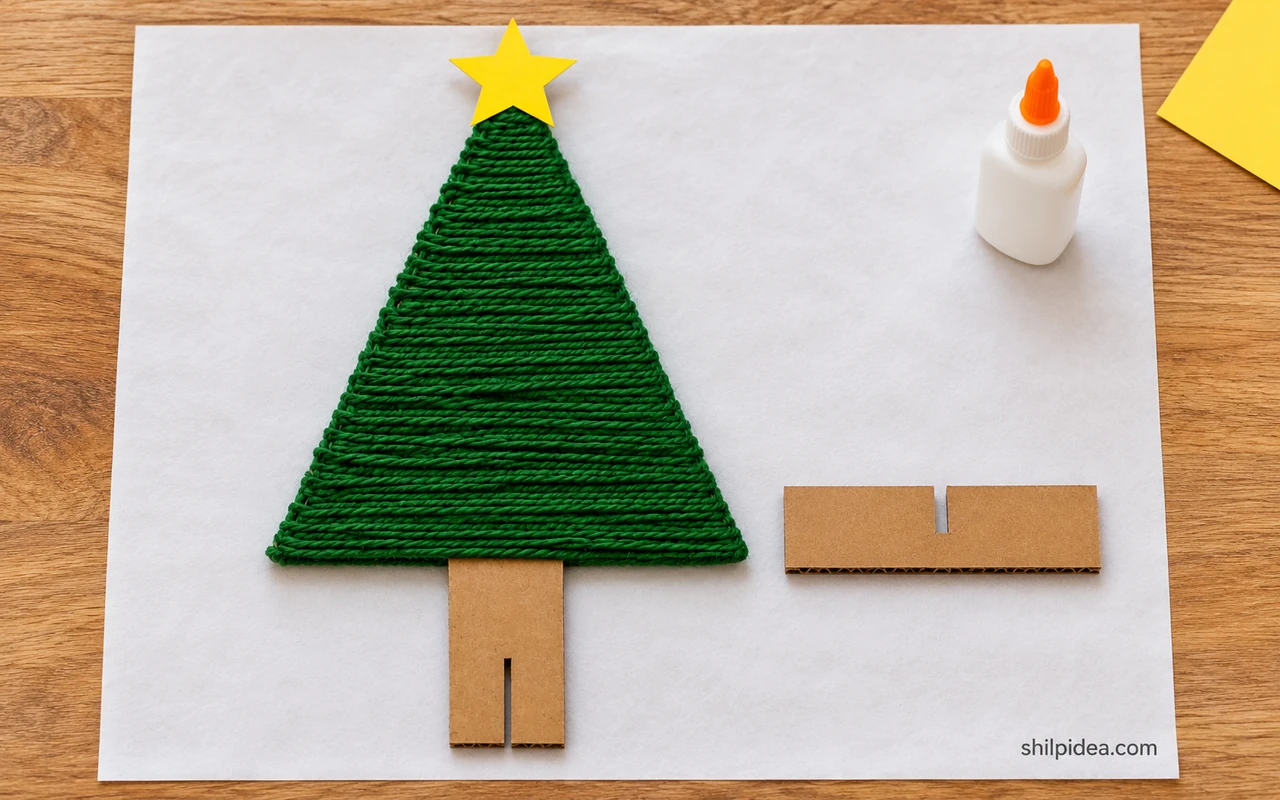
- Cut a light topper. Cut one yellow cardstock star about 2.5 cm across. Keep it small so the top stays light; leave out beads and other heavy ornaments.
- Attach the star. Glue its lower portion over the front of the tip. Support the tree flat until the bond dries fully; keep glue off the exposed star points.
5. Assemble the Foot and Check the Balance
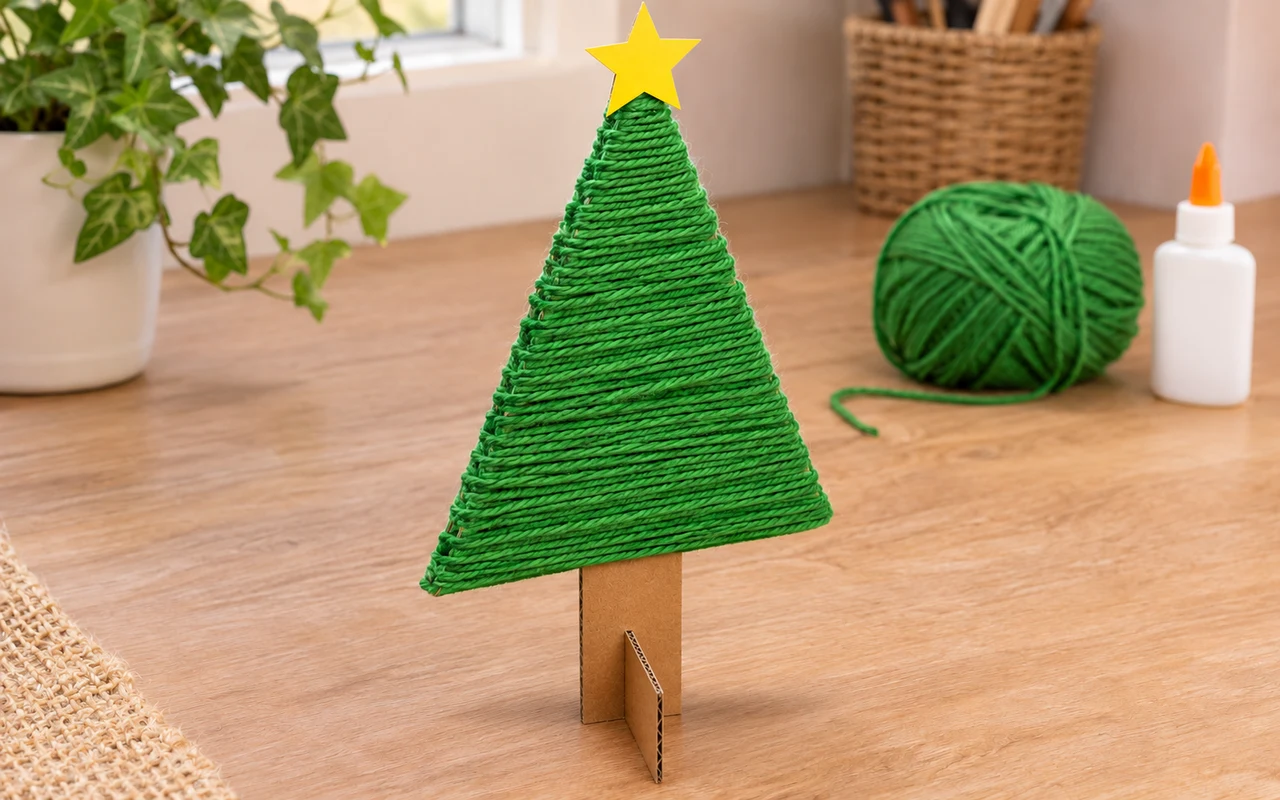
- Refit the cross-foot. Slide the dry slots together at right angles. Use a thin paper shim for slight looseness; replace torn or crushed cardboard rather than forcing it.
- Check the balance. Set the tree on a level shelf and check for rocking. Recheck the bottom edges and fit; if it still tips, display it against a backing instead.
Keep the finished tree away from water and busy shelf edges. For a separate handmade accent, try these felt star ornaments beside it.
Build a Small Handmade Christmas Display
Let the yarn tree be a simple starting point for a small shelf or mantel display. Keep its base clear and choose a few nearby pieces with different heights. A paper snowflake, a little cardboard house or a handmade ornament can add variety without making the arrangement crowded. These projects offer several directions to try next.
- Paper Christmas Trees for Small Spaces
- A Christmas Village from Cardboard
- Paper Bag Snowflakes for Christmas
- Simple Hand-Stitched Felt Star Ornaments
- Velvet Bows for Christmas Trees and Gifts
Would you make your little tree in classic green or try another yarn color? Tell us your plan in the comments. If you make one, we would love to hear how it turned out and what helped you along the way.

























0 Comments