How to Make Felt Star Ornaments with Simple Hand Stitching
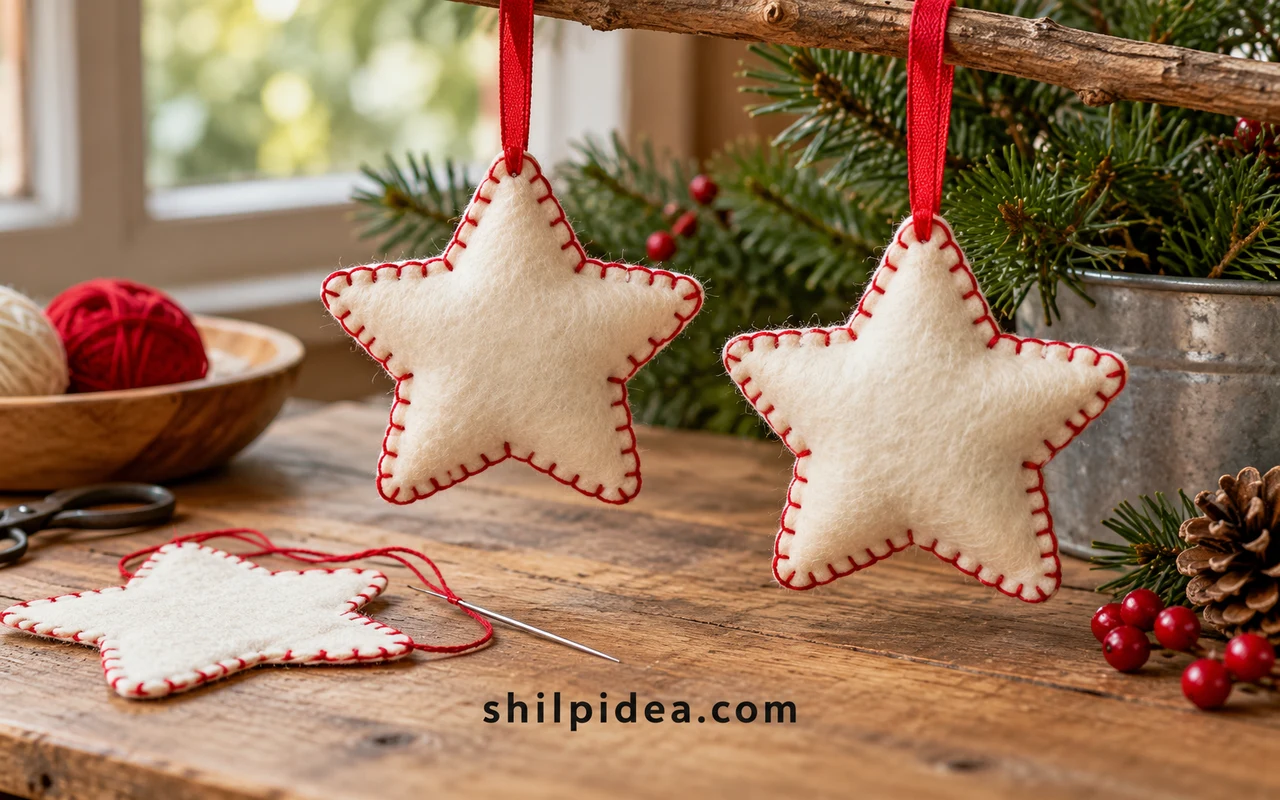
Felt star ornaments are small enough for a quiet evening of hand sewing, yet personal enough to keep for years. Two matching shapes, a little thread, and a ribbon loop make a soft decoration for the Christmas tree.
This guide walks through cutting, decorating, joining, and lightly stuffing a star. Start with a plain version if you are new to sewing, then add a simple embroidered design when you feel comfortable.
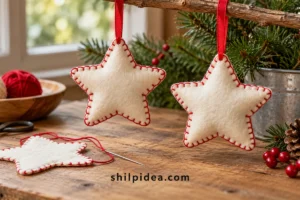
The step photographs show Beginner Sewing Projects’ blue star. Use them to see the construction clearly, while choosing your own felt color and surface details.
Gather a Small Hand-Sewing Kit

- Two pieces of felt large enough for matching stars
- Paper, pencil, fabric marker, and scissors
- Hand-sewing needle and embroidery floss
- Narrow ribbon for a hanging loop
- A small amount of stuffing or finely cut felt scraps
- Optional embroidery thread in a contrasting color
A star about the width of your palm gives you room to handle the points. Draw your own simple paper outline with fairly broad arms; very narrow tips are harder to fill and stitch. Test any fabric marker on a scrap first, especially on light felt.
1. Cut Two Matching Stars

Trace one paper star twice, then cut carefully around both outlines. Stack the pieces and check that the points match before you begin sewing. If one edge sticks out, trim it now rather than trying to hide it with stitching. Keep the offcuts nearby for a little stuffing later. Mark the same top point on each piece so the layers stay aligned.
2. Sketch a Small Front Design

Work on one felt piece while the back remains separate. A few straight lines, a small initial, or a simple snowflake are easier to manage than a crowded picture. Keep the design away from the outside edge, leaving enough space for the seam. The photographed star uses a central snowflake; a plain star works equally well if you want to focus on the joining stitch.
3. Embroider Before Joining the Layers

For a simple backstitch, bring the needle up a short distance along the marked line, return it to the previous stitch end, then bring it up farther ahead. Repeat with small, even stitches. Knot the thread on the reverse when the design is complete. This keeps the untidy ends hidden inside the ornament later. Avoid pulling so firmly that the felt puckers.
4. Decide Whether to Add Extra Details

The example adds small beads to the embroidered front. They are optional: a few French knots or short thread marks can give a decorative finish without beads. If you use sewn-on details, secure each firmly and check the reverse for loose loops. Keep small embellishments away from young children and pets. Make your first ornament with thread alone if handling several materials feels distracting.
5. Begin the Edge Stitch

Place the two stars together with the decorated side facing outward. Hide the starting knot between the layers. For blanket stitch, pass the needle through both layers a short distance from the edge; before tightening, bring the needle through the thread loop so it catches along the outside. Repeat at a comfortable spacing. Practice on two felt scraps first if the loop feels unfamiliar.
6. Secure the Hanging Loop

When you reach the chosen top point, fold a length of ribbon into a loop and tuck its two ends between the layers. Choose enough ribbon for the finished loop to slip over a branch without pulling on the felt. Sew through both felt layers and the ribbon ends several times. Give the loop a gentle test before continuing around the star.
7. Leave a Gap and Add Light Stuffing

Stop before the last section of seam closes. Feed in tiny amounts of stuffing or finely cut felt scraps, distributing them toward the points with a blunt tool. The goal is a softly padded star, not a tightly packed cushion. Overfilling makes the edges difficult to join and can distort the shape. Keep stuffing away from the open seam while you finish sewing.
8. Close the Gap and Hide the Thread

Continue the same edge stitch across the remaining opening. Check that no stuffing is caught between the layers. Make a small finishing knot beside the seam, then pass the needle through the inside and bring it out a little farther away before trimming the thread. Inspect both faces and gently reshape the points with your fingers. The ornament should hang without one side pulling forward.
Keep the Next Star Simple, Then Build a Set
If the edges ripple, loosen your tension on the next star. If a point looks bulky, use less stuffing. Repeat one shape in two or three felt colors, and use a consistent ribbon to tie the set together. A soft star also makes a thoughtful topper beside rustic Christmas gift wrapping.
Carry the handmade texture into the rest of the room with paper decorations that do not compete with your stitched ornaments. These projects work well alongside a small felt collection:
- Paper Bag Snowflakes for Christmas Decor
- Paper Christmas Trees for Small Spaces
- Handmade Holiday Card Ideas























0 Comments