How to Make a Reversible Fleece Hand-Warmer Pocket from Fabric Scraps
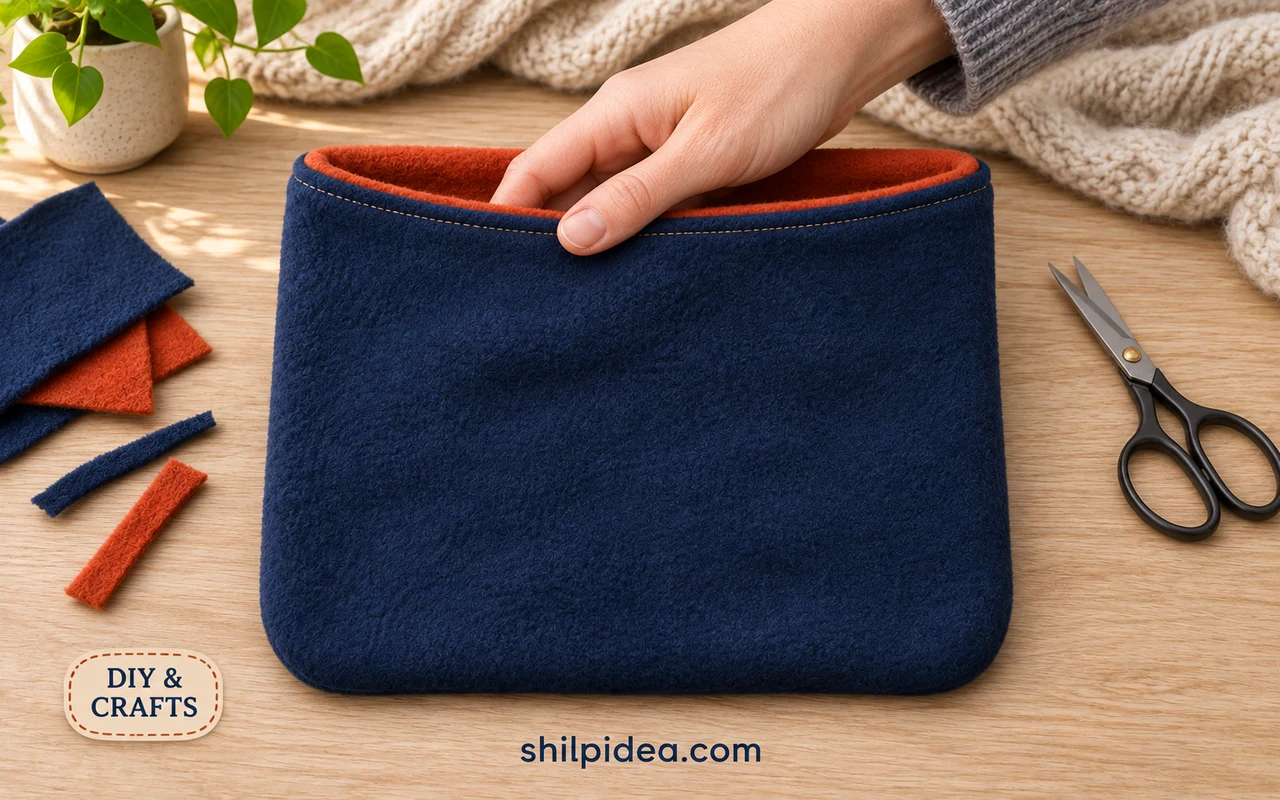
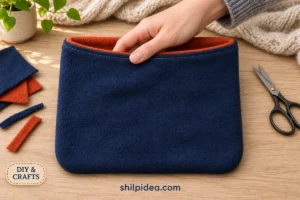
Turn two fleece scraps into a soft, reversible hand-warmer pocket with one open top and a closed bottom. This is a loose hand pocket for cozy seated moments, not a heated pack or a two-ended muff.
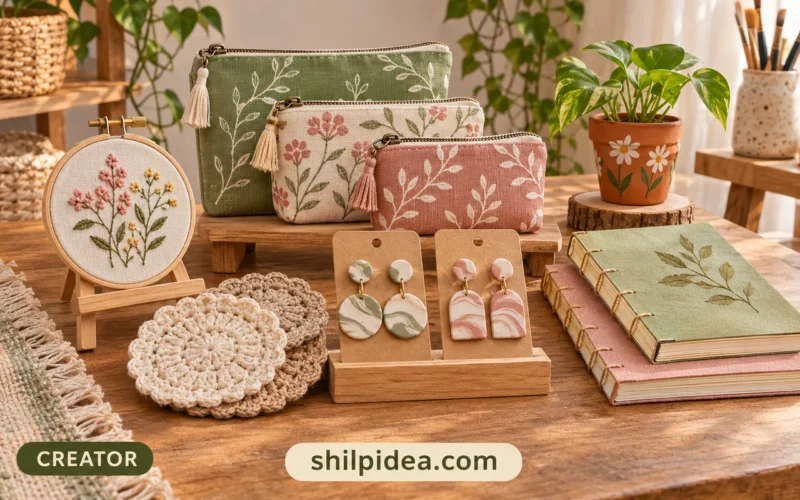
Like the smaller pieces in these fabric bag ideas, it uses two simple sewn shells. Contrasting colors make the construction easier to follow.
If you enjoy hand-stitched felt stars, this offers another fabric project. The method below is proposed guidance, not a physically tested Shilpidea pattern.
Materials and Tools
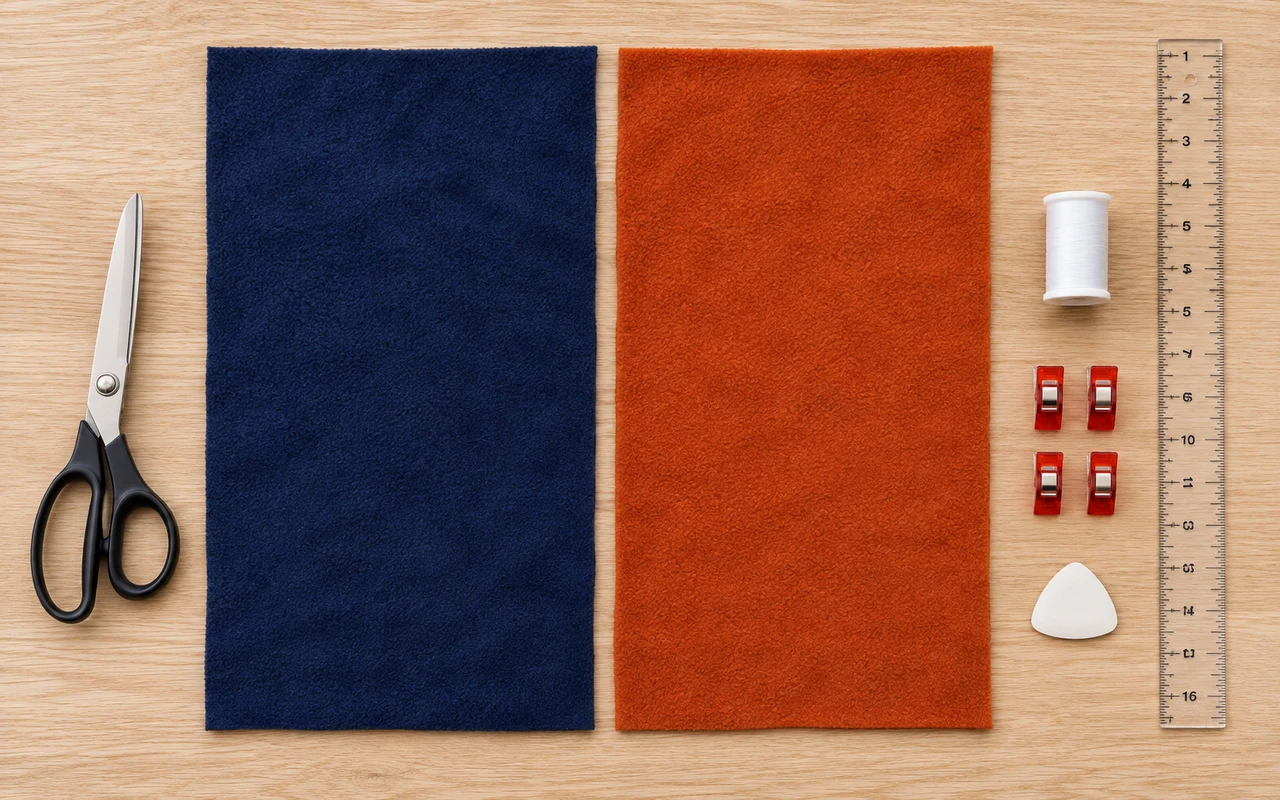
Gather these supplies for one unheated pocket.
- Fleece – Two rectangles, one navy and one rust, each 10 × 16 inches (25.4 × 40.6 cm); use similar light- or medium-weight fleece.
- Thread – Polyester sewing thread suitable for both colors.
- Sewing Machine and Needle – A sewing machine with a fresh, suitable needle; start with a 90/14 ballpoint needle for medium fleece.
- Fabric Scissors – Sharp scissors for cutting fleece.
- Measuring and Marking Tools – A ruler, paper and removable fabric marker.
- Clips and Hand-Sewing Needle – Sewing clips and a needle for closing the turning gap.
- Walking Foot (optional) – A compatible foot for fabric that feeds unevenly.
Size check: the proposed finished pocket is about 9 × 7½ inches (22.9 × 19.1 cm). Check a folded paper mock-up before cutting; enlarge both rectangles equally if your hand needs more room.
Test a 3 mm straight stitch on two fleece layers first. Let the machine feed the fabric without pulling. For handling advice, see the American Sewing Guild and Utah State University.
Precautions Before You Begin
Set up a clear work area and follow these precautions.
- Keep this pocket unfilled and unheated: no rice, heating inserts, microwave or direct heat.
- Remove clips before the presser foot reaches them; switch off the machine before changing its needle.
- Finger-press the fleece. A hot iron can flatten or melt it.
- Keep the opening loose and supervise children around scissors, needles and the sewing machine.
1. Prepare the Fabric and Sew the Shells
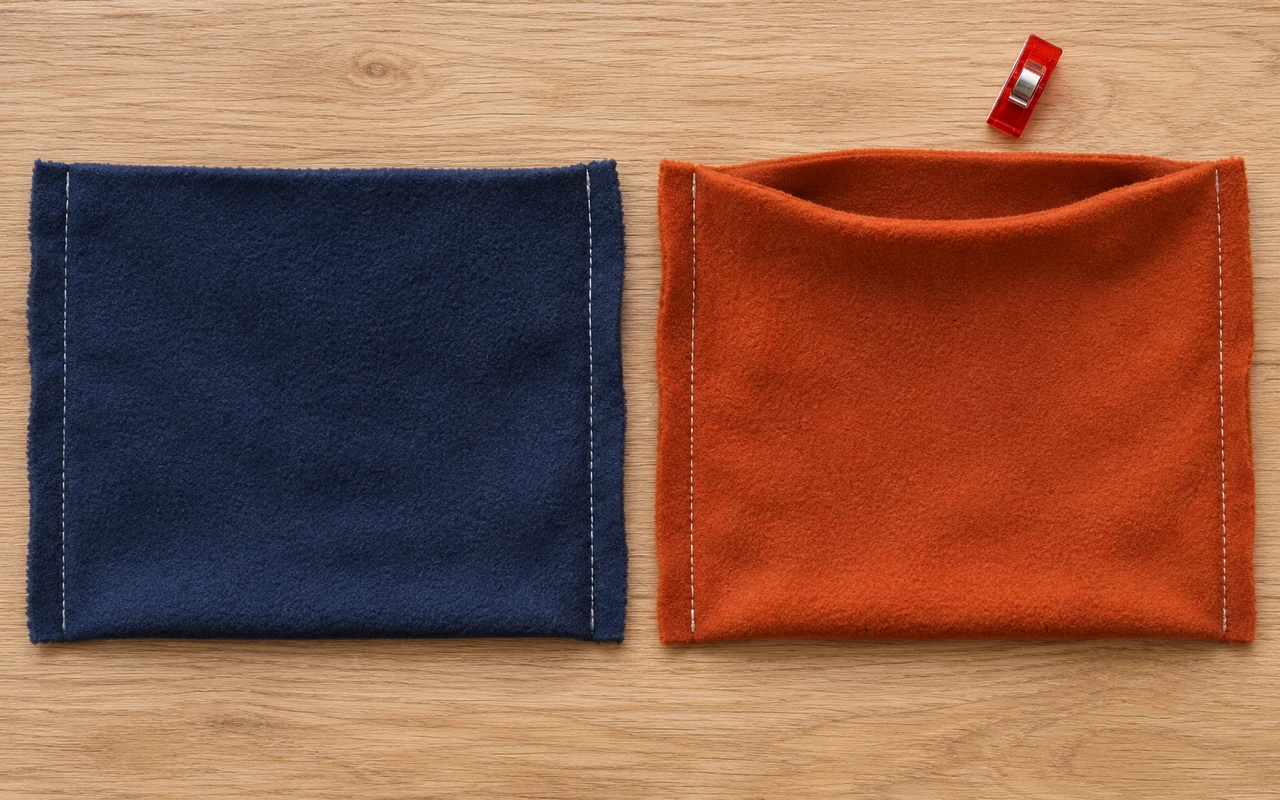
- Prepare and cut. Wash and dry both fabrics according to their labels. Cut one 10 × 16-inch rectangle from each color, with the greater stretch across the 10-inch width.
- Fold each rectangle. Bring the two 10-inch edges together, right sides facing, to make a 10 × 8-inch shape. Clip the two short side edges; keep the top open.
- Sew both shells. Sew the short side edges with a ½-inch (1.3 cm) allowance. Secure the seam ends. Leave the top open and the bottom fold intact; repeat for the second color.
Save wider offcuts for fabric-covered organizers, choosing a material suited to the container.
2. Nest the Two Shells
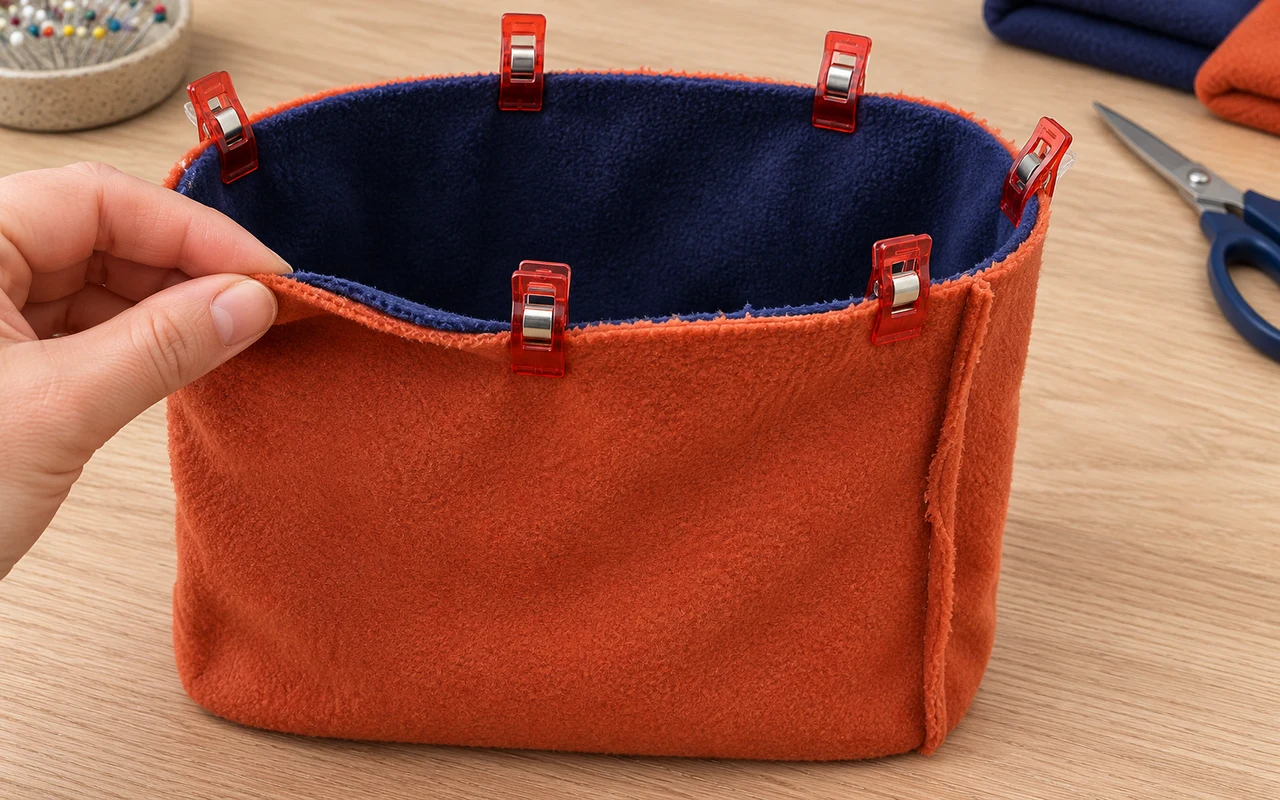
- Nest the shells. Turn the navy shell right side out; leave the rust shell wrong side out. Put navy inside rust, with right sides touching. Align the side seams and clip the raw top edges.
For the nesting technique, see Dana Willard’s reversible bag tutorial; its pattern differs from this pocket.
3. Sew the Rim and Leave a Gap
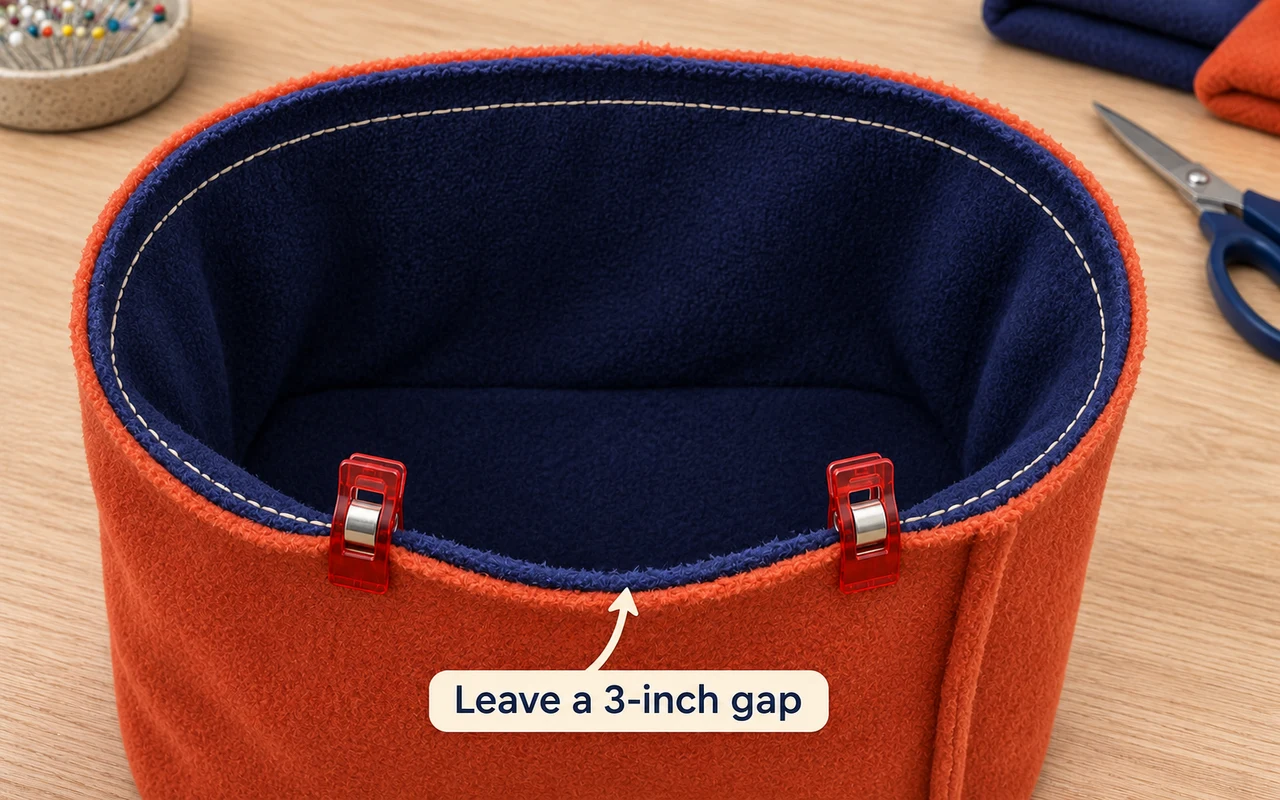
- Join the rim. Mark a 3-inch (7.6 cm) turning gap away from a side seam. Sew around the mouth with a ½-inch allowance, leaving that gap open. Secure both ends and keep the pocket’s front and back separated.
4. Turn the Pocket and Close the Gap
- Turn and tuck. Pull the whole piece right side out through the gap, working gently a little at a time. Push the rust shell inside the navy shell and shape the corners with your fingers.
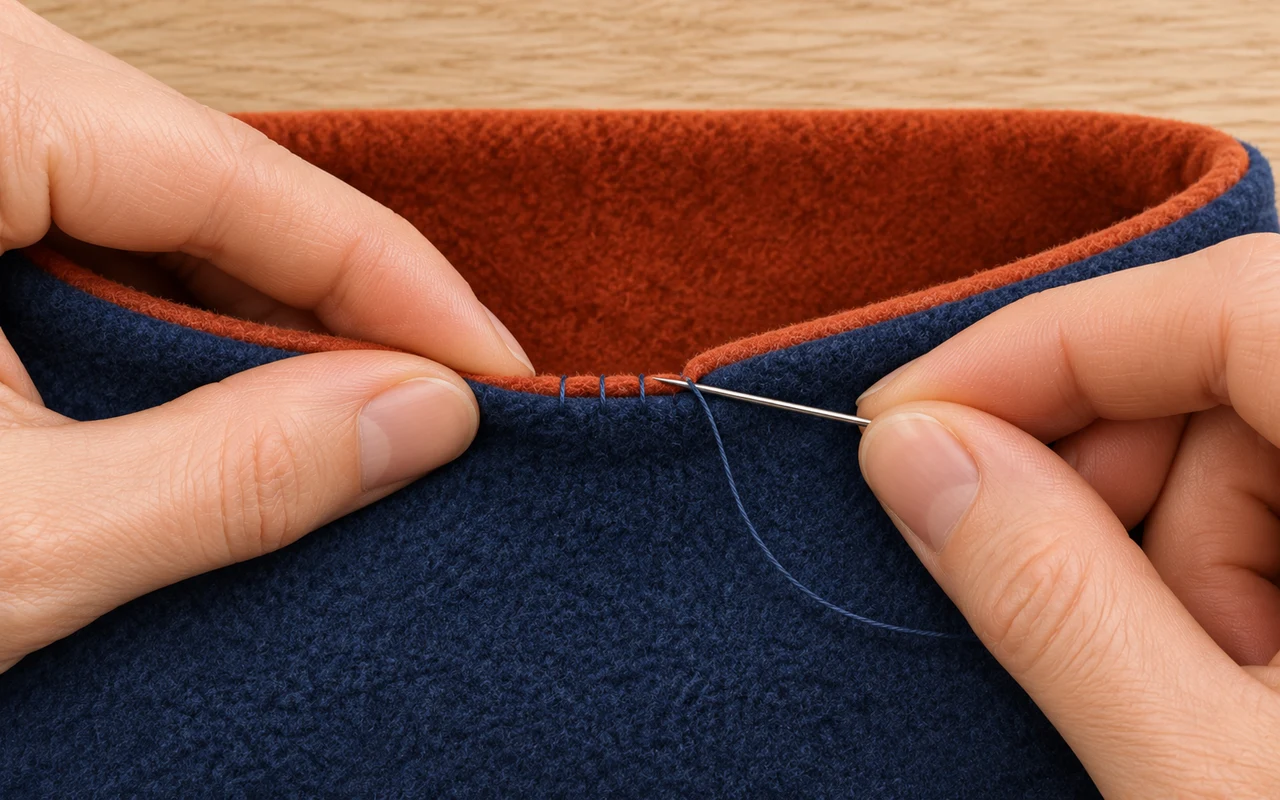
- Close the gap. Fold both raw edges inward by ½ inch. Close them with small whipstitches through the folded edges, keeping the pocket’s front and back apart. Secure and trim the thread.
5. Finish the Rim and Reverse the Pocket
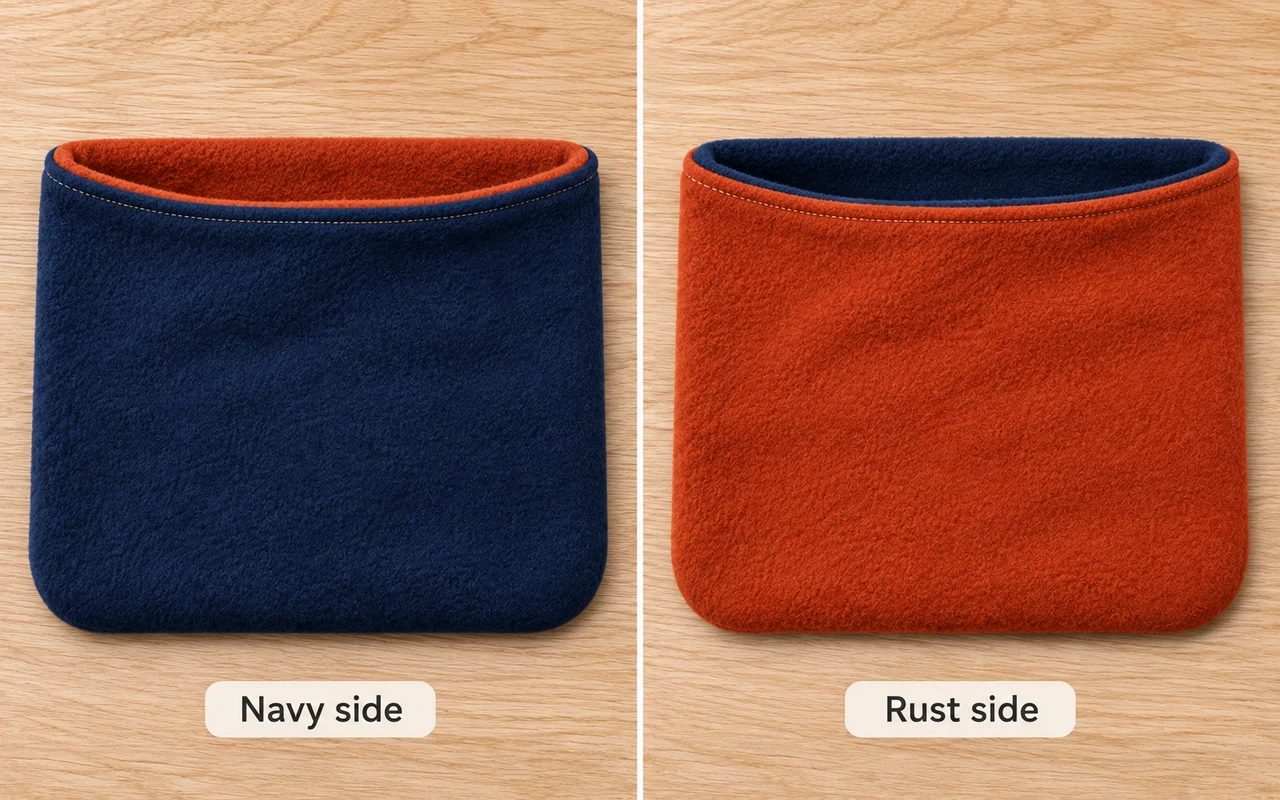
- Topstitch the rim. Finger-roll the joined edge flat. Sew about ¼ inch (6 mm) below it, around the open mouth through both layers. Keep the opening clear and avoid stretching the fleece.
- Check and reverse. Remove all clips and loose threads; check the seams and fit. Pull the rust lining out, then push the navy shell inside it to reverse. Remake larger if the opening feels restrictive.
Quick Fixes and Care
- Rippling: test a longer stitch and lighter presser-foot pressure; do not pull the fleece.
- Skipped stitches: fit a suitable fresh needle and test on matching offcuts.
- Bulky rim: check for twisted seams; never force the fabric under the foot.
Follow the fabric care labels and dry fully before storing. When making cozy handmade gifts, include a note explaining that this pocket stays unfilled and unheated.
Keep Sewing with Small Pieces of Fabric
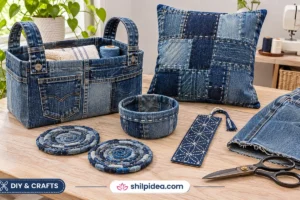
Once the pocket is finished, keep the useful offcuts together rather than returning them to an unsorted pile. A contrasting scrap can become part of another small gift, while larger pieces may suit a simple bag or organizer. These related projects offer several directions for your next sewing session, from hand stitching to practical storage and cozy handmade gifts.
- Fabric Bag Ideas for Handmade Gifts
- Hand-Stitched Felt Star Ornaments
- Flower Embroidery Designs for Inspiration
- Fabric-Covered Ice Cream Tub Organizers
- Homemade Gifts for Friends Who Love Cozy Evenings
What fleece combination would you choose for your pocket? Share your plan in the comments. If you try this proposed design, tell us how the size and sewing method worked for you—your practical feedback can help other readers decide what to adjust.



















0 Comments