19 Flower Embroidery Ideas for Hoops and Gifts
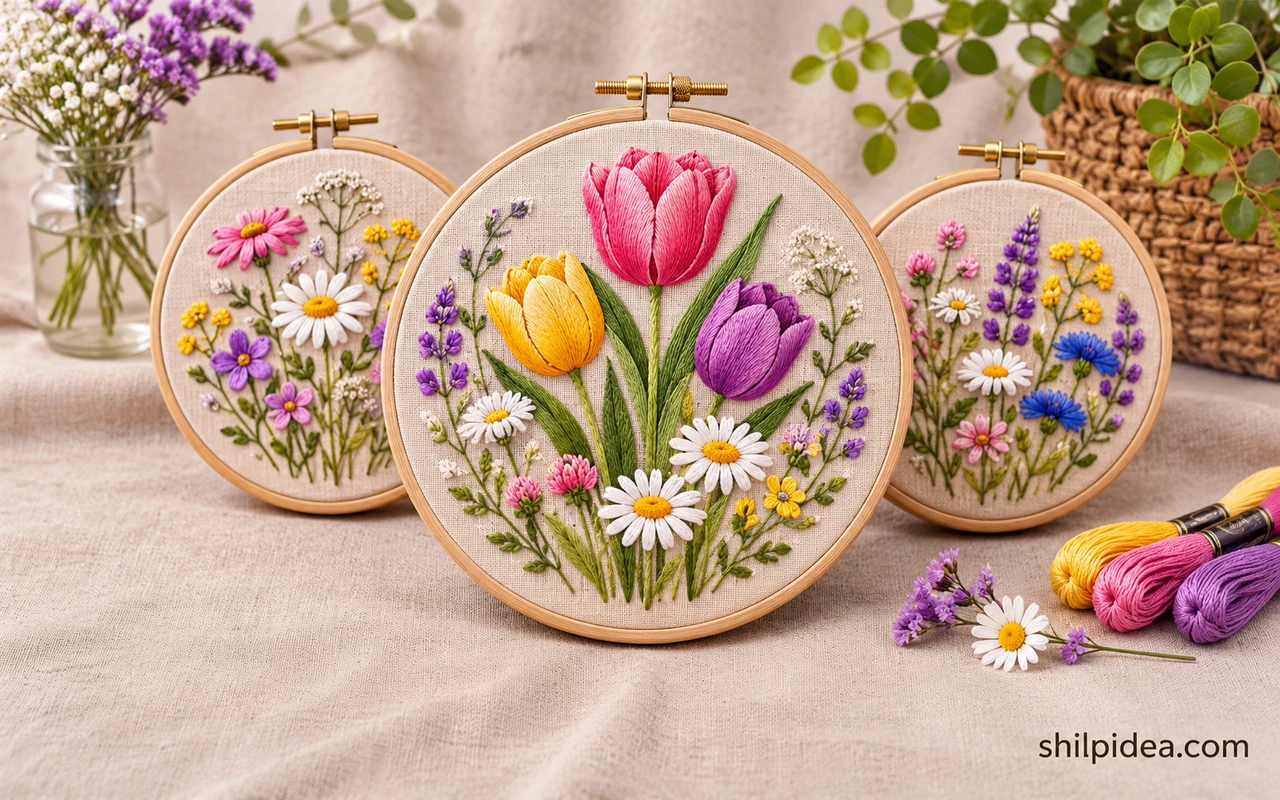
Flower embroidery gives you a way to practice color, line, and texture on a small piece of fabric. Start with a blossom you can draw with a few clear shapes.
Short stitches follow tight curves, while longer stitches can add direction to broader areas. For a quick study of spacing, try embroidery on paper on stiff card before stitching the full design.
Compare potted plant embroidery if you want the stems to sit inside a container rather than float in the hoop.
1. Bright Meadow With Mixed Stems

Set tall blossoms behind low flowers and keep a few stems thin. Use contrasting colors on separate parts of the hoop to help each flower remain visible. Check a stitch on scrap fabric before filling the whole shape. If a thin line disappears at arm’s length, use one extra strand in just that area.
2. Pastel Flowers on Long Separate Stems

Lay down several fine vertical stems and leave spaces between them. Repeat one pink or blue shade to make the line of flowers feel connected. Set the hoop upright once the main colors are in place. Check for gaps near the edges and keep a few open areas to draw attention to the smallest details.
3. Golden Sunflower on a Pale Hoop

Build the broad yellow petals around a dark center and use longer stitches near the outside. Let short stitches handle the tight curves where petals meet the center. Check a stitch on scrap fabric before filling the whole shape. If a thin line disappears at arm’s length, use one extra strand in just that area.
4. White Daisies on Natural Linen
Use the background as space between the pale petals. Place small yellow centers at slightly different heights so the daisies look loose. Set the hoop upright once the main colors are in place. Check for gaps near the edges and keep a few open areas to draw attention to the smallest details. The same red petals can be built in broad shapes with these felt flower crafts.
5. Deep Red Flowers on Green Stems

Keep the stems narrow beneath the full red heads. Use a few lighter red stitches where you want the outline to curve outward. Check a stitch on scrap fabric before filling the whole shape. If a thin line disappears at arm’s length, use one extra strand in just that area.
6. Airy Sprigs With Tiny Open Blooms

Try narrow stems with widely spaced pink blossoms. Use the empty middle area to keep each green leaf and red mark easy to see. Set the hoop upright once the main colors are in place. Check for gaps near the edges and keep a few open areas to draw attention to the smallest details.
7. Dense Bouquet With a Dark Central Bloom

Start with the main bloom and leave space around the petals for smaller shapes. Alternate solid and open areas so adjacent stems do not disappear. Check a stitch on scrap fabric before filling the whole shape. If a thin line disappears at arm’s length, use one extra strand in just that area.
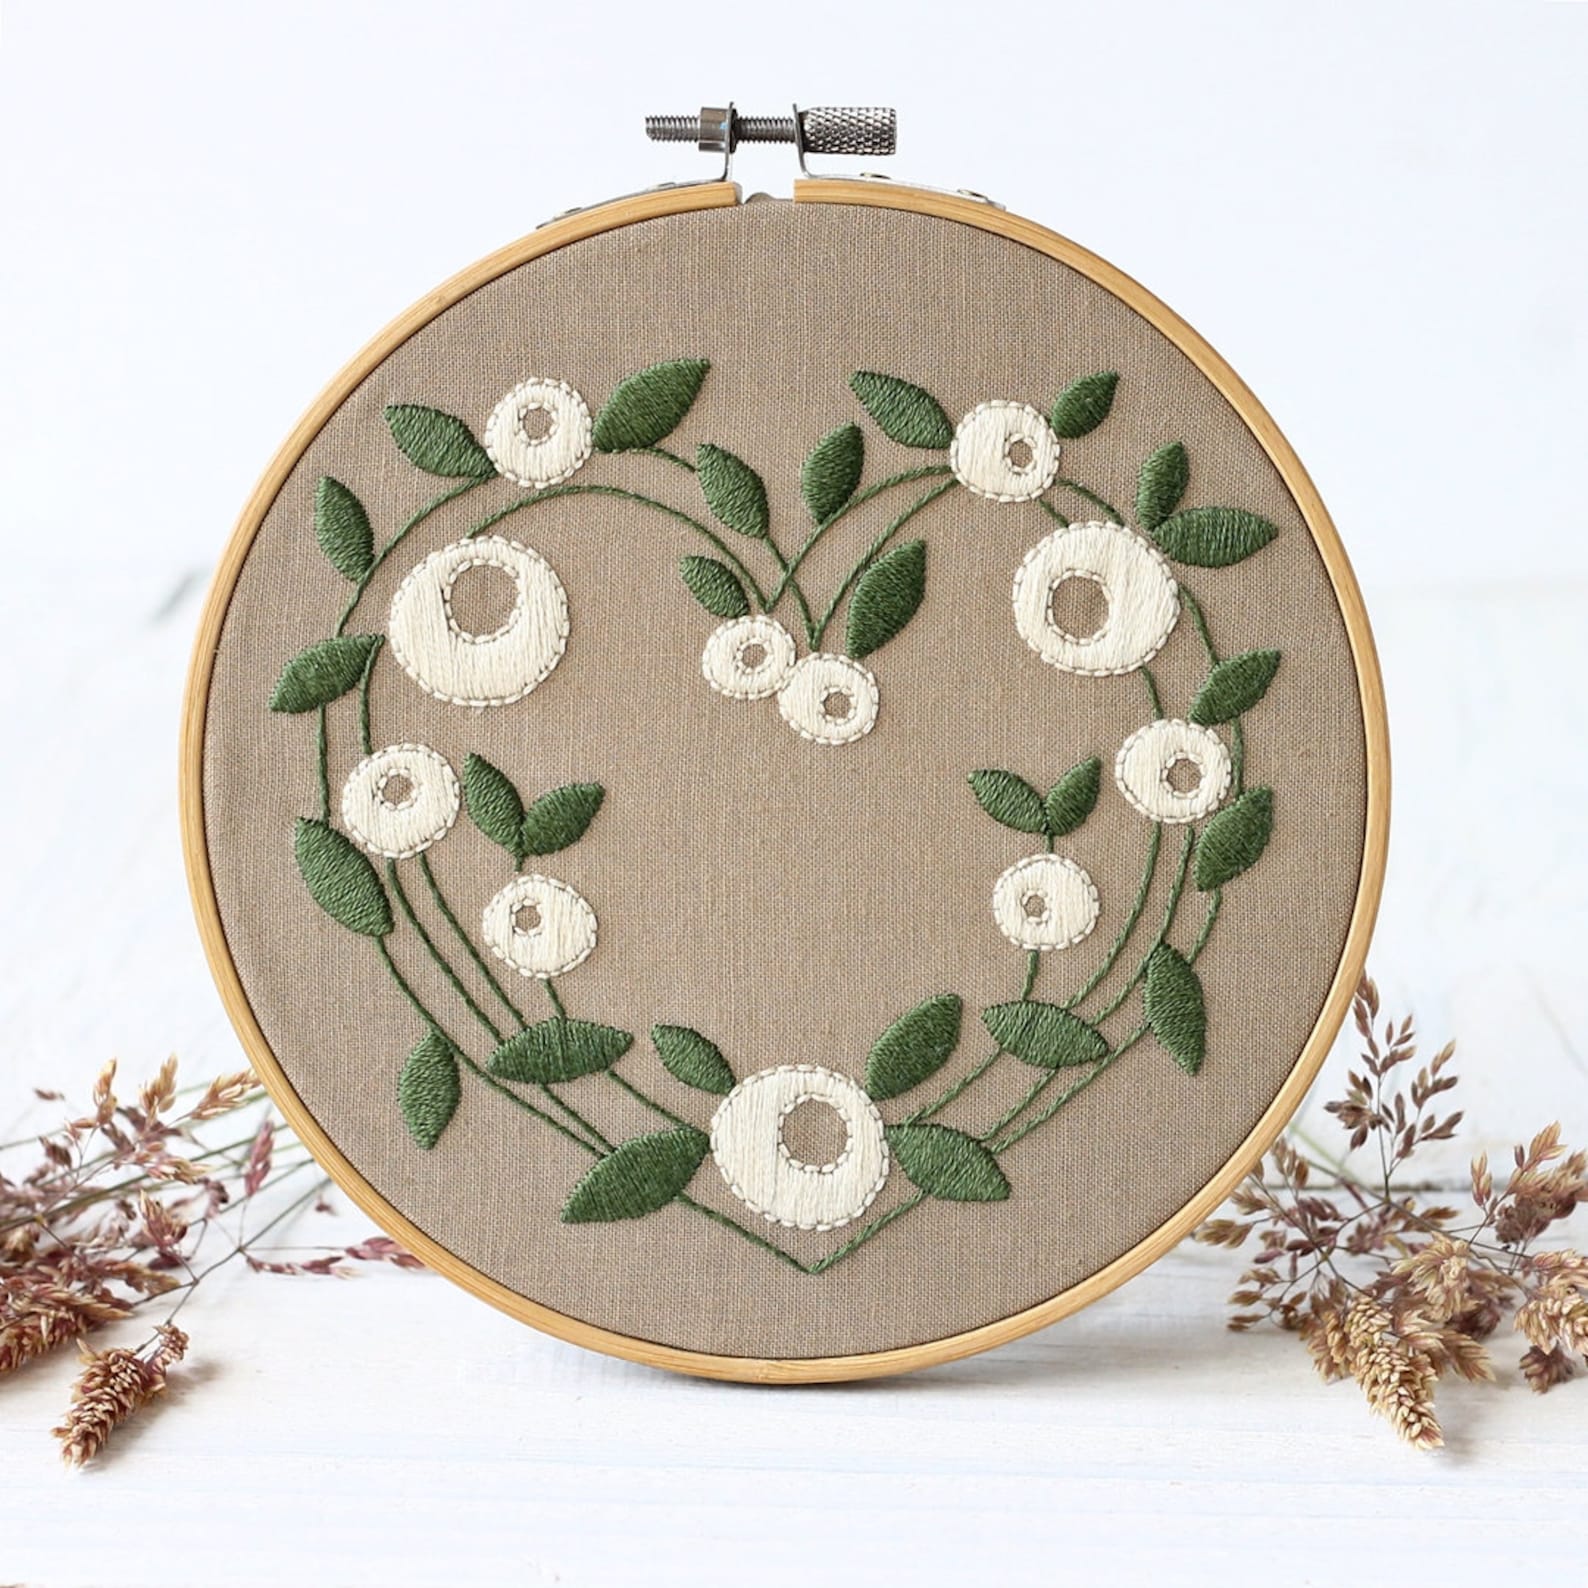
8. Pink Floral Wreath Around an Empty Center
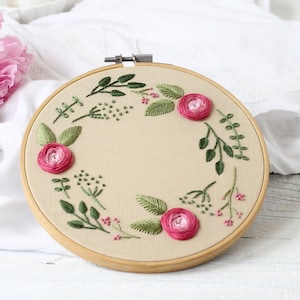
Spread the blossoms unevenly around the circle rather than turning it into a solid band. Use a few fine leaves to fill gaps near the outer edge. Set the hoop upright once the main colors are in place. Check for gaps near the edges and keep a few open areas to draw attention to the smallest details.
9. Blue and Green Botanical Sprig

Choose two shades of blue and keep the dark one for a few small clusters. Curve the leaves away from the stem to reveal their shapes. Check a stitch on scrap fabric before filling the whole shape. If a thin line disappears at arm’s length, use one extra strand in just that area. For a small accent in the open center, try one of these embroidered insect motifs.
10. Unfinished-Look Wreath With Side Sprigs

Leave the top and bottom clearer than the sides. Place small flowers close to the outer branches so the open area can hold a short message. Set the hoop upright once the main colors are in place. Check for gaps near the edges and keep a few open areas to draw attention to the smallest details.
11. Lavender Sprigs With Purple Knots
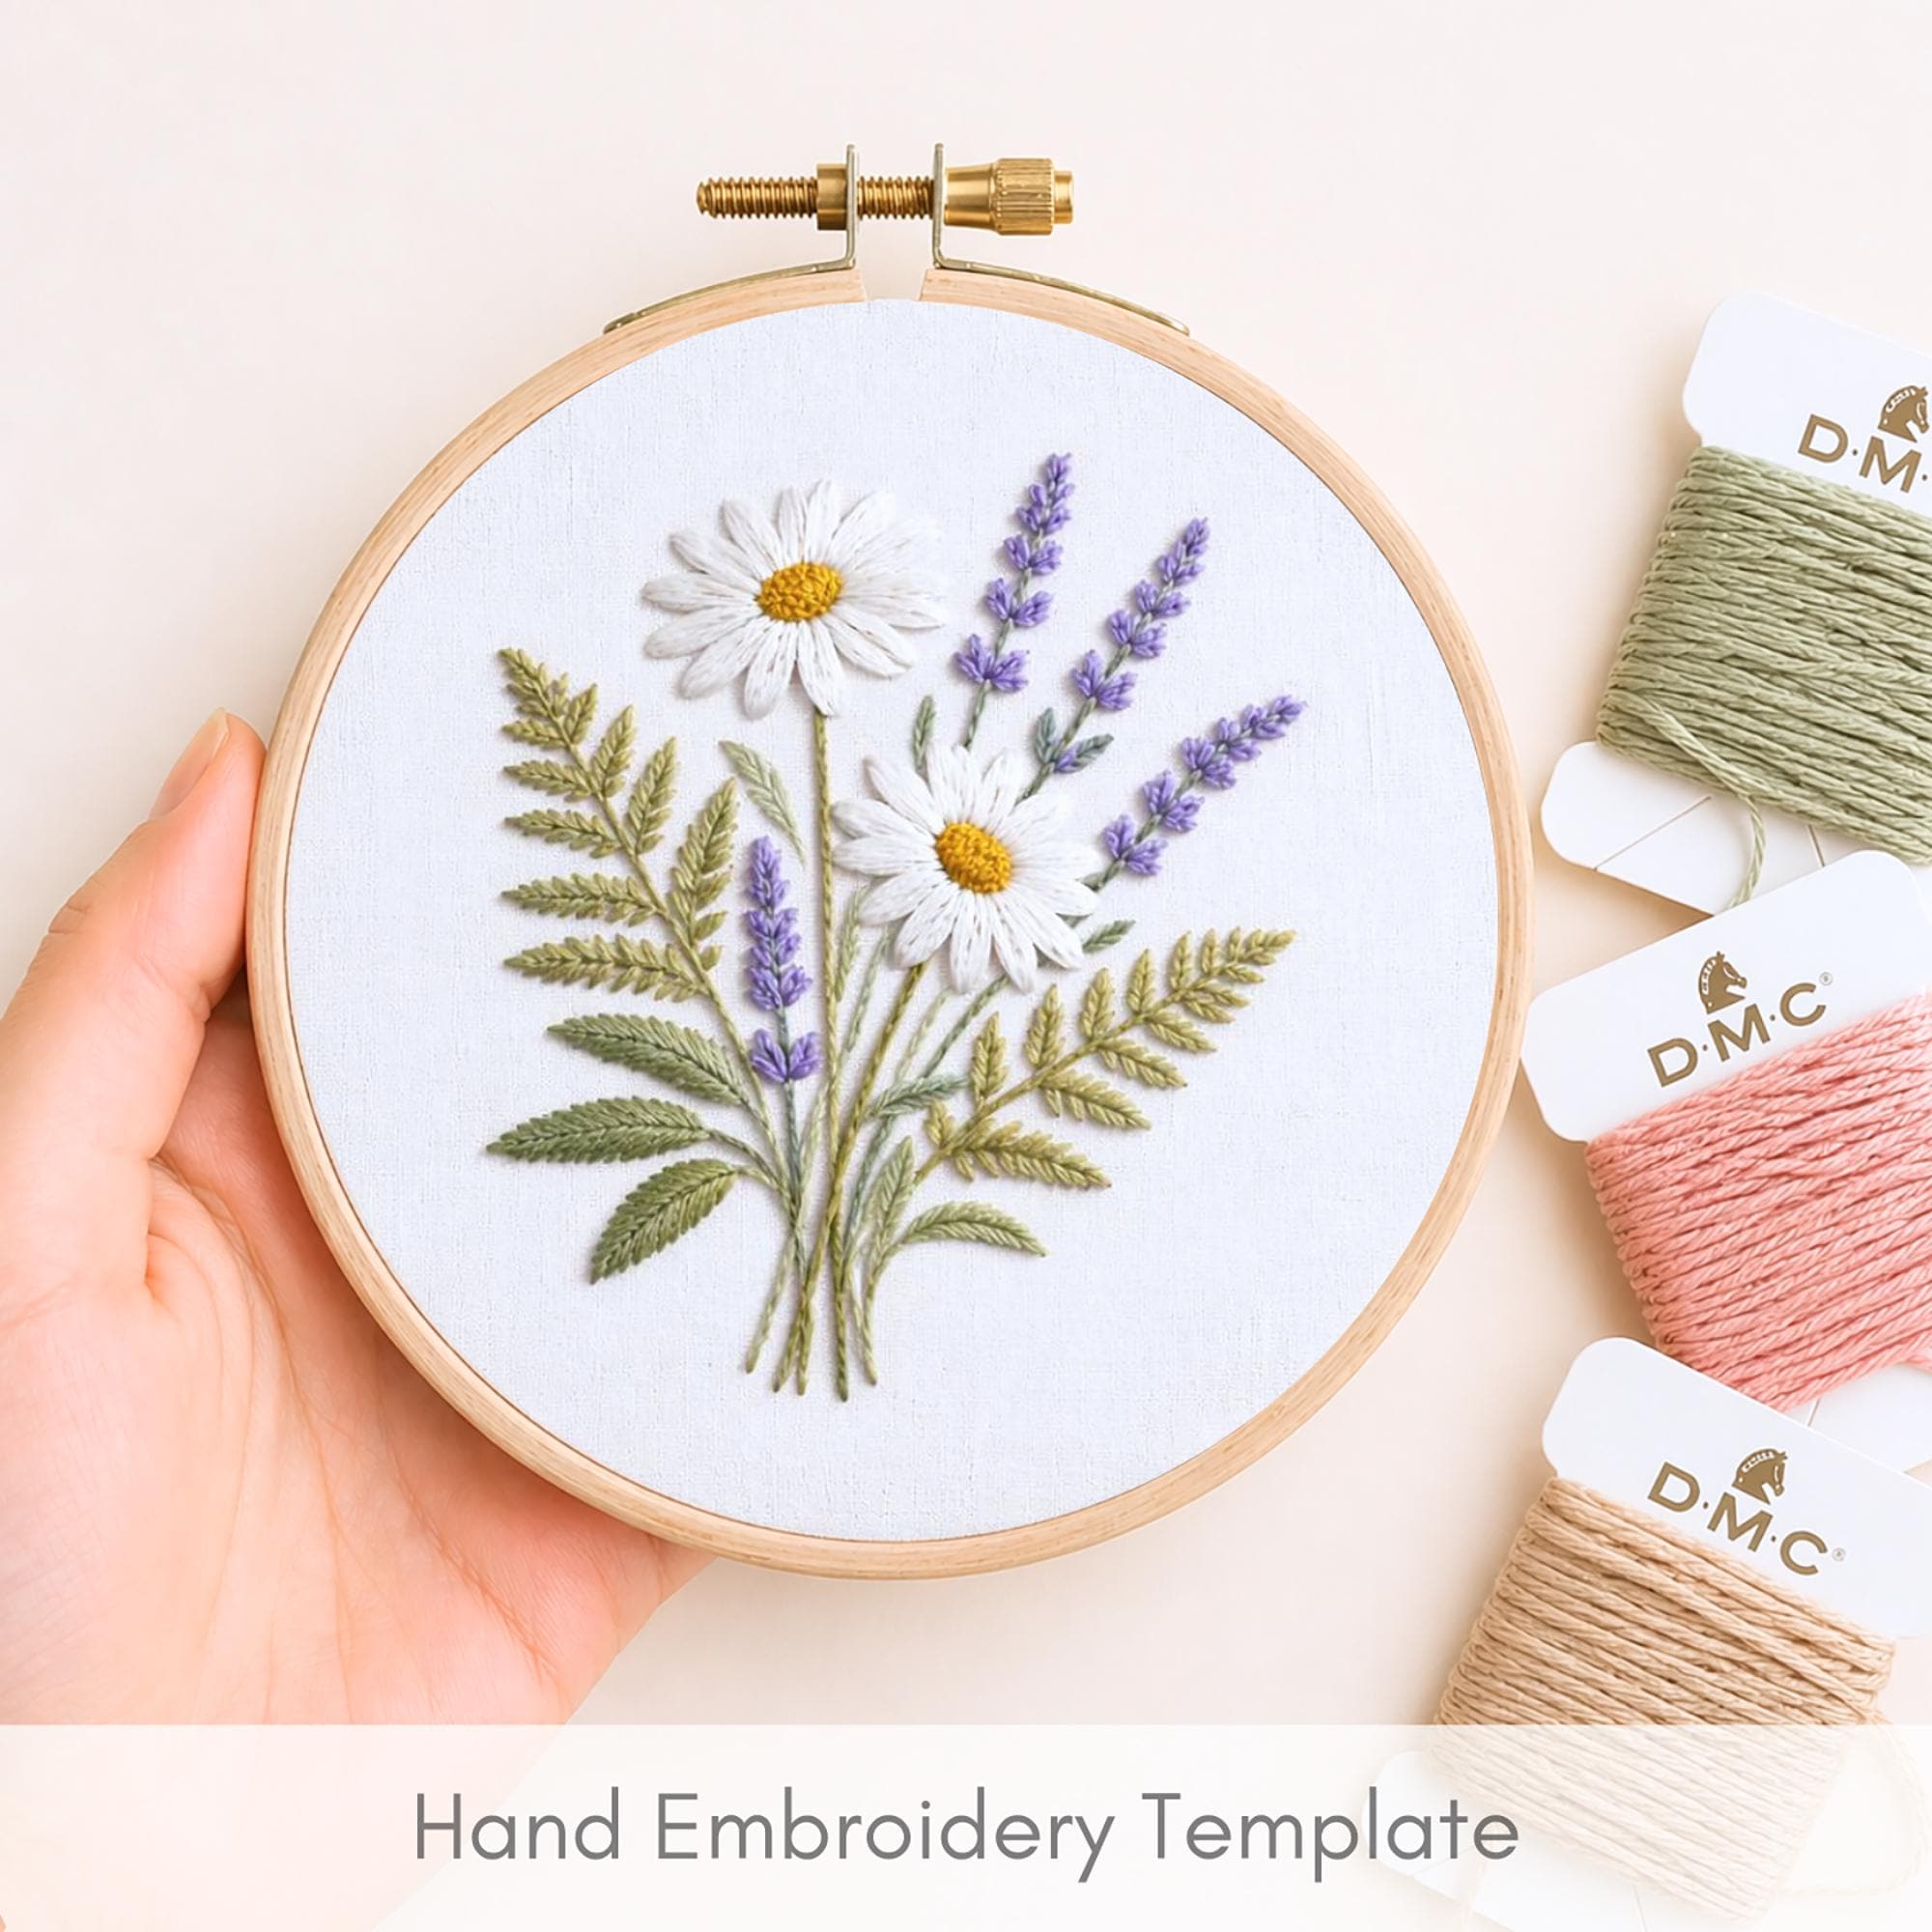
Put small purple marks in uneven clusters on each stem. Leave some green visible between them so the sprigs do not turn into one solid purple line. Check a stitch on scrap fabric before filling the whole shape. If a thin line disappears at arm’s length, use one extra strand in just that area.
12. Daisy Ring With an Open Middle

Repeat pale petals around a circle and vary the distance between blooms. Let a few tiny green leaves interrupt the ring. Set the hoop upright once the main colors are in place. Check for gaps near the edges and keep a few open areas to draw attention to the smallest details.
13. Purple and Yellow Wildflower Hoop
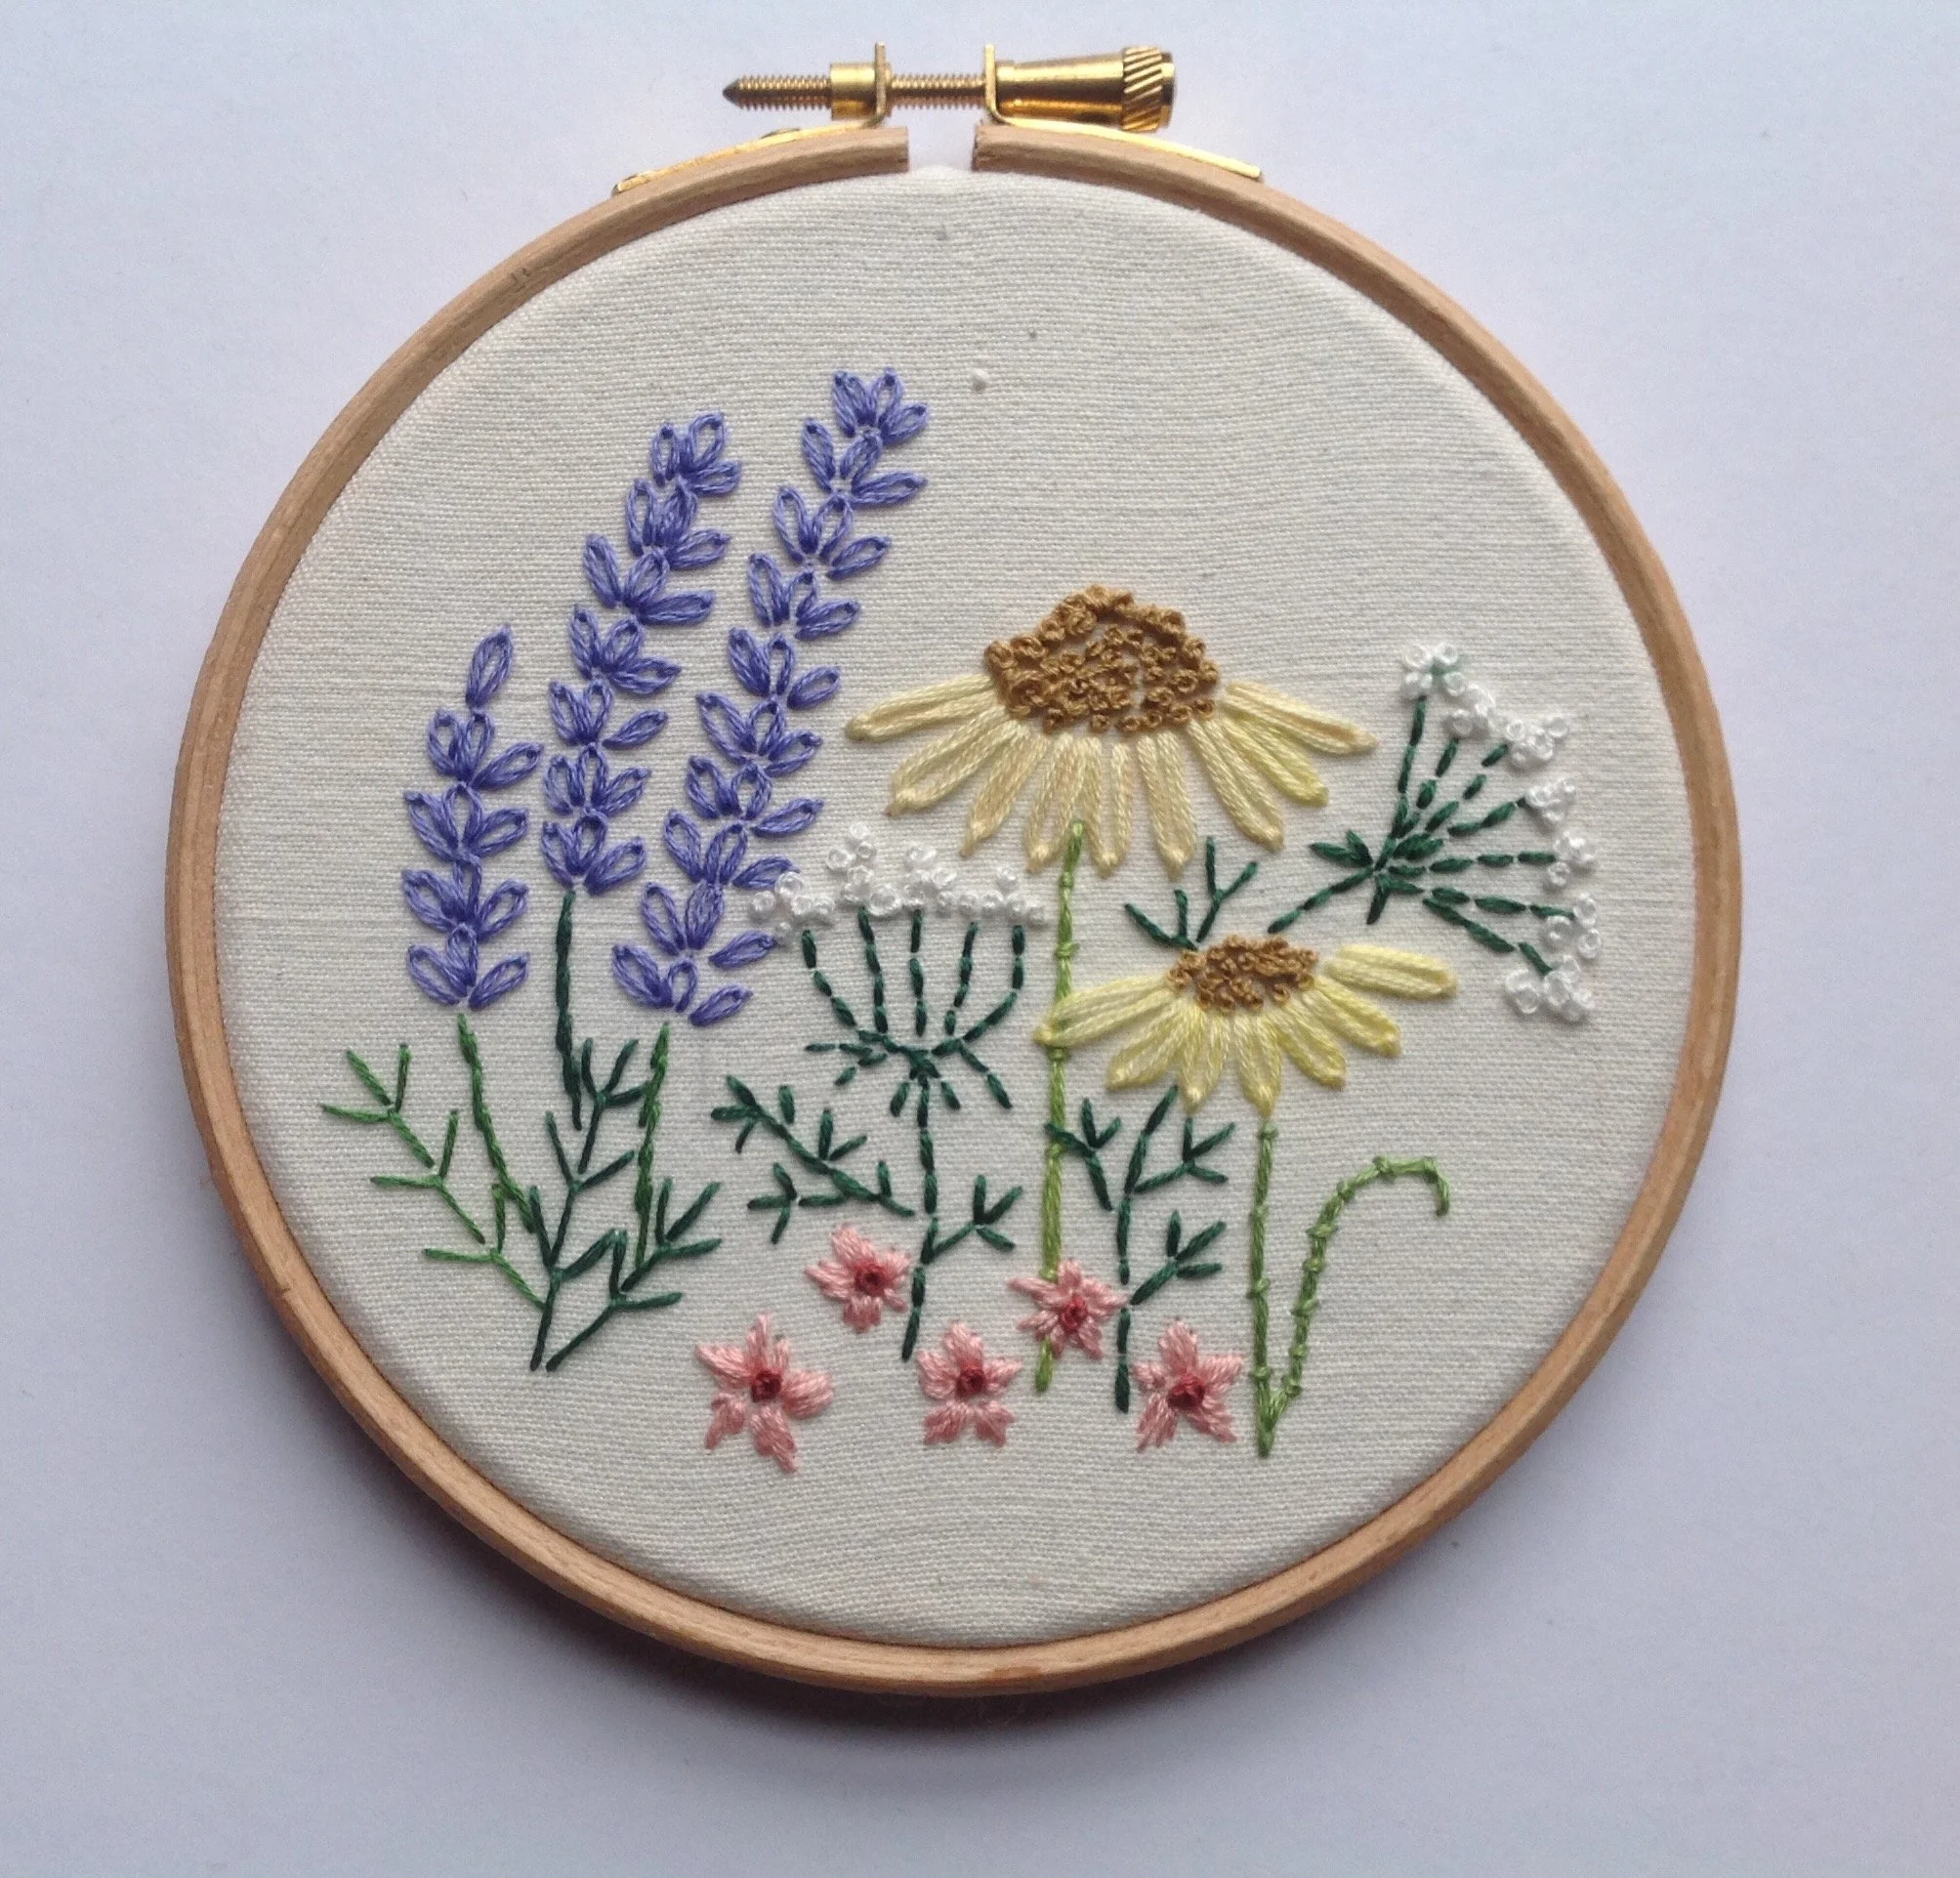
Reserve the tall stems for purple and set small yellow flowers near the bottom. Keep grasslike stitches fine so they leave the taller blooms visible. Check a stitch on scrap fabric before filling the whole shape. If a thin line disappears at arm’s length, use one extra strand in just that area.
14. Three Hoop Sizes as a Set
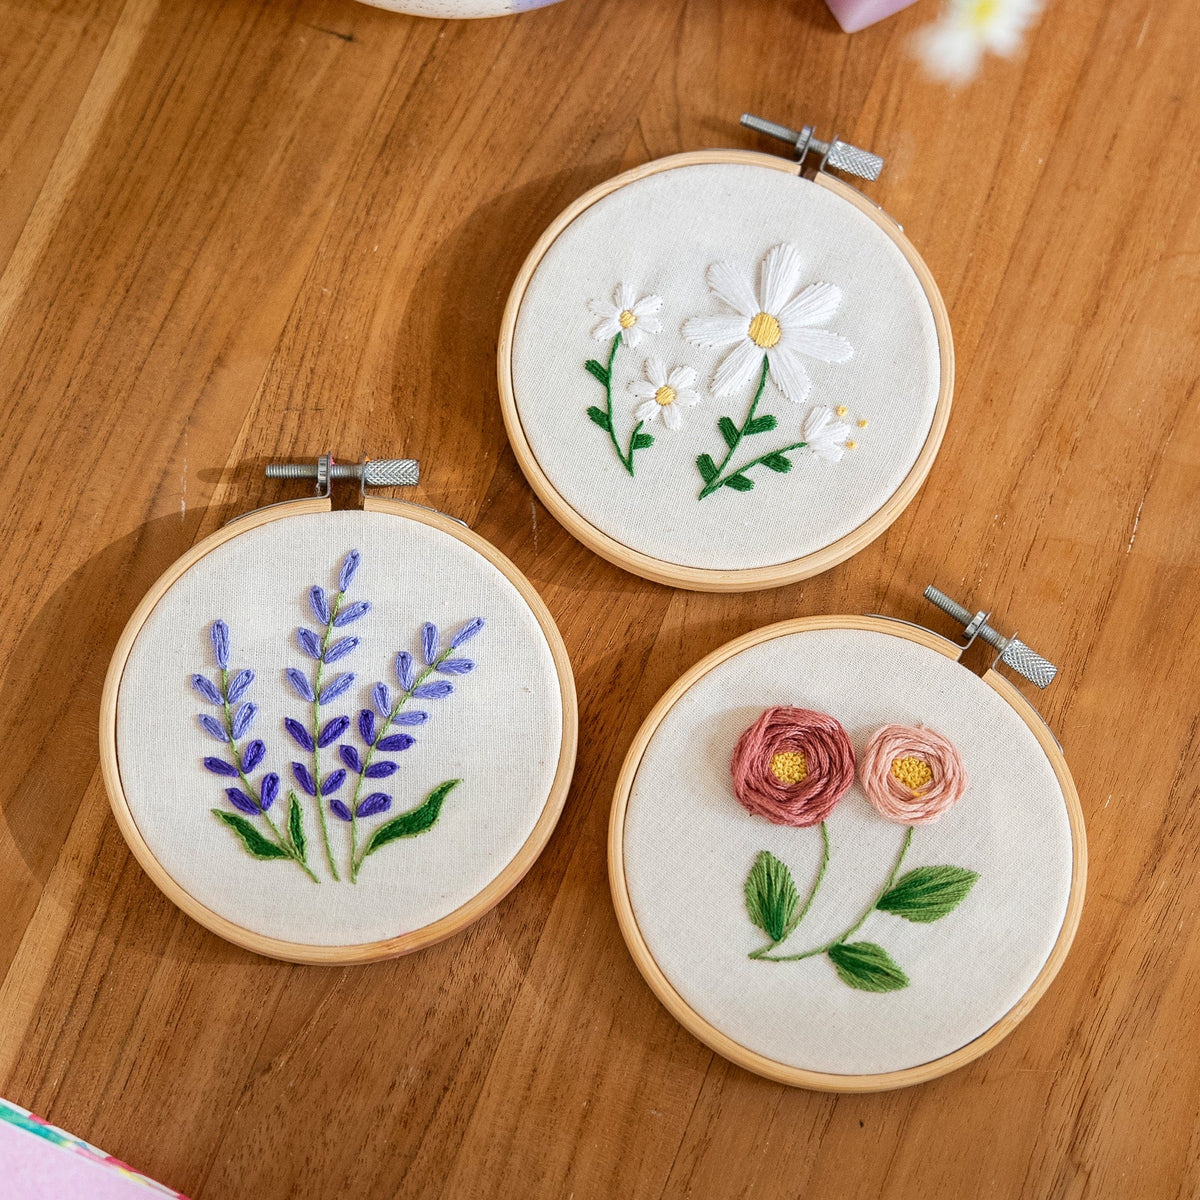
Repeat one motif across three hoops and let larger versions include more stems. Choose frames with a similar finish so the change in scale is easy to spot. Set the hoop upright once the main colors are in place. Check for gaps near the edges and keep a few open areas to draw attention to the smallest details.
15. Mini Floral Hoops in a Coordinated Group

Give each hoop a different mix of flowers. Repeat a few greens or neutrals across the set so the grouping holds together. Check a stitch on scrap fabric before filling the whole shape. If a thin line disappears at arm’s length, use one extra strand in just that area. Compare the first example with a smaller version before you finish.
16. Scattered Bright Blooms Across a Round Hoop

Keep each blossom separate and alternate large and small shapes over the fabric. Place the lightest flowers beside darker ones if the pale thread is difficult to see. Set the hoop upright once the main colors are in place. Check for gaps near the edges and keep a few open areas to draw attention to the smallest details.
17. Five Motifs on a Single Straight Row

Mark the line lightly before starting and vary how far the heads rise from it. Try a different petal stitch on each flower. Check a stitch on scrap fabric before filling the whole shape. If a thin line disappears at arm’s length, use one extra strand in just that area. Keep the wildflowers short if you want space for embroidered birds above them.
18. Tall Neutral Wildflowers With Fine Stems
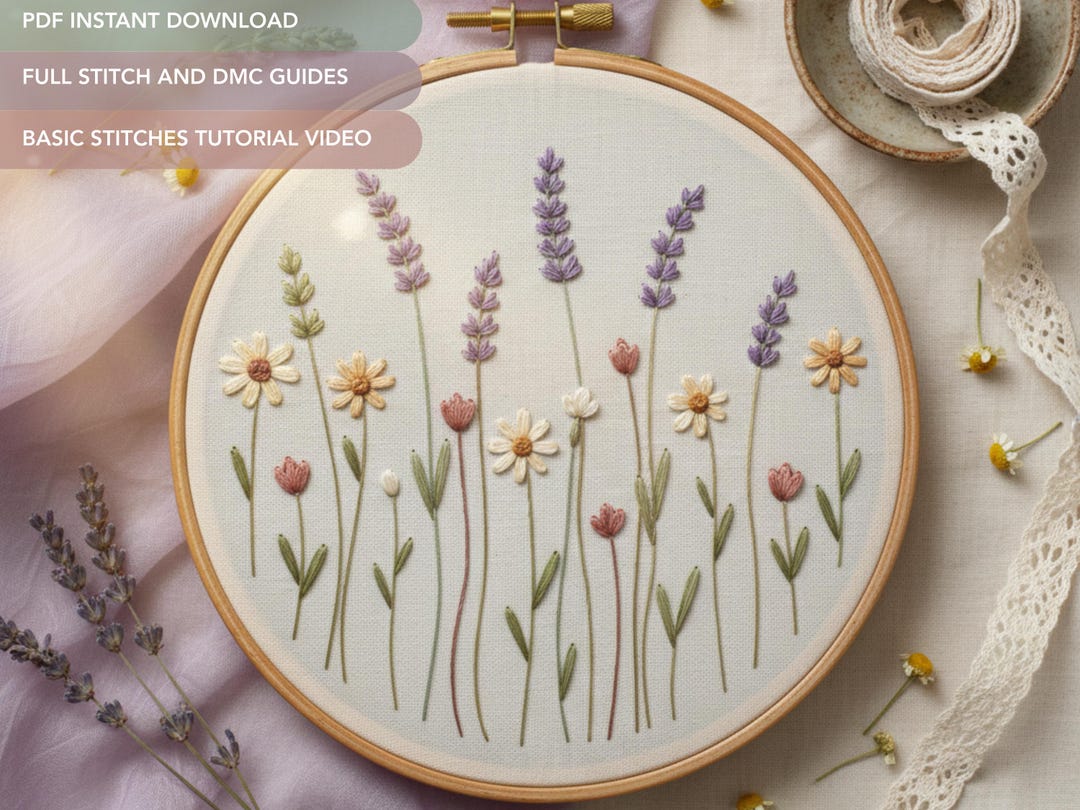
Let the longest stems climb up the center and leave the sides light. Use short stitches at the tips to keep small flowers legible. Set the hoop upright once the main colors are in place. Check for gaps near the edges and keep a few open areas to draw attention to the smallest details.
19. Soft Floral Samplers on Matching Fabric
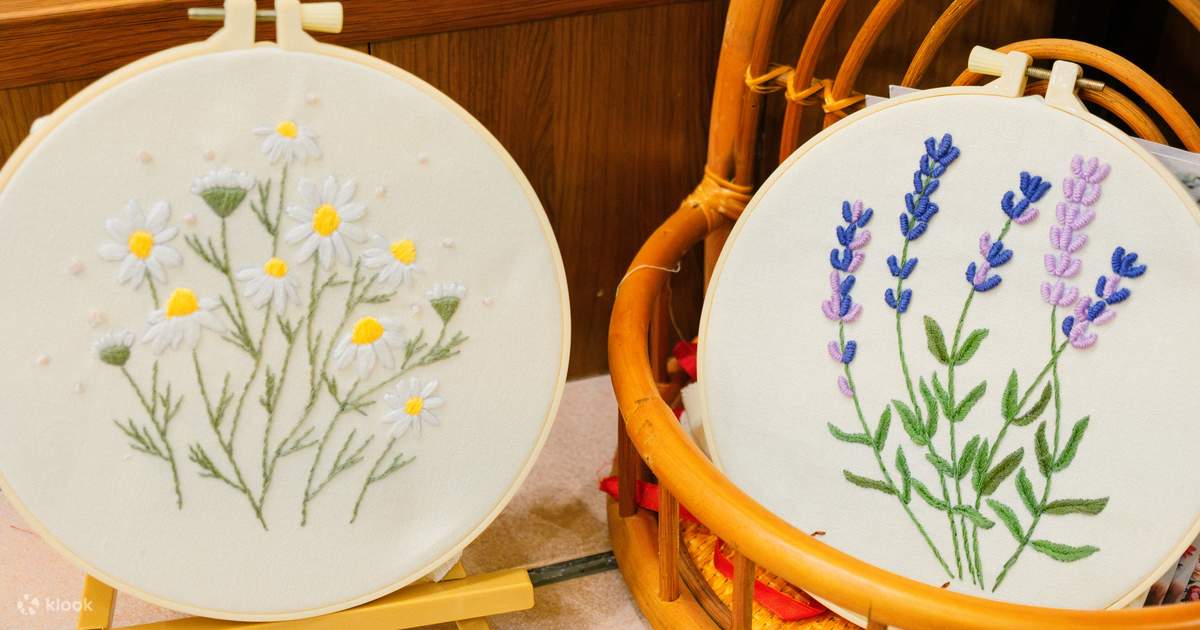
Use the same fabric color under different flowers. Give one hoop a close cluster and leave the other more open to highlight the change in layout. Check a stitch on scrap fabric before filling the whole shape. If a thin line disappears at arm’s length, use one extra strand in just that area.
Leave Room for Each Flower to Read
Decide which bloom carries the most detail and keep the nearby stems a little quieter. Test the floss colors together, especially when two greens or two pinks sit side by side. Trace the outside of the hoop before transferring a border. If you have thread left over, try one of these related projects on a small piece of fabric.
- Stitch Potted Plants and Succulents
- Embroider Small Bugs and Insects
- Stitch Birds and Other Animals
- Make Flowers From Felt
- Try Embroidery on Paper
Which flower would you stitch first? In the comments, share whether you would make it a single large bloom, a row of little stems, or part of a mixed bouquet.















0 Comments