How to Press Flowers for Bookmarks and Framed Decor
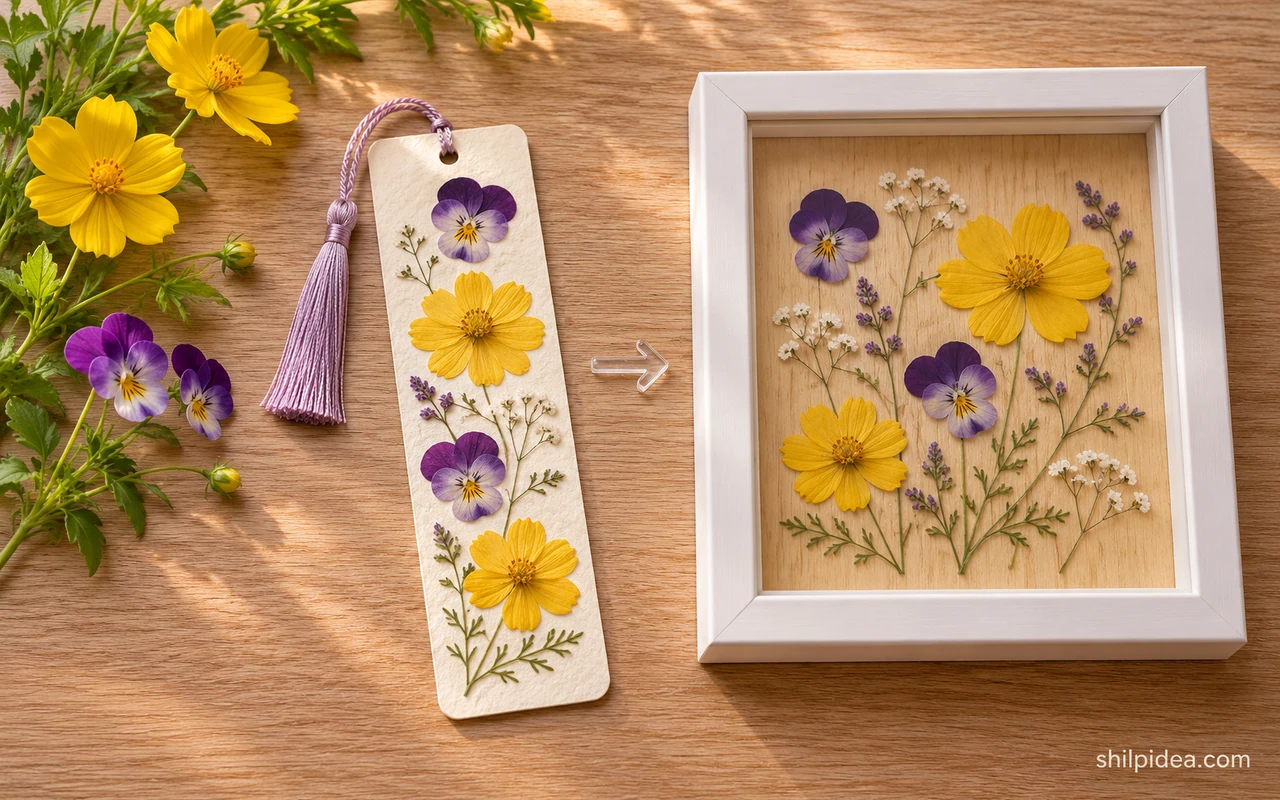
You can press flowers with absorbent paper and a few heavy books. The same batch can give you flat blooms for bookmarks and a few larger pieces for a frame.
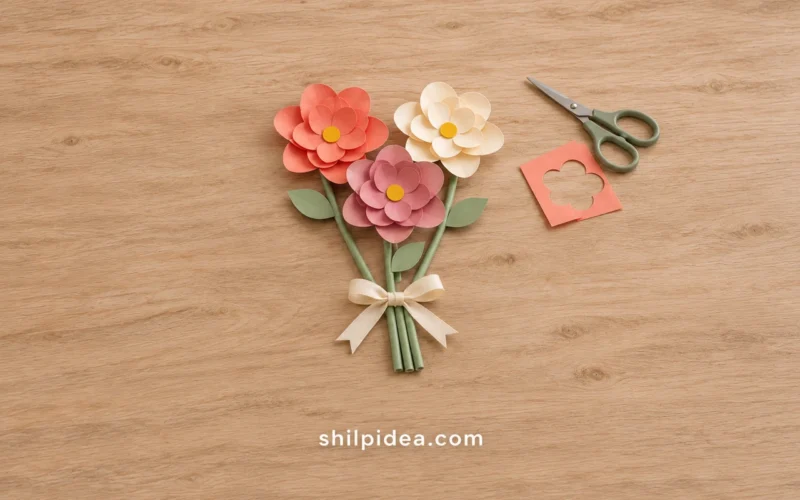
Choose fresh, thin flowers and give them enough time to dry. If you’re planning a bigger display, these paper wall hangings can help you think about scale and color.
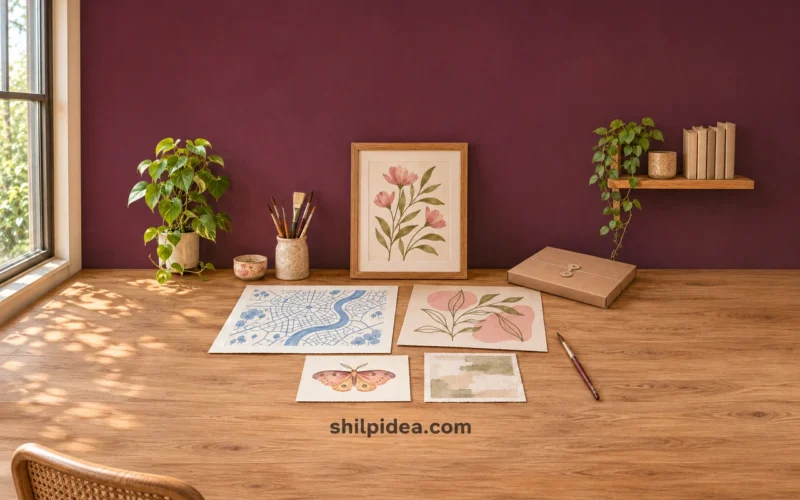
This guide covers the book-press method, then shows how to finish both projects. Look at these framed art ideas for ways to leave room around small natural details.
Materials and Tools
This makes one bookmark and one small framed display, with a few extra blooms in case petals tear.
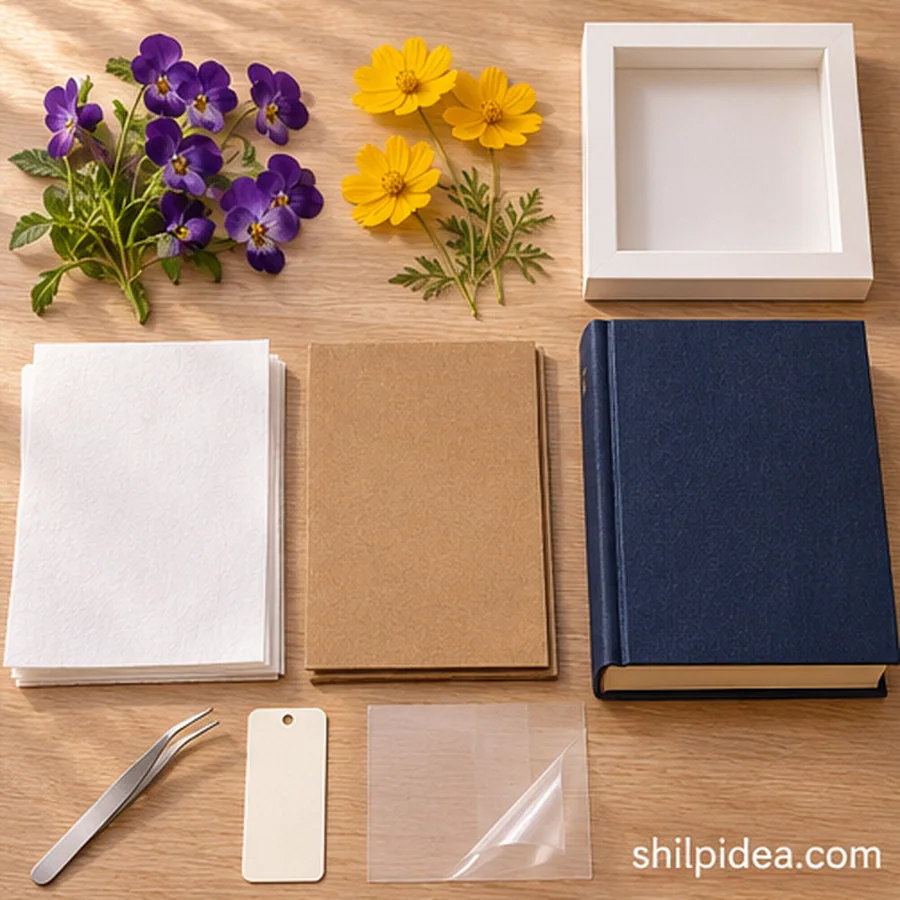
- 6 to 10 fresh flowers – Pick thin, open blooms such as violas and single cosmos, plus an extra small leaf if you like.
- 4 to 6 sheets of plain absorbent paper – Use smooth uncoated paper or blotting paper and keep spares for a damp stack.
- 2 pieces of flat cardboard – Cut them a little larger than your flower paper.
- 2 to 3 heavy books – Set aside books you can leave stacked on a flat shelf for several weeks.
- Scissors and blunt tweezers – Use scissors for trimming and tweezers to move fragile stems.
- 1 piece of cardstock and clear self-adhesive laminate – Cut the card to about 2 × 6 inches and allow an extra clear margin on both faces.
- 1 small frame with a spacer and backing card – A shallow shadow-box frame leaves space between the flowers and glazing.
- Clear-drying craft glue – Use tiny dots to hold the dry blooms in place.
1. Choose and Trim the Blooms
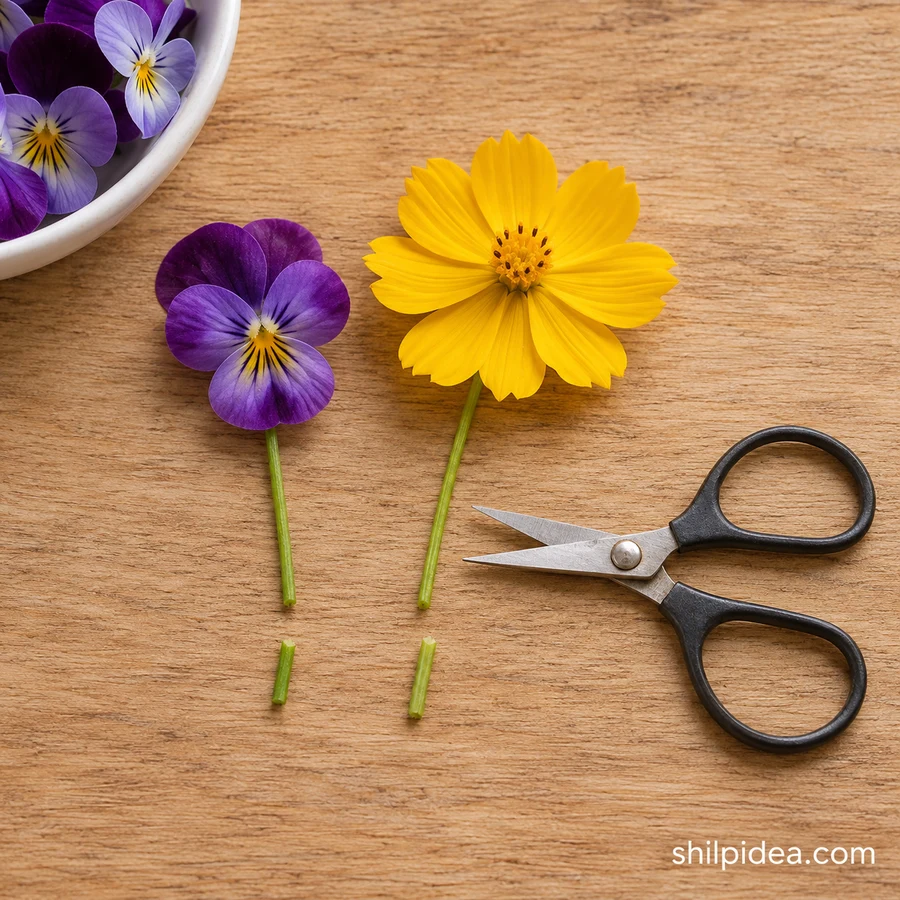
- Pick dry blooms. Pick flowers after surface moisture has dried. Set aside any bloom that is bruised, damp or noticeably thicker than the others.
- Trim the stems. Trim away bulky stem ends and spread folded petals gently with your fingers. Leave a short stem when it will help you lift or arrange the flower later.
2. Arrange the Flowers Between Paper
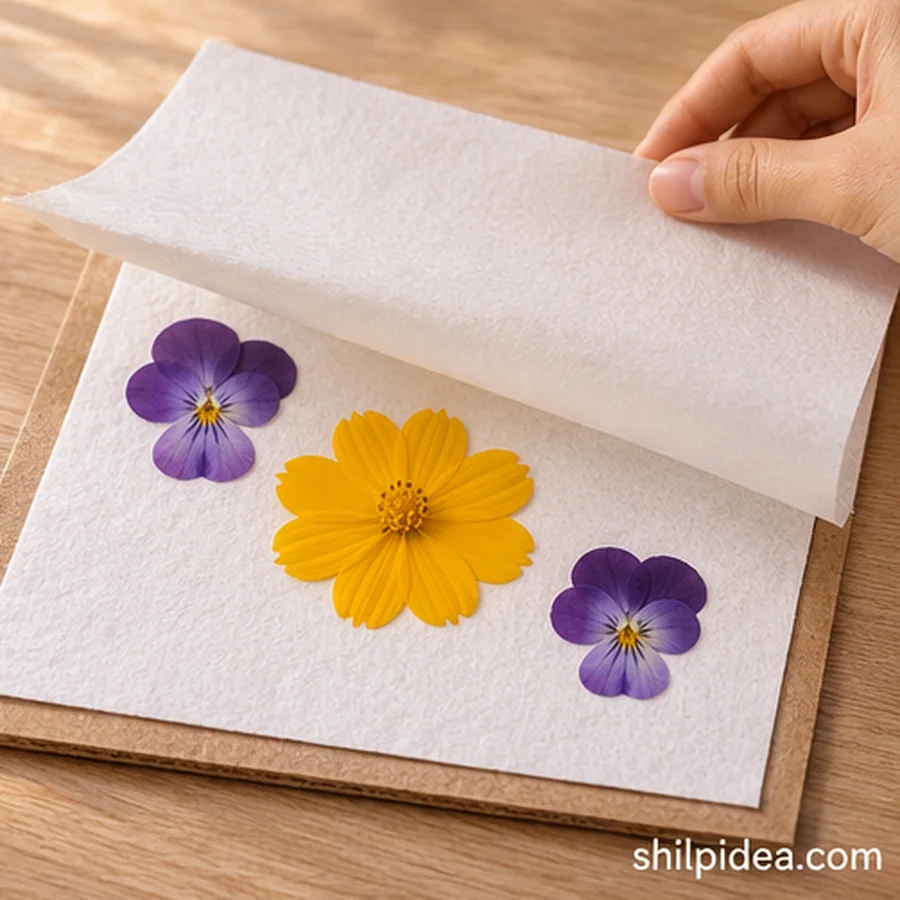
- Space the flowers. Put one absorbent sheet on flat cardboard. Space the flowers so the petals and leaves don’t touch, and arrange each face as you want it to dry.
- Close the sandwich. Lower the second absorbent sheet straight down so it doesn’t drag the petals, then add the top piece of cardboard. Use plain, unwaxed paper so moisture can move away from the flowers.
3. Weigh the Stack Down and Let It Dry

- Add even weight. Set the sandwich on a dry, level surface and cover it with a heavy book. Add another book or two for even pressure and leave the stack where it can stay undisturbed.
- Check the paper. Check after about a week. If the paper feels damp, replace it carefully and close the stack again. Allow about two to three weeks in all, with extra time for thick flowers or humid conditions.
4. Lift the Dry Flowers
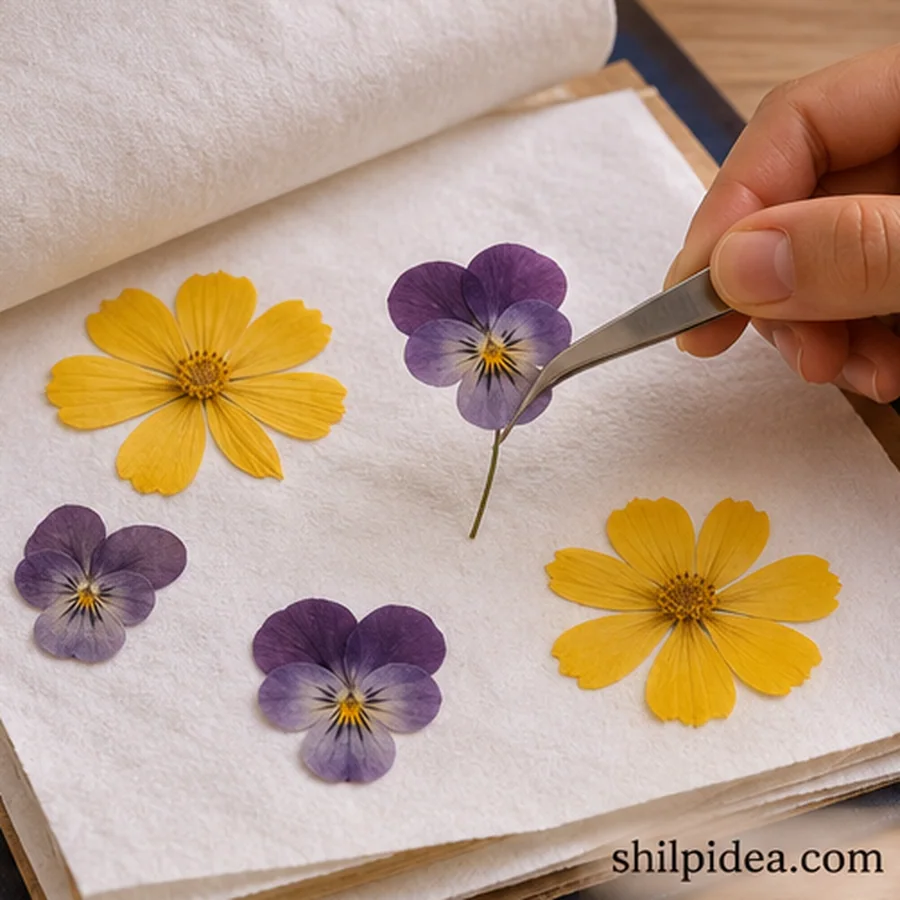
- Test for dryness. Open one corner of the paper slowly. A flower ready to use should look flat and feel dry and papery. If it still feels cool and soft or clings to damp paper, give it more drying time.
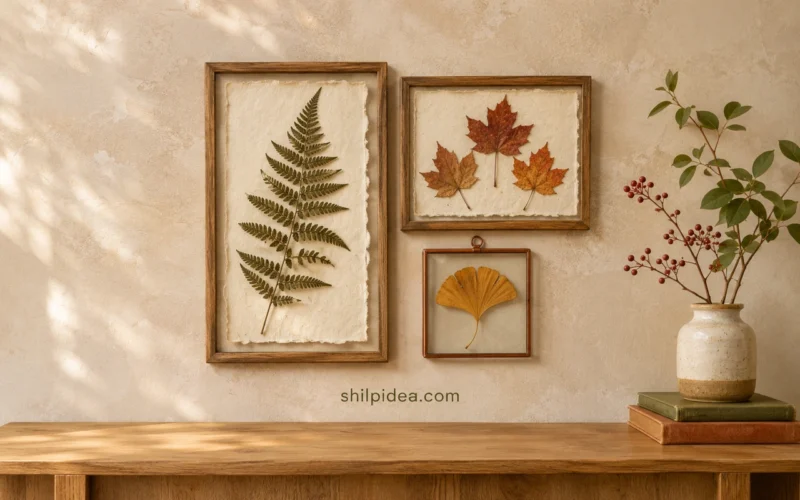
- Lift each flower. Support the paper underneath and lift each flower by the stem or base with blunt tweezers. Lay it flat on clean, dry paper while you plan the two layouts. For a larger arrangement, browse these botanical wall displays.
5. Finish the Bookmark and Frame
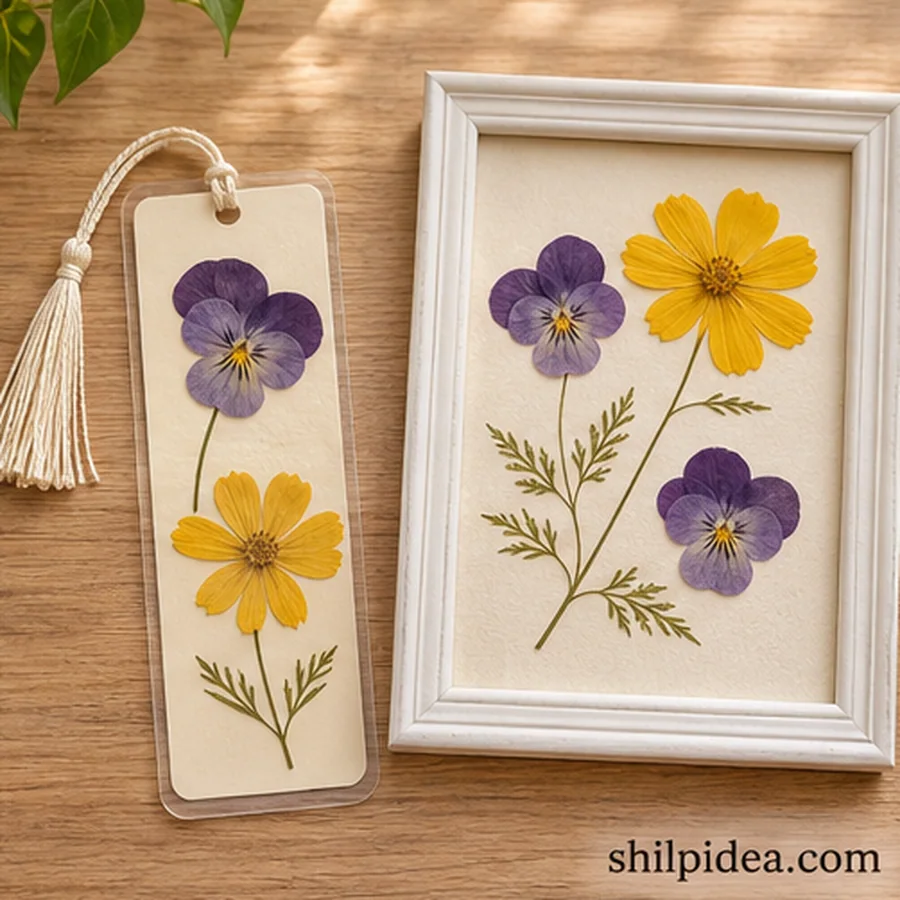
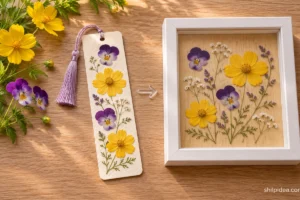
- Finish the bookmark. For the bookmark, arrange small blooms on cardstock with room along the edges. Hold the stems with tiny dots of glue, let the glue dry, then sandwich the card between clear self-adhesive laminate. Smooth outward and trim, leaving a continuous sealed border.
- Mount the display. For the frame, try the arrangement on the backing card before attaching the flowers. Glue at the stems or bases, let everything dry, and close the frame with the spacer keeping the flowers away from the glass. Display it out of strong direct sun. These handmade frame ideas can help you choose a finish for the surrounding frame.
If a Flower Sticks or Turns Brown
Avoid pulling a petal that clings to the sheet. Let the stack dry longer and lift from the stem or base. If a flower smells musty or has visible mold, discard it and replace the paper before pressing another batch.
For more on bloom selection and drying, see the University of California pressing notes and the University of Maryland Extension bookmark handout.
More Small Art Projects to Frame
Once you’ve made a bookmark or framed a few blooms, look at what’s left from your pressing batch. A single stem can stand on its own in a small frame, while several leaves and flowers can form a larger botanical arrangement. The projects below offer more ways to work with natural materials, try a different frame finish, or give a small piece of handmade art a spot on the wall.
- Make lightweight paper wall hangings
- Frame handmade pebble art for walls
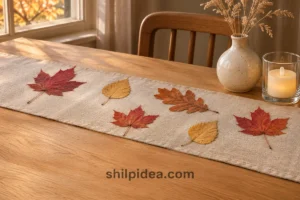
- Arrange pressed leaves for botanical walls
- Explore handmade frame finishes
- Find creative ways to refresh interiors
Which bloom would you press first, and would you slip it into a bookmark or give it a spot in a frame? Share what you’d make in the comments. If you’ve already tried pressing flowers in a book, tell us which blooms held their color or were easiest to lift from the paper.















0 Comments