DIY Winter Candle Holders Using Recycled Glass Jars
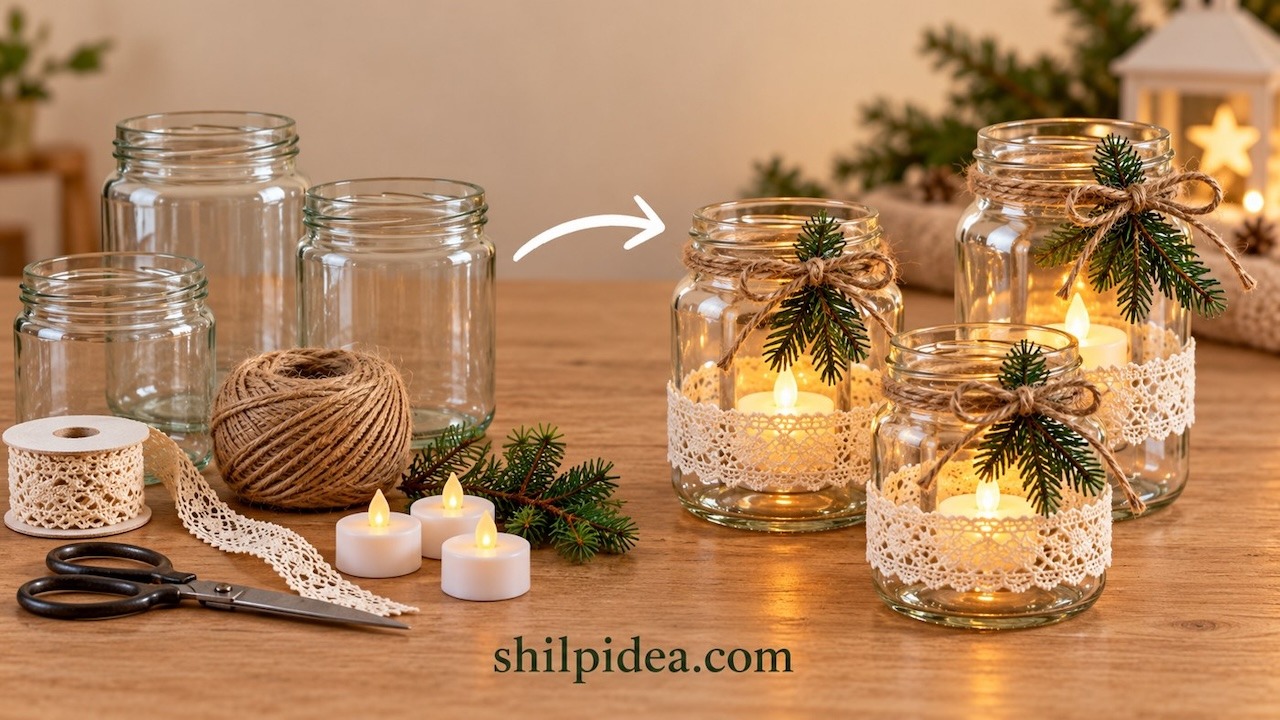
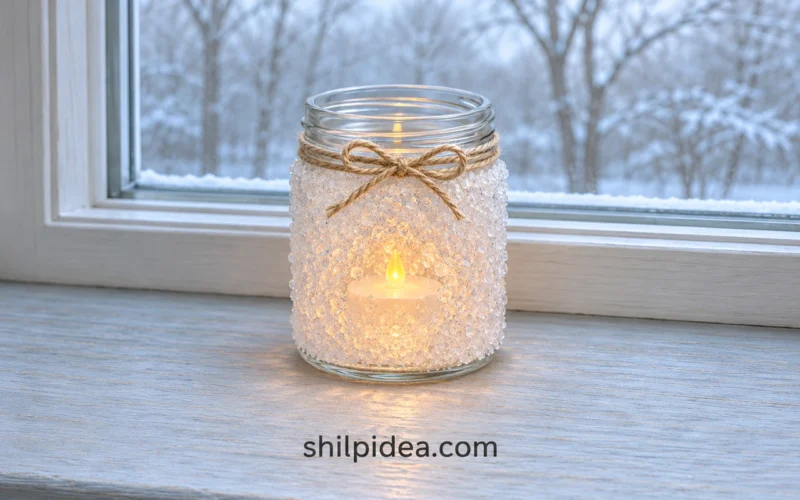
Turn empty food jars into a small winter display with ivory lace, natural twine and faux evergreen sprigs. Battery-operated LED tea lights add a warm glow, while removable decorations let you reuse the jars after the season.
This three-jar project needs no paint or permanent glue. Our jar decoration ideas offer more ways to style containers you already have.
Follow the cleaning, wrapping and arranging steps below, adjusting each band to the jar. For a festive color variation, explore our Christmas jar decorations.
Materials and Tools
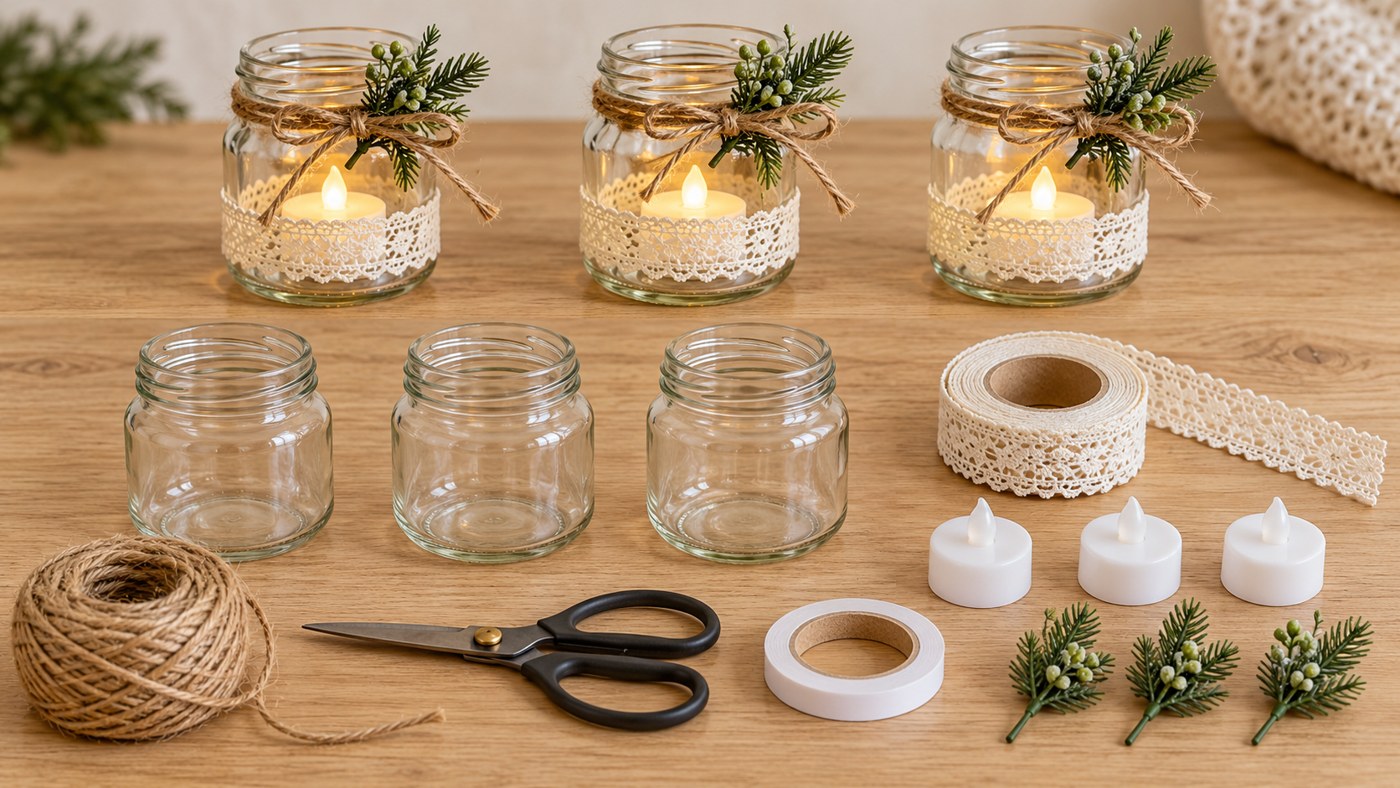
Gather these supplies for three decorated jars with LED lights.
- Glass food jars – Three clean, empty jars with flat bases and openings wide enough to insert and retrieve the lights comfortably.
- Ivory lace ribbon – A band about 1–1½ inches (2.5–4 cm) wide for each jar, cut to fit with about ½ inch (1.3 cm) overlap.
- Natural jute twine – Enough to wrap each jar’s neck two or three times and tie a small bow.
- Double-sided craft tape – A tape suitable for fabric, joining the overlapping lace ends to each other; test it on a scrap first.
- Scissors – For cutting lace and twine; choose short faux sprigs that do not need wire cutting.
- Faux evergreen sprigs – Three small, lightweight artificial sprigs with stems short enough to tuck beneath the twine.
- LED tea lights – Three battery-operated lights that fit the jars, with securely closed battery compartments.
- Optional display accents – A shallow tray and two pinecones; an optional needle and thread can secure lace that will not hold with tape.
Precautions Before You Begin
Check the glass and keep this project LED-only.
- Leave chipped or cracked jars out of the project, and check that each base sits flat.
- Use battery-operated LED tea lights only; do not put real candles inside the decorated jars.
- Keep loose batteries, needles and small decorations away from young children and pets.
- Follow label-remover and tape instructions, and wash away cleaning-product residue before decorating.
- Keep the display clear of heaters, flames and table edges; leave the jar openings unobstructed.
1. Clean the Jars and Check the Fit
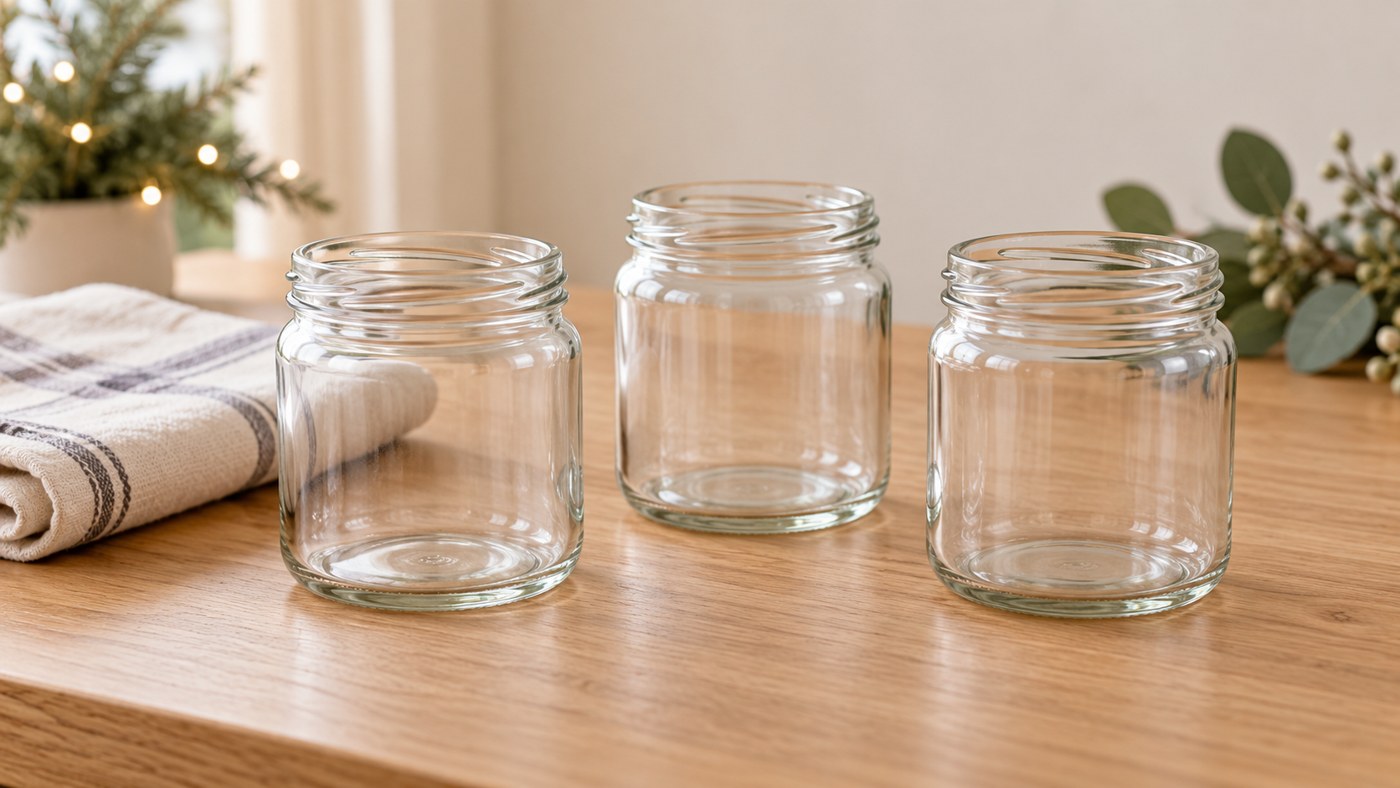
- Remove labels and wash – Set the lids aside and wash the jars with dish soap and warm water. If label adhesive remains, use a suitable removal product according to its directions, then wash away the residue.
- Dry and inspect the glass – Let the jars dry completely inside and out. Check the rims and bases for chips or cracks, then stand each jar on your intended surface to make sure it sits steadily.
- Test the lights – Check that each LED tea light fits through its jar opening and can be retrieved easily. Similar jar sizes make a coordinated group, although one slightly taller jar can add variety.
2. Fit and Secure the Ivory Lace Bands
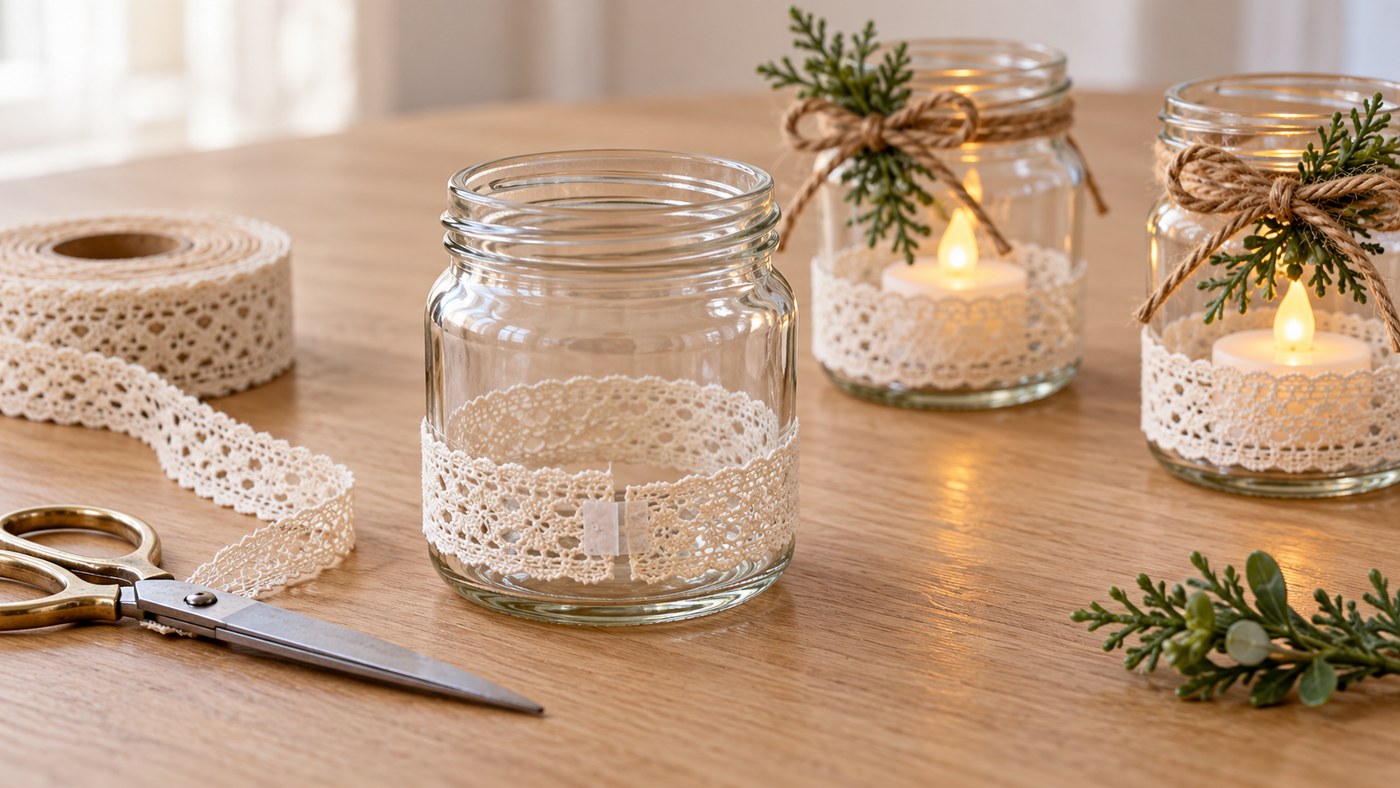
- Measure each band – Wrap lace around the lower, straight-sided part of a jar, keeping most of the glass uncovered. Allow about ½ inch (1.3 cm) overlap and cut; measure each jar separately if their widths differ.
- Join lace to lace – Place a small piece of fabric-compatible double-sided tape between the overlapping ends, joining the ribbon to itself. Press firmly without stretching the lace, and turn the seam toward the back.
- Check the hold – Slide the band into position and check that it stays level when the jar stands upright. If it slips, refit it using the adjustments below rather than covering more of the glass with extra layers.
3. Tie the Jute Bows and Tuck in Greenery
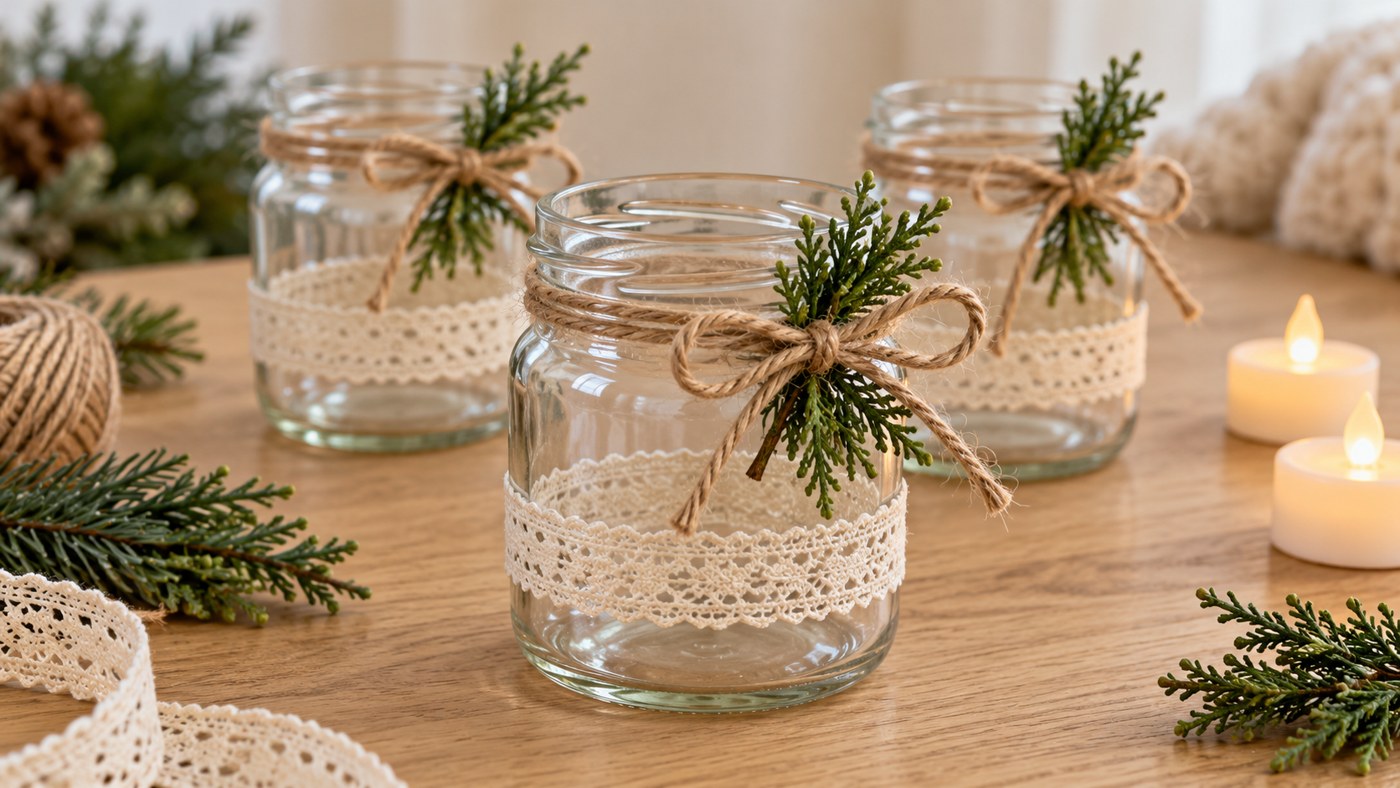
- Wrap the jar neck – Wind twine around the jar’s neck two or three times, leaving enough length at both ends for a small bow. Keep the loops outside the glass and below the rim.
- Secure the faux sprig – Slip a short artificial evergreen stem beneath the twine loops, against the outside of the jar. Tie the bow firmly enough to hold it, then trim loose twine ends.
- Keep the opening clear – Position the greenery beside the neck rather than across the opening, so the light stays easy to reach. Repeat on the other jars, using small sprigs that do not pull the bows sideways.
4. Add LED Lights and Arrange the Display
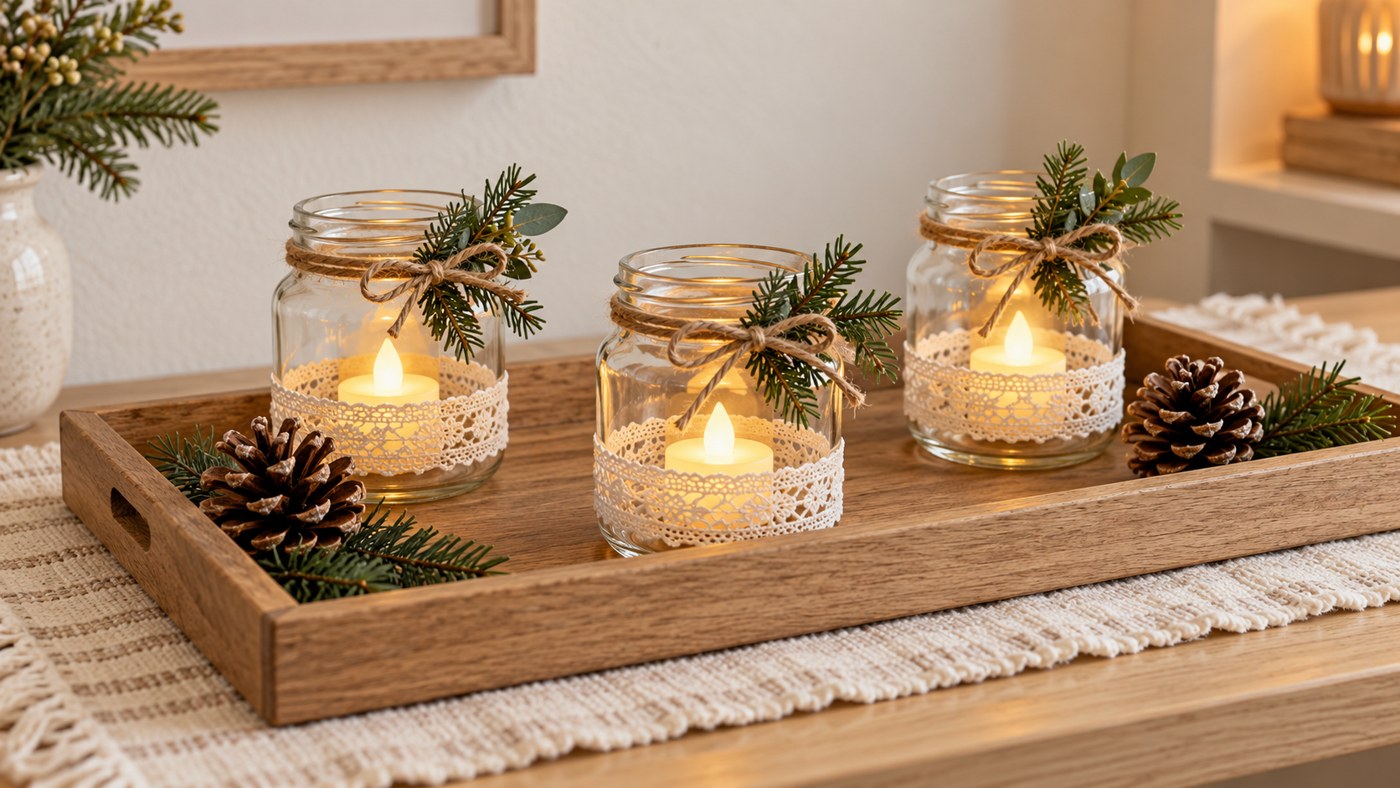
- Place the lights – Check that each battery compartment is securely closed, switch on the LED lights and place one flat inside each jar. Leave the interiors free of loose filler so removal stays easy.
- Space the jars on a tray – Arrange the jars on a shallow, sturdy tray, leaving a little space between them. Add two pinecones near the ends, keeping the jar bases level and the decorations separate from food.
- Check the viewing height – If the display is for a dining table, sit down to check sightlines and serving space. Use fewer jars if needed, and switch the lights off after use according to their instructions.
Fix Slipping Lace or Turning Greenery
If lace slips, move it to a straighter part of the jar. If it is still loose, shorten the band slightly, then rejoin the ends with roughly the same overlap. Very open lace may not give tape enough contact; remove the band and secure its overlap with a small stitch instead.
If a sprig rotates, use a shorter, lighter one and tuck its stem beneath another twine loop. Avoid bulky picks. Matching natural accents can continue elsewhere in the room with jute ornaments.
For a larger table, these table centerpiece ideas offer other arrangements. Keep enough clear surface around the jars to move dishes and reach the lights without disturbing the decorations.
Remove and Store the Decorations After Winter
Switch off and remove the lights, then follow their instructions for longer-term battery storage. Lift the jars individually rather than carrying an overloaded tray.
Untie the bows and remove the lace before washing the jars. Store the dry bands, twine and greenery together without crushing the sprigs. Check tape joints and battery compartments before rebuilding the display next winter.
More Handmade Winter Decorations to Try
A small jar display can be the starting point for a coordinated seasonal corner. Repeat its cream ribbon, green accents, or natural twine in another project, while leaving enough space for each piece to stand out. These Shilpidea guides offer more container decorations, rustic details, and tabletop arrangements to explore with supplies you may already have.
- Mason Jar Decoration Ideas for Your Home
- Glass Jar Decorations for Christmas
- DIY Winter Decorations for a Cozy Home
- Christmas Centerpiece Ideas for Your Table
- Christmas Snow Globes with Jars and Glasses
- Christmas Ornaments with Jute and String
Would you use these jars on a dining table, a shelf or a winter sideboard? Share your lace and greenery choices in the comments. If you have made a similar display, tell us what helped the removable decorations stay in place.














0 Comments