How to Make a Winter Luminary with Epsom Salt and a Glass Jar
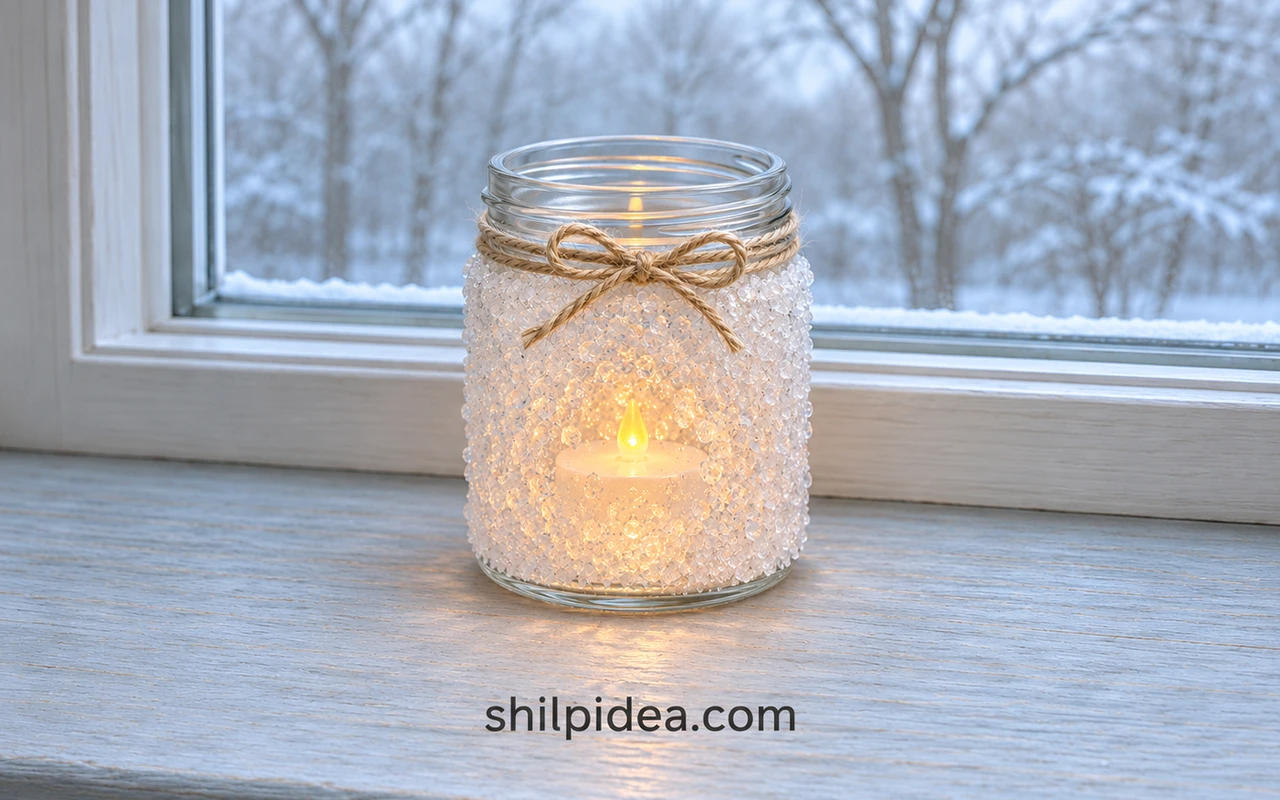
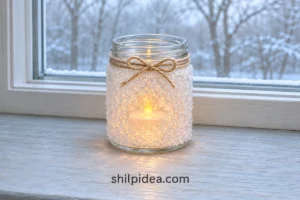
An Epsom salt luminary turns a plain glass jar into a snowy little light for a winter shelf or table. The crystals sit on the outside, letting a warm LED glow show through the textured surface.
You need one clean jar, decoupage glue, and a few simple supplies. If you like reusing containers, our jar decoration ideas offer other finishes to explore.
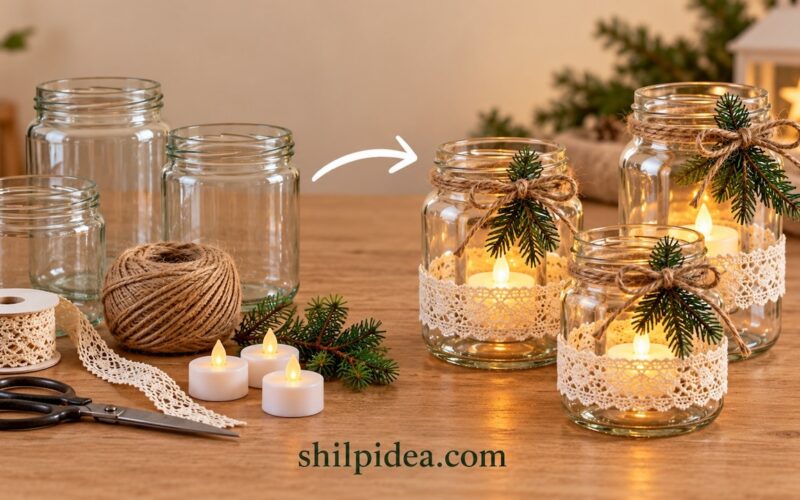
Follow the illustrated stages below, allowing plenty of drying time. For a removable alternative, try our winter jar lights with lace and twine.
Materials and Tools
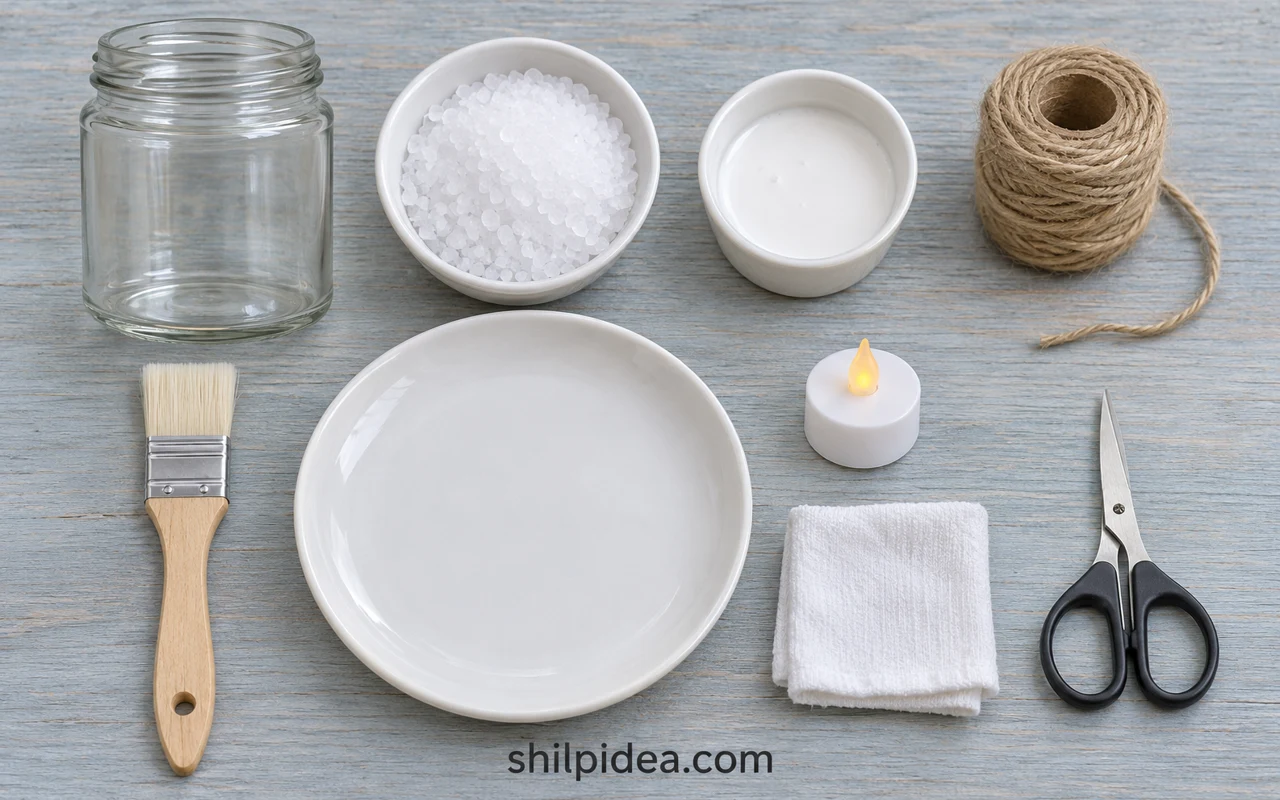
Gather these supplies for one small frosted jar with an LED light.
- Glass jar – One clean, straight-sided jar, about 8 fluid ounces (240 mL), with a wide opening and an unchipped rim.
- Plain Epsom salt – About 1 cup (240 mL by volume), enough to make a shallow rolling bed; you will have some left over.
- Decoupage glue – A water-based formula suitable for glass, such as Mod Podge Matte; set out about 1–2 tablespoons and add more only if needed.
- Flat paintbrush – One brush about 1 inch (2.5 cm) wide; wash it after gluing and let it dry fully before removing loose crystals.
- Plate and tray – A wide shallow plate for salt and a separate lined tray for drying and catching loose grains.
- Natural jute twine – About 24–30 inches (60–75 cm), adjusted to wrap the jar neck twice and tie a small bow.
- LED tealight – One battery-operated light that fits through the opening and has a securely closed battery compartment.
- Cleaning and cutting tools – Mild dish soap, warm water, a lint-free cloth, and scissors; an optional teaspoon helps fill bare patches.
Precautions Before You Begin
Check the glass, light, and work area before opening the glue.
- Use an LED tealight only; keep real candles and other heat sources out of this project.
- Reject chipped or cracked glass, and supervise children when handling jars and scissors.
- Follow the glue label, protect the work surface, and keep craft salt separate from food supplies.
- Keep loose salt and batteries away from young children and pets; use a light with a secure battery compartment.
- Plan an indoor display away from splashes and damp; leave the jar mouth, interior, and base free of coating.
1. Clean the Jar and Check the Light
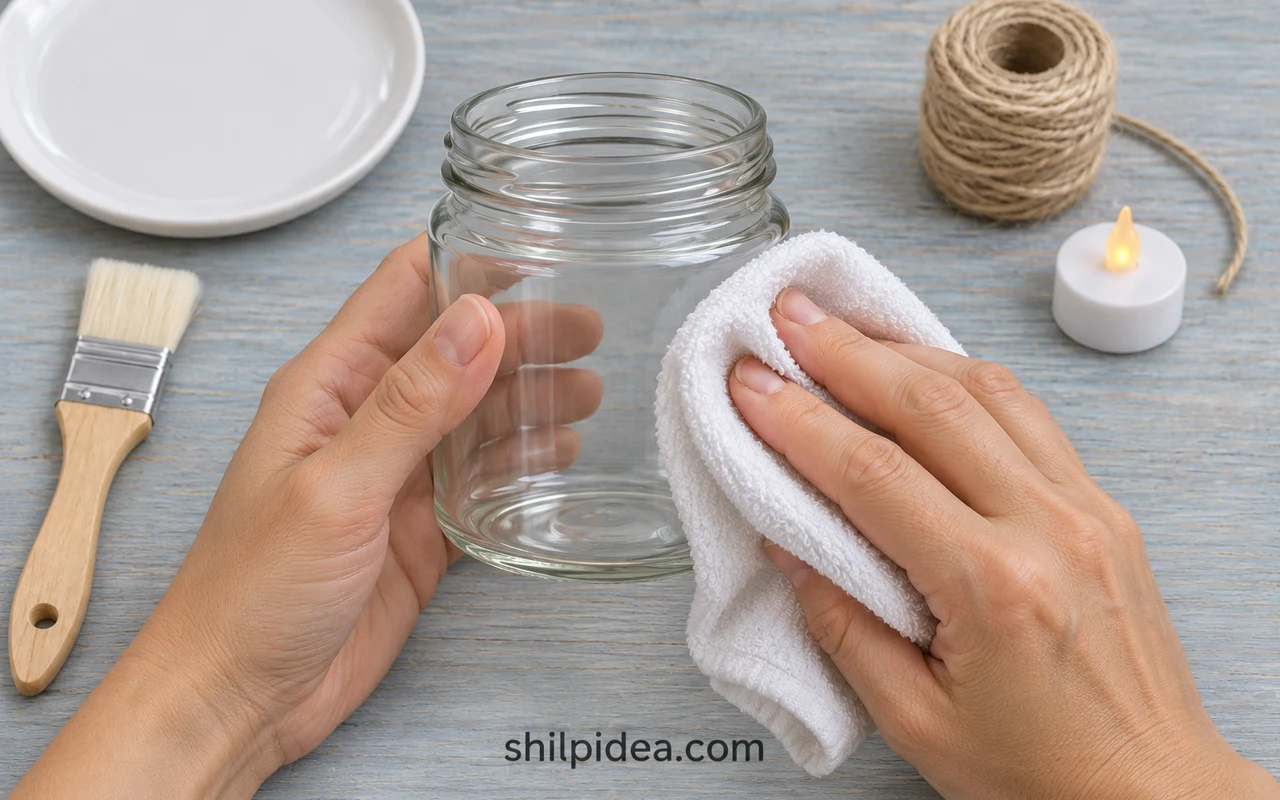
- Wash and dry – Remove the label and wash the jar with mild dish soap and warm water. Rinse, let it dry completely inside and out, and inspect the rim and base for damage.
- Check the fit – Make sure the LED light passes through the opening and is easy to retrieve. Set it aside, then prepare the salt plate and a separate lined drying tray.
2. Brush Glue onto the Outer Sides
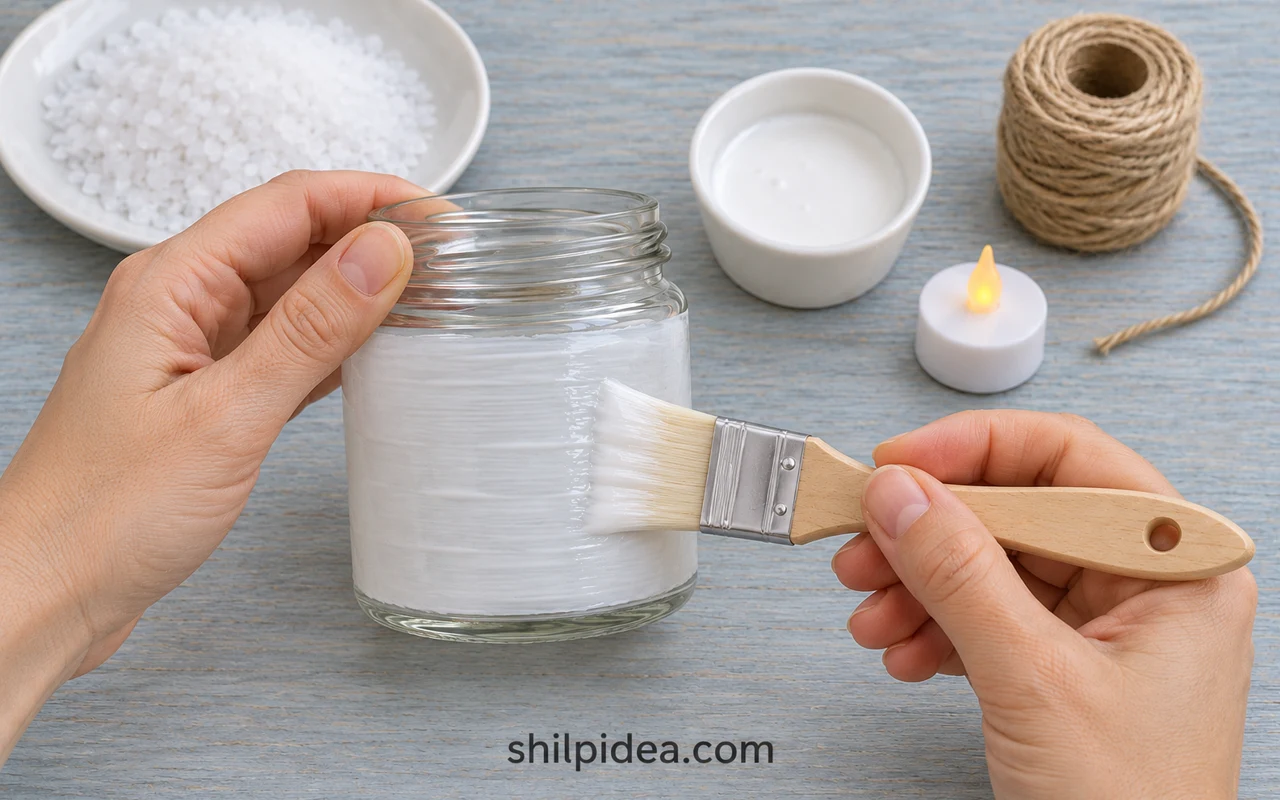
- Apply an even coat – Hold the jar by its clean neck and brush glue over the outer side walls. Keep the rim, inside, and flat base bare. Cover the glass evenly without heavy drips, working promptly while the glue stays wet.
The Epsom Salt Council’s luminary method also uses a glue layer on clean, dry glass before adding the crystals.
3. Roll the Jar in Epsom Salt
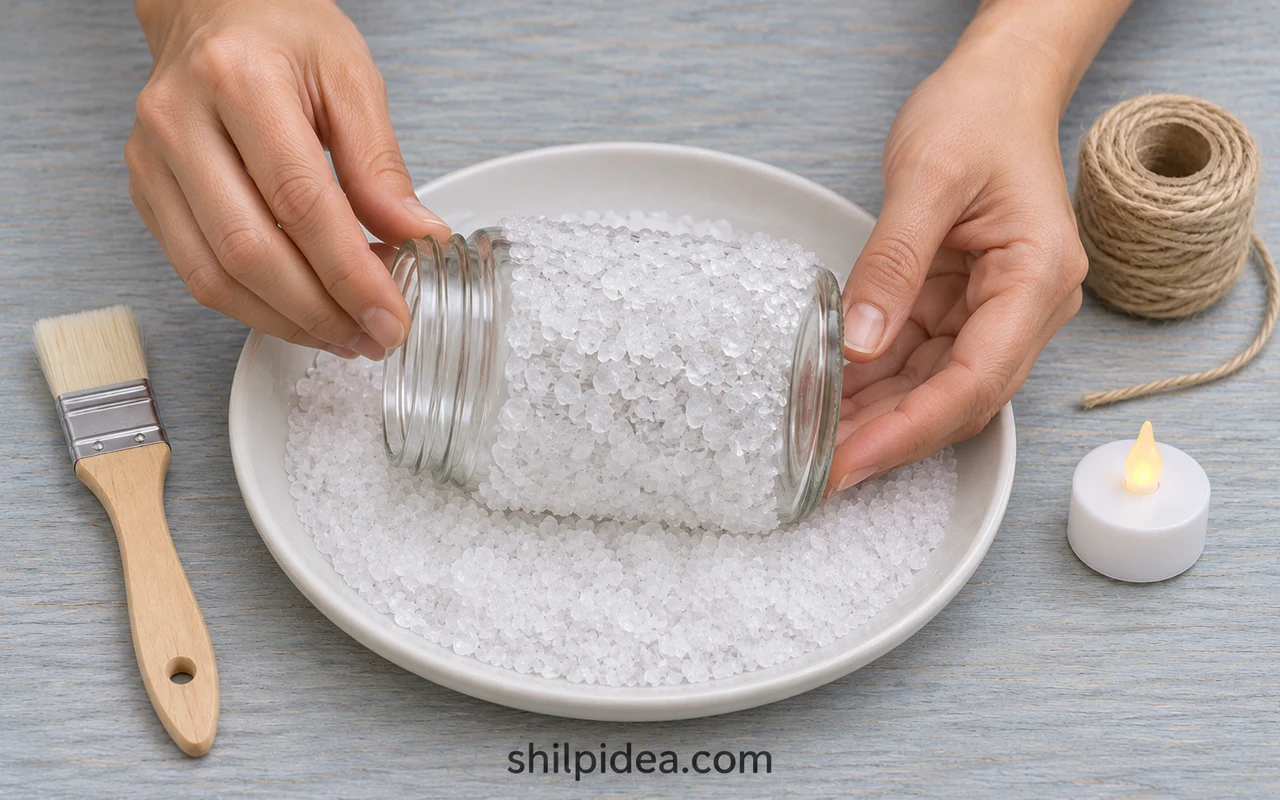
- Coat the sides – Spread the salt into a shallow bed. Lay the glued side of the jar into it and rotate gently, holding the clean neck so salt covers the outer walls.
- Fill small gaps – Lift the jar over the plate and spoon salt onto missed wet areas. If a patch has dried, dab on a little glue first; avoid building thick, lumpy layers.
4. Let the Coating Dry and Shed Loose Grains
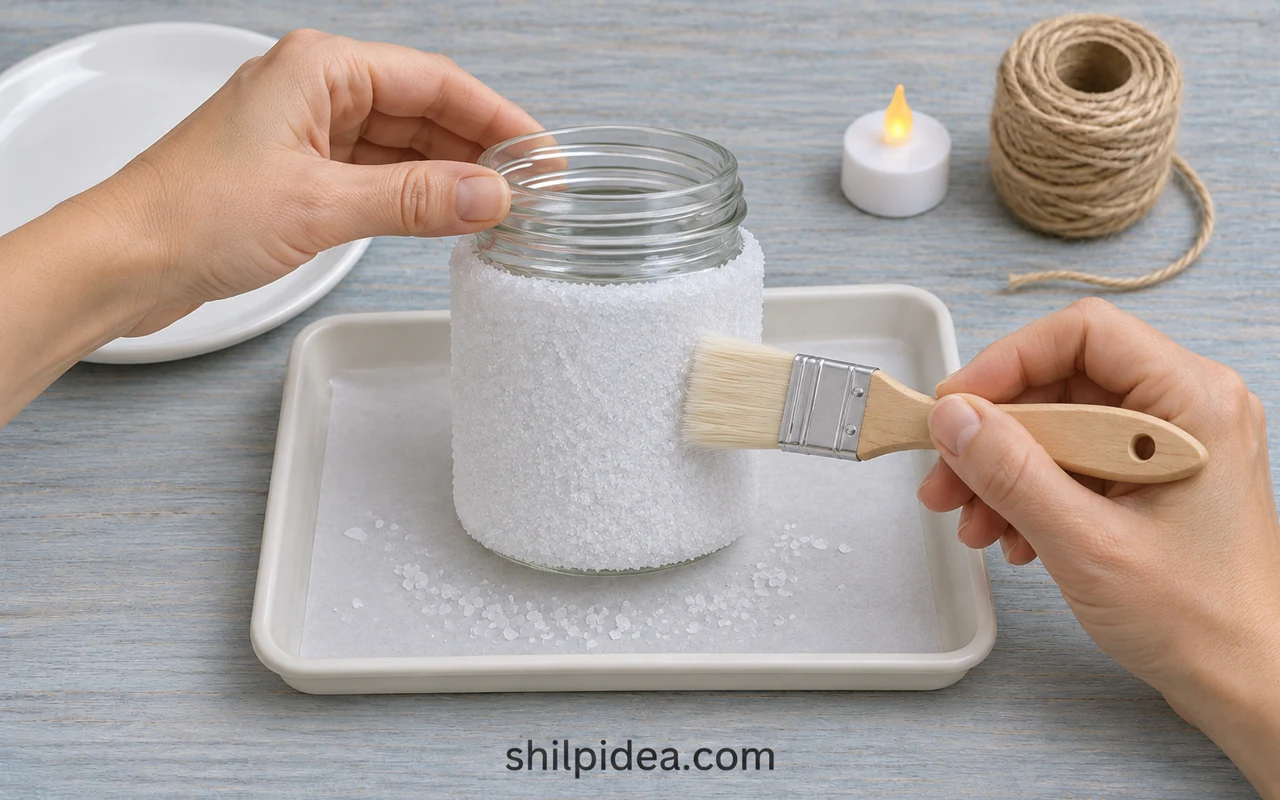
- Wait until dry – Stand the jar upright on the separate tray without touching its sides. Let it dry completely for several hours or overnight, following the glue label; humidity and coat thickness affect the wait.
- Remove loose crystals – Once fully dry, use a clean dry brush very lightly to remove unattached grains over the tray. Tip out any salt inside. Hold the bare neck rather than rubbing the textured sides.
5. Tie the Twine and Add the LED Light
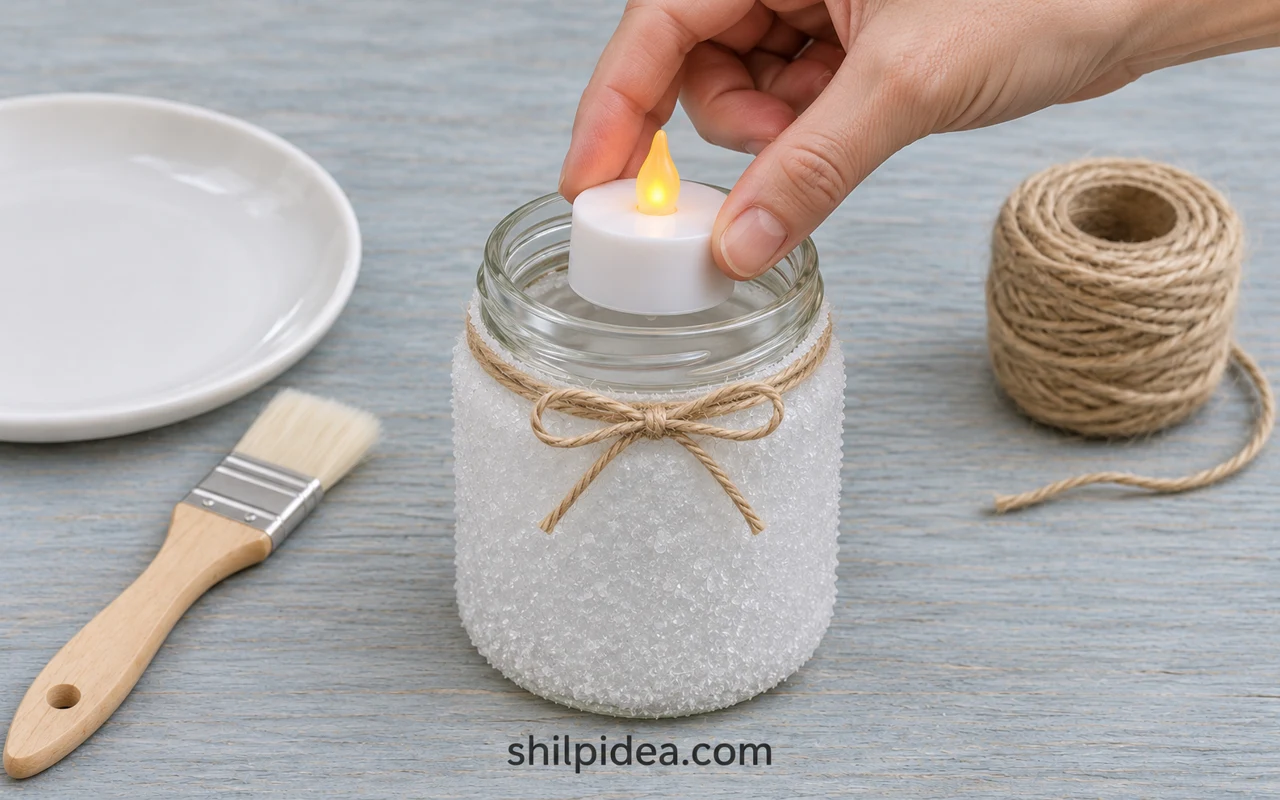
- Finish the neck – Wrap twine around the clean neck twice and tie a small bow. Trim the tails so they stay outside the opening; do not use the bow as a carrying handle.
- Add the glow – Close the light’s battery compartment securely, switch it on, and place it flat inside the jar. Set the jar on a stable indoor surface, and switch off the light after use according to its instructions.
For a larger seasonal arrangement, our jar centerpiece guide offers another way to plan a tabletop group. Keep this salt-coated jar dry and separate from food.
Keep the Snowy Finish Looking Neat
A little shedding is normal for an unsealed textured coating. If a bare patch appears, apply a small dab of glue, sprinkle on fresh salt, and dry again before handling. Do not brush another wet glue coat over all the crystals; it can disturb the finish.
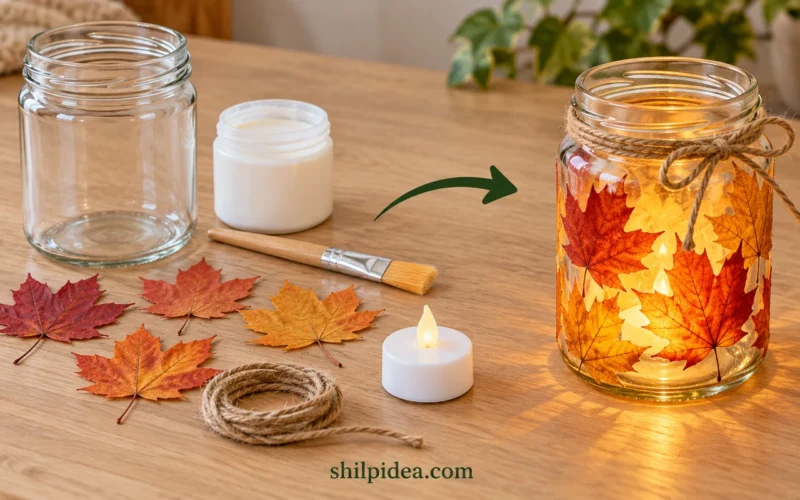
Keep the jar indoors, dry, and out of direct heat. Lift it by the bare neck, and protect it from rubbing when storing. This is a decorative coating, not a waterproof finish. If you prefer a different jar treatment next season, our leaf lantern guide uses a separate approach.
More Handmade Winter Decorations to Try
A small snowy jar works well as one quiet detail in a winter display. Leave space around it for the texture and glow to stand out, or repeat its natural twine in a nearby decoration. These projects offer different jar finishes, compact tabletop accents, and simple seasonal shapes to explore with supplies you may already have.
- Winter Jar Lights with Lace
- Mason Jar Decorations for Your Home
- Christmas Snow Globes with Glass Jars
- Handmade Winter Decorations for Cozy Rooms
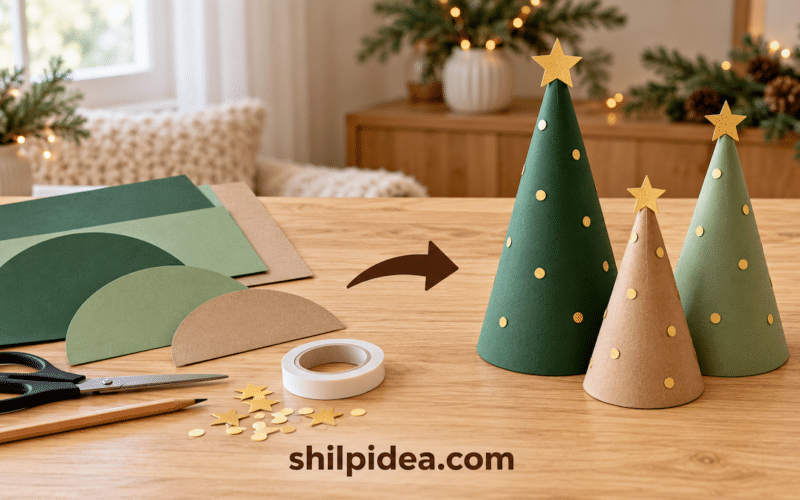
- Paper Christmas Trees for Small Spaces
- Rustic Christmas Gift Wrapping with Jute
Where would you place your snowy luminary: on a shelf, side table, or winter windowsill? Share your plans in the comments. If you make one, tell us how the coating dried and which LED glow you chose.

















0 Comments