How to Make Dried Orange Garlands for Christmas Decor
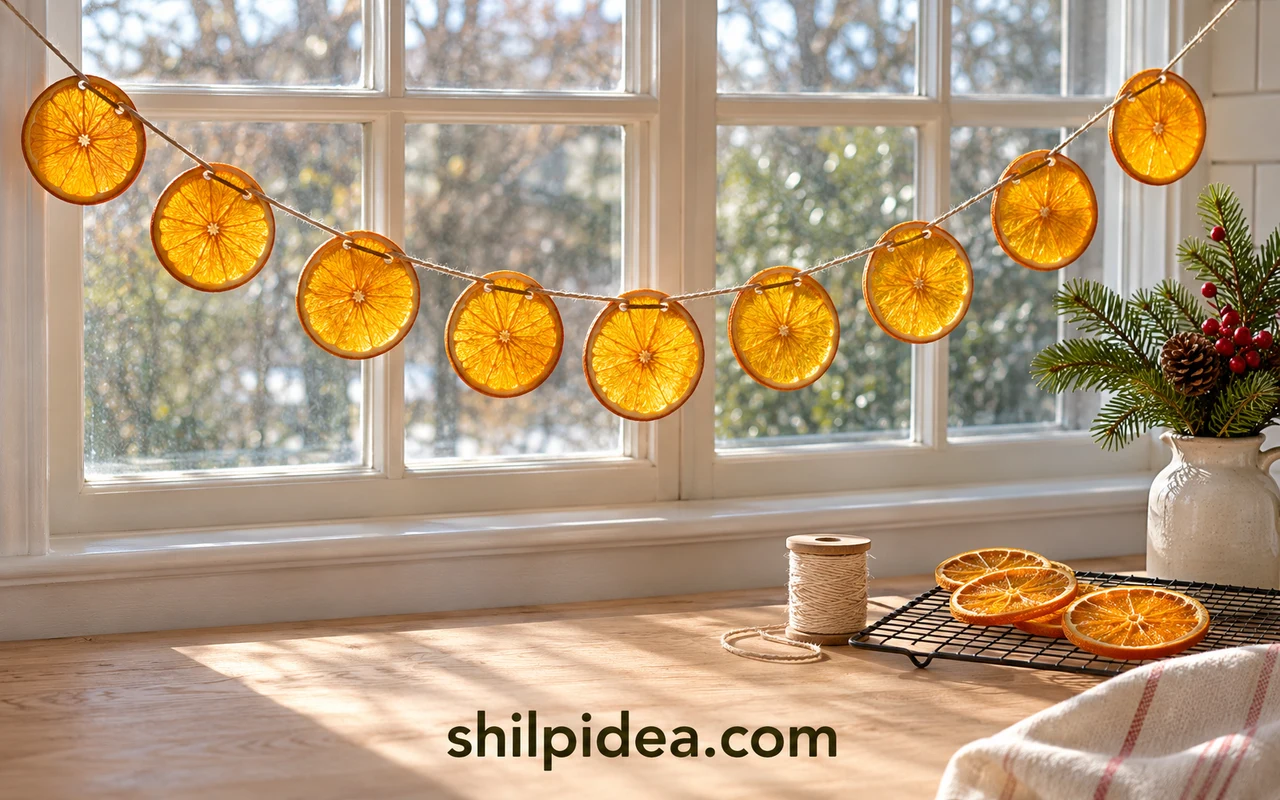
A dried orange garland brings warm amber color to a Christmas window without a large decorating budget. Thin citrus rounds catch the daylight, and a simple strand of cotton string lets the fruit remain the focus.
This guide covers slicing, oven drying, cooling and a two-hole threading method. Browse these orange garland ideas if you want to compare display styles first.
Plan time for slow drying and a separate cooling check. Pair your finished strand with paper Christmas trees for a compact handmade holiday display.
Materials and Tools
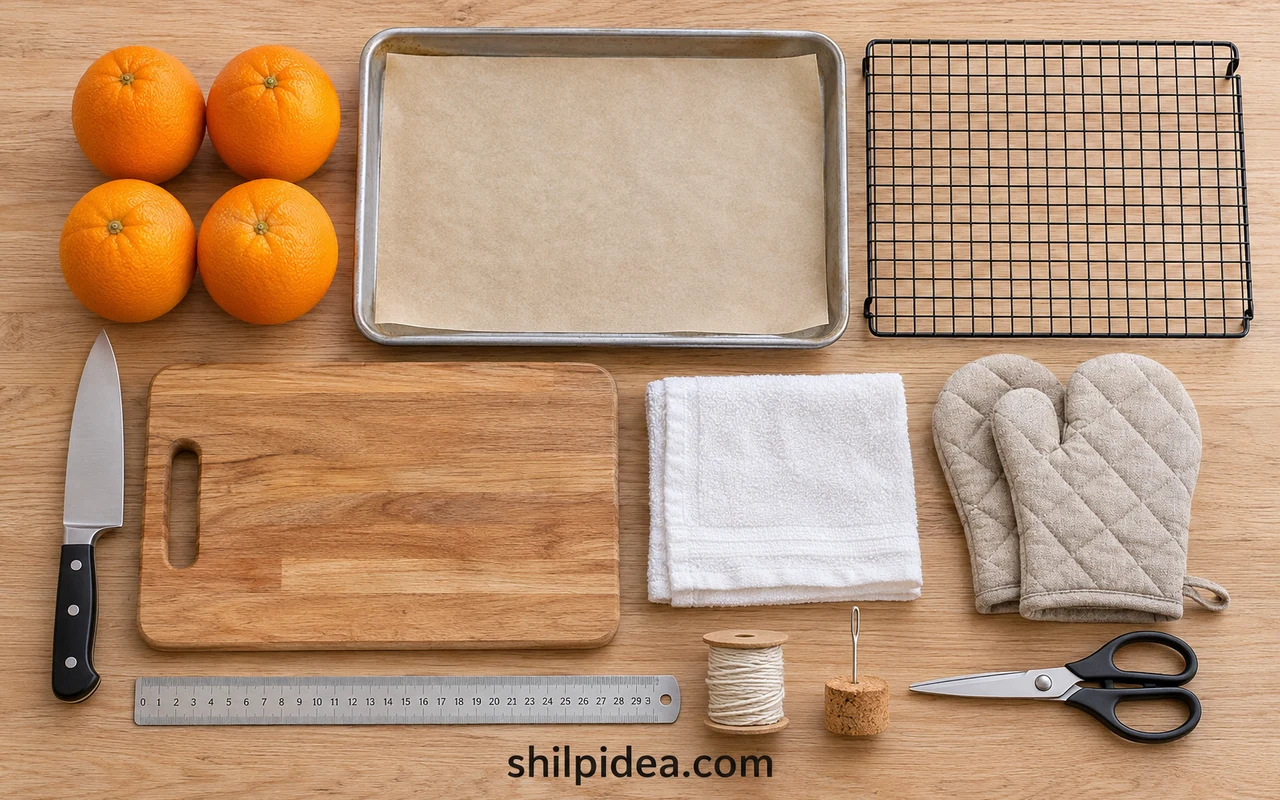
Gather these supplies for a plain strand with roughly 10–14 orange rounds; prepare extra slices so you can select the strongest pieces.
- Navel oranges – About 4 firm oranges, washed and dried; actual slice yield depends on their size.
- Knife and cutting board – A sharp kitchen knife and stable board for adult slicing.
- Clean towel – An absorbent lint-free cloth or paper towels for blotting excess juice.
- Baking sheets and parchment – Enough trays for one spaced layer of slices, with parchment rated for your oven temperature.
- Oven and oven mitts – A low-temperature oven, heatproof work surface and mitts for handling hot trays.
- Tongs – Small kitchen tongs for turning the hot slices without touching the tray.
- Cooling rack – A clean wire rack used outside the oven for cooling and checking the dried rounds.
- Cotton string – About 6 feet (1.8 m) of thin, strong string for an approximately 4-foot (1.2 m) display, allowing extra for end loops.
- Needle and scissors – A large-eyed embroidery needle that accepts your string, plus scissors to trim the ends.
- Ruler and hanging hooks – A ruler for checking slice thickness and two suitable hooks rated for your display surface.
Precautions Before You Begin
Keep the sharp tools, heat and finished hanging strand under adult control.
- Slice on a stable board with fingers behind the blade; a mandoline is unnecessary for this method.
- Use mitts and a heatproof surface when removing or turning a hot tray; monitor the oven while it runs.
- Use baking parchment rather than wax paper, and keep it clear of heating elements.
- Keep the finished garland away from candles, heaters, cooking areas and damp window condensation.
- Keep needles and long string away from young children and pets; this finished craft is decoration, not food.
1. Slice the Oranges Evenly
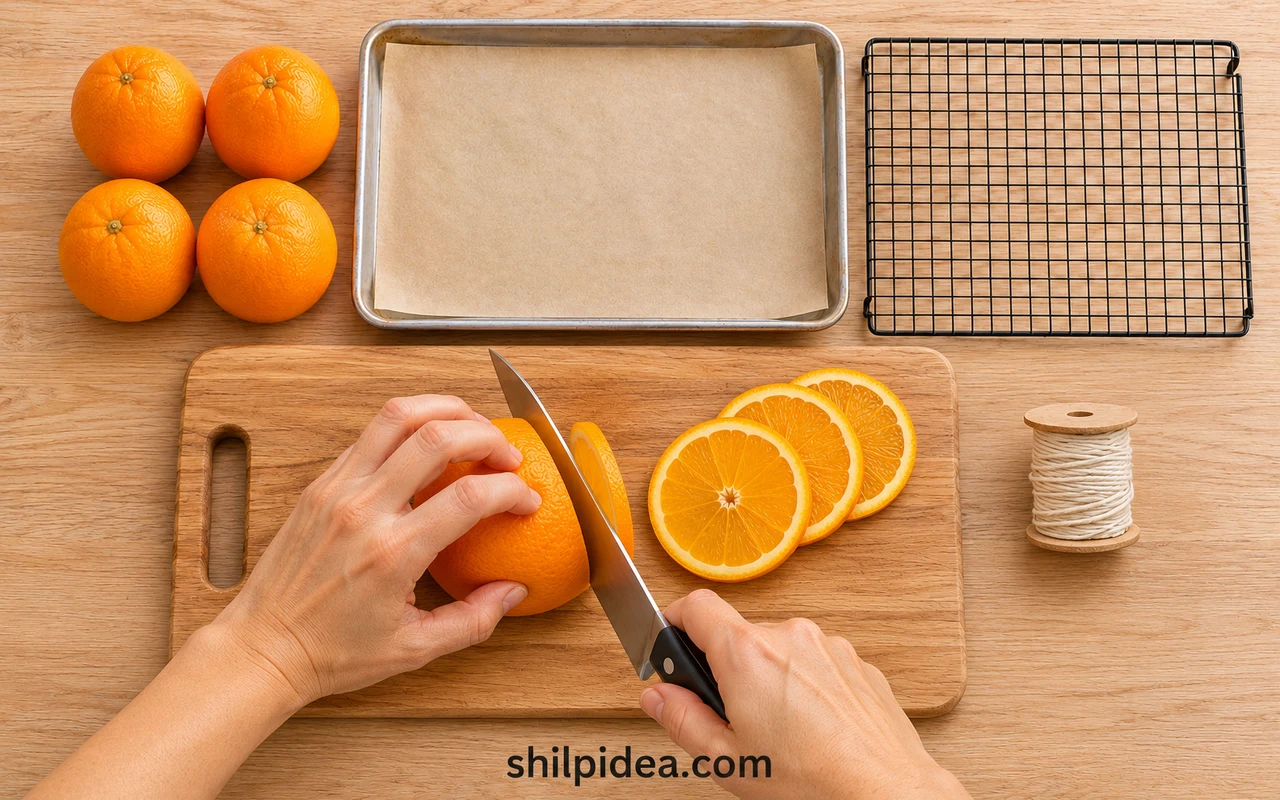
- Cut thin rounds – Trim off the end caps, then slice across each orange into rounds about 1/8 inch (3 mm) thick. Keep the thickness consistent, remove loose seeds and set torn or unusually thick pieces aside.
2. Blot and Arrange the Slices
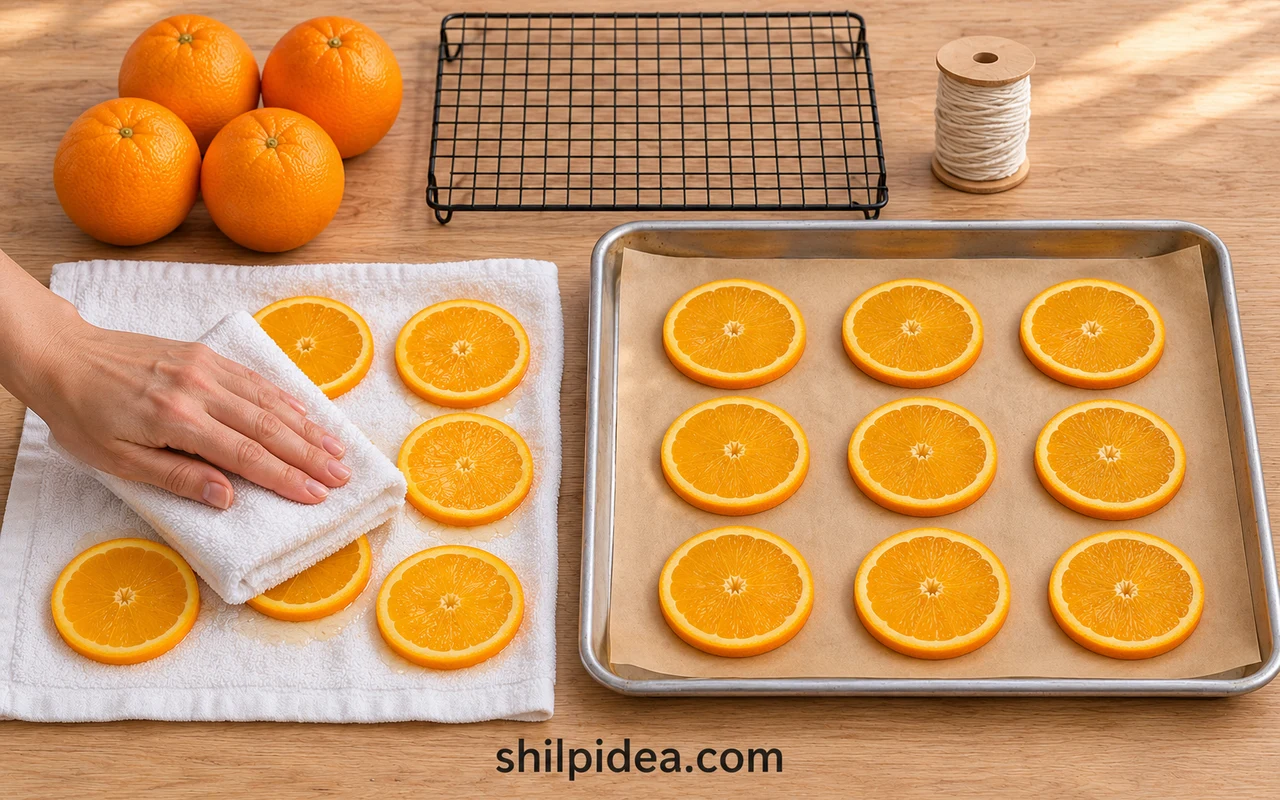
- Remove excess juice – Spread the rounds on a clean towel and gently blot the tops with another towel. Press lightly so the segments stay intact; squeezing can tear the thin flesh.
- Space the tray – Line the baking sheets with oven-safe parchment. Arrange the slices in one layer with a small gap between them, using another tray rather than overlapping the rounds.
3. Dry Slowly and Turn the Rounds
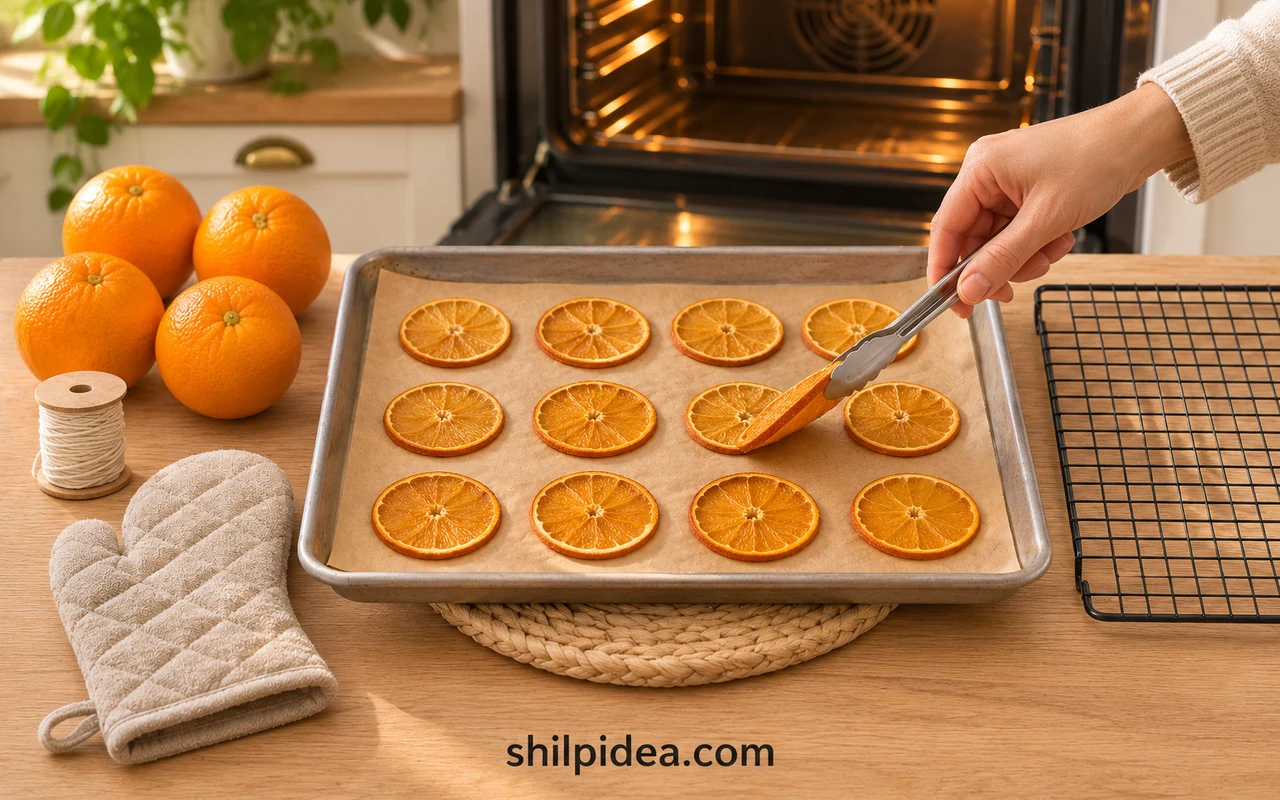
- Use low heat – Preheat to 200°F (about 95°C). Dry the slices on a middle shelf, checking their progress regularly. Allow roughly 3–5 hours as a starting estimate; thickness, tray load and oven behavior can extend the time.
- Turn and sort – About every hour, use mitts to remove the tray to a heatproof surface and turn the rounds gently with tongs. Remove finished pieces individually. Check more frequently toward the end, and lower the heat if edges darken quickly.
Drying times vary between kitchens. Homestead and Chill’s oven method also uses gradual low-heat drying and emphasizes checking the fruit rather than relying on one fixed time.
4. Cool and Check Every Slice
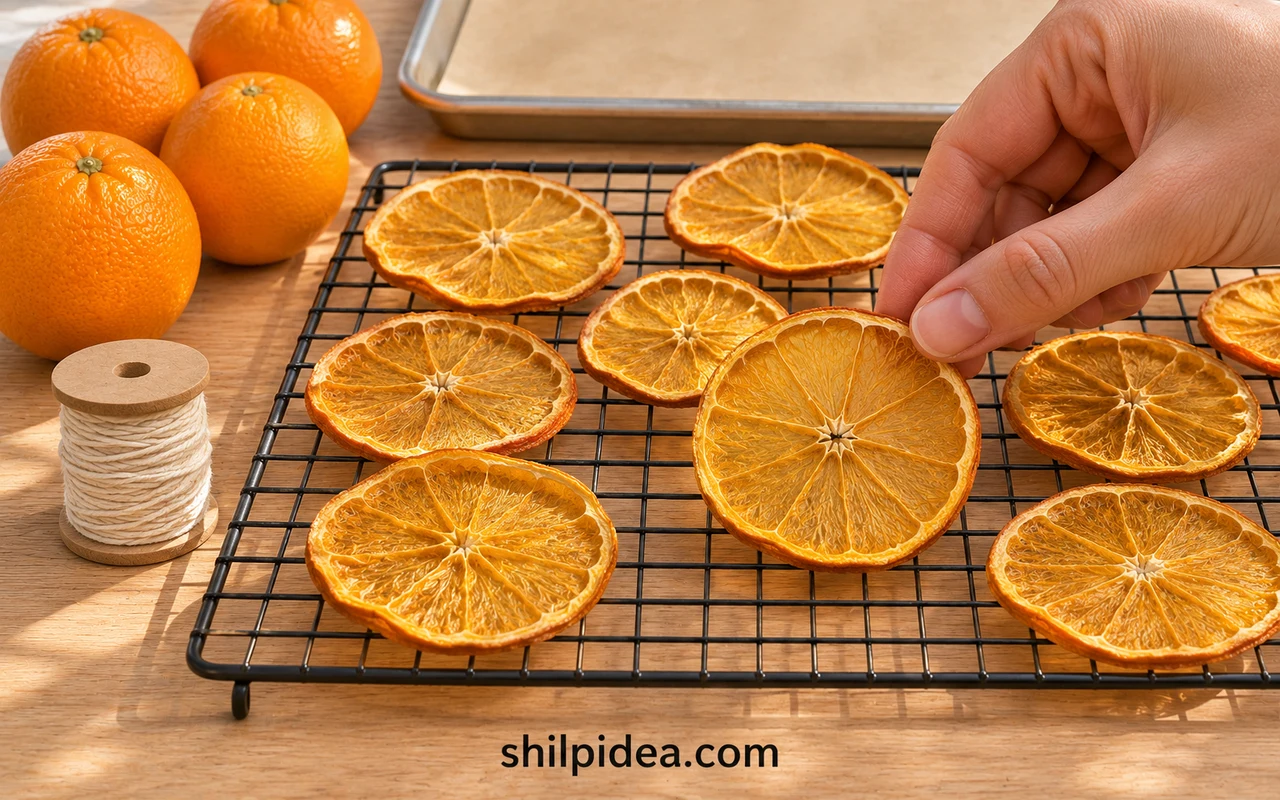
- Cool in open air – Transfer the dried rounds to a wire rack and let them cool completely in a single layer. Avoid stacking warm slices or packing them away while they are still releasing moisture.
- Check the thickest areas – Feel each cooled round near the center and rind. It should be dry and papery, without wet, soft or tacky patches. Return damp pieces to the low oven, then cool and check again before threading.
5. Thread Through Two Small Holes
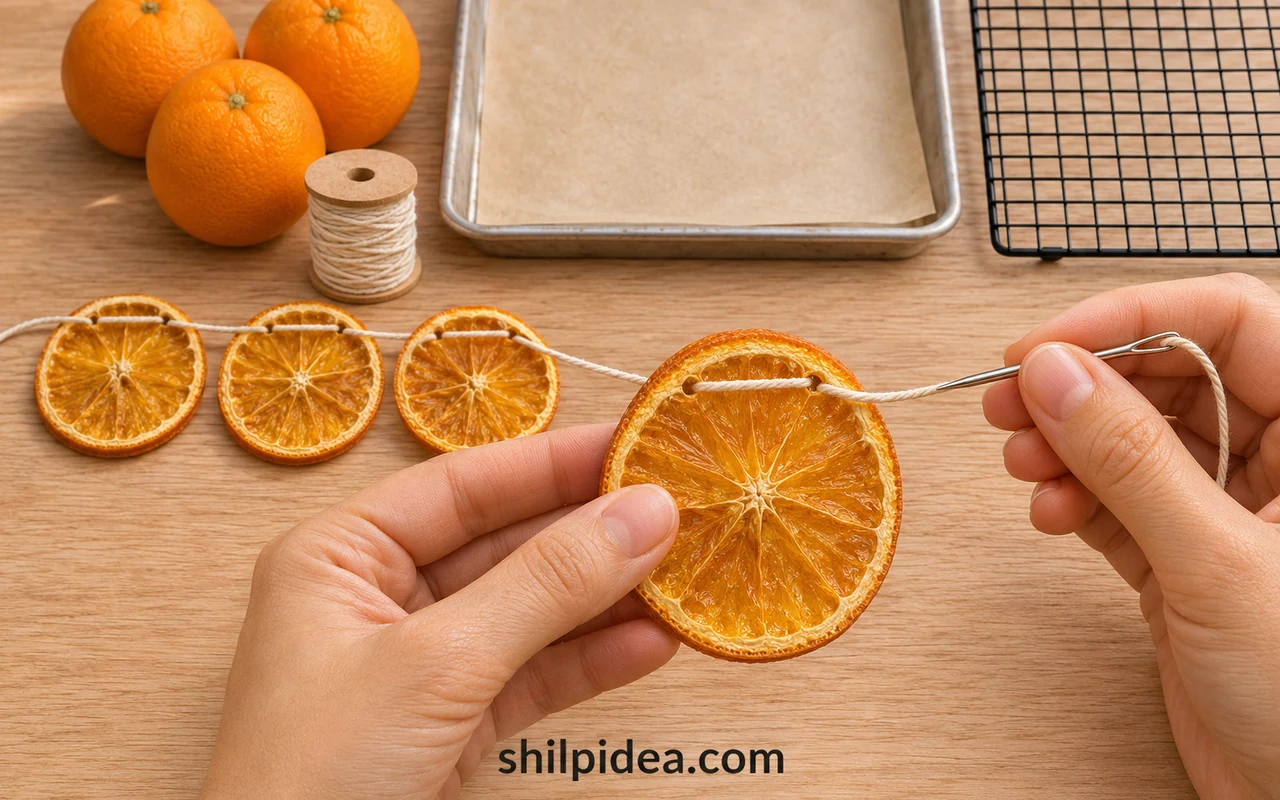
- Plan the strand – Cut about 6 feet (1.8 m) of string and lay out 10–14 cooled slices along the central 4 feet (1.2 m). Adjust the count to your fruit size and chosen gaps, leaving spare string at both ends.
- Make two openings – Support a slice flat on the board. Use the needle to make two small holes near its upper rind, approximately 1/2–1 inch (1–2.5 cm) apart. Keep them in intact flesh close to the stronger rind, rather than at a torn edge.
- Pass the string through – Thread the needle through one opening from back to front, then through the other from front to back. This leaves a short bridge of string on the face. Slide the slice gently along the cord and repeat with the remaining rounds.
For a different finish, Alice and Lois’s garland tutorial shows a version with wooden beads. Add those only after drying, and check that your needle and string fit their holes.
6. Finish the Ends and Hang
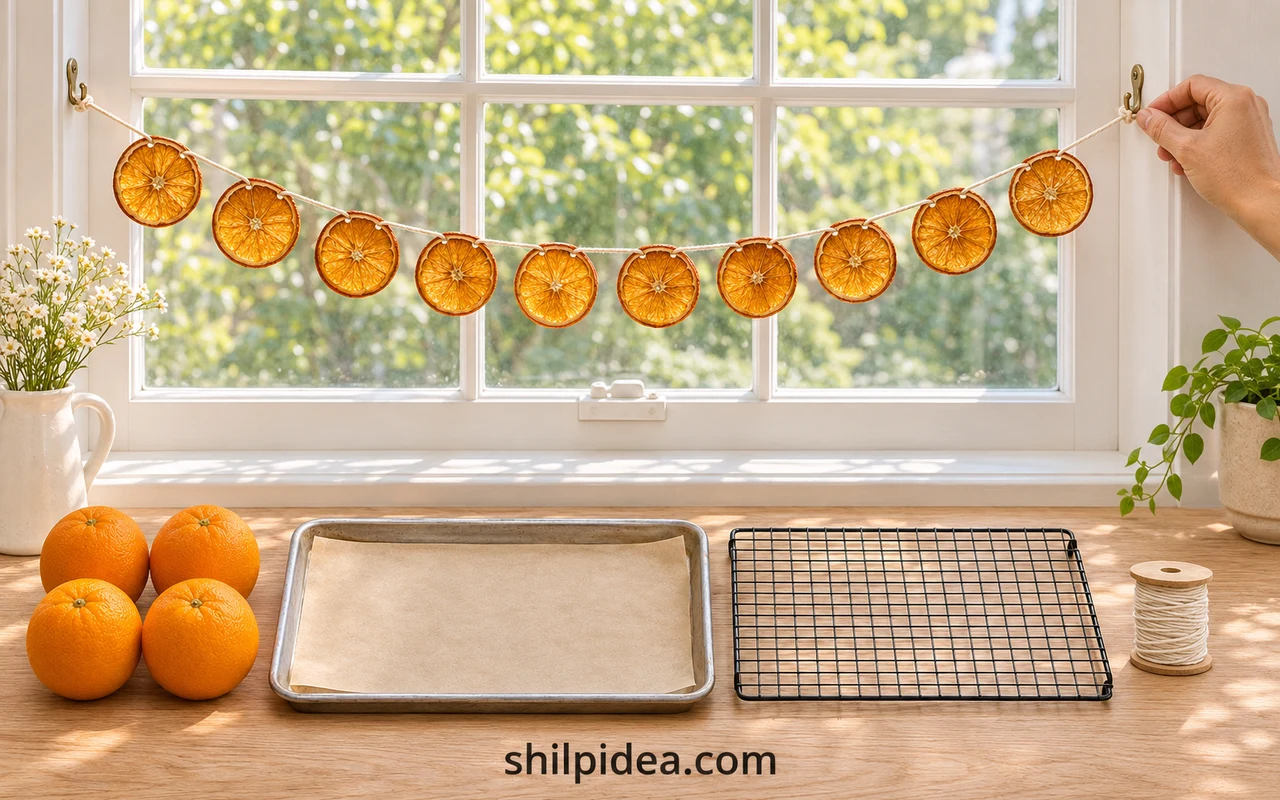
- Set the spacing – Spread the slices along the planned display length without pulling against their holes. Allow a gentle drape, then tie a secure hanging loop in each free end of the string.
- Check the placement – Hang the loops on suitable hooks and check that no fruit rests against damp glass or a hot surface. Keep the strand clear of opening windows and accessible cords; move it if condensation develops.
Drying, Repairs and Storage
Dark edges: Reduce the heat and check the remaining slices more often. Remove dry pieces as they finish instead of waiting for the thickest round. Very dark or scorched pieces are better left off the strand.
Tearing while threading: Try a stronger slice, a finer needle or thinner string. Do not enlarge a damaged hole by pulling harder. Spare rounds can become individual ornaments alongside wire star ornaments.
Moisture or mold: Let the cooled fruit determine when drying is complete. Made To Be a Momma notes that incompletely dried slices can develop mold and attract insects. Discard visibly moldy pieces; do not simply cover them or return them to the display.
At the end of the season, inspect the garland before storing it flat in a dry box with tissue between fragile layers. Keep it somewhere cool and dry, check it before reuse and replace any doubtful slices. Color naturally darkens with age; there is no guaranteed number of seasons it will last.
More Handmade Christmas Details to Make
Once your garland is dry and securely hung, choose one or two nearby details that leave the orange rounds easy to see. Small paper trees, a simple house skyline or understated gift wrapping can repeat the handmade feel without filling the whole window. These projects offer different textures and display sizes, so you can choose the next one around the space you actually have.
- Dried Orange Garlands for Holiday Displays
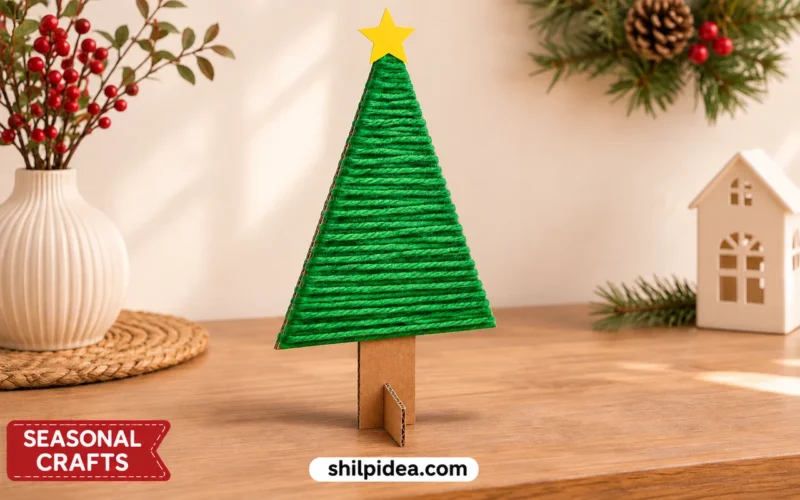
- Paper Christmas Trees for Small Spaces
- Paper Bag Snowflakes for Christmas Windows
- A Folding Cardboard Christmas Village
- Rustic Christmas Gift Wrapping with Jute
Where would you hang your orange garland to catch the daylight? Tell us about your Christmas display plans in the comments. If you have dried citrus before, share a practical tip about your oven, slice thickness or drying checks that could help another maker.































0 Comments