25 Kitchen Wall Decoration Ideas Beyond the Backsplash
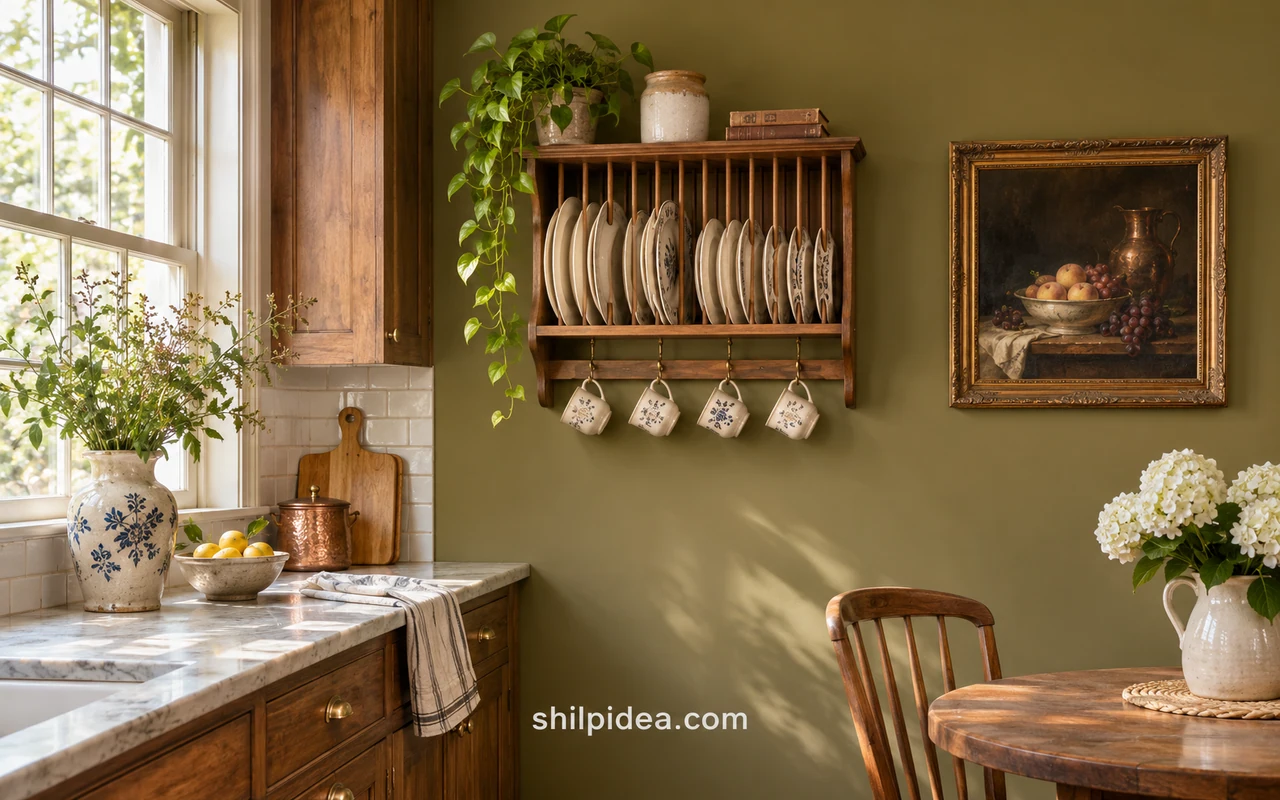
A kitchen wall can hold a favorite print, show off the dishes you use, or make a narrow corner feel finished. Start by noticing what you can see from the table and what you can reach from the counter.
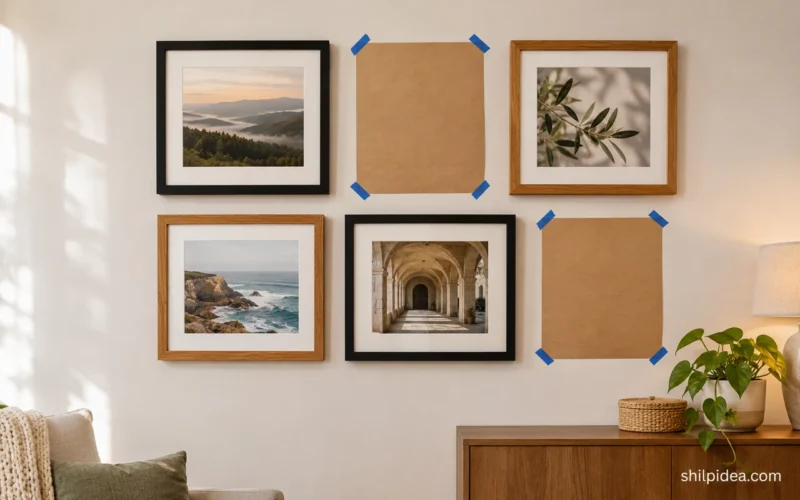
Lay out the pieces you want to display first. These gallery wall templates help you test a group before making holes.
Keep everyday items close to the work area. Browse these personalized wall ideas if you want the quieter side of the room to feel more personal.
1. Make a Gallery Wall With Small Prints

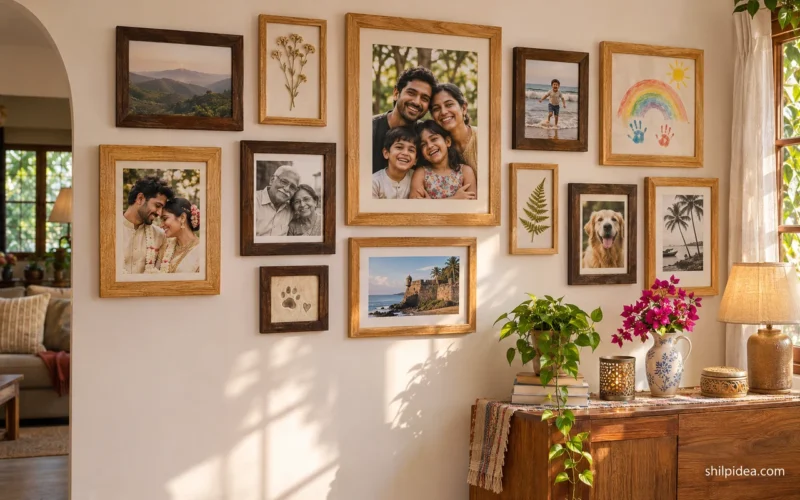
Pick a wall you see from the breakfast table and group small prints at eye level. Leave similar gaps around the frames so the group feels connected even when the pictures differ. Start with the biggest piece and fill in around it. Save the most delicate paper pieces for a spot away from cooking steam. These paper frame templates make an irregular layout easier to test.
2. Mix One Bold Print With a Quiet Picture
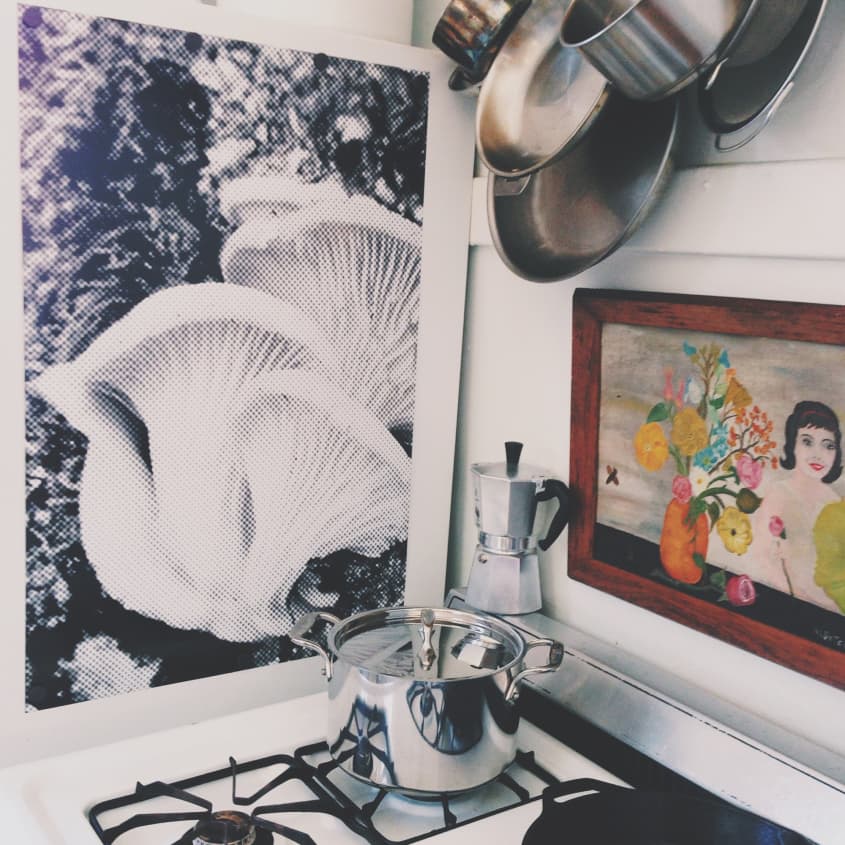
A large graphic print brings energy to a narrow corner. Put it next to one smaller picture and let a color or finish connect the two. Give both frames enough wall space so their shapes are easy to see. Test the placement with paper before making holes, especially if the frames are different sizes.
3. Use a Narrow Wall for One Small Picture
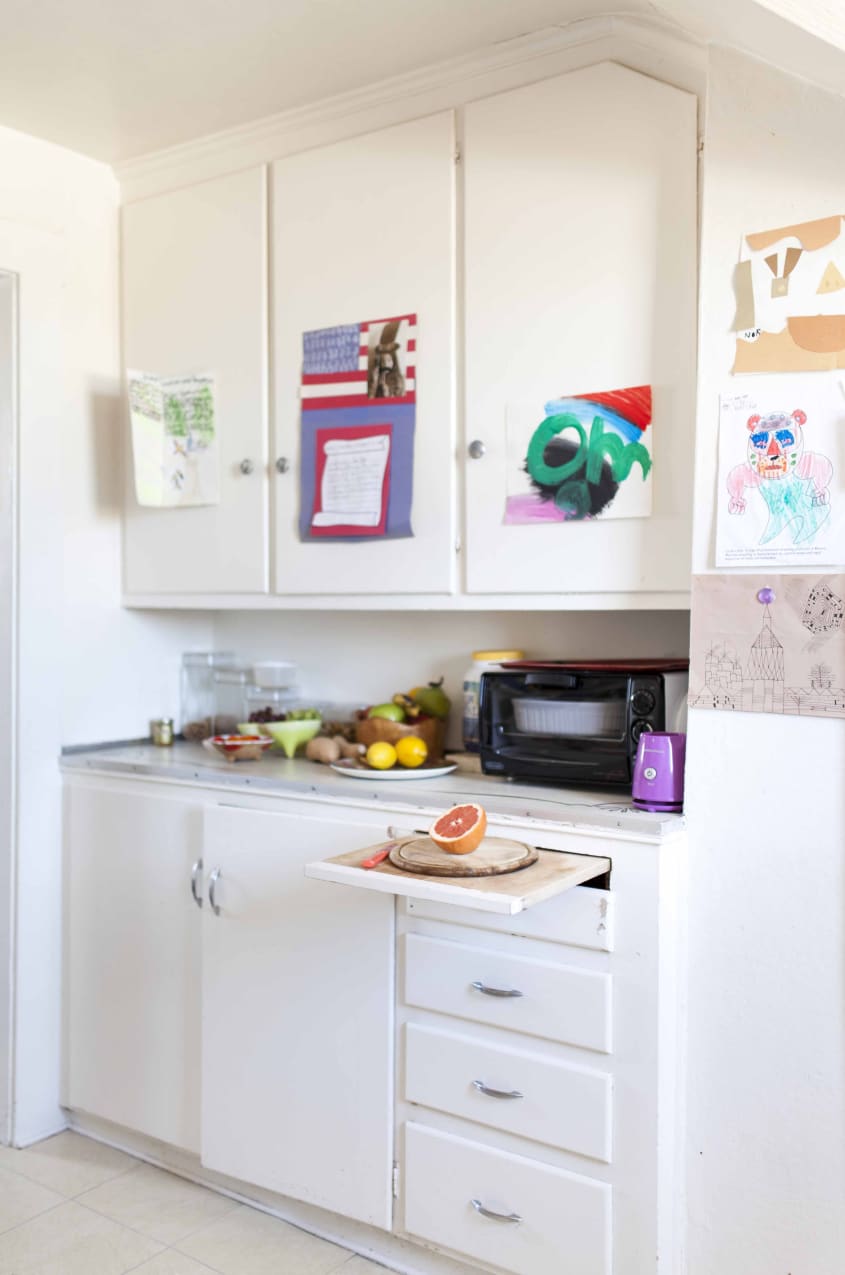
The strip next to a window is often just big enough for one small frame. Hang the artwork at a height you can enjoy when you are standing at the counter. A simple mat gives the picture a little space of its own. Keep the frame clear of shutters and leave room for a window to open.
4. Let Artwork Break Up a Charcoal Wall
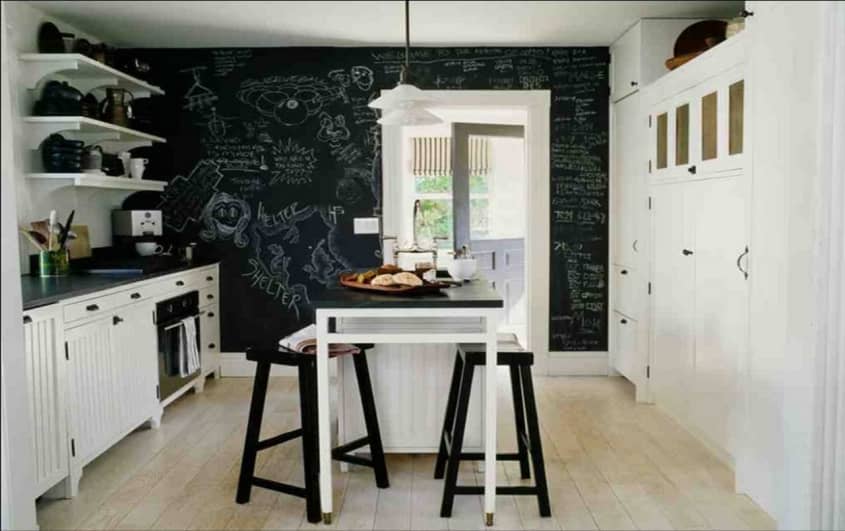
A dark wall can make a small kitchen feel grounded. Use a light picture or frame to break up the dark surface, especially near a table or door. Step back to see whether the color leads your eye to the art. Keep the neighboring wall lighter if the kitchen gets little daylight.
5. Paint the Wall Around a Run of Windows
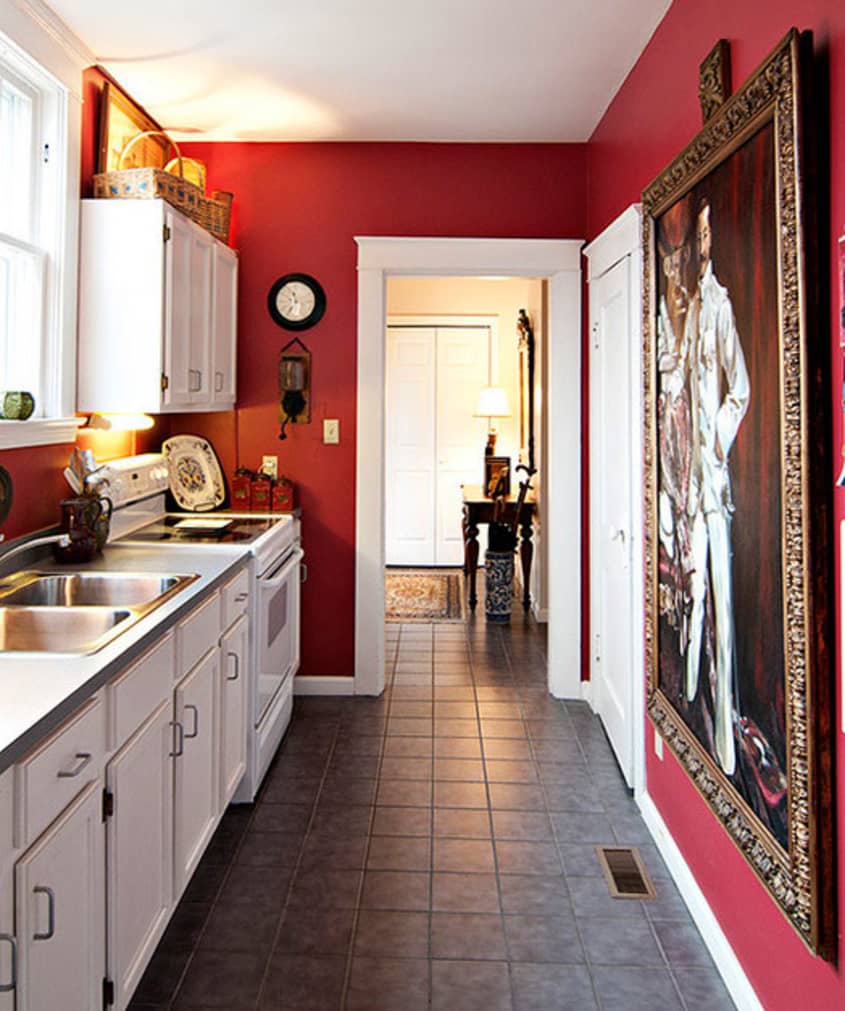
Carry one strong color around a run of windows so the frames and openings feel connected. The light at different points of the day will change the way the paint reads. Try a large sample next to the cabinet finish. Leave the trim quieter if you want the wall color to be the main event. Use these color blocked walls to think through where the paint should stop.
6. Arrange Blue and White Plates in Rows
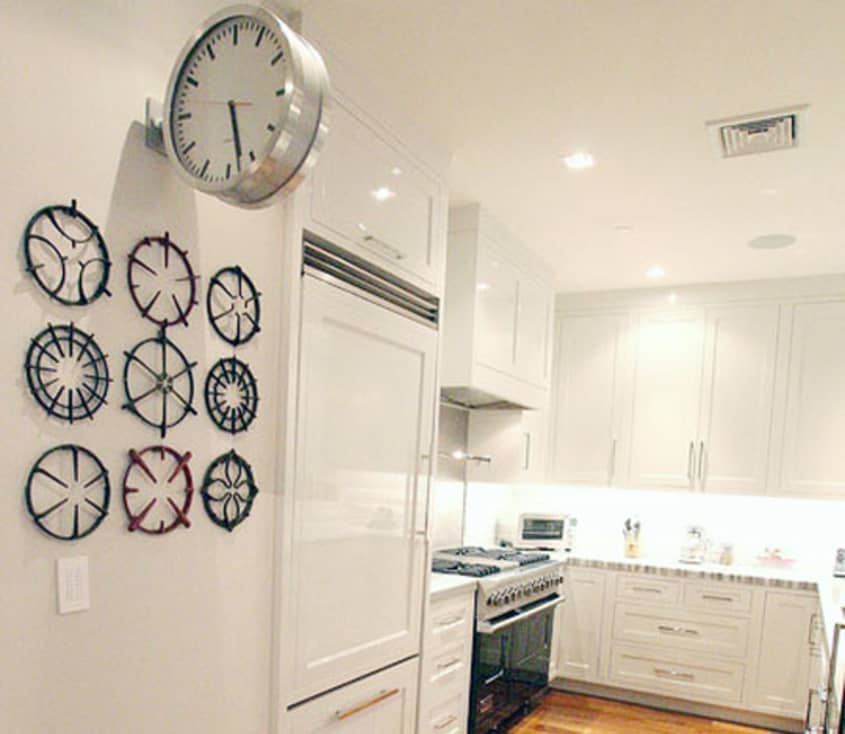
A plate collection can fill a wall with pattern while keeping the color range narrow. Lay the pieces out on the floor first and alternate small and large plates so the edges feel balanced. Use hangers suited to the weight of each plate. Repeat one pattern more than once if the arrangement needs a rhythm.
7. Pair Framed Art With Small Wall Plates
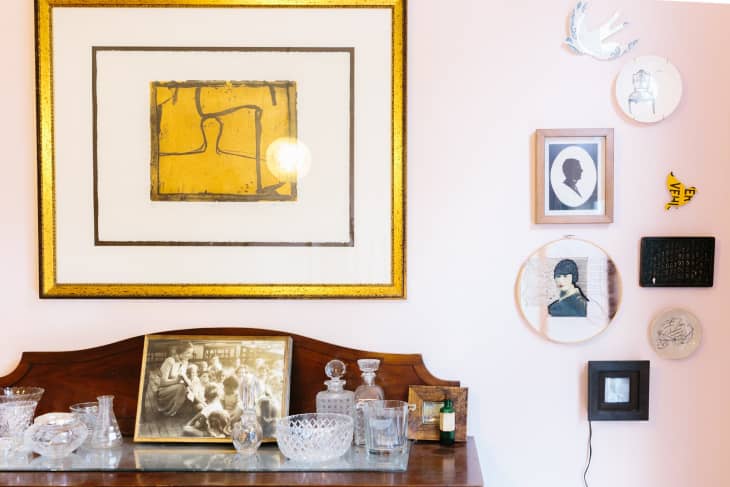
Let a large picture lead the arrangement and place smaller plates to one side. The round shapes soften the corners of the frame and make use of a wall strip where another large picture would look cramped. Keep the plates a little apart so their edges stay visible. Match one color with the art. Try these personal wall displays for a piece to put beside the plates.
8. Lean a Few Prints on a Picture Ledge
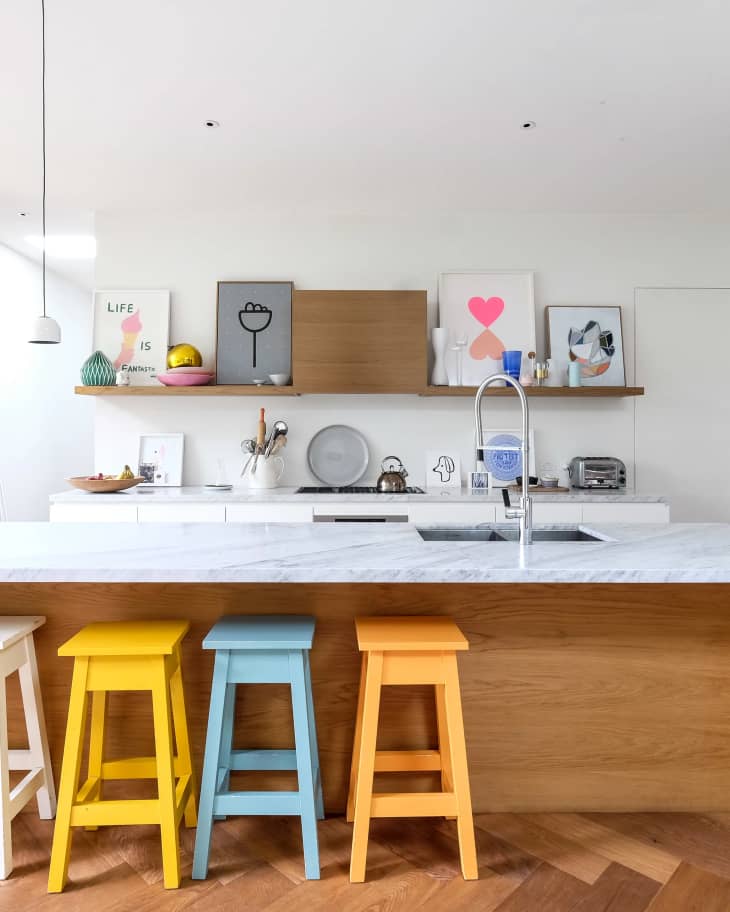
A shallow ledge lets you swap art without making another hole for every frame. Put the tallest print toward the back and overlap the smaller pieces just enough to make the group feel intentional. Keep the ledge away from areas where cooking splashes are common. Choose a ledge deep enough to support every frame securely.
9. Use a Large Landscape to Pull the Eye Down a Long Kitchen

A long kitchen can take one wide picture with room around it. Set it where you see it as you enter, and use the height of the cabinets as a guide for placement. Keep small decorations away from the edges so the picture reads as one shape. Check reflections from windows or pendant lights before fixing it.
10. Highlight a Recess With a Lively Pattern

A small recess can hold a stronger print than a wall that runs the length of the room. Keep the pattern within the opening so its edges stay clean. Repeat one tone from the print in a bowl or towel nearby. Leave the rest of the cabinets simpler if the print has a lot of movement.
11. Frame One Print Beside a Bright Window

Put a single framed piece on a plain wall beside a window where there is room around it. Choose a frame that relates to the cabinet hardware or the table legs. The image will be easier to see if the daylight falls across it. Check glare before drilling, especially if the frame has shiny glazing. Use these mirror styling ideas if a reflective surface will share the wall.
12. Stack Art and Everyday Tools in Two Bands

Hang framed pictures in one row and put the kitchen rail beneath it. The two levels keep decorative and useful pieces easy to see at the same time. Put the items you reach for most directly below the open wall area. Give the pictures enough clearance that a swinging ladle does not brush against them.
13. Use White Shelves for Cuttings and Glassware

A few plain shelves can make jars, glasses and green cuttings feel like a collection. Set the clear glass together and use the stems to break up the row. Leave enough space to take down the pieces you actually use. Choose a light wall if you want to see the shapes of the plants clearly.
14. Turn a Reclaimed Wood Rack Into a Display

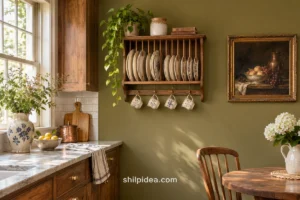
A rack with visible wood grain can bring warmth to a wall even when it holds plain plates. Keep the most interesting edge or joint visible. Let some plates show their faces and use the remaining spaces for bowls you can reach easily. Check the shelf depth and wall fasteners before adding your heaviest dishes. These creative interior ideas offer other ways to bring reclaimed wood into a room.
15. Let a Wall Rack Echo the Counter Shape

A long rack can repeat the line of a stone or wood worktop and leave the surface below clearer. Keep the shelf within easy reach and group plates by size so you can lift one out without moving its neighbors. Use the wall finish behind it as a backdrop and leave room beside any nearby trim.
16. Build a Graphic Wall With Repeated Metal Racks

Matching metal plate racks can become a repeating pattern along a plain wall. Align their top edges and let stacks of dishes break up the grid. Keep lighter pieces in the more visible rows if you want the pattern to read. Leave enough free space under the racks for the tasks you do most often.
17. Use a Slim Strip to Show a Few Plates

A very shallow rack can display a small group of plates in a kitchen with limited wall depth. Pick pieces with related colors and leave a little gap between their edges. Use a secure rack with enough support to keep the dishes upright. Keep it clear of a path where people could brush against it.
18. Float Two Short Shelves in an Open Gap

Two short shelves can make the most of a gap between cabinets without filling the wall. Place the taller objects on the upper shelf and keep lower pieces where they are easy to reach. Try leaving one end nearly empty. The open space will make the shelves look lighter and show more of the wall finish.
19. Put a Shallow Basket Beneath a Wall Cabinet

A shallow hanging basket adds a small storage pocket just below a cabinet. Use it for lightweight tools or textiles that are easy to grab from the side. Check that it clears the door and the work surface. The basket looks tidier if its contents stay below the rim and the hooks beneath remain easy to reach.
20. Make a Metal Wall System Look Intentional

When a storage system covers a large stretch of wall, repeat two or three finishes to give the eye a pattern. Hang the longest tools together and leave a shelf edge open for a plant. Decide which items need to be closest to your main work area. Put everything else where it has room to show.
21. Use a Dark Rail Against a Colorful Wall

A dark rail gives a bright wall a clean horizontal line. Hang pans in a short run with a small gap at each end so the color remains visible. Keep handle lengths in mind before choosing the position. A few pieces with similar finishes make the display easier to read from across the room.
22. Put Lids Above the Pans

A bracketed shelf with hooks can display pans and their lids together. Keep the lids upright on the shelf and hang the matching pans below with room for their handles. Secure the hardware for the full load. If you have mixed finishes, group each set together so it is easier to grab the right lid.
23. Give a Small Rail an Everyday Job

A short rail is enough for a towel, a small utensil pot, or whatever you keep reaching for. Group the items by where you use them so you can grab them in one movement. Leave a little space between hooks. Check that anything hanging there clears drawers and cabinet doors below it.
24. Arrange an Open Pantry Wall by Use

Use a wall of shelves to keep dry goods visible and make the containers part of the room. Put everyday ingredients where you can reach them and keep heavier jars on lower shelves. Let the repeated shapes do most of the decorating. Leave one area for odd-sized containers so the main rows stay easy to use.
25. Alternate Open and Closed Wall Storage

Mix closed wall boxes with a few open spaces so the most useful pieces can stay on show. Keep less attractive supplies behind doors and leave room beside a visible bowl or plant. Line up the outer edges for a clean shape. Give each box enough clearance to open without touching the display next to it.
Finish the Wall Around Your Daily Routine
Walk through a normal meal before deciding where the hooks or shelves should go. A piece you reach for every day can be part of the display. Use a wall farther from the stove for items that would be harder to wipe clean.
- Hang a Gallery Wall With Templates
- Personalize Your Walls With Meaningful Details
- Creative Ideas for Welcoming Interiors
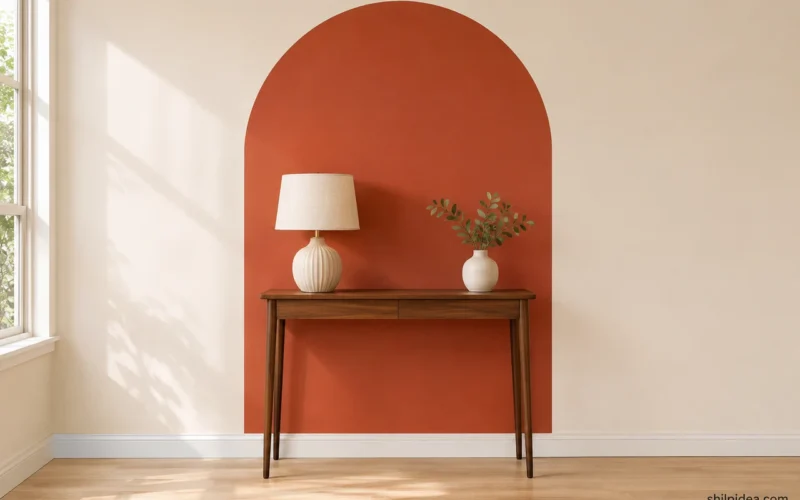
- Paint a Color Blocked Wall Arch
Which kitchen wall would you tackle first? Tell us in the comments what you would put on it and how much room you have.


















0 Comments