21 Egg Carton Craft Ideas for Creative Reuse
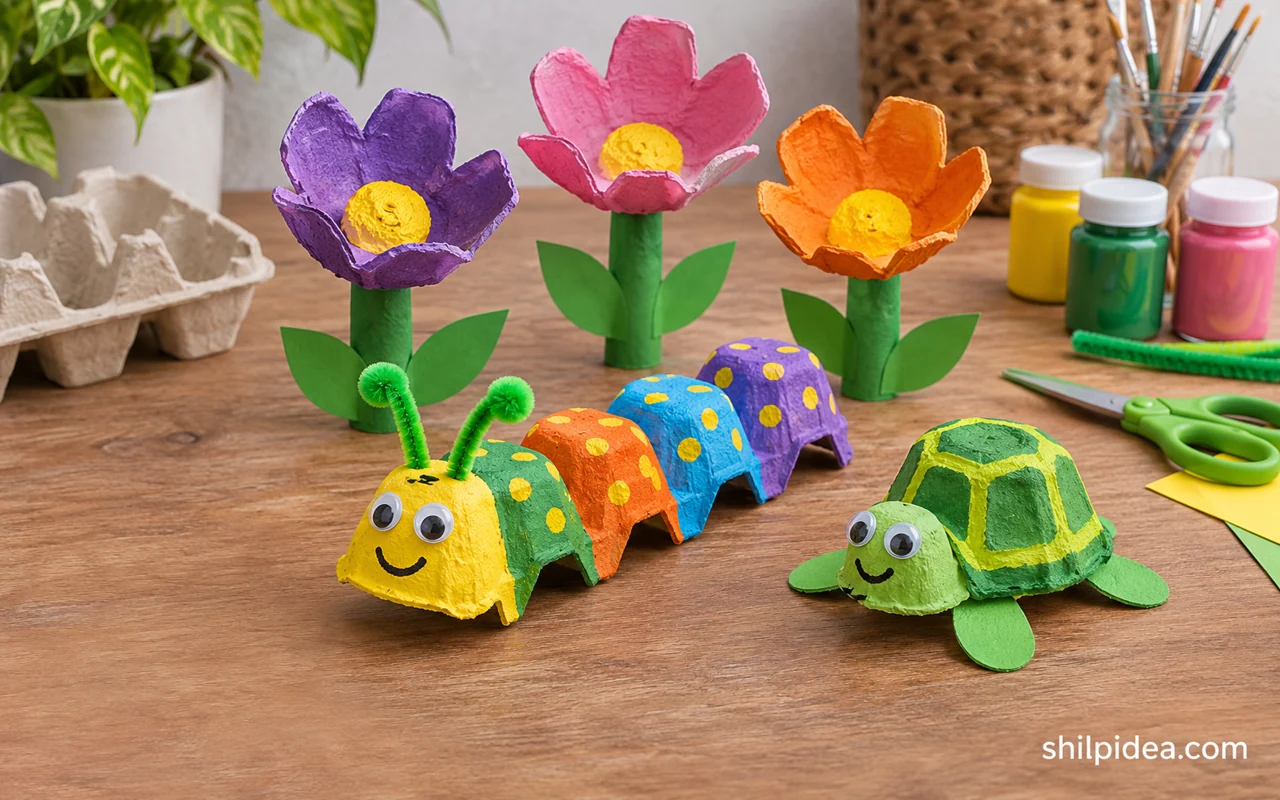
Paper egg cartons already have cups, points, and fold lines that can become all sorts of small projects. Start with a clean, dry carton and save the scraps for faces, wings, or stems.
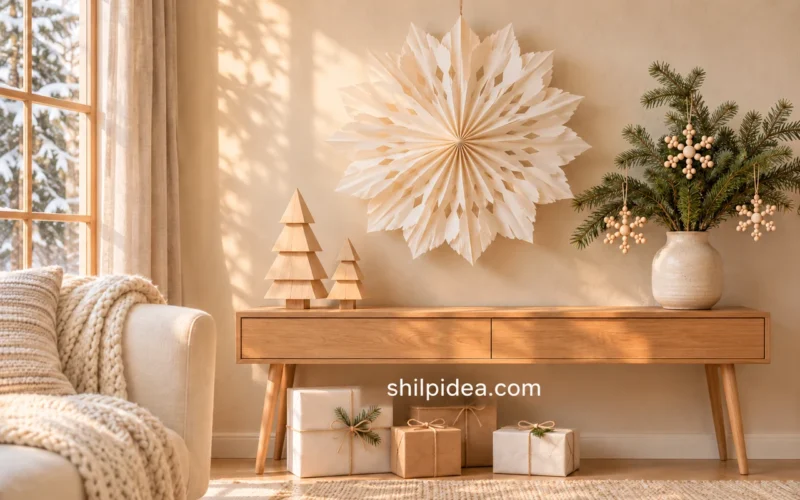
Try a few cuts first to see how the cardboard bends. Once you have paint and paper out, these paper snowflake decorations offer another way to use the scraps.
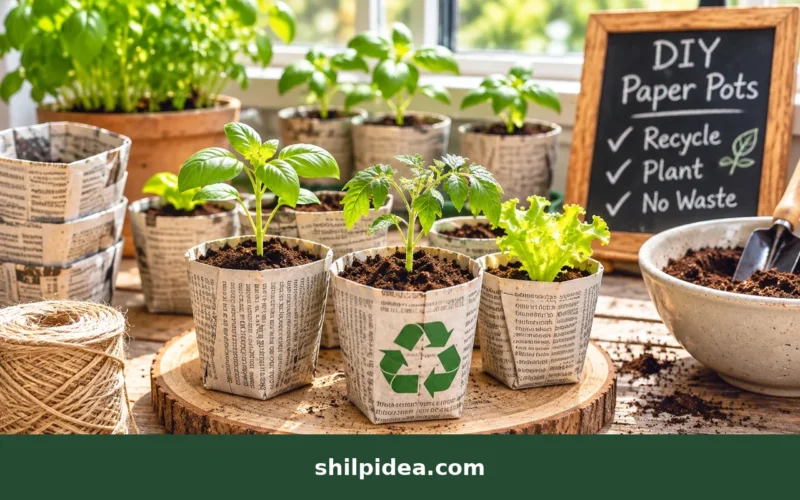
The cups also work as temporary seed cells. If you prefer a taller container, try these recycled paper pots.
1. Make a Bouquet From Carton Cups

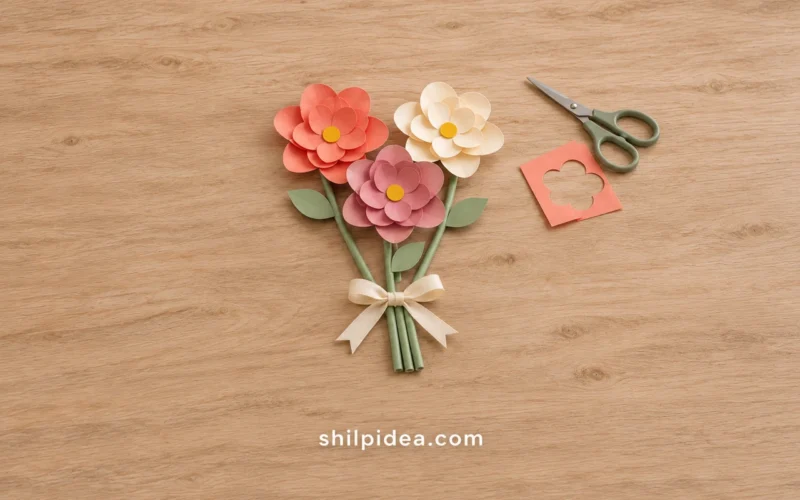
Cut the cups free from a paper carton and snip the sides into petals. Round the tips for simple blossoms or leave the cuts pointed for a sharper silhouette. Paint each flower before joining it to a stem. A narrow jar holds the finished bouquet upright and lets you turn each flower to face out.
Follow the Maker’s Method: Make Recycled Carton Flowers
2. Layer Paper and Carton for Daffodils
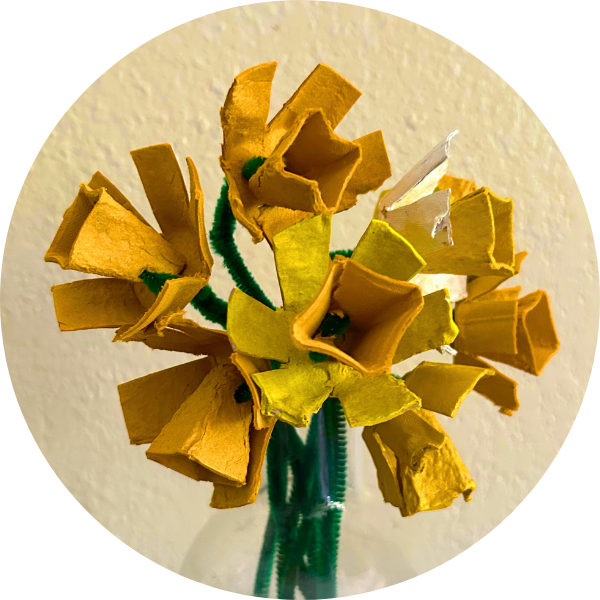
The tall center of a daffodil is a good match for a trimmed carton cup. Put the cup on a flat paper flower with enough yellow petals showing around the edge. Use the same yellow or a deeper orange for the cup, then mount a few flowers on a card or attach them to stems.
Follow the Maker’s Method: Make Carton Cup Daffodils
3. Pack Carton Flowers Into a Wreath

Make enough small carton flowers to cover a lightweight wreath ring. Start with the largest flowers and fill the gaps with smaller ones so the backing does not show through. Let all the paint dry before gluing. Turn the ring a few times as you work to make sure the colors are spread around it.
Follow the Maker’s Method: Make a Carton Flower Wreath
4. Shape Small Carton Succulents
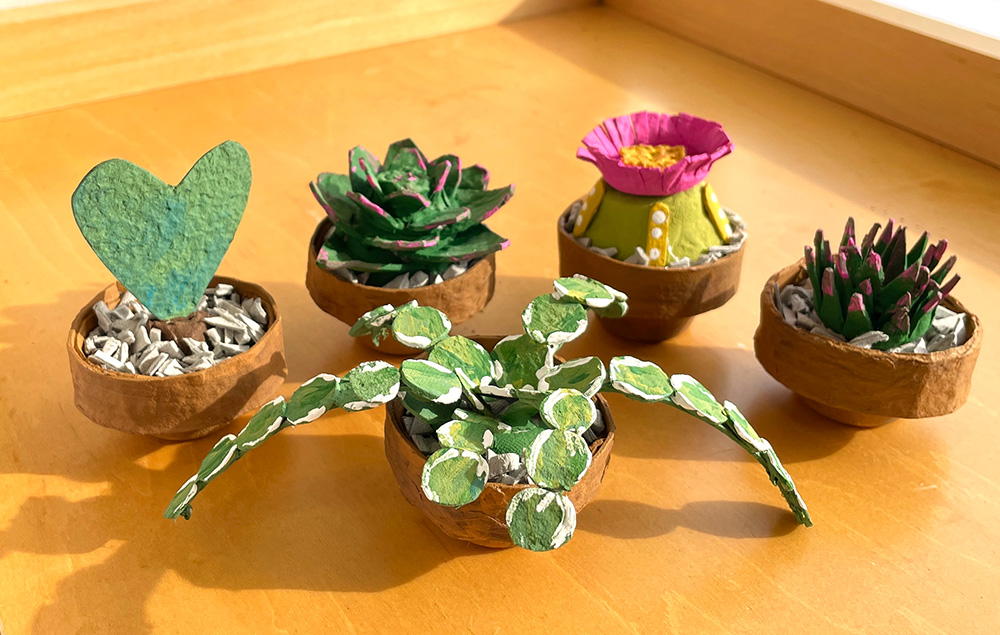
Cut several carton cups into petal shapes and layer them with the points turned in different directions. Vary the greens so the inner leaves are lighter and the outer ones have more depth. Set each finished rosette in a spare cup or tiny pot and leave the edges irregular to give it a more natural outline.
Follow the Maker’s Method: Shape Egg Carton Succulents
5. Paint a Set of Carton Ladybugs

A single cup makes a rounded ladybug shell. Paint the cups before adding the spots, then mark a dark stripe down the center to suggest the wings. Let the paint dry before attaching a head. Make the spots with a brush handle if you want neat dots without cutting any tiny paper pieces.
Follow the Maker’s Method: Paint Carton Cup Ladybugs
6. Turn a Carton Row Into a Caterpillar

Keep four or more cups attached in a strip so the body stays in one piece. Turn it upside down to see the bumps, then paint alternating colors across the row. Add a face to the first cup and draw or attach antennae. A short row makes a sturdy prop for a picture book. Try these pinecone turkey crafts if you want another animal project with simple shapes.
Follow the Maker’s Method: Make an Egg Carton Caterpillar
7. Make a Carton-Shell Turtle

Use four joined cups for a bumpy shell and set them over a flat paper body. Cut the feet and tail from one piece so they stay together. Paint the shell before gluing the layers in place. Add lighter patches to the rounded bumps if you want the shell to stand out from the green paper.
Follow the Maker’s Method: Make a Carton Shell Turtle
8. Build a Bee With Paper Wings

A pair of blue or white paper wings makes the yellow and black body easy to recognize. Paint the carton before attaching the wings so you can turn it freely. Draw the stripes around the curve and let each one dry. Cut the wings together from folded paper if you want both sides to match.
Follow the Maker’s Method: Make an Egg Carton Bee
9. Cut a Carton Shark With an Open Mouth

Two cups can make the top and bottom of a shark’s head. Paint the outside first, then use white paper for the teeth so they stand out inside the mouth. An adult can trim the pointed bits of the carton if they are hard to cut. Angle a paper fin upward to finish the silhouette.
Follow the Maker’s Method: Make a Carton Cup Shark
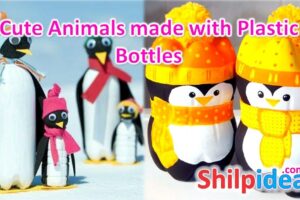
10. Paint a Penguin in Black and White

Use the cup shape to decide where the white belly will go before painting the rest black. If your carton is dark, let the first coat of white dry before adding a second. Use paper for the feet and beak. A piece of blue paper makes an easy backdrop for a little group.
Follow the Maker’s Method: Paint a Carton Penguin
11. Make an Owl With Deep Carton Eyes
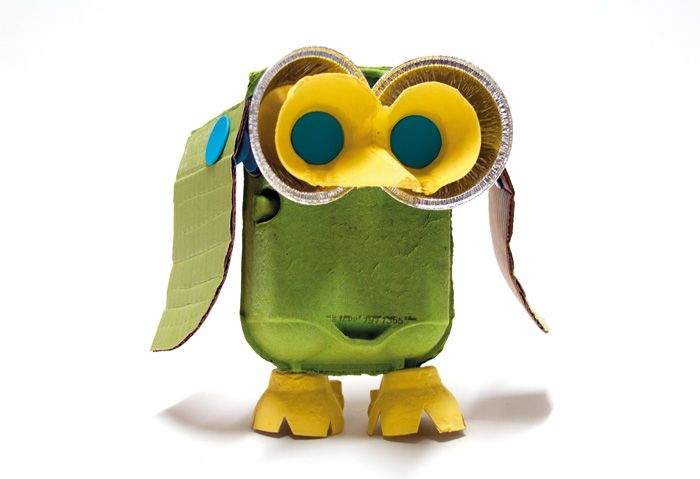
Keep two adjacent cup sections around the owl’s eyes and place them high on a small folded carton body. Give the eyes light rims and darker centers so they show up from across a room. Use scrap card to extend the wings if the carton pieces feel too narrow. Keep the feet flat so the owl can stand.
Follow the Maker’s Method: Build an Egg Carton Owl
12. Turn the Carton Points Into a Fox Face

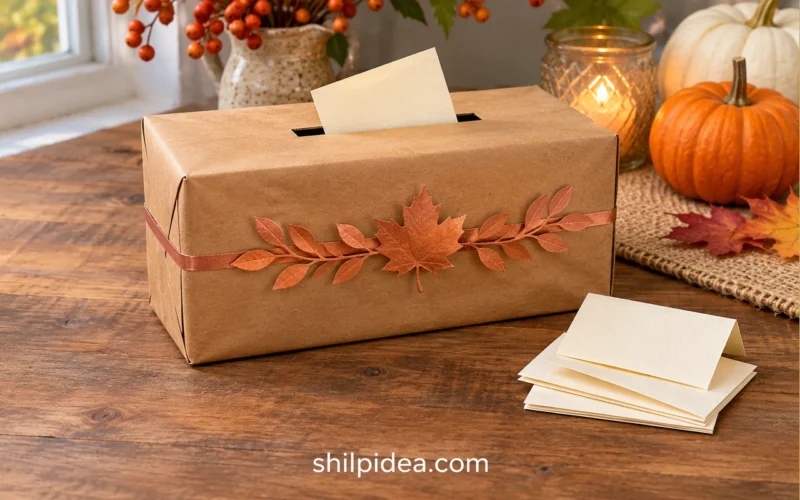
The tall points that separate the eggs can suggest the fox’s nose or ears. Cut the head first and test how the parts sit together before painting. A small white patch around the nose gives the face some contrast. Use cardstock behind the finished fox if you want to hang it as a small decoration. A cardboard gratitude box is another way to use a clean paperboard carton.
Follow the Maker’s Method: Shape an Egg Carton Fox
13. Make Mini Jack-o’-Lanterns From Two Cups
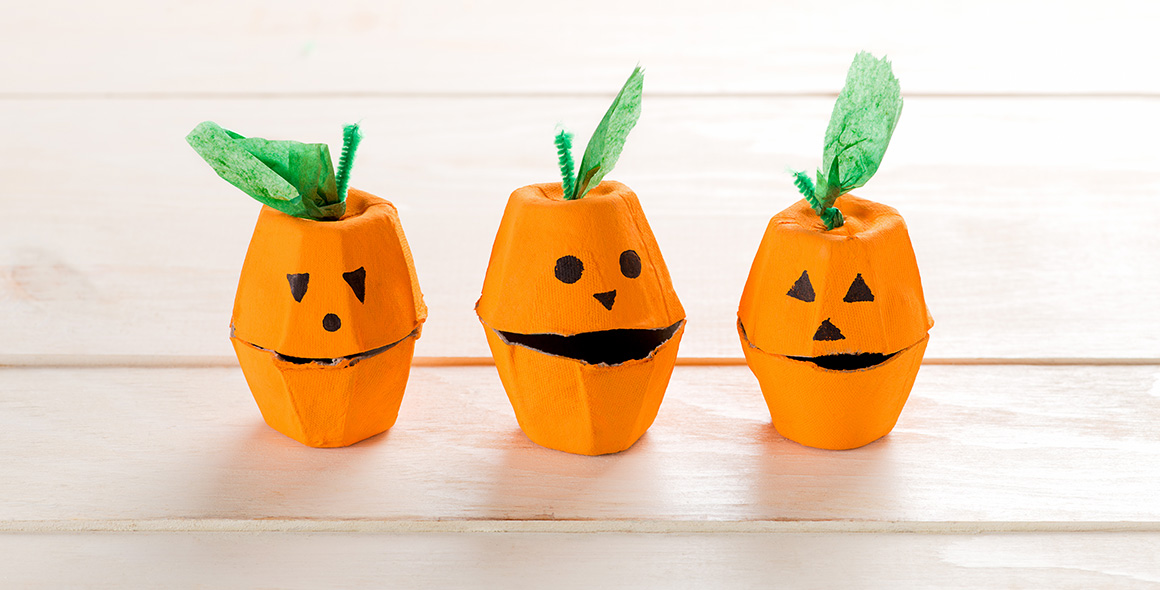
Match pairs of cups with edges that sit together neatly. Paint them orange and let them dry before adding a short paper stem and a face. Draw the eyes and mouth instead of cutting the carton if the pieces are small. Set the pumpkins in a row so the different faces show up together.
Follow the Maker’s Method: Make Mini Carton Pumpkins
14. Paint a Cluster of Carton Mushrooms
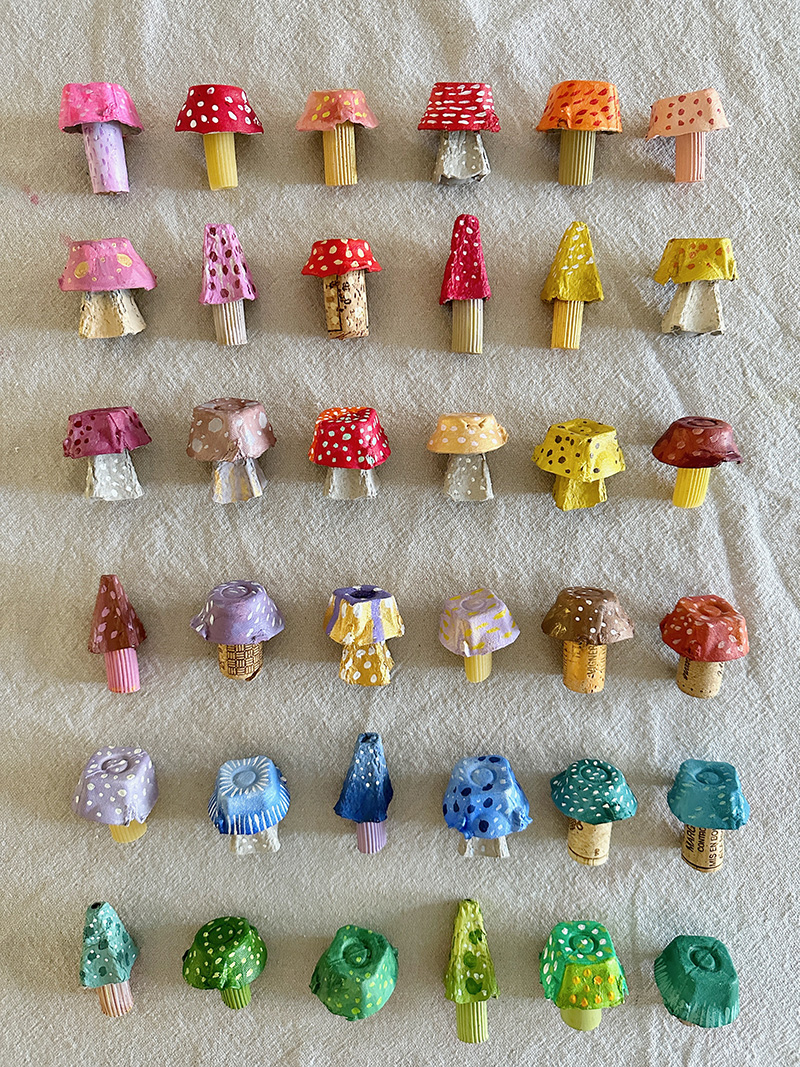
Cut cup shapes in different sizes for mushroom caps and trim their edges so they look a little uneven. Paint the underside separately if the caps will be seen from below. Attach them to short stems and stand them on a dry base. Let the paint dry before adding dots with a small brush. See these wood slice decorations for ideas that pair with a small woodland display.
Follow the Maker’s Method: Paint Carton Mushroom Caps
15. Make a Carton Bat With Paper Wings

Turn one carton cup upside down for the head, then cut the wings from dark card so they stay flat. Try the shape against a light background before attaching the wings. Set the bat on a pumpkin or a display board with room around its wings. Paint the details after the base color dries.
Follow the Maker’s Method: Make an Egg Carton Bat
16. Turn the Cups Into Hanging Bells

Punch a hanging hole before painting the cup. Let an adult make the hole and thread the cord from the inside. Paint the rim or add a narrow strip of paper trim to make the bell shape easy to see. Make several in different colors for a small tabletop tree or an indoor garland.
Follow the Maker’s Method: Make Carton Christmas Bells
17. Make Hearts for a Valentine Display

Use the shallow cup sections as a raised surface for hearts. Round the shoulders first, then cut the lower point and paint the front after the edges are tidy. Put one heart on a card or attach several to paper for a wall display. Save the thinner carton pieces for smaller accent shapes.
Follow the Maker’s Method: Make Egg Carton Hearts
18. Start Seeds in Individual Carton Cells

A clean paper carton can hold a small amount of seed-starting mix while seeds sprout. Make drainage holes, set the carton on a waterproof tray and water gently. Keep an eye on the shallow cells because they can dry quickly. Move seedlings into larger pots once they need more room for roots. These recycled paper pots give seedlings a deeper container when they need it.
Follow the Maker’s Method: Start Seeds in Carton Cells
19. Fit Paper Sails to Carton Boats

Use part of a carton for the hull and make the sails from folded paper. Test where the mast stands best before gluing it in. Put shorter sails toward the front if the boat has more than one mast. Set the finished boats on a blue paper surface, where the cardboard stays dry.
Follow the Maker’s Method: Build Recycled Carton Boats
20. Build a Fire Truck From a Carton Lid

The long lid can make the body of a fire truck. Paint it red and leave one small area clear for a contrasting windshield. Use cardboard or paper for the wheels and ladder, then put the details in place after the body dries. Add a small paper light to make the cab easier to spot.
Follow the Maker’s Method: Build an Egg Carton Truck
21. Paint Carton Ornaments for a Branch

Trim the cup edges into shapes you can recognize from a distance, then test the hanging point before you paint. Use one color across the outside and put a smaller detail inside each cup. Keep the decorations light and hang them from a sturdy branch or display hook where the paper stays dry.
Follow the Maker’s Method: Paint Egg Carton Ornaments
Save the Rest of the Carton for Another Project
Keep the cups with neat edges for flowers and small animals. A long uncut strip can become a caterpillar, and flatter pieces from the lid are handy for signs and wings. The projects below use other everyday materials you might already have around the house.
- Make Paper Bag Snowflake Decorations
- Start Seeds in Recycled Paper Pots
- Make a Cardboard Gratitude Box
- Make Pinecone Turkeys With Kids
- Rustic Christmas Decorations With Wood Slices
Which part of your next egg carton would you save first? Tell us what you would turn it into in the comments. If you have tried painting paper cartons, share which paint or brush worked for you.



















0 Comments