How to Build a Tiered Thanksgiving Dessert Stand from Cardboard

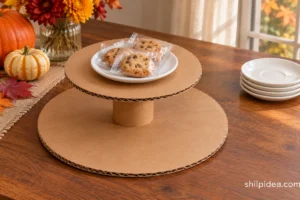
A short two-tier cardboard stand can give a Thanksgiving dessert table some height. Use it as a decorative riser for a few lightweight wrapped treats served on separate food-safe plates.
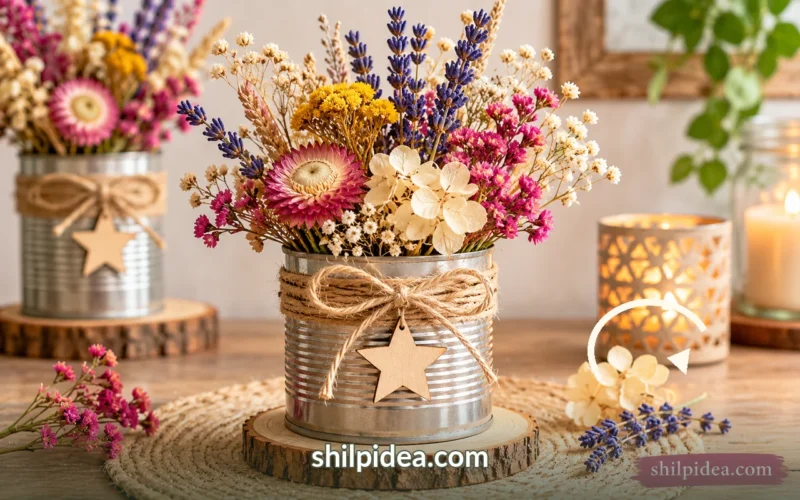
Build it from clean corrugated cardboard and wrap the edges in kraft paper. For a coordinated table, pair it with a dried flower centerpiece set off to one side.
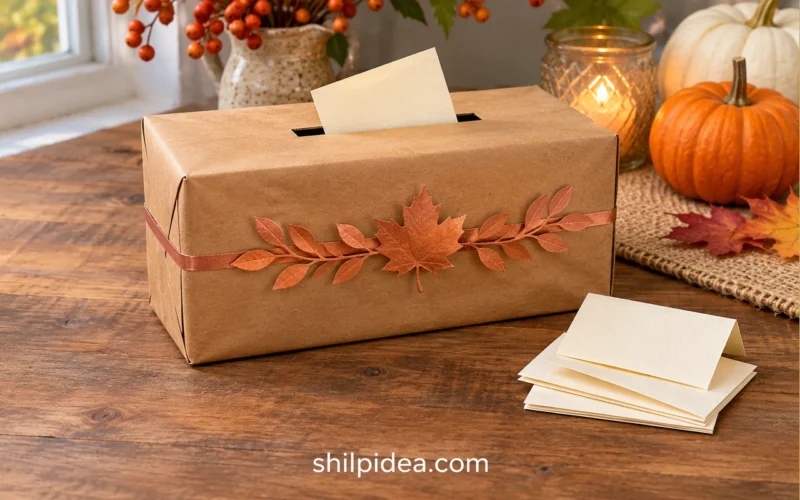
Keep the taller decorations clear of the stand so guests can reach both plates. A separate gratitude message box gives guests a place to leave a note.
Materials and Tools
Gather everything on a clear work surface before starting.
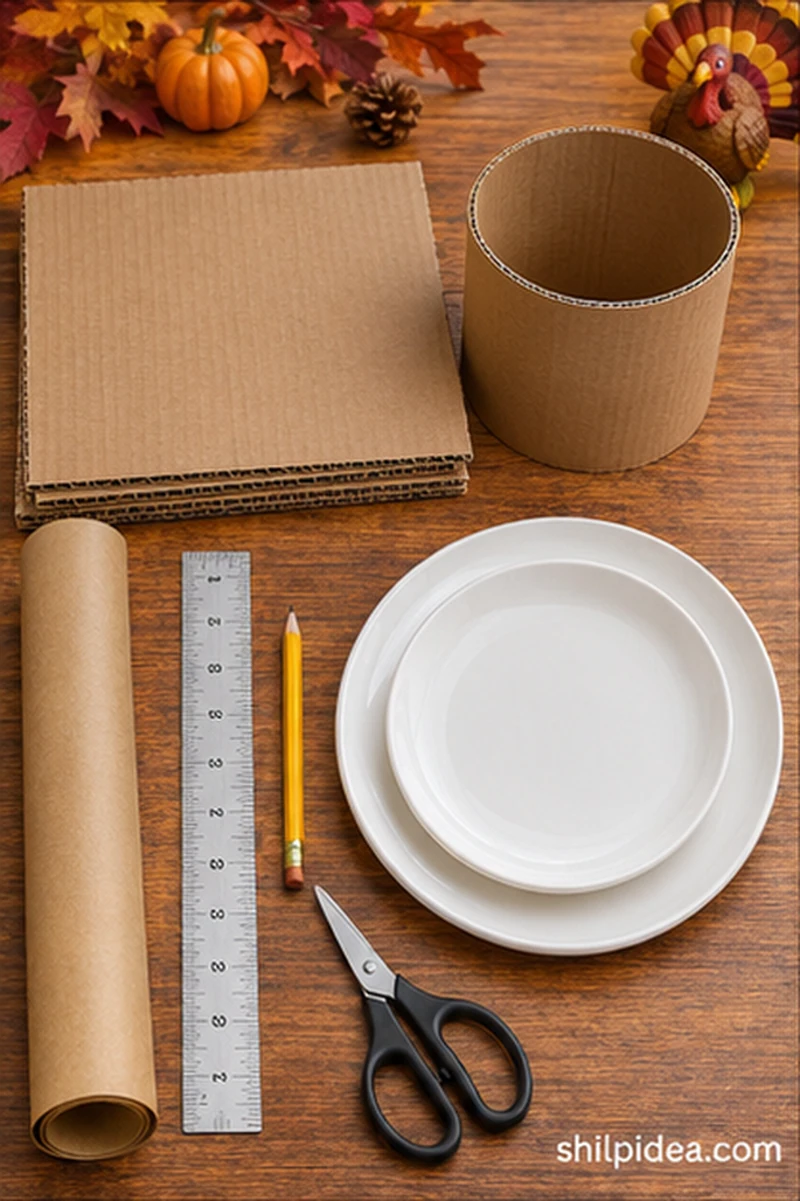
- Corrugated cardboard – Use enough clean, dry board for two 12-inch circles and two 8-inch circles.
- Rigid cardboard tube – Use a clean tube about 4 inches across and 4 inches high, with two level ends.
- Kraft paper – Cut pieces to cover the discs and wrap the tube.
- Strong craft glue – Choose a glue labeled for cardboard and follow its curing time.
- Pencil, ruler and round templates – Use these to trace the two sizes and mark each center.
- Utility knife and cutting mat – Use a sharp blade with light passes on the mat.
- Lightweight food-safe dishes – Use a light plate no wider than the upper tier and one or two small dishes about 3 inches wide on the lower tier.
Precautions Before You Begin
Check the materials and the space where the finished project will go.
- Use clean, dry cardboard without oil stains, moisture damage or loose layers.
- Cut away from your body on a mat. An adult should handle the knife.
- Keep all food on clean food-safe plates. Choose lightweight, individually wrapped dry treats and keep the stand away from heat and spills.
- Discard the stand if the cardboard softens, the tiers bow or either glue joint moves.
1. Trace and Cut the Cardboard
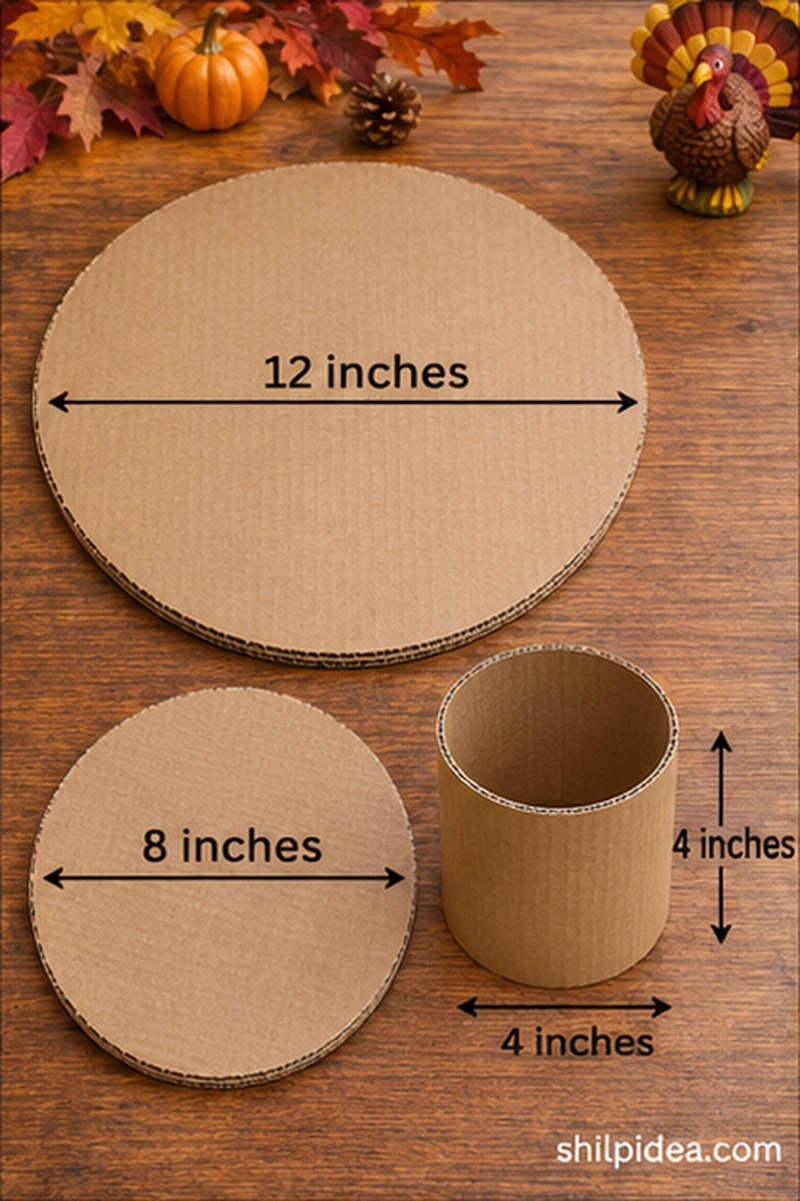
- Mark both sizes. Trace two 12-inch discs and two 8-inch discs. Put a small pencil dot at the center of each shape and keep the cutouts matched in pairs.
- Cut the discs. Use repeated light passes on a cutting mat. Trim the tube to 4 inches if necessary, then stand it on the work surface to check both ends sit flat.
2. Laminate and Cover the Discs
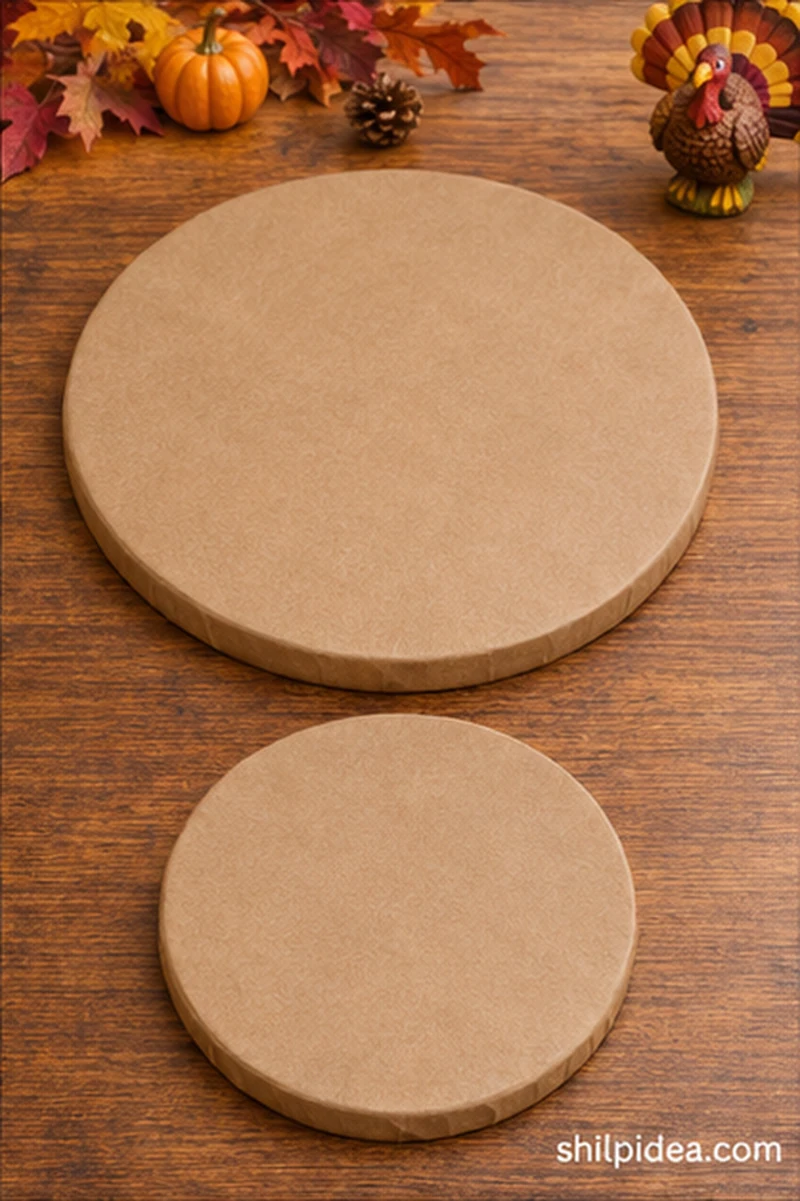
- Glue each pair. Apply an even layer of glue between the matching pieces. Turn one disc so its corrugation runs across the other, align the edges, and press the pair flat.
- Wrap the exposed edges. Cover the faces in kraft paper once the pairs have set. Wrap the edges smoothly and redraw the center points on the upper base and underside of the smaller disc.
3. Set the Center Support
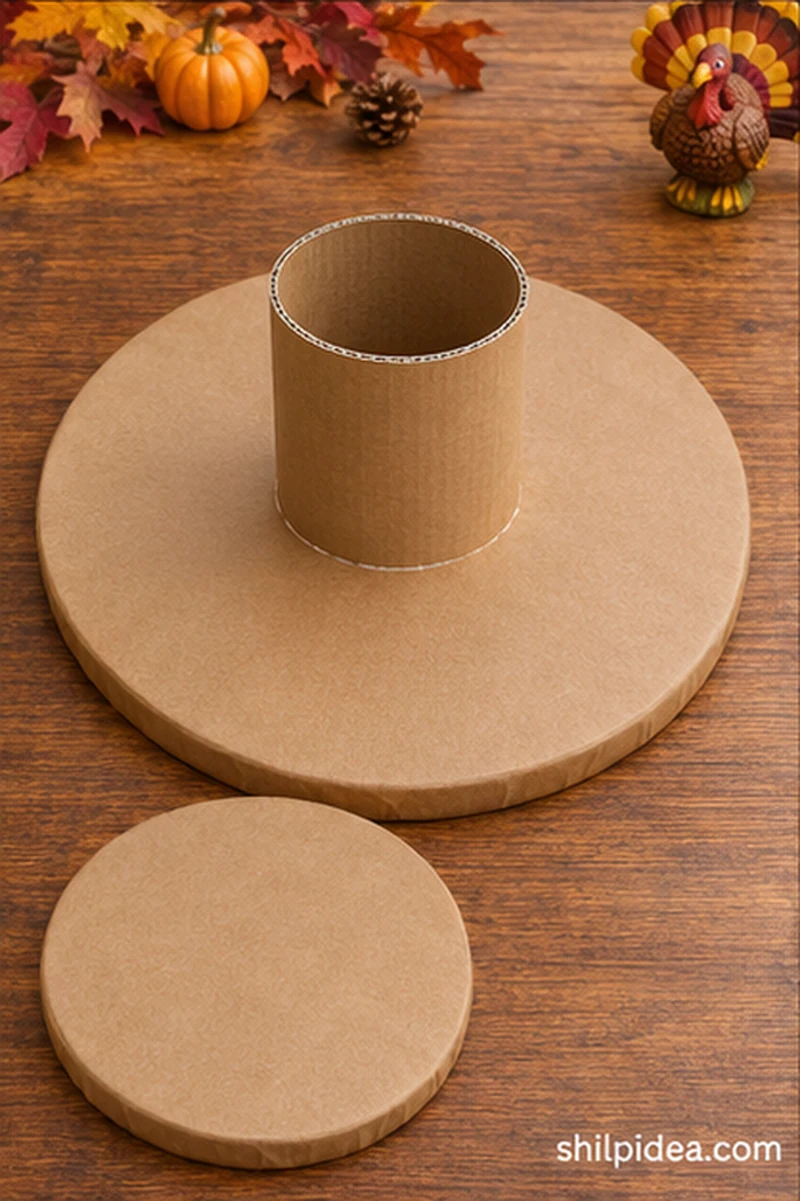
- Wrap the tube. Wrap the outside of the tube with kraft paper. Fold the paper edge inward without leaving a thick overlap where the tube will sit against the base.
- Glue it to the base. Trace the tube around the larger disc’s center mark. Apply glue to the bottom edge of the tube, position it inside the outline, and leave it undisturbed for the labeled set time.
4. Attach and Test the Upper Tier
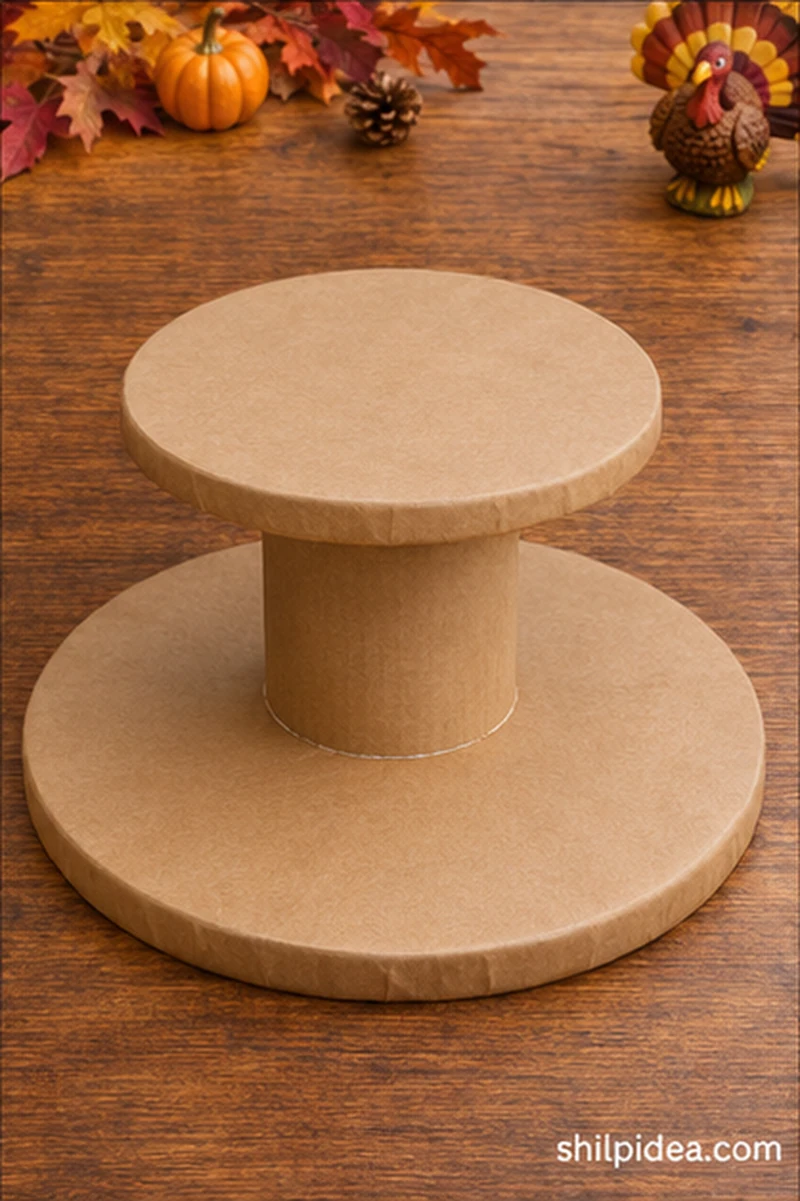
- Center the smaller disc. Apply glue to the top rim of the tube and place the small disc over it. Check the overhang on all sides and leave the assembly on a level surface while the glue cures.
- Check the joints. Set the empty dishes in position and gently press around their edges. If the riser rocks, bows or shifts, fix the construction before putting it on the dessert table.
5. Arrange the Plates and Treats
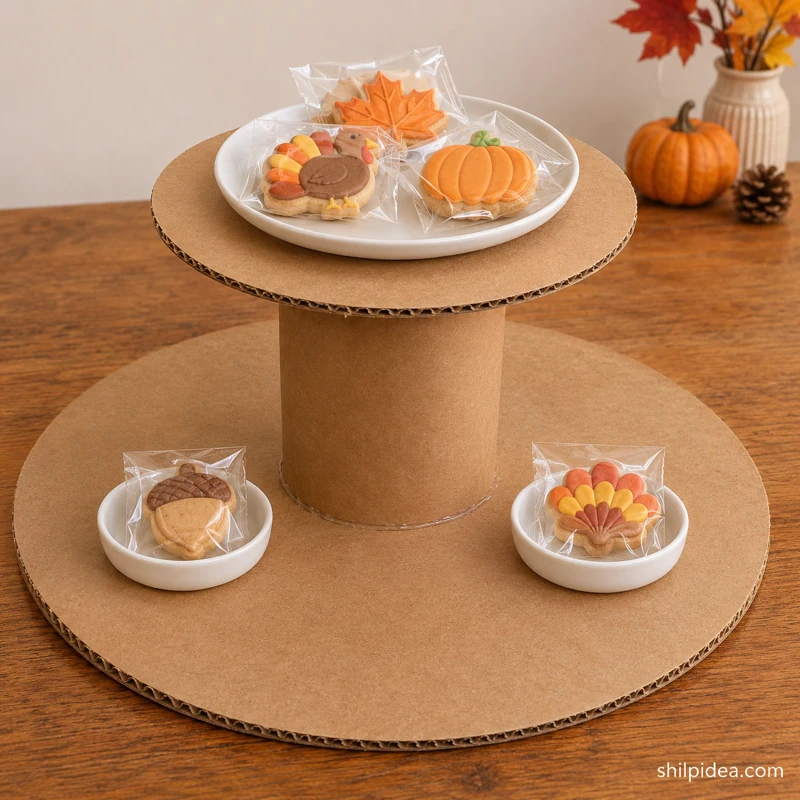
- Leave the base easy to reach. Use one or two small food-safe dishes on the exposed lower tier. Keep the upper plate centered, with its entire base supported.
- Start with a few treats. Set out a small number of wrapped treats and refill as needed. Place the stand well back from the table edge and remove it if either tier begins to bend.
Finish the Rest of the Dessert Table
Leave open space next to the stand for tongs, napkins and plates. Repeat its kraft-paper tone with folded place cards or a small centerpiece. These projects can help you use the same colors or materials elsewhere on the table.
- Dried Flower Centerpiece in a Tin
- Make a Cardboard Gratitude Box
- Rustic Decorations With Wood Slices
- Fabric Decorations for Holiday Displays
What would you put on the top tier? Share your Thanksgiving dessert plans in the comments. If you try the stand, tell us which plate sizes worked with your layout.


















0 Comments