18 Salt Dough Decoration Ideas with Simple Shapes
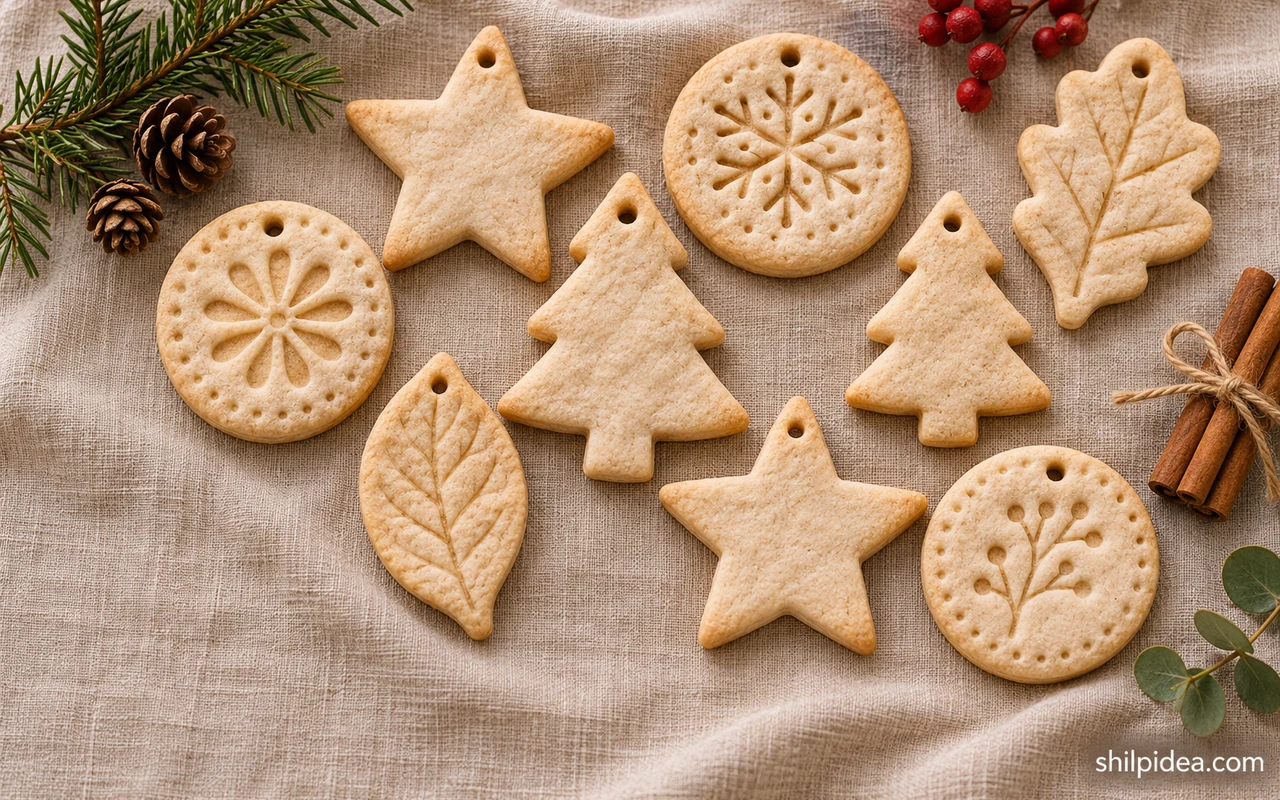
Salt dough decorations can start with a simple circle, star, or leaf impression. Small shapes give you room to try out a finish before making a whole set.
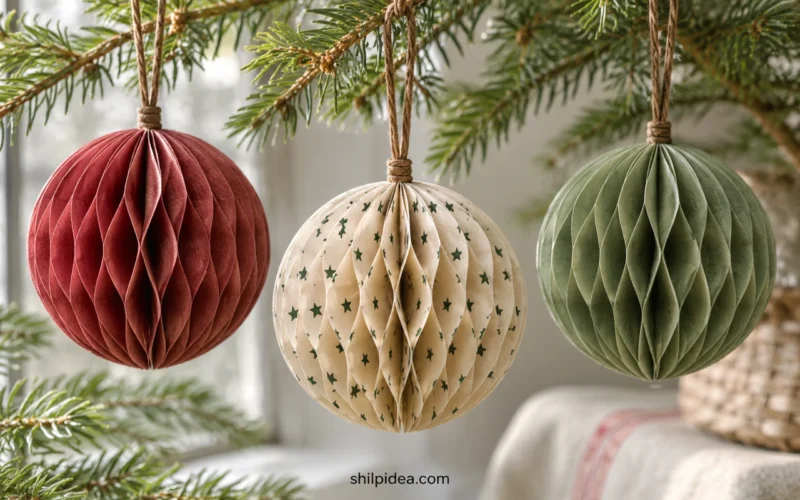
Decide whether each piece will hang, lie flat, or sit on a tag. If you like making paper honeycomb ornaments, a few plain dough shapes can add a different texture to the same display.
The ideas below include stamped pieces, painted ornaments, and groups you can hang together. Try them beside paper bag snowflakes for a simple winter palette.
1. Cut a Set of Classic Shapes

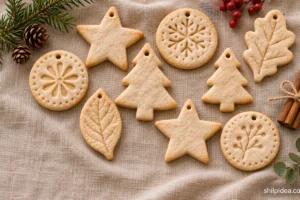
Start with a star, heart, and tree if this is your first batch. Leave enough space between the cutouts to lift each one without stretching the edges. Make a few spares from the scraps and use them to try paint colors or test how the hanging loop looks when you tie it. Try shapes that also work with paper honeycomb ornaments.
2. Print Dark Botanical Motifs

A dark bird or flower stamp can turn a pale cutout into a small silhouette. Choose one bold motif for a narrow ornament and reserve fine lines for a larger circle. Test the stamp on a scrap so you can see how much pressure will transfer the pattern without compressing the whole shape.
3. Press Leaves into the Surface

Try a leaf with a raised vein on a flat piece of dough. Lay it vein-side down and press it just enough to transfer the texture, then lift it from one end. A round cutter leaves a plain border around the imprint, which makes it easier to see each leaf’s shape.
4. Use Lace to Texture a Tree

Press a piece of lace into rolled dough before using the tree cutter. Look for an open weave with a pattern large enough to show after the piece dries. If you want the surface to stay pale, tie a darker ribbon through the hole and let the lace impressions provide the detail.
5. Make a White Star Wreath
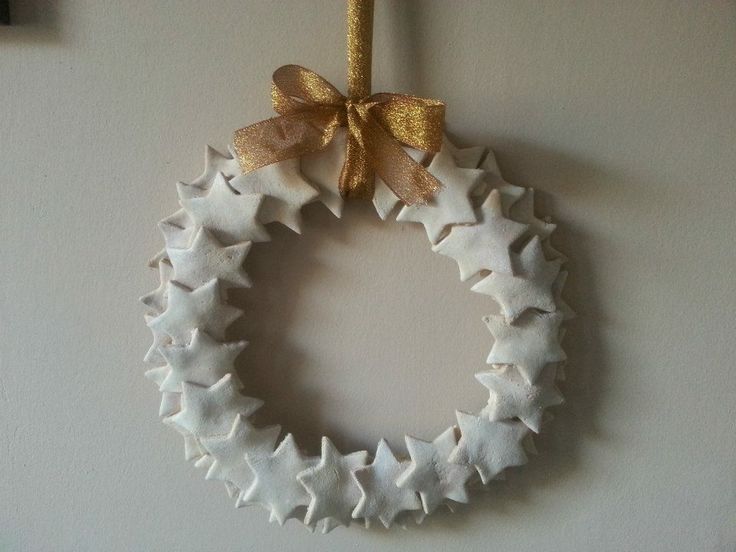
Lay out the dry stars in a ring before attaching them to a wreath base. Overlap alternating points if you want a fuller outline and keep a few spares for repairs. Make sure the hanger and base can carry the total weight, then add a gold ribbon once the arrangement feels balanced. Hang them beside paper bag snowflakes on a separate line.
6. Stamp a Holiday Symbol in Color

Try a tiny Christmas tree stamp on a broad circle or heart. Use an ink intended for the craft surface and test it on a fully dry scrap before decorating the set. Leave part of each shape unprinted so the stamps remain legible when the ornaments are viewed from across the room.
7. Make Reusable Gift Tags

Shape small stars or hearts for the outside of wrapped gifts. Use a tool to make a hole large enough for the cord before the dough dries. Once the tags are dry, paint an initial on the front or write the recipient’s name on a paper slip threaded onto the same ribbon.
8. Compare Several Botanical Textures

Make a group of simple discs and give each a different impression. A flat fern can produce a fine pattern, while a broad leaf makes a more visible mark. Keep the size and string consistent so the differences in texture are easy to see when the pieces hang on the same branch.
9. Frame Dried Flowers in a Heart
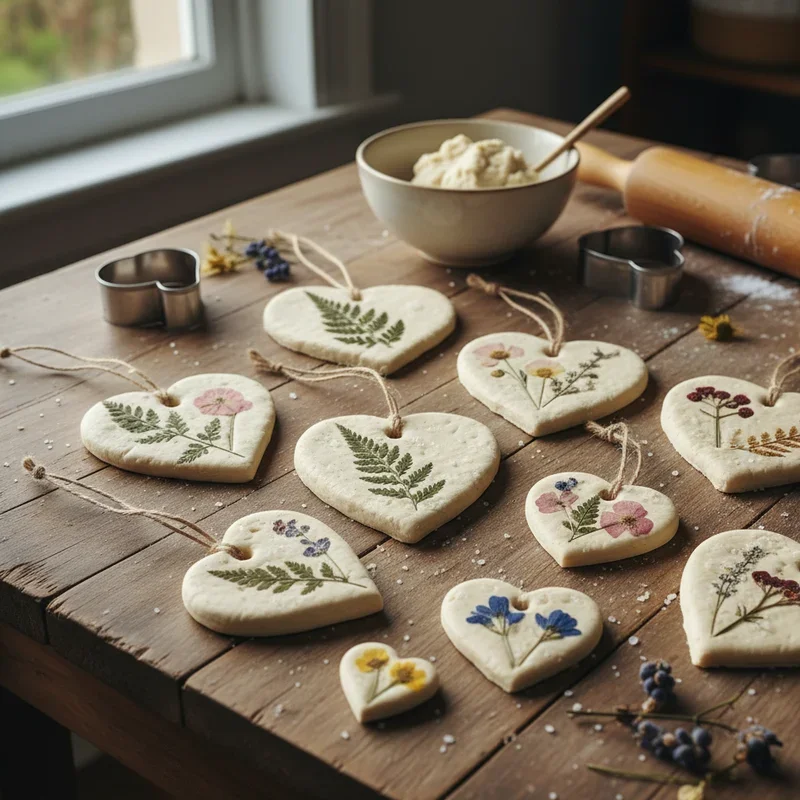
Choose a pressed flower small enough to leave an empty margin around a heart shape. Decide where the hole should go before placing the flower. Attach the flower to the dry base with a compatible craft adhesive if you want to avoid exposing its petals to heat during the dough’s drying process.
10. Paint Leaf Impressions in Rainbow Colors

Make a few leaf impressions with similar outlines, then give each finished piece a separate color. Use a small brush and a light hand so paint stays out of the deepest grooves. Lay the dry pieces in order before threading them, leaving the boldest shade near the center if you make a hanging display.
11. Use a Spring Palette for Small Cutouts

Pick two or three spring colors and divide the dry ornaments into small groups. Paint one color on each group, then add a second detail to a few of the shapes. The simple repetition is useful when you want enough pieces for a display without painting an individual scene on every one.
12. Make Nature Pendants as Decorations

Choose a broad shape for a leaf or twig impression and turn the pattern slightly so it follows the edge. Check that the top of the piece leaves enough unmarked space for the hanging hole. A plain loop lets the finished pendant hang from a display branch or a handmade gift package.
13. Paint a Group of Holiday Cutouts
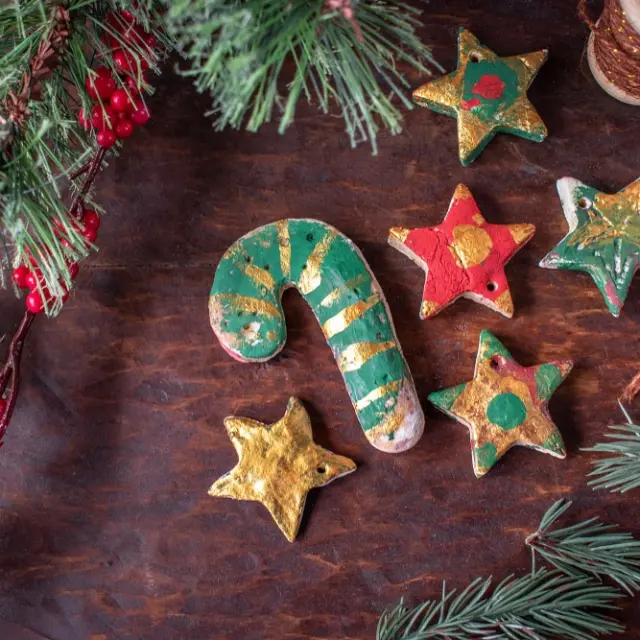
Set out the dry shapes before painting and decide which ones will carry the strongest colors. Start with the larger areas and allow them to dry before adding small dots or lines. Repeat one small detail across the group so a tree and a star still feel like part of the same set.
14. Join Stars into a Simple Garland
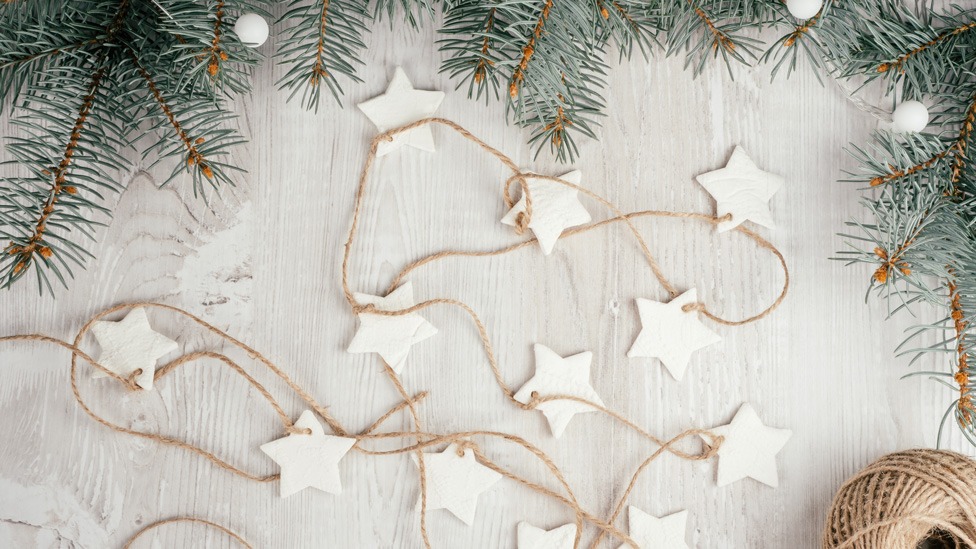
Make several stars that are similar in weight, and wait until every piece is thoroughly dry before hanging. Tie each star with a separate short cord so you can replace one without taking the garland apart. Test the spacing over a small shelf and use a support suited to the total weight. Repeat the shape in Christmas bow displays with a star on each ribbon tail.
15. Use Plain Shapes with Natural Twine

Pale dough and a coarse twine loop suit a display with wood, greenery, or plain brown wrapping. Keep the hole open while the piece dries, then test how the twine lies before tying it. Give the ornament enough room beside darker objects to see the edge and any impressions you added.
16. Try a No-Bake Batch for a Small Display

A no-bake approach gives you time to make several simple shapes without using an oven. Follow the project’s recipe and drying directions, and check the center of a test piece before painting the rest. Store the finished decorations in a dry place and discard any that soften or show signs of damage.
17. Add Fingerprint Details to a Tree

Leave room for a few small impressions on a broad tree shape. Space them unevenly, like decorations on a tree, then color the indentations after the piece dries. An adult can supervise the craft and keep the dough out of mouths, especially if young children are helping to make the impressions.
18. Build a Small Holiday Village
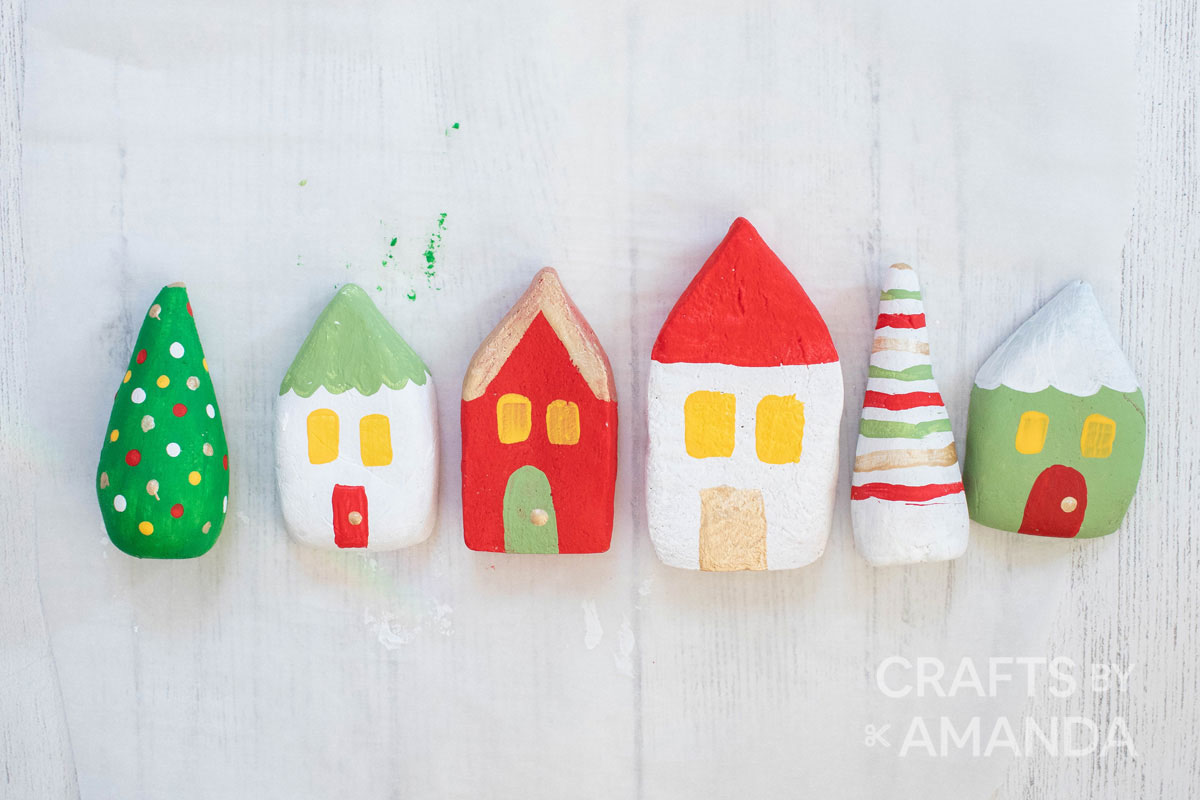
Use a few shapes at different heights to suggest a row of little houses. Keep the faces simple so painted doors and windows remain clear from a distance. Let the pieces dry fully before arranging them on a shelf, and keep the display away from heat, moisture, pets, and curious hands.
Label and Store Salt Dough Decorations
Keep the mixture and finished pieces separate from food. Salt dough is decorative and can be harmful if eaten by pets. See the ASPCA’s holiday pet safety guidance and store the pieces somewhere pets and small children can’t reach.
More Ideas to Try
Choose a detail that works with what you already have, then try it in one small spot. A different material or a simple change in scale can make it easier to carry the idea into a second project. These related posts offer a few places to start.
- Recycled Paper Honeycomb Christmas Ornaments
- Paper Bag Snowflakes for Christmas
- Giant Christmas Bows for Holiday Decor
- Christmas Table Settings with Natural Details
Which shape would you try first? Tell us in the comments how you’d finish it and where you’d display it.



















0 Comments