18 Polymer Clay Craft Ideas for Small Decorative Pieces
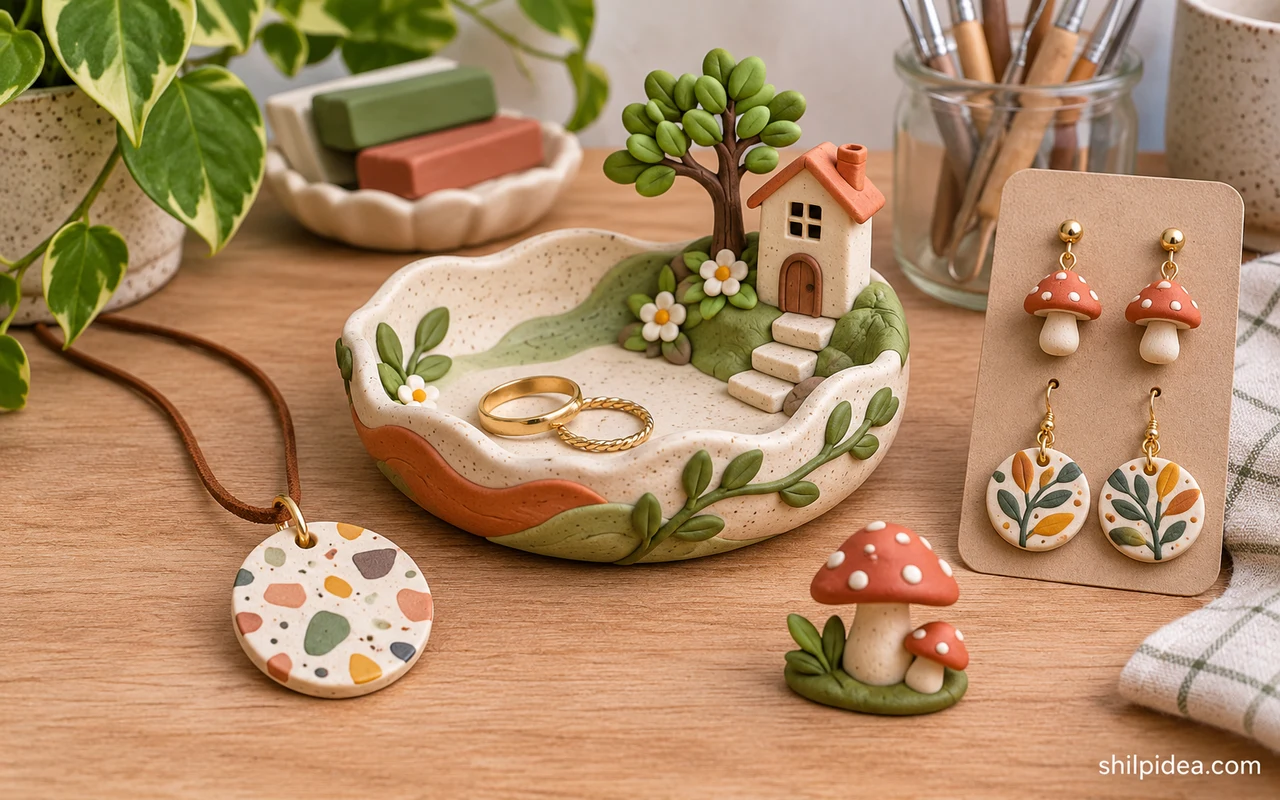
Polymer clay crafts give you a way to try a small shape or color combination without committing to a large project. Start with a piece you can finish and use.
Test one small sample and follow the directions on your clay package. Repeat a color from framed fabric wall art or another piece you already display nearby.
The ideas below range from little dishes to charms and decorative accents. If you’re comparing handmade business ideas, choose a shape you can make consistently before trying to batch it.
1. Swirl Colors into a Ring Dish

Work a dark strand into a pale base to give the marbling a clear direction. Stop twisting while you can still see bands of color, then roll the clay flat and choose the part with the clearest pattern for the center. A shallow rim gives rings a place to stay without hiding the swirl. A simple dish can also sit beside framed fabric art.
2. Cut Marbled Heart Charms
A small heart shows the pattern best when one contrasting line crosses its center. Move the cutter around the slab before pressing down so you can choose that part of the design. Plan the hole before baking and leave a margin around it for whatever cord or hardware you intend to use.
3. Make Beads from One Marbled Slab

Use leftover pieces of a marbled slab to make beads that share the same colors. Roll a few rounds with similar diameters, then flatten another piece for a pendant or earring. A single dark stripe can tie the pieces together even when the pattern falls in a different place on each one.
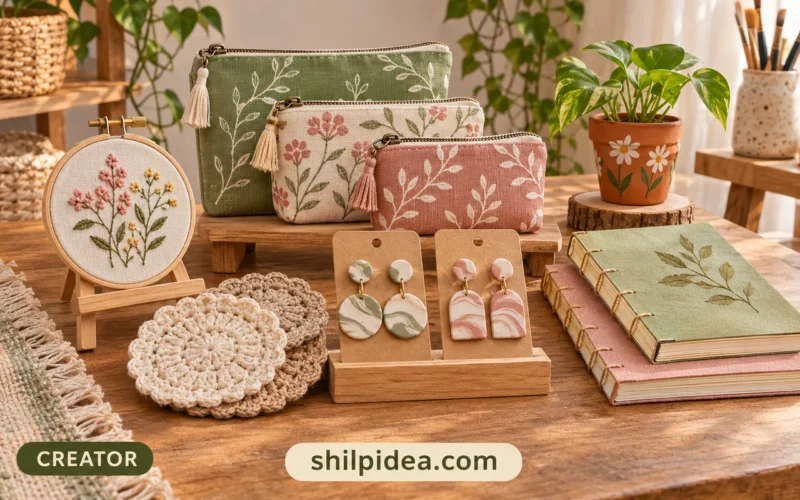
4. Cut Gold-Flecked Earrings from a Pastel Slab

Try a soft color blend with a few small metallic flecks. Move both cutters together until the designs share a little of the same accent color. Before baking, make sure the paired pieces have their holes in equivalent positions so the same findings will let them hang at a similar angle.
5. Make a Set of Decorative Buttons

Choose a single cutter or use a few matching shapes for a set of embellishments. Lay out the holes with a spare button as a guide before making them. If you plan to use them on a garment, test one with the fabric and intended care routine before making a full set.
6. Finish a Bookmark with a Small Clay Detail

Use a lightweight clay piece near the top of a bookmark, where it can stay outside the closed pages. Pair its color with the cardstock or ribbon so the detail feels connected to the rest of the piece. Try the bookmark in a paperback before making several as gifts for readers.
7. Shape a Miniature Book Charm

Stack a pale rectangle between two thin contrasting covers and keep one long side smooth as the spine. Add lines for page edges to the other exposed sides with a small tool. Pick one cover color for a series and vary the small details so the books still look different when displayed together.
8. Add a Mushroom to a Decorative Planter

A small mushroom creates a bright detail beside a plain indoor plant pot. Use a rounded cap and a short stem so the piece reads clearly at a small scale. Display it where you can move it before watering and keep tiny decorative pieces away from children and pets that might mouth them. Use a miniature accent near kitchen wall decor.
9. Build a Tiny Succulent Rosette
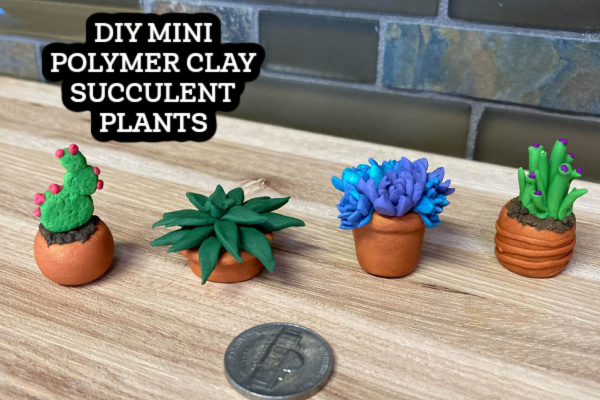
Shape a few pointed leaves and assemble the smallest ones near the center, with larger leaves around the outside. Vary the shade slightly between layers to show where each row starts. Set the finished rosette into a decorative mini pot or use it as a detail in a small handmade display.
10. Scatter Terrazzo Chips Across a Coaster

Add small colored chips to a plain clay base and leave a little space between each cluster. Roll gently so the surface stays even, then cut the coaster from the section with the best balance. Let the clay cool on a suitable flat surface and check the underside before using it on furniture.
11. Keep a Trinket Dish Shallow
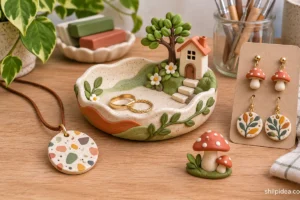
A shallow dish works well for small pieces you set down every day, such as loose rings or earring backs. Choose a contrasting rim color if you want the edge to stand out against a dresser. Test the finished dish on the surface you have in mind so it sits flat and stable.
12. Turn a Mini Succulent into a Magnet

Flatten the back of a small rosette so there’s an even surface for attaching the magnet after baking. Choose a glue compatible with both materials and follow its curing directions. Keep the piece light, test the hold before hanging it up, and keep small magnets away from children and pets.
13. Set Small Succulents in Matching Clay Pots
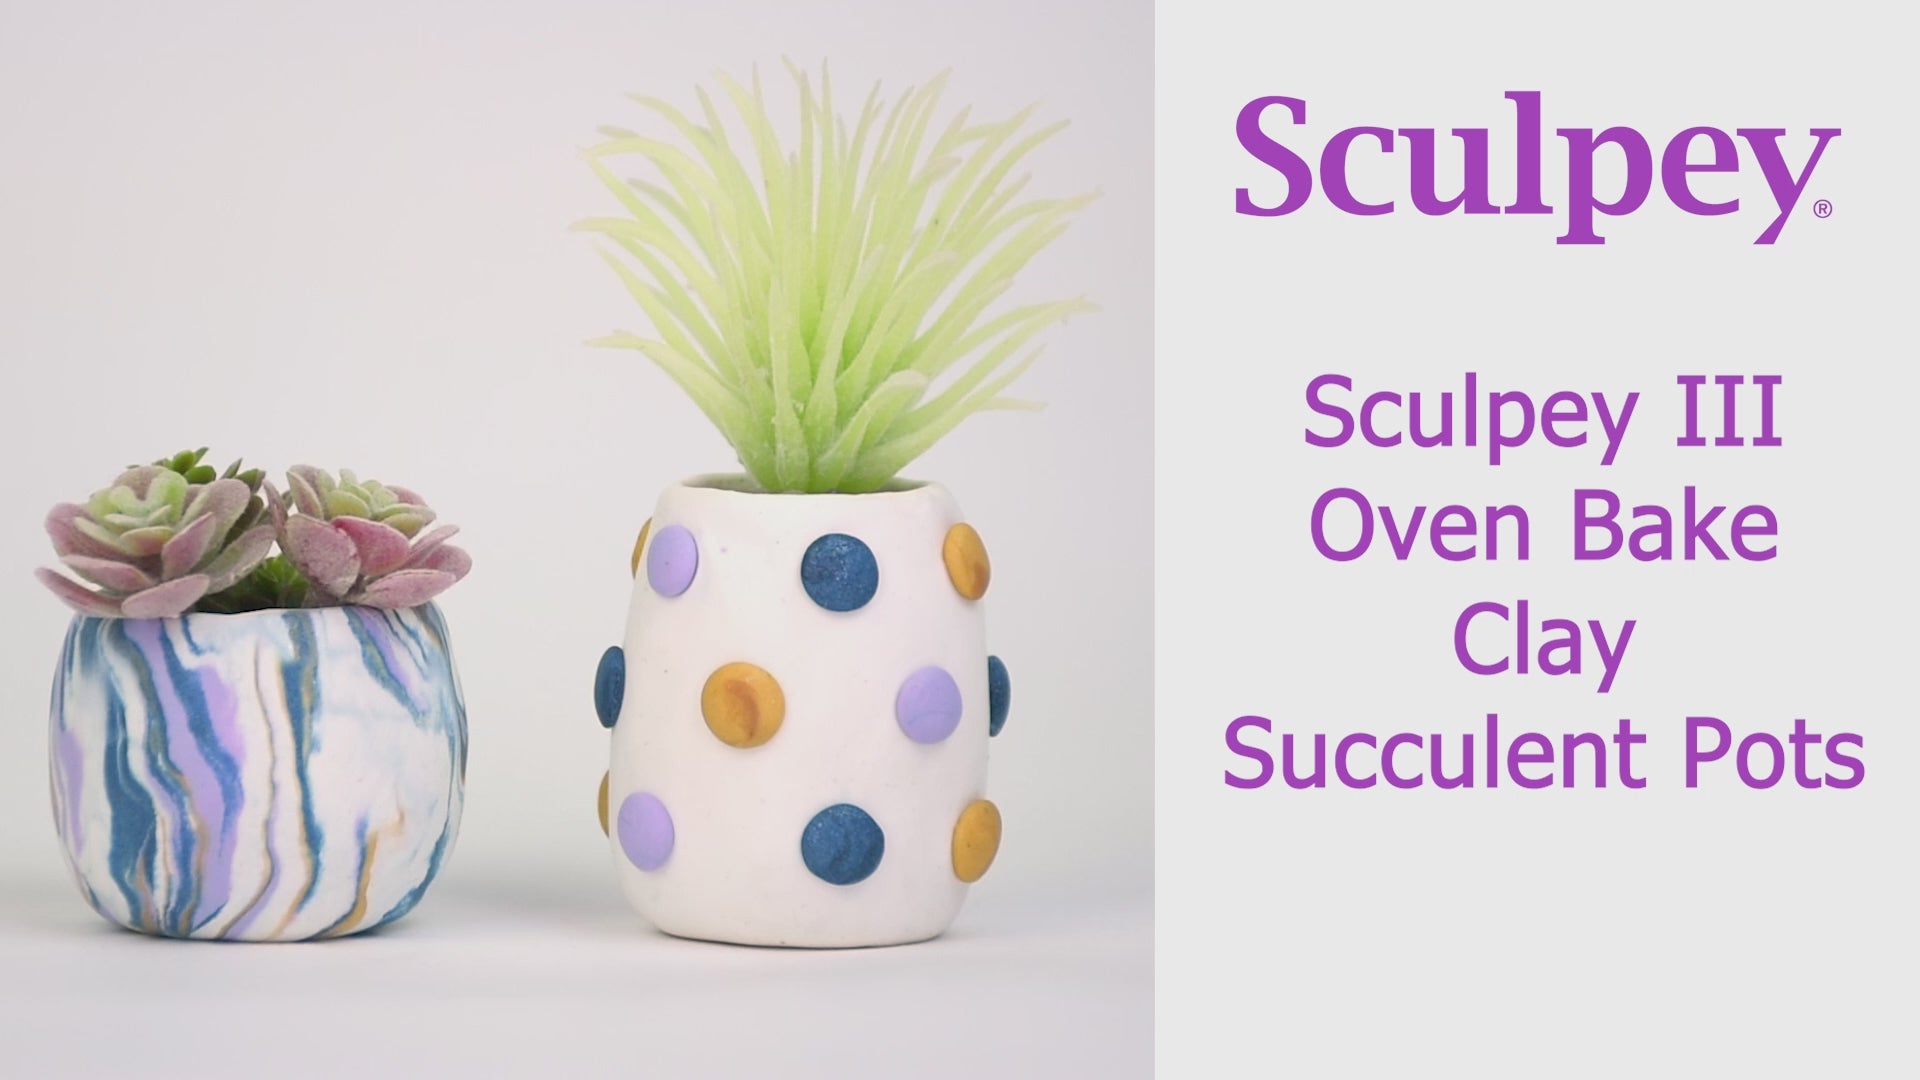
Repeat a simple clay pot shape in two colors and use a separate shade for each small succulent. A narrow lip around the opening helps distinguish the pot from the leaves. Place the finished pieces where their silhouettes are easy to see, such as in a row on a clear shallow shelf.
14. Make an Octopus Jewelry Holder

Use a few curved arms as separate rests for rings. Keep the base wide and try the placement with inexpensive jewelry after baking so you can check which curves work best. A single color shows off the shape, while tiny dots around the arms can give the surface a little more detail.
15. Try a Soft Checkerboard for Coasters

Pair two pastel shades with a clear difference in value so the checks are still visible in soft light. Arrange the squares before rolling and pay attention to the corners, where pieces can drift. Keep the surface level and decide how much of the pattern you want visible at the edge before cutting.
16. Lay Out a Tiled Trinket Tray
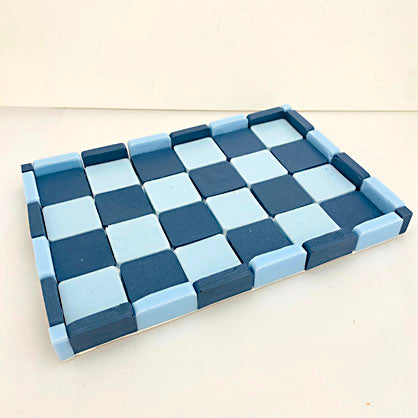
Start by arranging the colors from the outside toward the center. A quiet border will contain a busy mix of shapes, while an accent tile repeated in a few spots will carry color across the design. Follow the liquid clay product’s directions for the mold and curing, and keep the tray for small decorative items. If you’re planning to sell a set, compare it with other handmade business ideas before choosing a price.
17. Press Flowers into a Flat Coaster Design
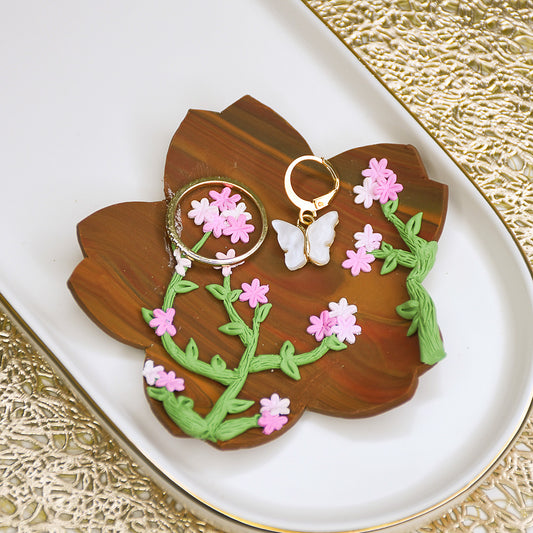
Keep the flower detail low so a cup can rest on the finished surface. Try a big flower near one edge and a few small pieces of a second color nearby. Working from one side leaves room for the clay base to show and makes the finished pattern easier to read from above.
18. Build a Checkerboard Cane for Small Pieces
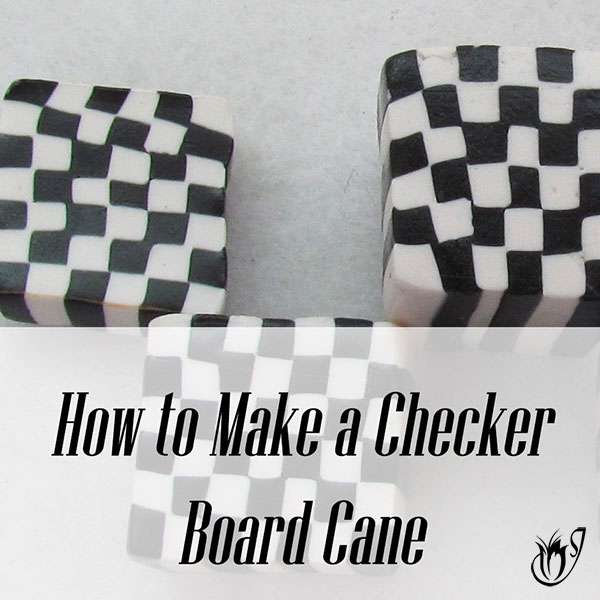
Stack contrasting clay bars in an alternating grid and check both ends to see how the colors line up. Slice a sample before using the cane on a larger piece. If you like the pattern, use small slices for accents where straight lines can sit next to a plain surface and remain visible.
Check the Clay Package Before Baking
Use the baking temperature and time specified for your clay and thickness. See Sculpey’s baking guidance for its products. Keep the dishes and trays in this collection for decorative use.
More Ideas to Try
Choose a detail that works with what you already have, then try it in one small spot. A different material or a simple change in scale can make it easier to carry the idea into a second project. These related posts offer a few places to start.
- Framed Wall Art from Fabric Samples
- Handmade Business Ideas for Creative Sellers
- Recycled Paper Honeycomb Christmas Ornaments
- Staircase Photo Walls for Family Memories
Which small clay piece would you make first? Tell us in the comments which colors or patterns you’d use.















0 Comments