18 Staircase Photo Wall Ideas for Family Memories
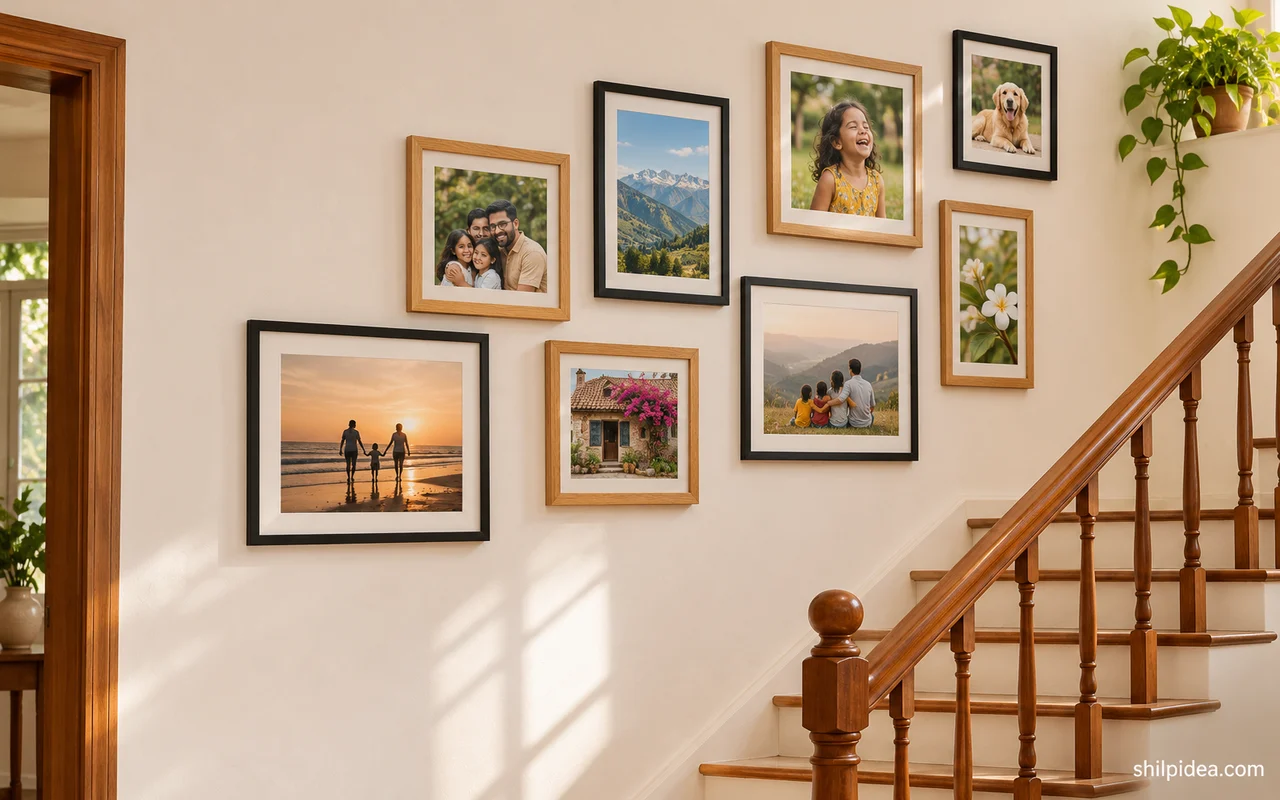
A staircase photo wall gives family pictures a place you’ll pass every day. The stair angle, the light, and the way you approach the wall will shape how the pictures look together.
Start with the frames you already have and try them on the wall using paper frame templates.
Choose a few photographs you look forward to seeing again. These personalized wall ideas can help you decide which other keepsakes deserve space nearby.
1. Follow the Rise of the Stairs
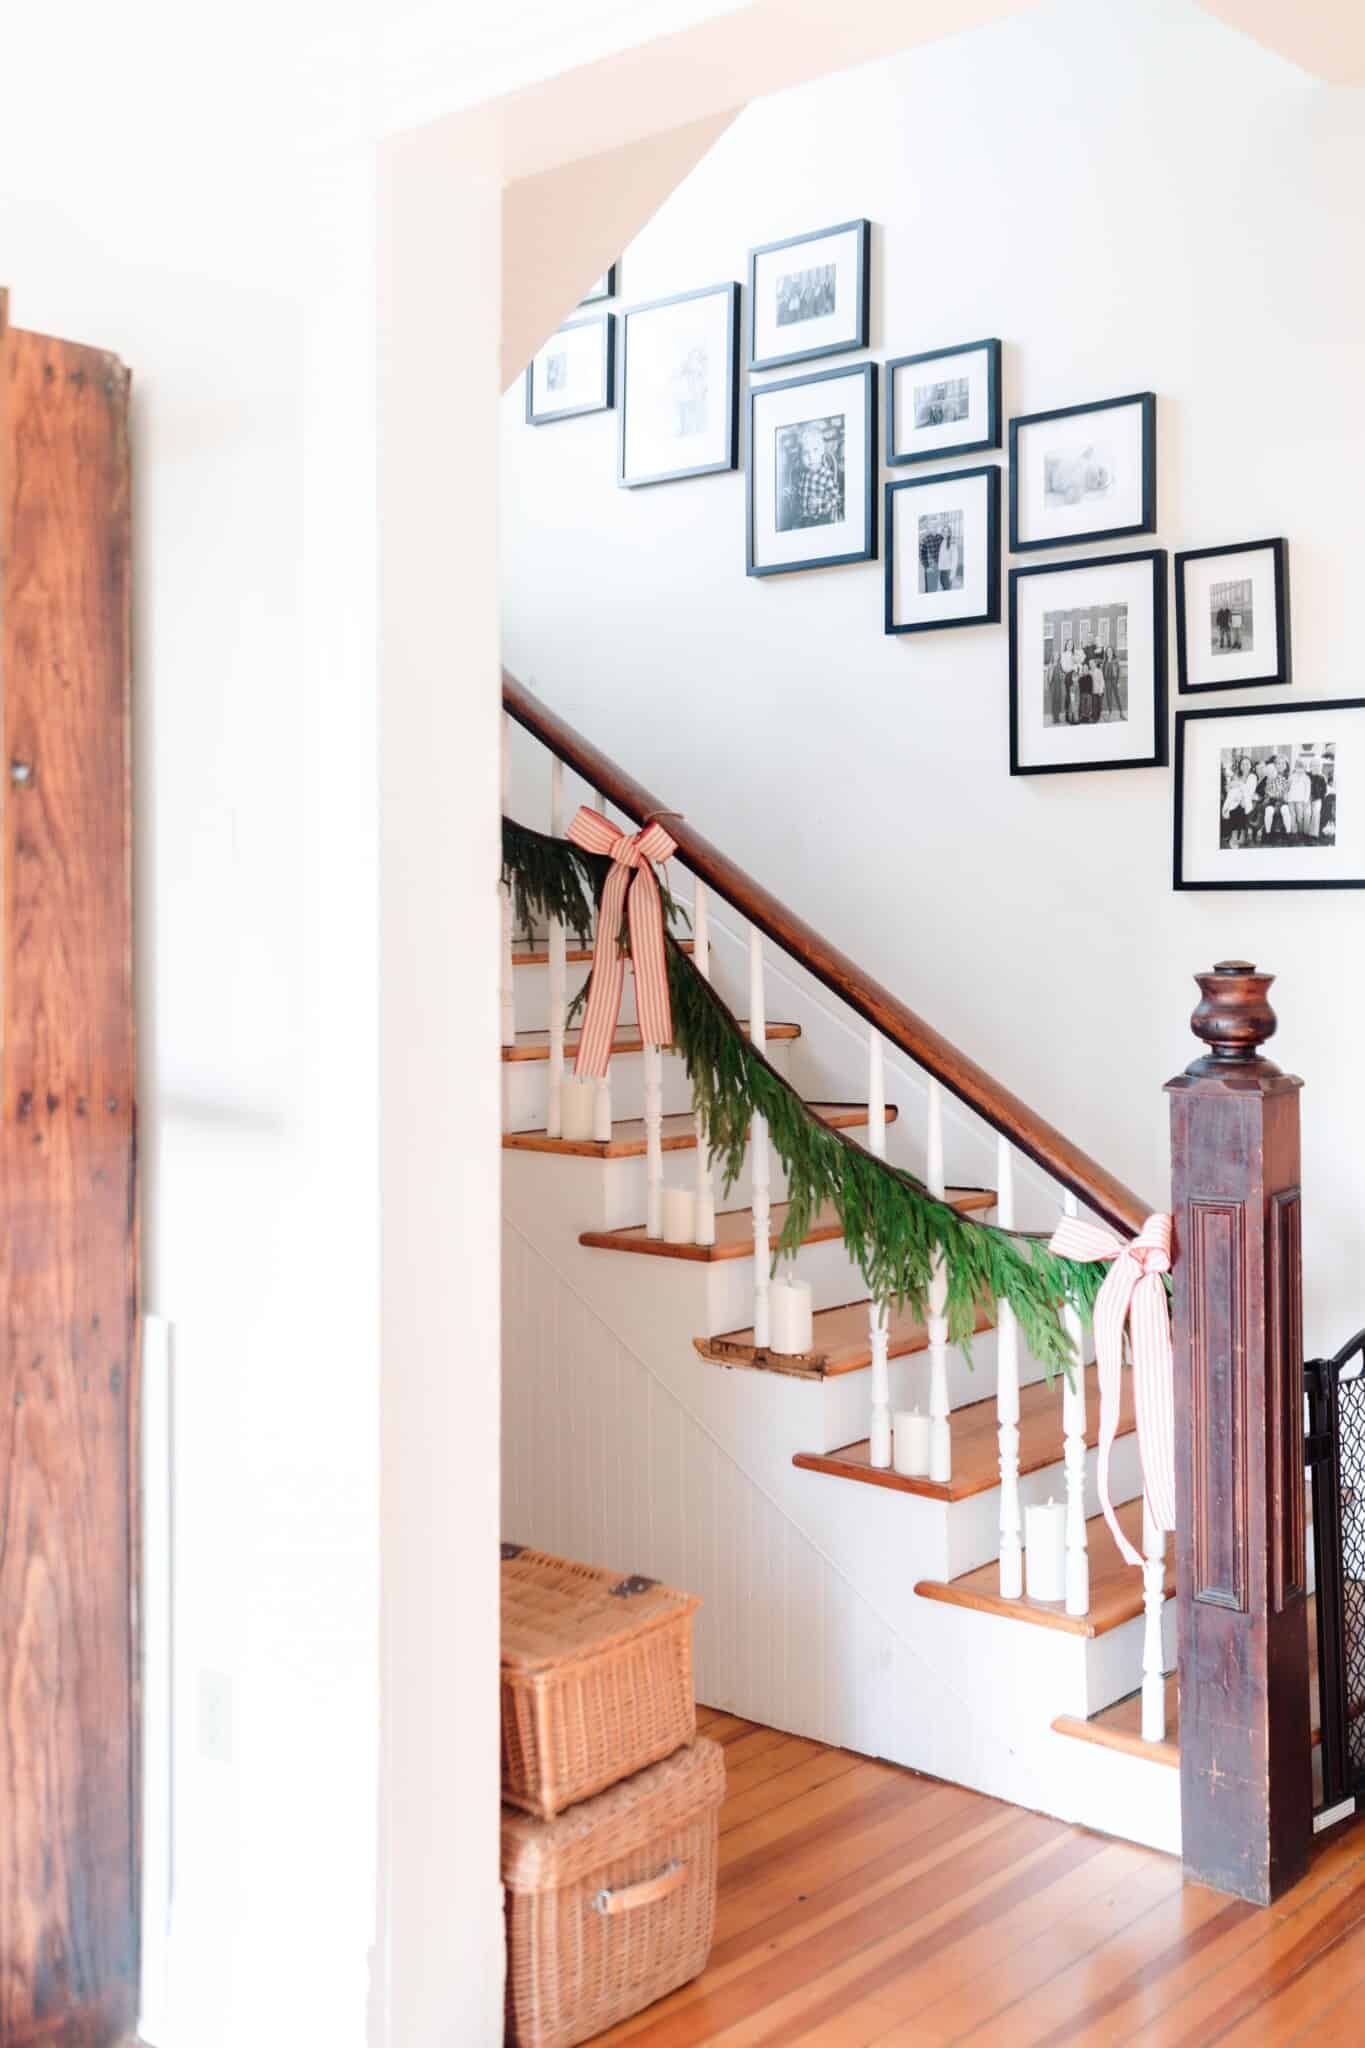
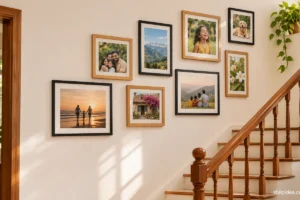
A row of frames that rises with the stairs can make a long photo wall feel orderly from the hall. Tape a diagonal guide on the wall and mark the center of each frame on it. Stand at the foot of the stairs and check the rhythm before making holes. You can move a frame a little if a switch or handrail bracket interrupts the line.
Follow the Maker’s Method: Hang a Staircase Gallery
2. Use Black Frames for a Clear Outline

Thin black frames give the photographs a clear edge against pale plaster. Use two or three frame sizes so the display can take both group shots and smaller portraits. Start with a generous gap around your largest photo. The other frames can step out from there without crowding faces together.
3. Repeat the Wood Tone of the Stairs

Wood frames can pick up the color of the treads or handrail. Bring a frame to the staircase and look at it in the morning and after dark, since two finishes that match in a shop can look different at home. Leave room between the frames so their color reads as a detail across the wall.
4. Let One Portrait Set the Scale
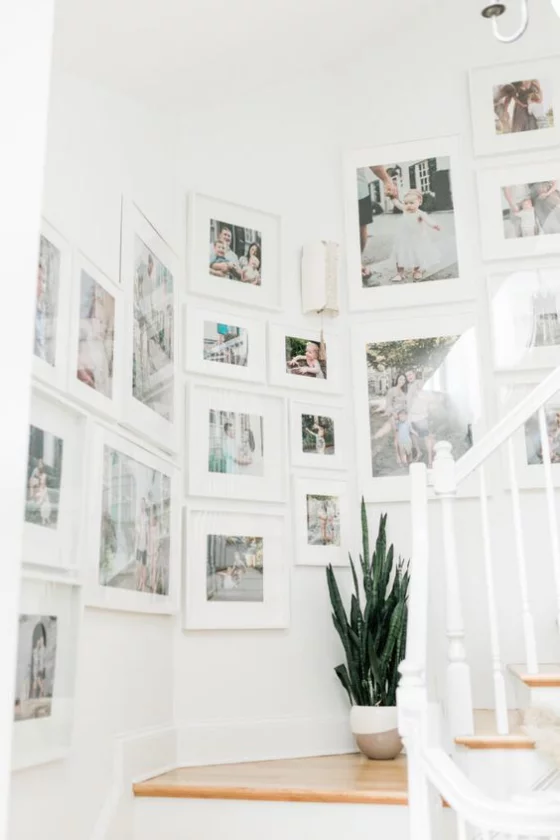
Start with the family photo you want to notice from the doorway. Print it larger than the surrounding pictures and give it a clear patch of wall. Use the next size down for pairs or single portraits. Check the large print at the intended viewing distance, where small faces can be harder to read. These hallway mirror ideas offer another way to handle a bright landing.
5. Tell a Story Across Generations

Gather portraits of grandparents, parents, and children and choose one print that is easy to recognize for each branch of the family. Start near the landing if you expect people to stop and look. A small label on the back of every frame can keep names and dates with the print as the collection grows.
6. Make White Mats Do the Unifying Work
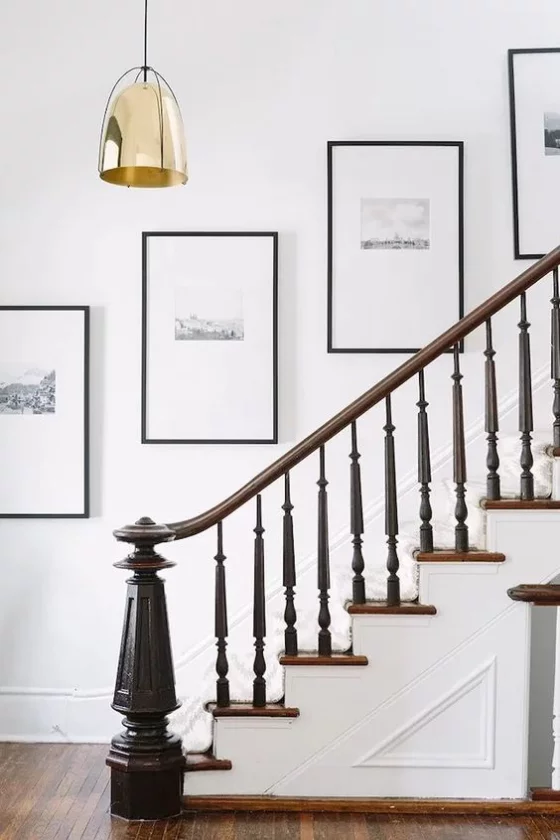
When frames vary in shape or finish, matching mats can give them something in common. Try a warm white beside old photographs and look at how it compares to the white of recent prints. Keep a few mats the same width so they create a rhythm. Change the width only where the photo needs more room.
7. Use a Grid Where the Stairs Flatten Out
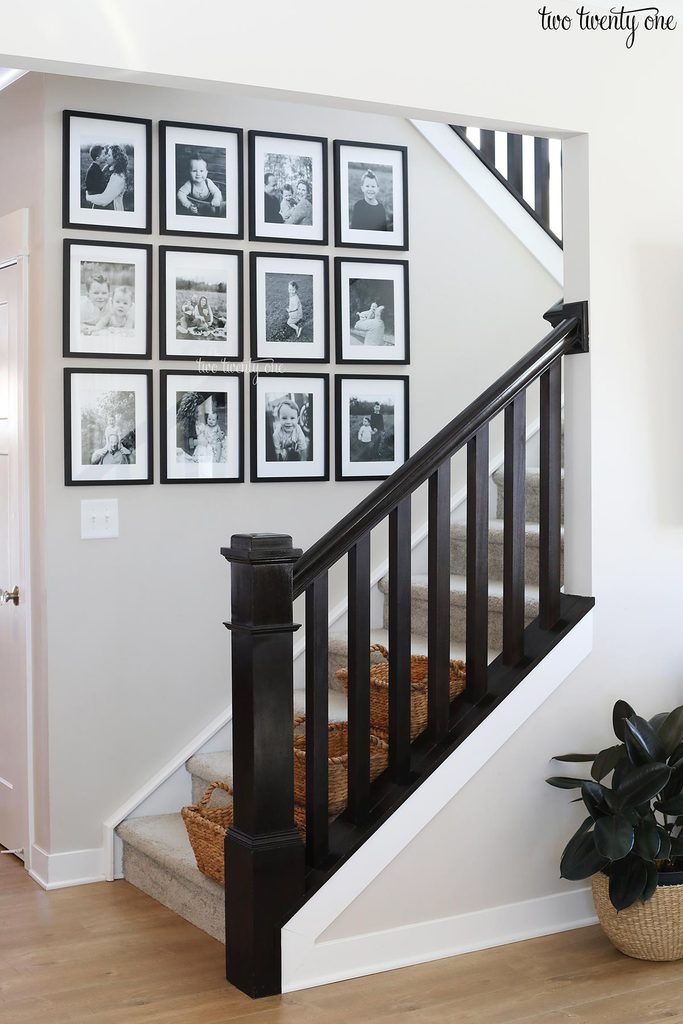
A landing gives you a level reference for a small grid of photos. Start with four or six matching frames and set the spacing on the floor. Move the outer edges slightly inward if the wall has a doorway or a turn. From below, you should see one group of photos with enough room around it.
8. Begin With a Cluster You Can Expand
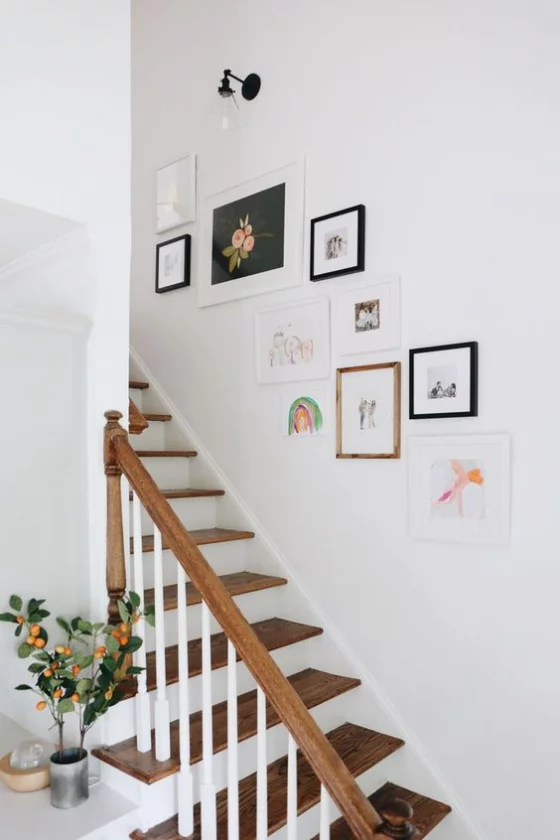
Choose a small group of favorite photos and leave a clear edge where one or two future frames could go. Plan for an opening that can take a landscape or a portrait. A drawing of the current arrangement makes it easier to add graduation or holiday photos later while keeping the gaps close to the original spacing. Leave space for these personalized wall displays if you want to add more later.
9. Mix Found Frames in Two Finishes
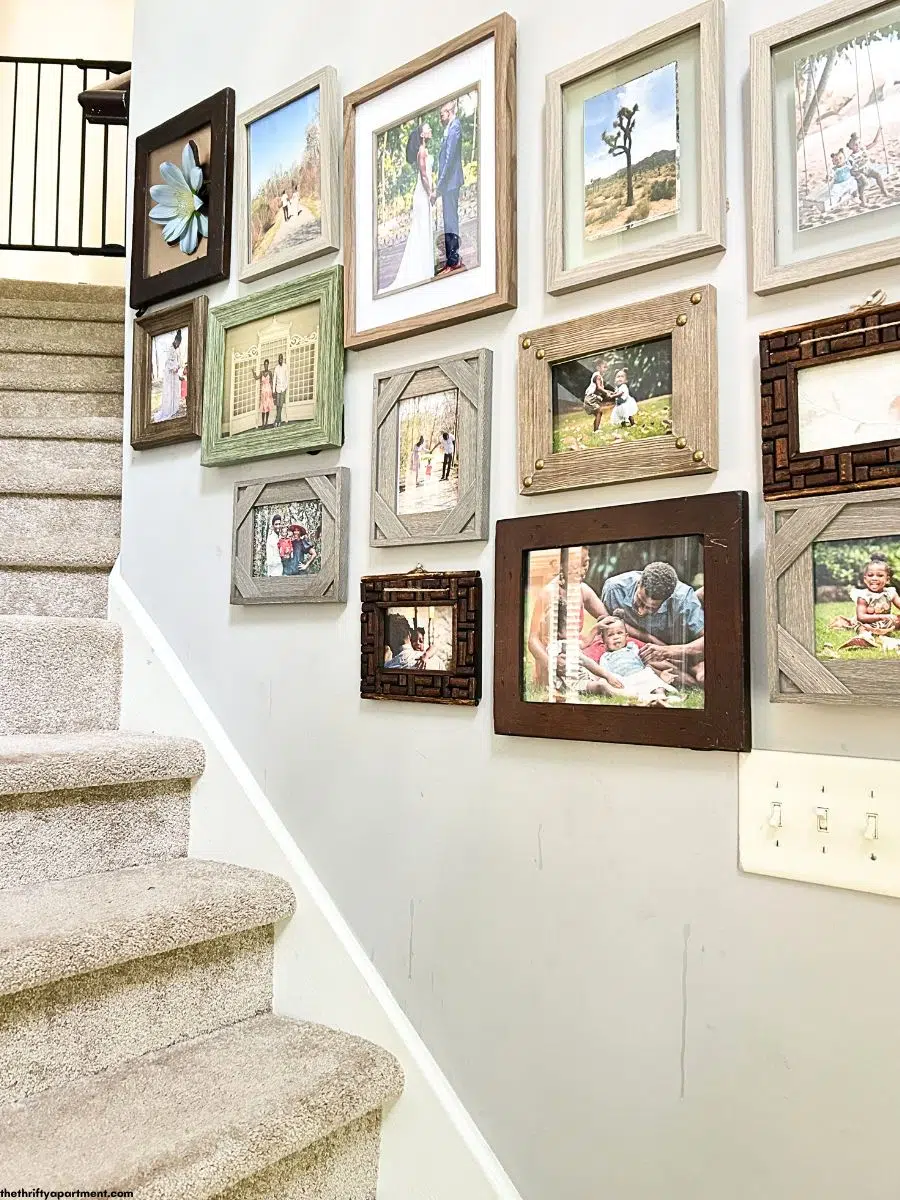
Thrifted frames can add variety even if the photo wall has a tight budget. Pick two finishes and let the shape and width change. Lay the frames beside each other before painting any of them so you can see which ones already work. Repeat each finish on at least two parts of the wall.
10. Try Paper Templates Before Hanging
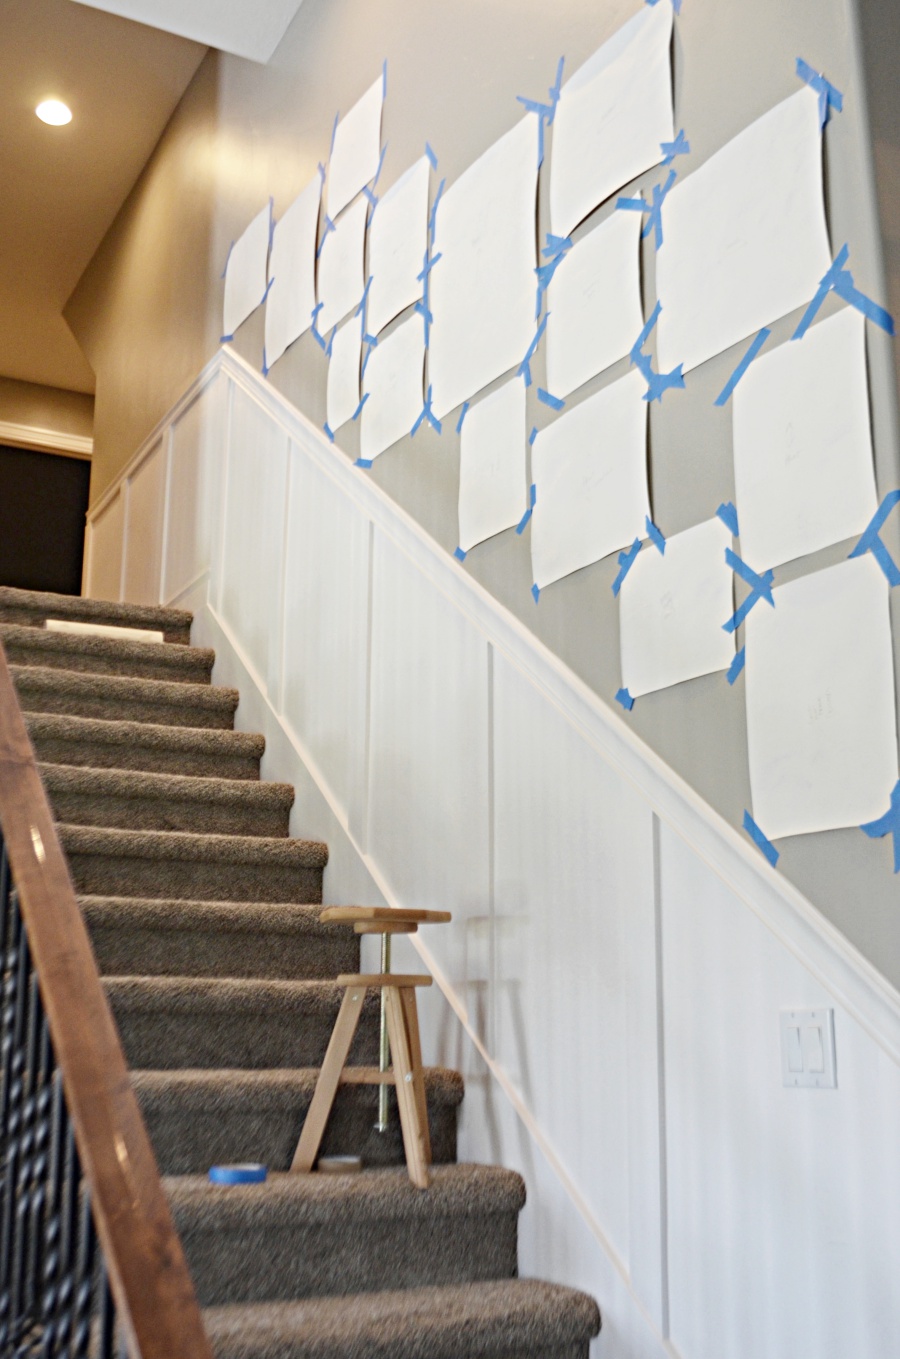
Cut a paper template for each frame and mark where its hanging point sits. Tape the sheets in place and see how the group reads both from below and from the landing. Write the photo name on each sheet if the story order matters. Take a quick picture of the final layout so you can refer to it when hanging. This gallery wall guide shows how to mark the hook before taking the template down.
Follow the Maker’s Method: Map a Staircase Gallery
11. Print a Mix of Years in Black and White
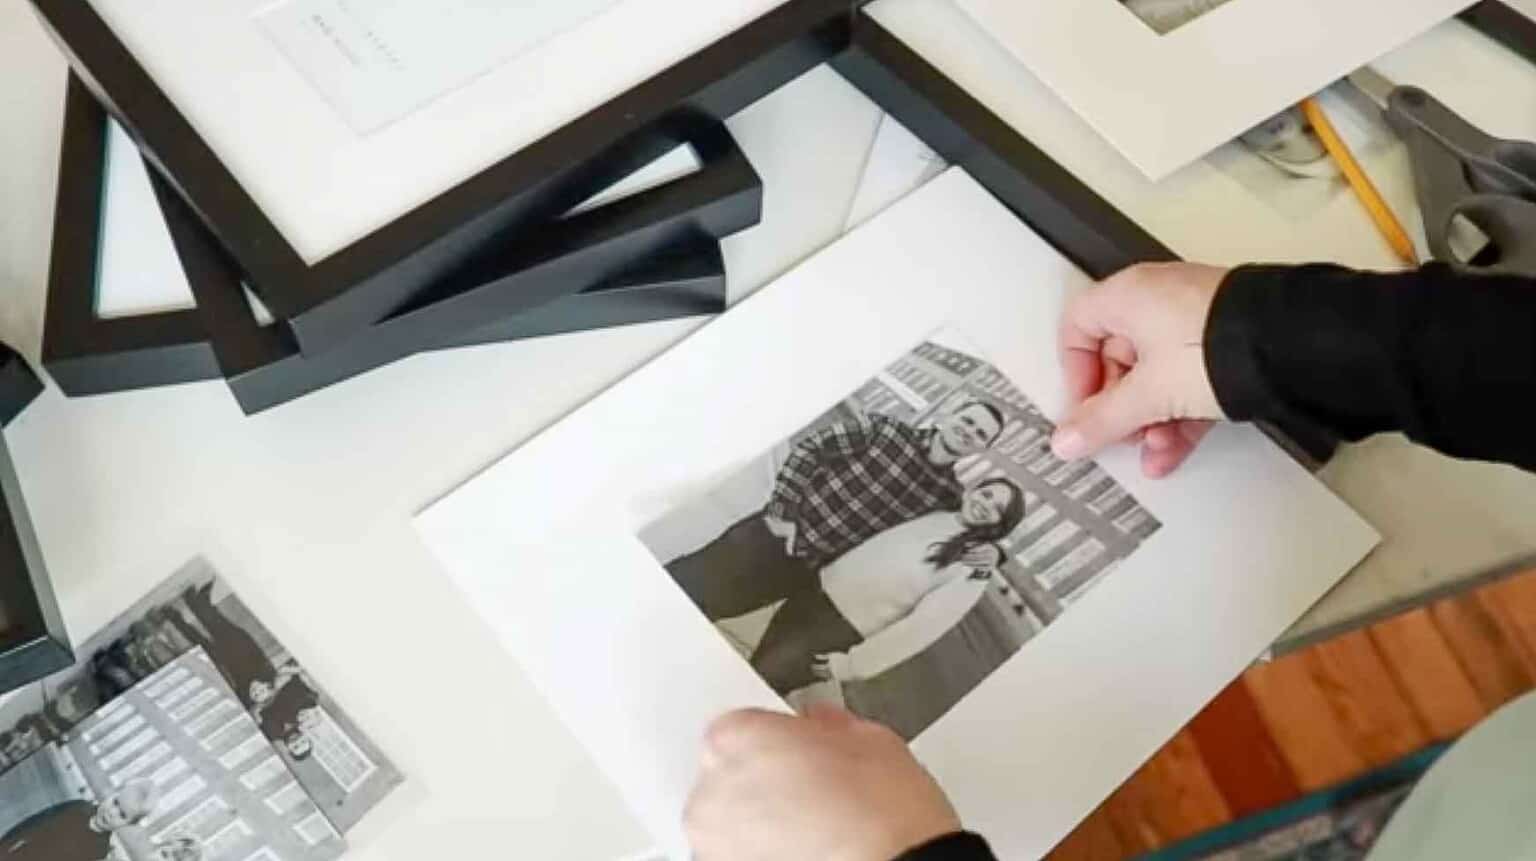
Photos from different years often come with very different color casts. Try a black-and-white test print of one new photo and one older snapshot to see how they look together. Keep an eye on the shadows around faces. Choose the edit that preserves expressions at the size you plan to hang.
12. Give the End of the Wall a Clear Finish

End a gallery before it reaches door trim or a corner, leaving enough plain wall to make the last frame feel intentional. Look from the landing as well as from the entry. If a small frame feels stranded at the end, move it closer to its neighbor or bring the next largest frame up the stairs.
13. Build the Gallery Around the Entry View
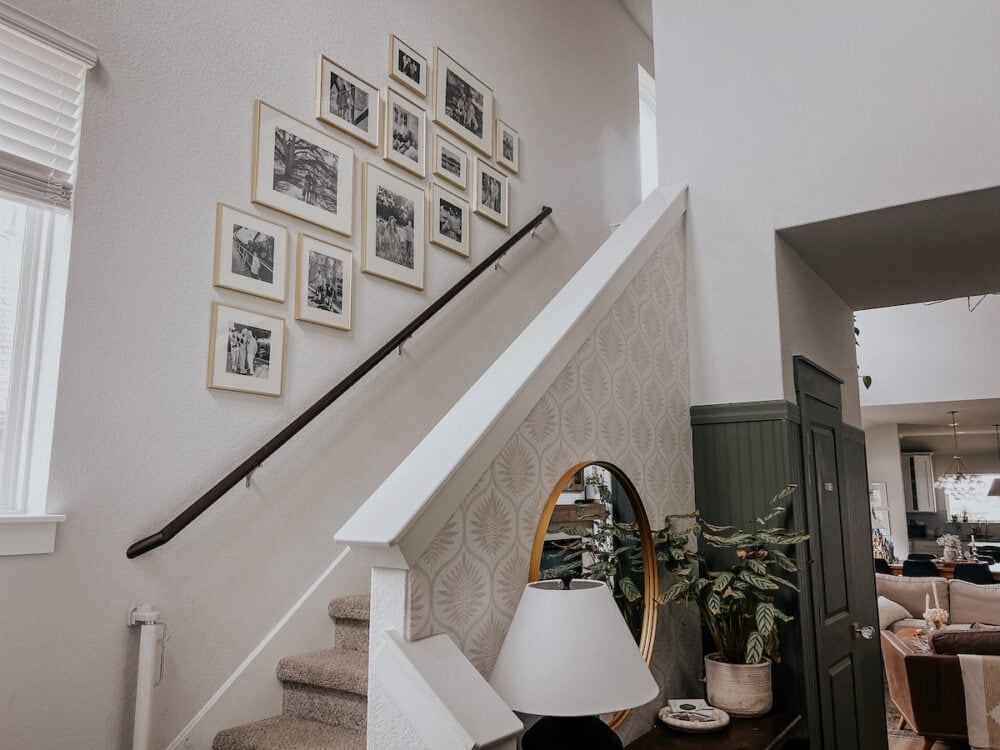
Look from the spot where the staircase first comes into view. A landscape photo near the lower end can set up the whole arrangement from there. Then check the view going downstairs and see whether the next few frames feel connected. Adjust the middle group while the whole wall is still easy to change. Use these entryway storage ideas if the lower wall needs room for hooks too.
Follow the Maker’s Method: Plan a Family Gallery
14. Keep Breathing Room Around a Dark Wall

A dark stair wall gives light mats and photographs a strong edge. Give each frame a little extra space so that edge has room to show. Test the layout with the stair lights on, when dark frames may blend into the paint. A wider mat can help the smallest picture hold its place.
15. Add One Object Between the Photographs

A small woven piece or a flat keepsake can give the eye a place to pause between photographs. Choose something that relates to the people or places in the pictures. Keep the projection shallow and the stair route clear. The object should fit into one frame-sized opening so the outline of the gallery stays easy to follow.
16. Arrange Frames on Shallow Ledges
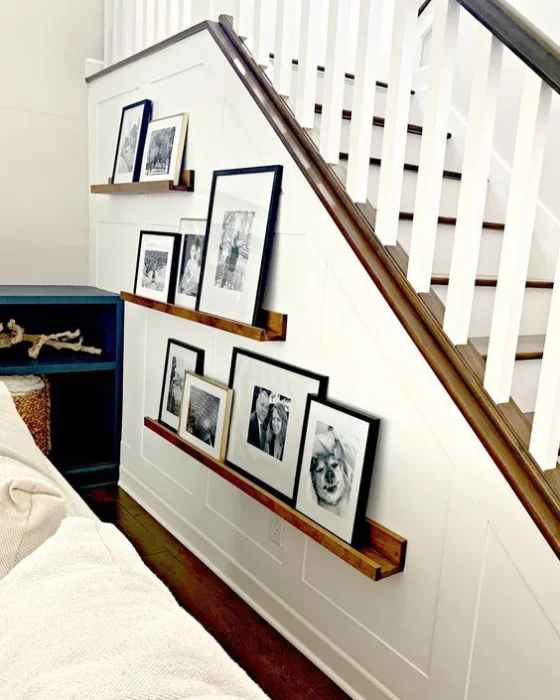
A pair of shallow picture ledges lets you group frames on the wall beside a stair turn. Set the tallest frames near the middle and let a shorter one overlap a corner of the mat. Keep ledges out of the main walking route and use fittings suited to their load and wall type. The layout can change as new prints arrive.
17. Alternate Tall and Wide Family Photos

Use tall portraits for one or two people and save the wide frames for group pictures or vacation views. Put a narrow frame beside a wide one and see how the change in shape feels before adding another pair. Keeping the gaps consistent helps the mix of orientations carry through the whole staircase.
18. Let One Color Travel Through the Display

Choose a color that already occurs in several photographs and pick it up in one frame, mat, or nearby detail. It might be the green of an outdoor wedding or the blue of a favorite vacation. Put the photos on a table together first to see which colors repeat without having to edit the prints.
Carry One Family Detail Beyond the Staircase
When the photo wall is up, pause at the foot of the stairs and see where your eye goes first. One repeated frame finish or small family keepsake in the entry can connect the gallery to the rest of the house. These projects offer a few ways to do that.
- Plan a Gallery With Paper Templates
- Personalized Wall Decor for Your Home
- Large Mirrors for Hallways
- Small Entryway Storage Ideas
Which family photo would you hang where you could see it from the bottom of the stairs? Share the story behind it in the comments, and tell us how you’d arrange the photos around it.













0 Comments