26 Faux Snow Display Ideas for Winter Scenes
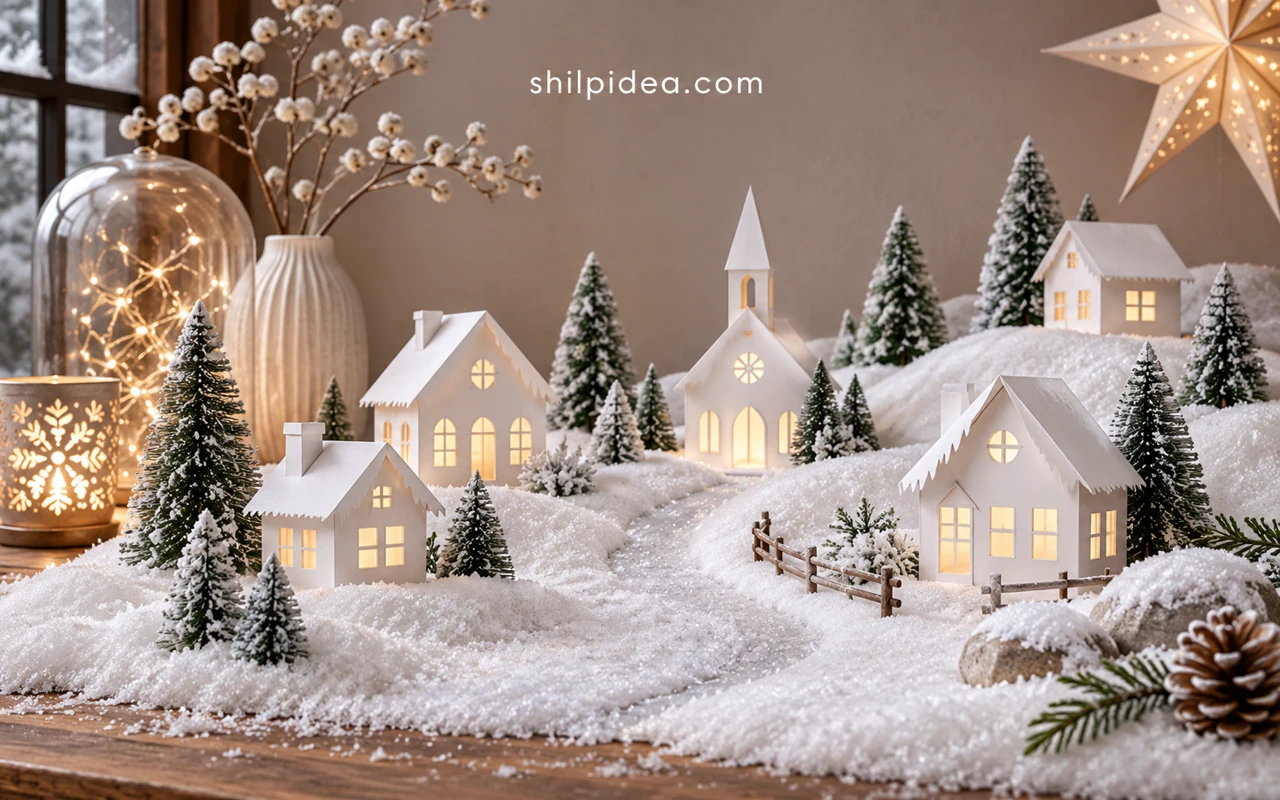
Faux snow can turn a tray of little houses into a town square or make a handful of branches look frosted overnight. These 26 winter displays show ways to use it on a mantel, a dining table, or a narrow shelf.
Begin with a surface you can set aside for the season. A tray lets you move a paper Christmas village for dinner, while a glass dome helps small figures hold their own beside larger decorations.
Keep the main shapes easy to see from where people usually sit or stand. Try paper bag snowflakes above a low display if you want the winter theme to carry up to the wall.
1. Build a Snowy Village on a Console

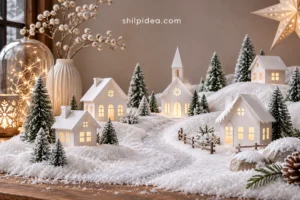
Painted houses and small trees form a village you can see from across the room. Put the tallest buildings toward the back and leave an open stretch of snow at the front, where a tiny figure or sled can stand on its own. A little space around each house makes the rooflines easier to see, especially when you add lights behind them.
2. Gather Vintage Putz Houses Into a Winter Street

Vintage cardboard houses often have enough snow and sparkle on their roofs to set the scene by themselves. Arrange them loosely by height, with the biggest building behind the smallest cottages. A plain strip of snowy ground pulls the colors together. Leave open stretches between the houses so the miniature doors, windows, and roof shapes are still easy to see.
3. Set a Ceramic Village in a Wooden Tray

A long tray gives glazed houses and fir trees a clear boundary on a dining table. Spread the snow inside the rim, then group the pieces into two or three small clusters with a gap beside each one. Use the front edge for the shortest pieces, such as a little deer or a pinecone, so everyone can see the display from their seat.
4. Raise a Mini Village on a Cake Stand

A cake stand brings a small village closer to eye level without asking for more room on the table. Set the tallest houses in the center and let the lower trees and drifts frame the edge. Repeat one shade from the stand in a nearby ornament or ribbon, then leave the area around the pedestal open to show its shape.
5. Tuck Mini Wooden Houses Under a Cloche

The glass draws your eye to small details that would disappear on an open tabletop. Set a few wooden houses under the dome, with a shallow drift around the bases and a tree behind each low roof. A woven tray beneath the cloche adds texture and gives you room for one or two taller pieces that sit outside the scene.
6. Make a Cabin Scene in a Cookie Jar

Put a small cabin and fir trees in a glass cookie jar, with a snow bank at the back and a lower bank at the front. The curve of the jar makes this scene easiest to see at eye level. Raise it on books of similar size and repeat one color from the cover or lid elsewhere on the shelf.
7. Park a Tiny Car in a Snowy Diorama

A toy car makes a snowy landscape feel like a place someone has just arrived. Clear a thin strip through the snow for the road and let the white material rise in uneven patches along its edges. A couple of dark evergreens behind the car give it a backdrop. Set the scene on a contrasting base so you can see where the drift ends.
8. Put a Winter Scene Inside a Lantern

A glass lantern gives a tiny snow scene strong vertical lines. Use a cluster of trees and figures that you can see through more than one side, and keep the snowy ground shallow around the door. Set the lantern on a surface where it can be viewed at an angle, so the trees seem to recede into the scene.
9. Hang a Woodland Landscape in a Glass Terrarium

An open glass terrarium lets you look straight into the scene. Set the trees behind the little figures and keep the white ground shallow at the front lip. Turn the bowl toward the room and check the view before hanging it. The arrangement reads best when the foreground objects have enough room to stand apart against the snow.
10. Put a Skier Inside an Upside-Down Jam Jar

The lid becomes the floor in this waterless globe. Angle the skier across the jar and collect the snow in a low mound near the back, where it can suggest a slope. The playful scale suits a narrow shelf or the edge of a desk. Keep the base trim simple enough to let the figure’s movement tell the story.
11. Display a Snowy Deer in Pink Glass

A tinted vintage jar gives the whole scene a soft wash of color. Choose a simple deer or another small figure whose outline shows through the glass, and keep the snowy ground level low enough to see its feet. A bare branch or a sprig outside the jar can give the display some height without crowding the inside.
12. Hang a Tiny Deer Inside a Glass Jar

A hanging figure gives a little jar scene depth. Suspend the deer from the lid so the bottom stays visible, then put a shallow layer of snow below it. Since the figure moves, leave space around its nose and antlers. A short piece of ribbon or twine around the rim adds a finishing detail without blocking the view.
13. Line Up Vintage Figures on Log Slices

Matching wood bases can bring three different thrifted globes together. Vary the figures and tree heights inside each one, then use the same snowy ground in all three so they belong in a row. The grain and bark give each scene a darker border. Leave a little space between the glass covers so the display still feels light.
14. Raise a Snowy Figure in a Pedestal Glass

A clear goblet or pedestal bowl naturally makes the snow scene the focus. Place the main figure where it can be seen through the fullest part of the glass and keep the trees or other props lower than its face. The stem puts the display at a different height from surrounding decorations, which helps it stand out in a group.
15. Set a Mini Evergreen Grove on a Wood Slice

Repeat a few bottle brush trees in a tiny glass dome to suggest a forest. Set one taller tree behind the nearest pair and let the snow collect on the wooden base. A bark edge gives the white scene a clear outline, making this display useful on a shelf with other pale decorations and very little spare room.
16. Turn a Candy Tin Into a Snowy Shadow Box

An open candy tin is just deep enough for a small tree and a figure. Use the snowy pieces along the bottom to hide the edge where the backdrop meets the tin, then set the main figure forward. If you have a few tins in the same style, display them at different angles so the little scenes don’t blend into one.
17. Frame a Birch Forest in a Winter Shadow Box

Give a winter scene a clear background before you place the pieces in front. Keep the closest props small and set the larger shapes a little higher so they still show from across the room. Repeat the snowy finish along the base to tie the two layers together. The scene can then stand on a console without any decorations behind it.
18. Add a Family Photo to a Snow Globe Ornament

A framed snapshot gives a clear ornament a center without filling the whole sphere. Keep the snow below the photograph so faces stay visible, and echo the frame’s color in the bow or hanging loop. Hang the ornament near the end of a branch so it will catch light from more than one side when the tree is lit.
19. Give Glass Jars a Frosted Finish

Snowy glass catches light even when the jar is empty. Group two frosted jars of different heights, then dress only one with a small sprig and twine. Use a battery-operated tea light if you want the white coating to glow after dark. A dish or a low tray underneath makes the whole group easy to move.
20. Dress a Row of Jars With Snow-Tipped Pinecones

Let pinecones hang around the necks of clear jars so the snowy tips stay visible from the side. Use one cord color for the whole row and let the cones hang at slightly different heights to show their shapes. A soft glow behind the glass brings out the outlines at dusk. Use battery tea lights for the glow shown here.
21. Snow-Tip Pinecones for a Small Bowl

A touch of white on the tips makes a pinecone’s layers stand out. Leave some of the brown showing so the texture is easy to see, then collect the cones in a shallow bowl. Put the biggest ones in first and turn a few on their sides. A wide, low dish leaves the frosted edges visible from across the room.
22. Fill a Vase With Icy Branches

Clear granules catch light along the tips of slender twigs and give a simple vase a frosty outline. Turn the branches in different directions to leave air between them. A plain vase lets the crystal texture do most of the work, particularly beside a window where the light changes over the course of the afternoon.
23. Run Snowy Garland Across a Window Bench

A low window bench can work like a mantel if the greenery follows one edge. Let the ends of the garland rest on the surface and break up the snowy branches with a few small houses, trees, or birch pieces. Leave open stretches between groups so the whole line reads clearly from the opposite side of the room.
24. Let Lights Show Through a Snowy Tree

Even a few warm points of light can bring out the texture of white-tipped branches. Step back before decorating and look for places where the lights disappear behind the thickest patches. Keep some green visible around the tips for depth. A simple basket or plain collar below helps the frosted branches stay the first thing you notice.
25. Hang a Heavily Flocked Wreath

A flocked evergreen wreath shows up against a dark-painted door, especially when the snow gathers on the outer tips. Let the white branches carry the design and finish with one broad ribbon. If the wreath has small pinecones or berries, tuck them into the gaps and let a few deeper green needles remain visible for contrast.
26. Nestle a Snowy Village Inside a Wreath

A miniature house and trees can turn the opening of a wreath into part of the display. Tuck the figures into the lower curve, leaving the top half open and letting the ribbon frame the scene from above. Choose a sheltered spot if the snow can shift, and use small pieces so the bottom of the wreath keeps its shape.
Choose a Spot for Your Winter Display
Set the largest pieces in place first, then use the snow to join them into one scene. Step back to check the view from a doorway or chair. If the small details get lost, lower the front drift or move a tree behind the main figure. A tray, glass cover, or shallow bowl also makes loose snow easier to contain when you move the display.
- Build a Paper Christmas Village
- Cut Oversized Paper Bag Snowflakes
- Try Unexpected Christmas Decorating Ideas
Where would you put a small winter scene this year? Share the part of the house you’d use and the first piece you’d add, whether it’s a favorite house, a tiny skier, or branches from the yard.















0 Comments