How to Sew a Felt Stocking Ornament with Blanket Stitch
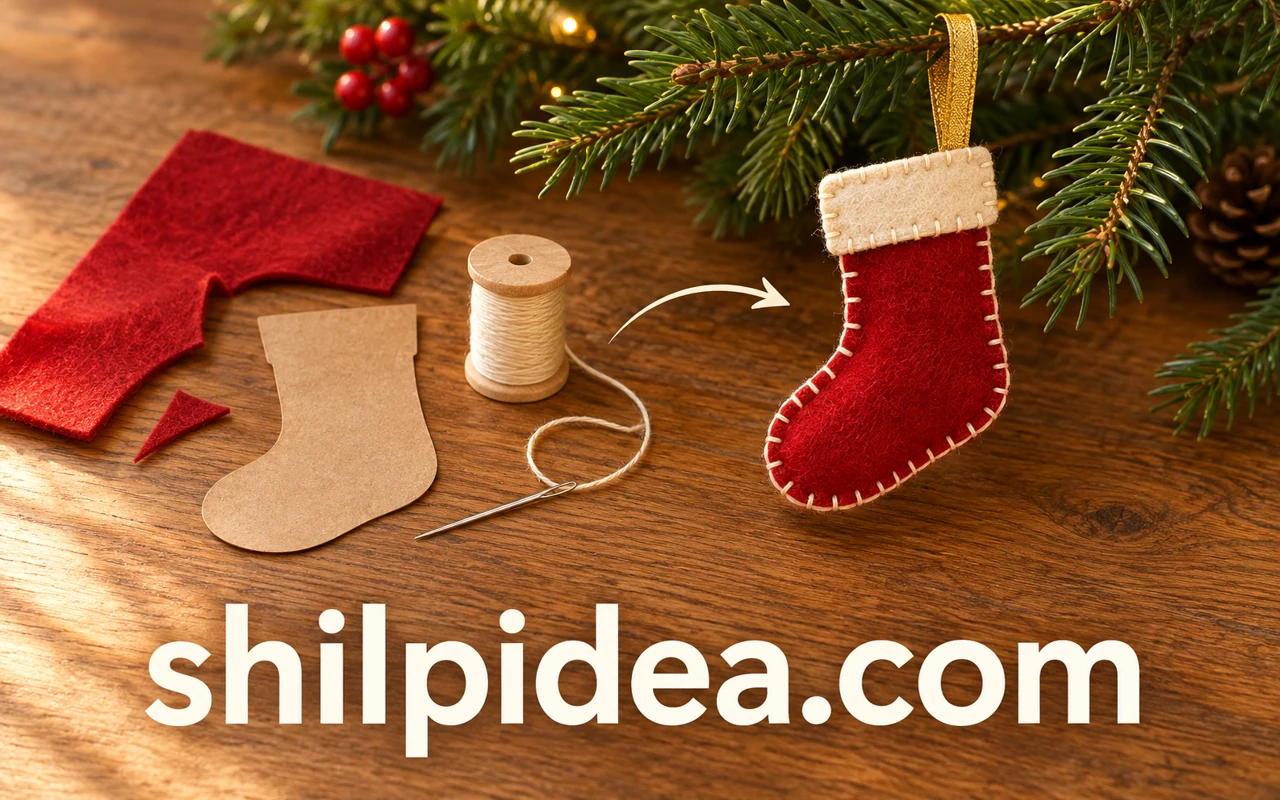
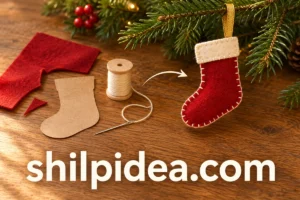
A miniature felt stocking gives you a small project for practicing blanket stitch. This version has a contrasting cuff, a hanging loop, and an open top that can hold a folded paper note.
Choose firm craft felt that keeps its shape when you lift it. Scraps from other handmade Christmas gifts can make the cuff or a small detail on the front.
Set the finished stocking beside paper bag snowflakes if you like a mix of cloth and paper on the tree. A bright edge stitch is easiest to see in evening light.
Materials and Tools
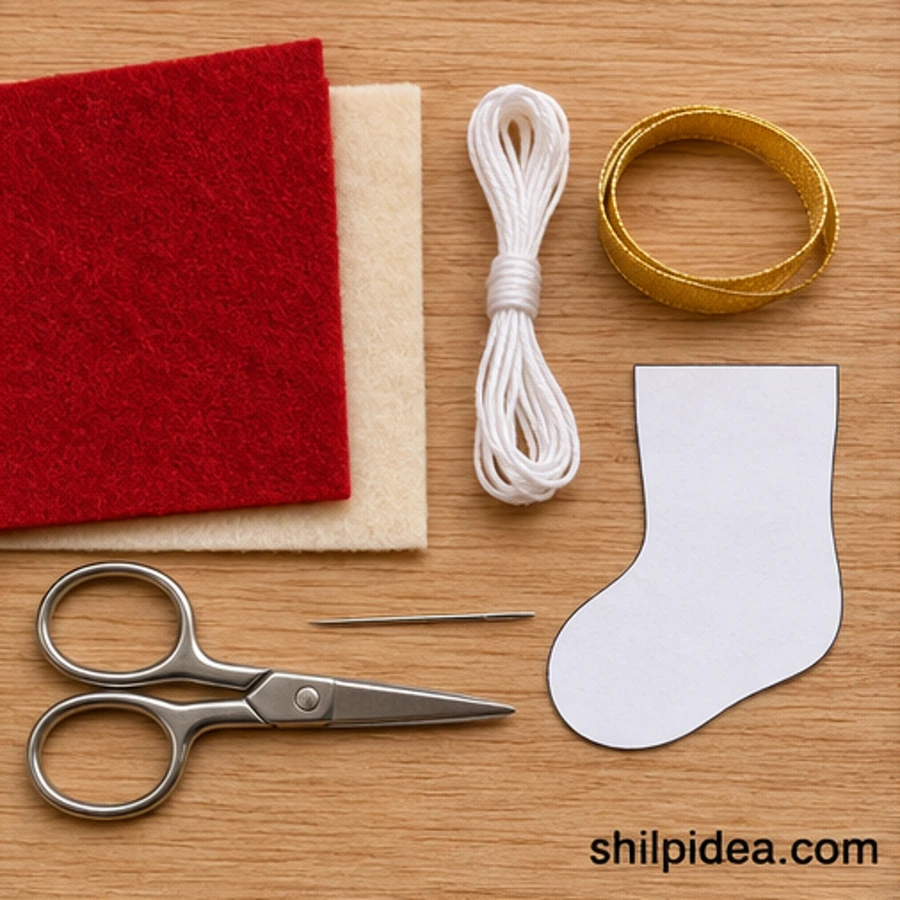
Set out the supplies before starting.
- Felt – Use red and cream sheets about 1–2 mm thick.
- Embroidery floss – Use three strands of cream floss or a comparable pearl cotton.
- Ribbon – Cut a 5-inch piece of narrow ribbon for the loop.
- Paper and pencil – Draw a stocking about 4½ inches tall and 3 inches at its widest.
- Hand-sewing needle, scissors and clips – Use a needle with an eye that fits the floss.
Precautions Before You Begin
Check these points before you begin working.
- Keep needles and small ornaments away from young children and pets.
- Hang felt clear of flames and hot lamps.
- Check that the branch or hook can hold the ornament before letting go.
1. Cut Two Matching Stocking Shapes
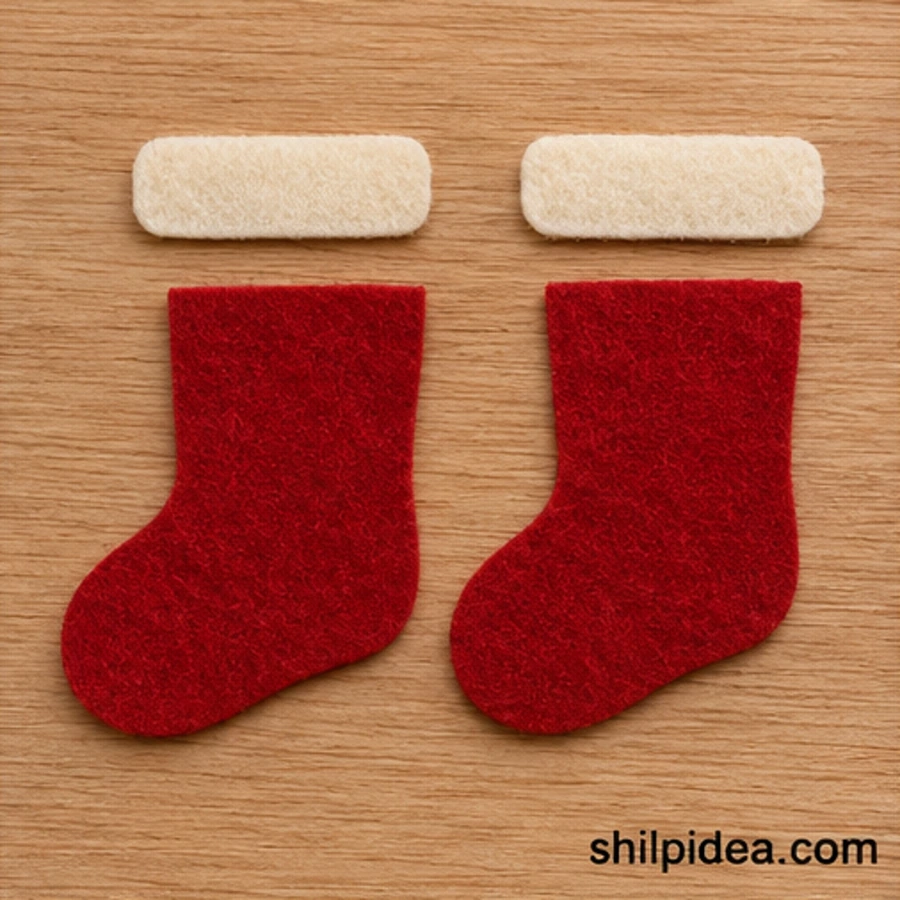
- Draw and trace – Round the heel and toe on your paper pattern, leaving a straight top. Trace it twice onto felt, flipping the pattern on the second trace so both marked faces can sit inside.
- Cut the cuffs – Cut two cream strips to the width of the stocking top and about ¾ inch deep. Trim them against the red pieces if the edges extend past the sides.
2. Sew the Cuffs Before Joining the Layers
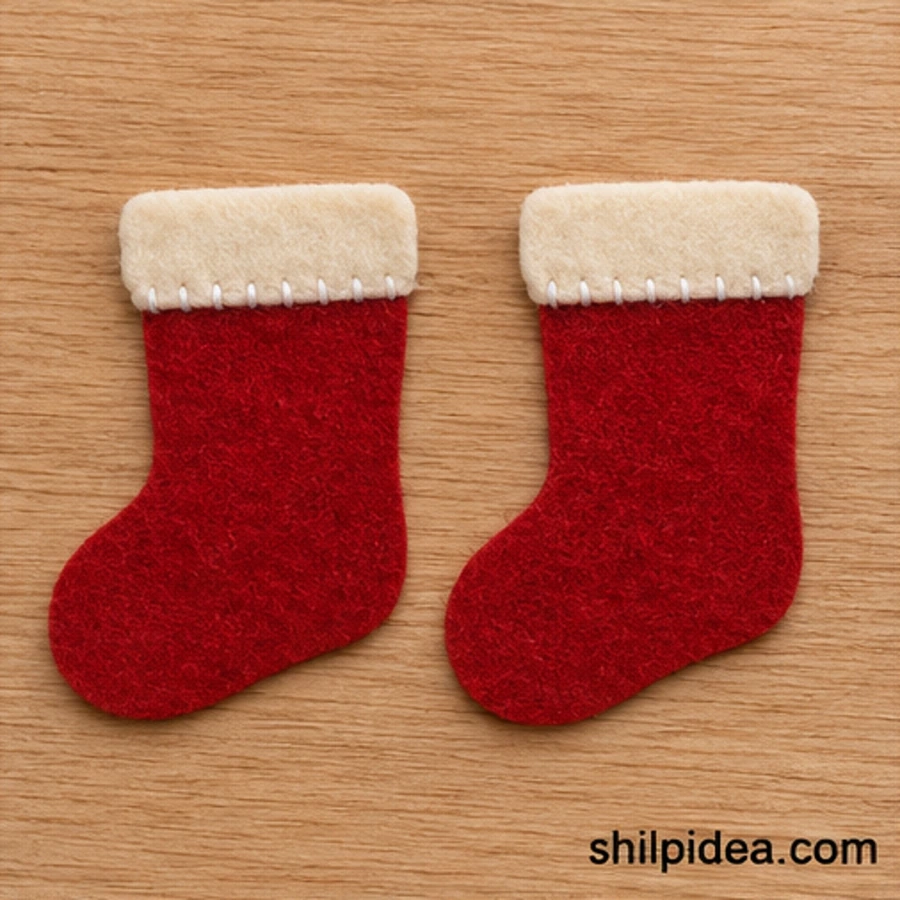
- Join each cuff – Lay one cream strip across the outside face of each stocking. Use small running stitches along the bottom edge and top edge through that stocking piece only, leaving the two pieces separate.
3. Start the Blanket Stitch Along the Side
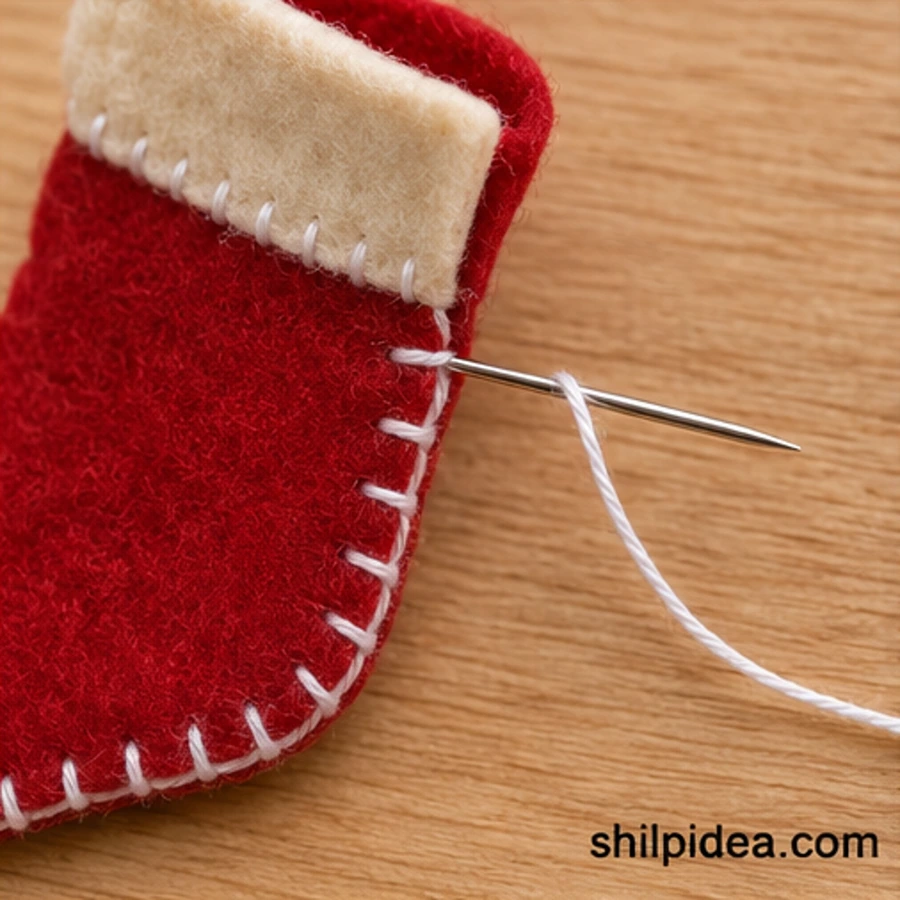
- Stack and anchor – Align the two shapes with cuffs facing out. At the upper front corner, bury the starting knot between the layers and bring the needle to the front beside the edge.
- Work the edge – Push the needle through both layers about ⅛ inch in and ⅛ inch ahead. Before tightening, pass the needle through the loop so the floss sits on the edge. Continue around the toe and heel.
4. Catch the Hanging Loop in the Back Seam
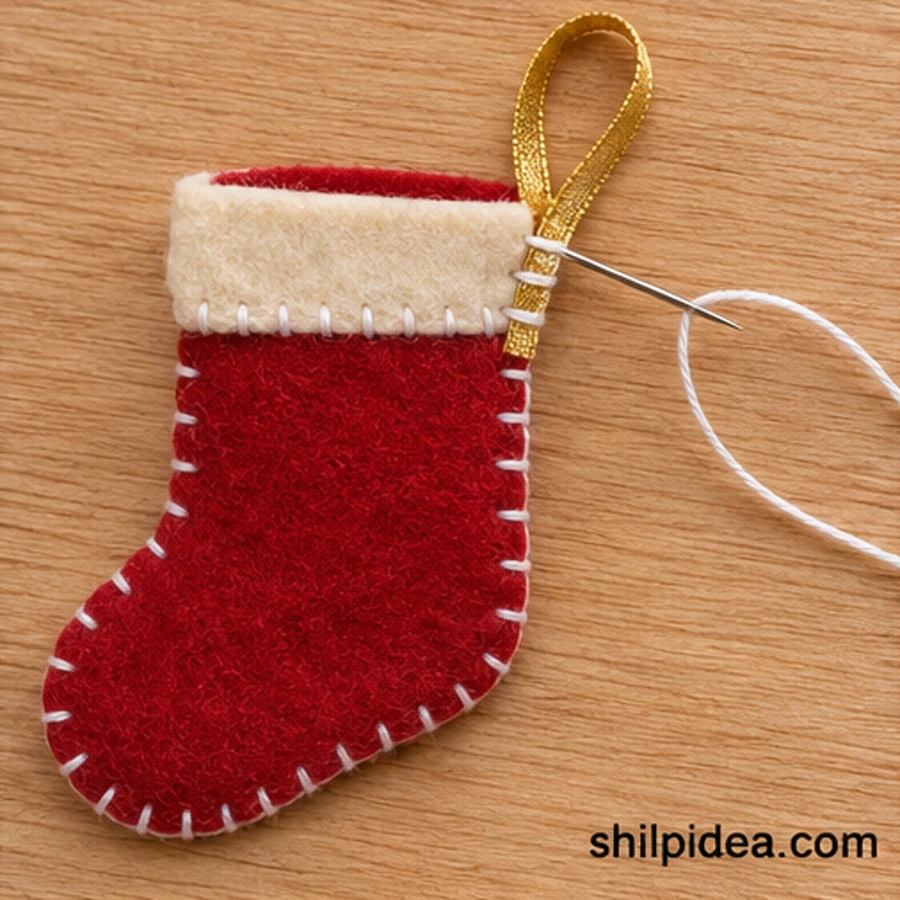
- Clip in the ribbon – Fold the ribbon in half, slip the cut ends about ½ inch into the upper back corner, and hold them between the layers. Sew a few close stitches through both felt pieces and the ribbon ends.
- Finish the seam – Resume blanket stitch up to the top edge. Knot the floss in a previous stitch and bury the short tail between the layers. Leave the two top edges separate.
5. Check the Rim and Hang the Ornament
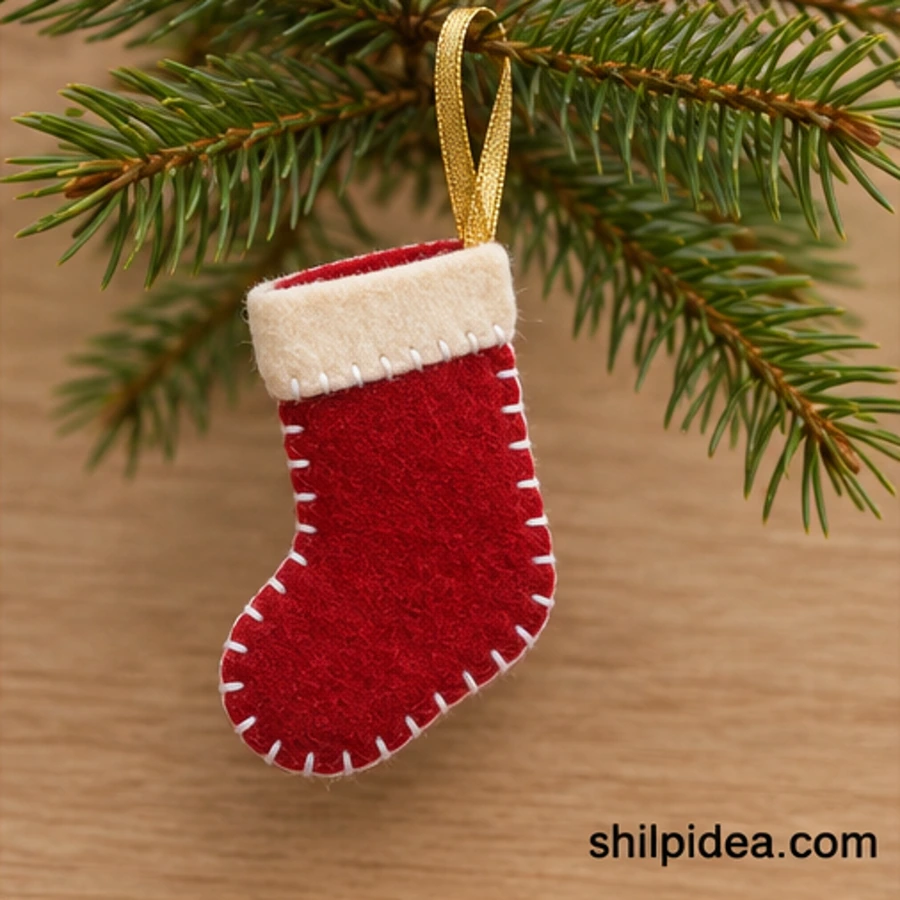
- Test the loop – Lift the ornament by the ribbon and check that both ribbon ends stay put. Slide a folded paper note into the open top and adjust it until the stocking hangs without twisting.
Even Out the Stitch Spacing
For a smoother curve, take slightly shorter steps around the toe and heel while keeping the bites the same depth. If the seam starts to buckle, ease the tension on the next stitches. The loop should rest against the felt edge without pulling the two layers into a ridge. Save the pieces that are too small for another stocking. A narrow piece can become trim for a framed fabric picture.
Use the Felt Scraps on Another Holiday Project
Keep the offcuts from the toe and cuff together when you finish. A strip big enough for a second cuff can become a stripe on another ornament, while smaller pieces can make gift details or help you test a new thread color. These projects offer a few other ways to put your holiday supplies to work.
- Homemade Christmas Gifts for Cozy Evenings
- Paper Bag Snowflakes for Christmas
- Framed Wall Art from Fabric Samples
- Unexpected Christmas Decorations with Creative Details
- Scandinavian Christmas Decor with Natural Texture
Which felt and thread colors would you put together for your first stocking? Tell us in the comments where you’d hang it. If you already use blanket stitch, share what makes the curves easier for you.




















0 Comments