
Easy & Creative Christmas Village from Cardboard
Easy & Creative Christmas Craft Using Old Boxes
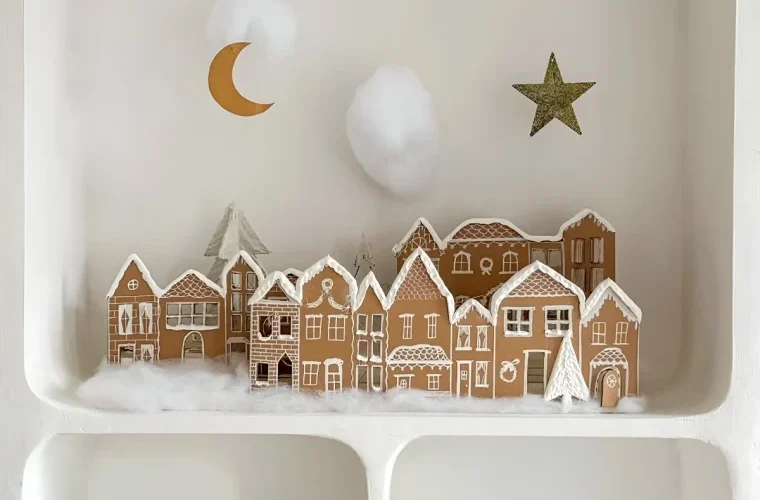
Christmas decorations do not have to be expensive or complicated. With simple cardboard boxes, you can create a beautiful DIY Christmas village that looks festive, cozy, and handmade. This project is perfect for families, kids, and anyone who loves easy craft ideas.
Old delivery boxes, cereal boxes, or packaging cardboard can be turned into charming little houses that decorate windows, tables, or the area around your Christmas tree.
Why Make a Cardboard Christmas Village?
A cardboard Christmas village is:
- Budget-friendly – uses waste materials
- Eco-friendly – perfect for upcycling
- Easy to make – no advanced skills needed
- Customizable – make it big or small, simple or detailed
It is a great winter craft for cozy evenings and works well for both kids and adults.
Materials You Will Need
- Cardboard from old boxes
- Pencil
- Scissors or craft cutter (with safe surface)
- White marker, chalk marker, or acrylic paint
- Puffy paint or 3D paint (optional, for snow effect)
For decoration:
- Cotton or white felt (snow)
- LED fairy lights
- Mini trees or paper cutouts
- Snowflakes or small ornaments
Step-by-Step: How to Make a Cardboard Christmas Village
Step 1: Prepare the Cardboard
Open the cardboard box carefully so you get a flat piece. You can use folded areas of the box to create connected houses.
Step 2: Draw the Houses
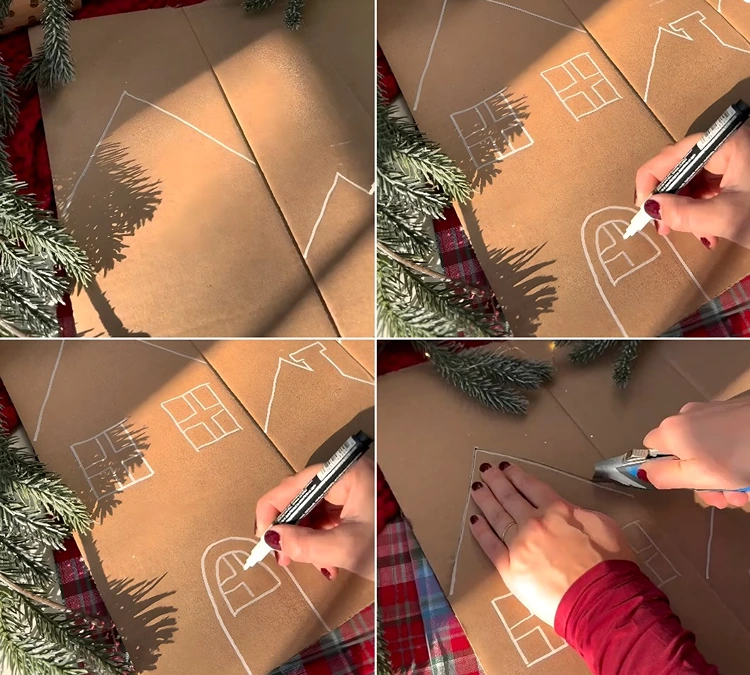
Using a pencil, draw house shapes on the cardboard:
- Some with pointed roofs
- Some flat
- Some tall, some short
You can draw multiple houses connected in one line to create a village skyline.
Step 3: Add Details
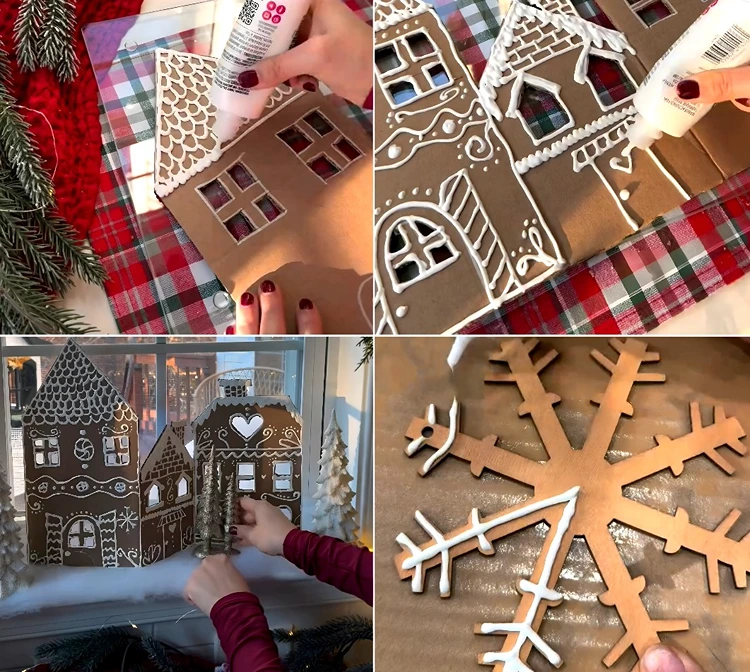
Use a white marker or paint to draw:
- Windows
- Doors
- Roof tiles
- Bricks or wooden lines
Don’t worry about perfection — handmade details make it look charming.
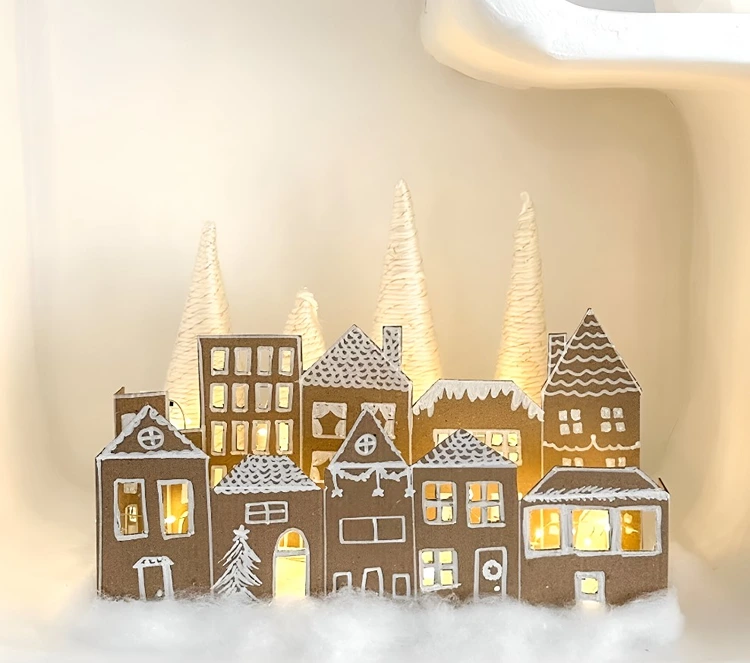
Step 4: Cut the Roof Shapes
Carefully cut along the roof lines only. This creates a village silhouette while keeping the base intact.
Step 5: Create Snow Effect
Use puffy paint or 3D paint to outline roofs and windows. This gives a raised snow look.
Let it dry completely before decorating.
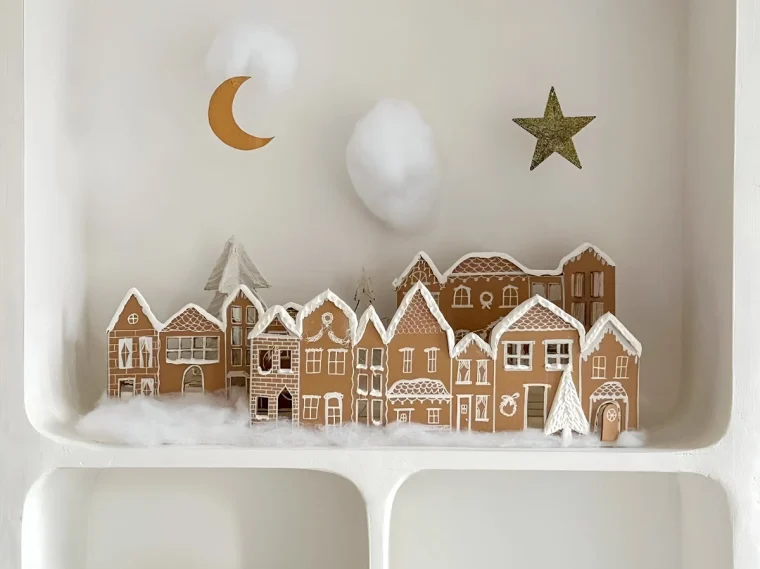
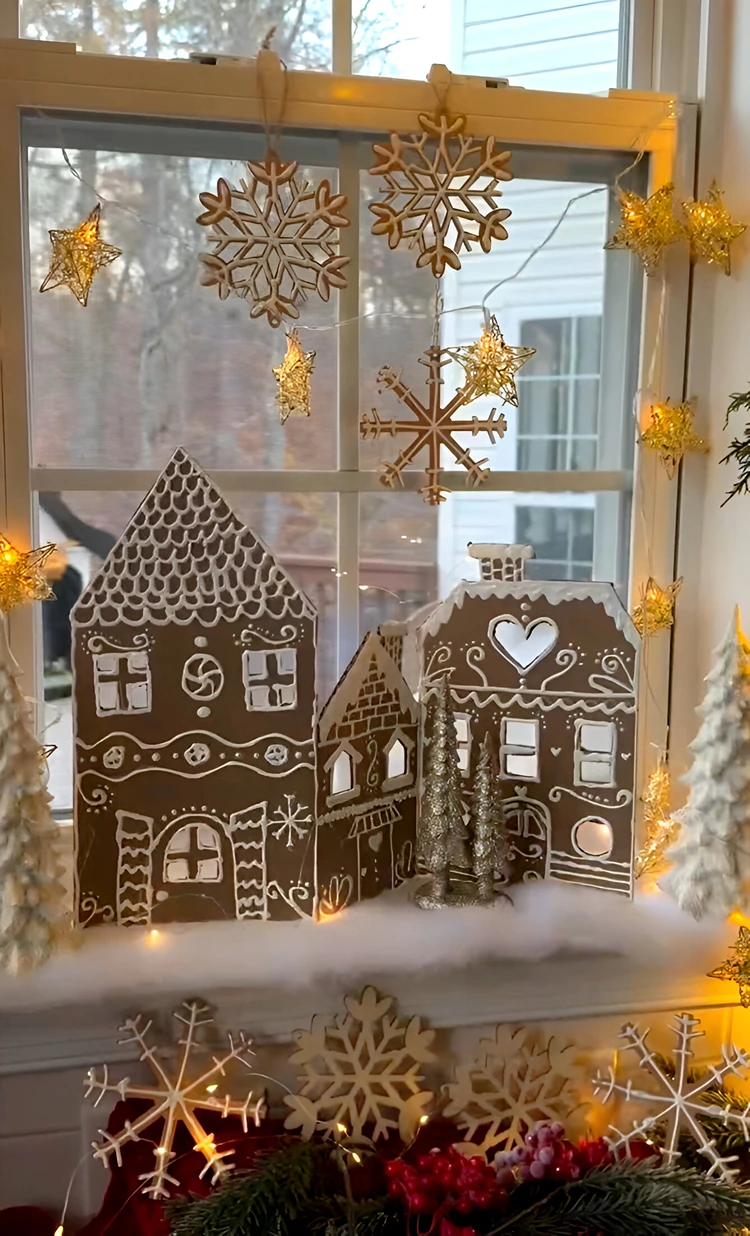
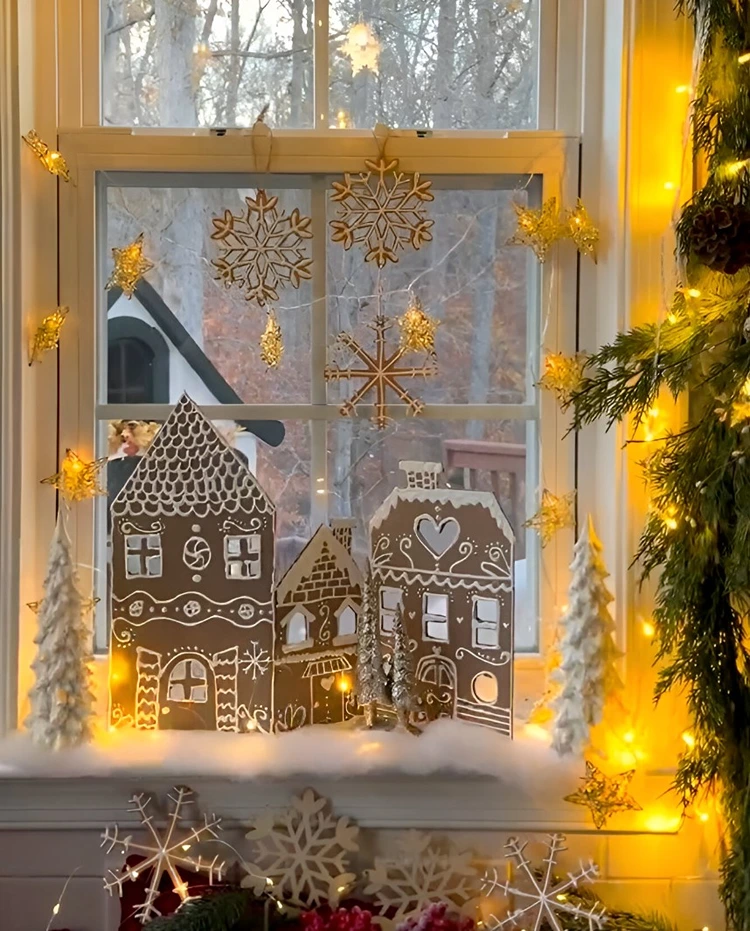
Decorating the Winter Village
Once the cardboard houses are ready, it’s time to bring the village to life.
- Spread cotton or white fabric as snow
- Place fairy lights behind or around the houses
- Add small trees near the houses
- Hang tiny snowflakes for extra charm
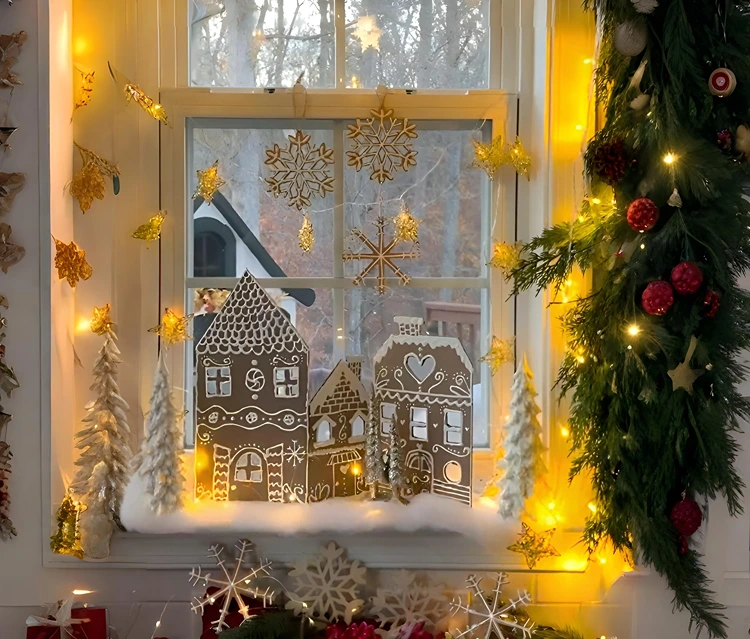
You can place the village on:
- A window sill
- A shelf or table
- Near the Christmas tree
- On a mantel or corner table
Tips for a Better Look
- Keep the color theme simple (white, brown, beige)
- Use warm white LED lights for a cozy feel
- Mix different house heights for depth
- Less detail looks more elegant
Final Thoughts
A cardboard Christmas village is a perfect example of how simple materials can create magical decorations. This DIY project is easy, affordable, and full of festive warmth.
It’s not just a decoration — it’s a memory-making craft that brings creativity and joy into your home during the holiday season.
✨ Happy Crafting with ShilpIdea
Turn everyday cardboard into beautiful Christmas décor.


0 Comments