18 Ghost Pumpkin Carving Ideas with Simple Shapes
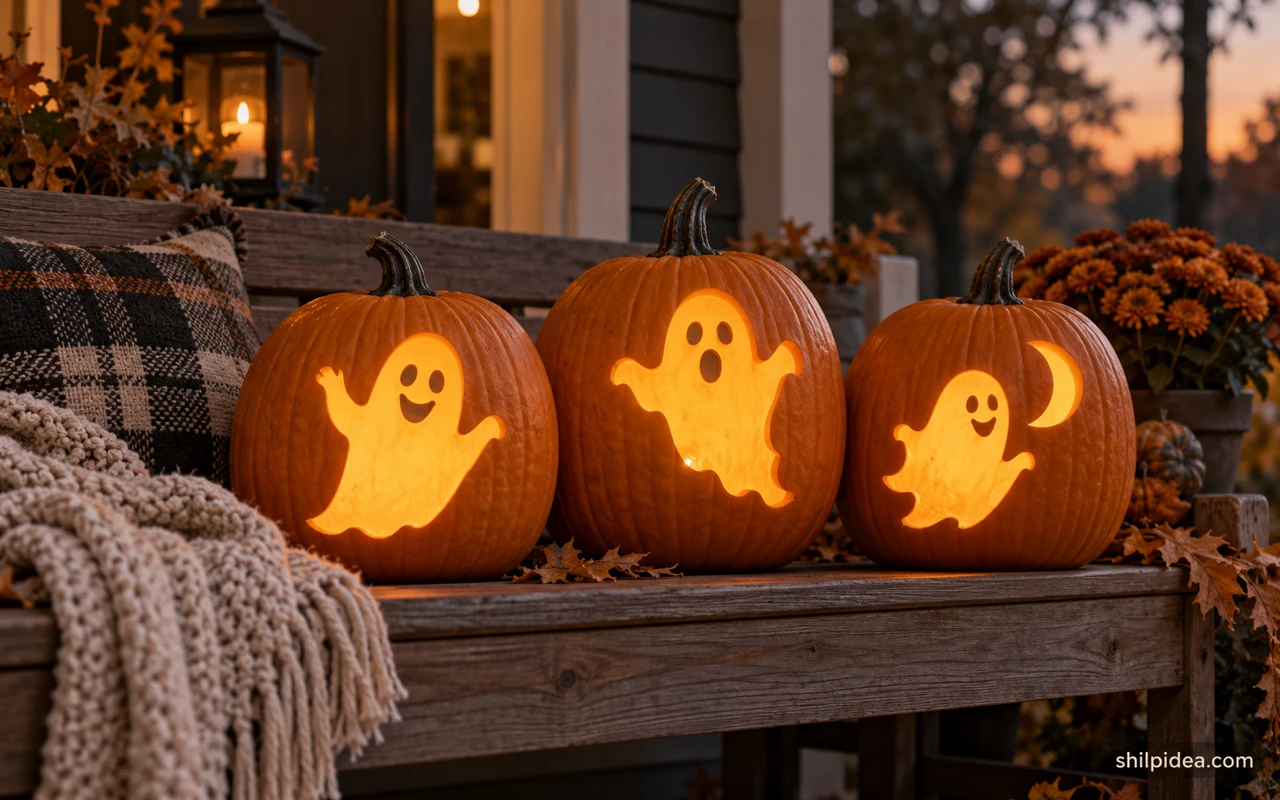
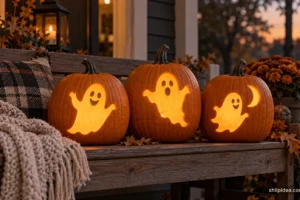
Ghost pumpkin carving ideas can be as simple as three rounded openings or as decorative as a floating silhouette against a glowing moon. The best choice depends on how much detail you want to cut and how large your pumpkin is.
This collection brings together original stencil artwork and pumpkin design previews from CarveKin and The Pumpkin Lady. The straightforward faces come first, followed by full ghosts and more detailed lettering designs.
These are creator pattern previews, not photographs of pumpkins we carved. Use the linked original patterns for their support bridges, let adults handle cutting, and light the finished pumpkin with a battery LED.
1. A Three-Opening Wailing Face
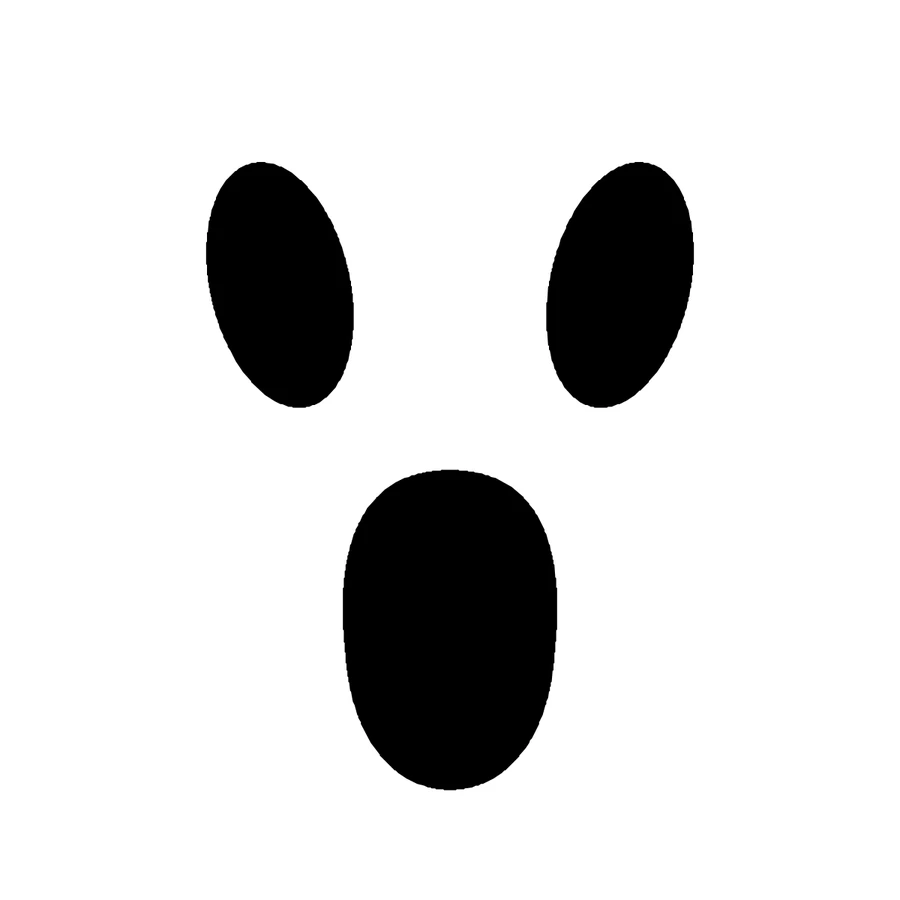
Two oval eyes and one long open mouth are enough to create a ghost expression. This is the clearest starting point if you want a recognizable design with very few parts. Space the openings evenly and keep a generous strip of pumpkin between them. The same face can look especially ghostlike on a pale pumpkin, without needing an additional body silhouette.
2. Hollow Eyes and a Downturned Mouth
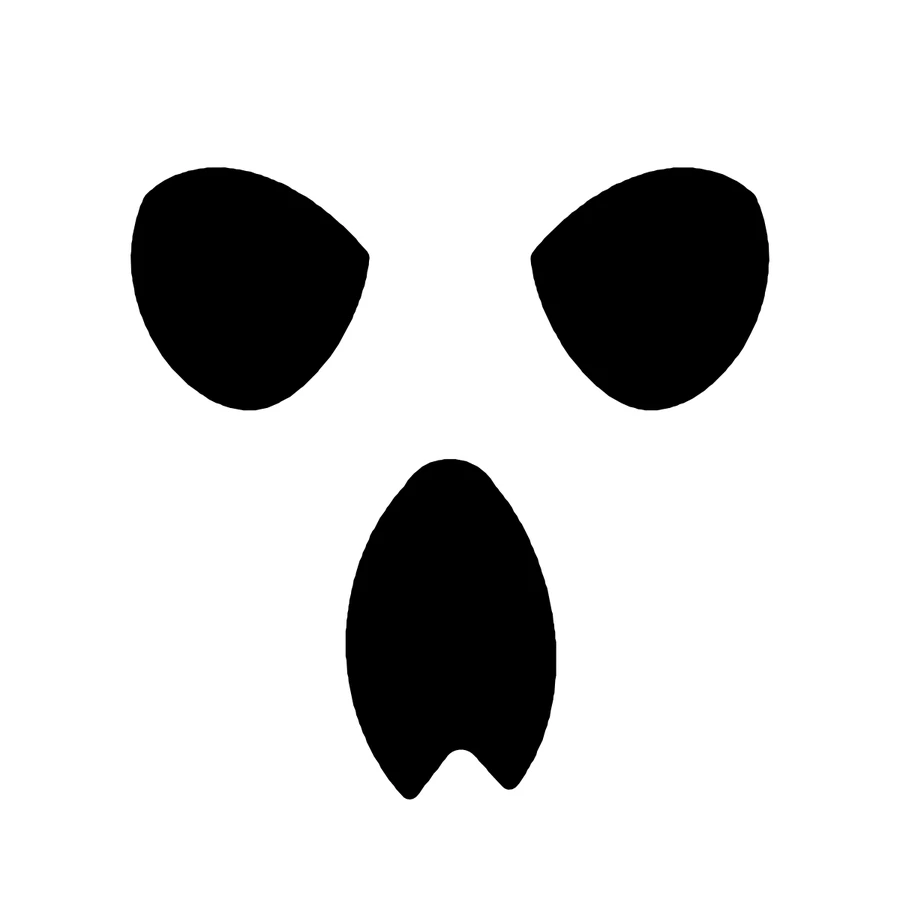
The heavier eye shapes and stretched mouth make this ghost face feel more solemn. Compared with the simple wailing face, the openings have more pronounced corners and curves. Keep those shapes large rather than trying to make them sharply pointed. A single pumpkin with this expression can balance a group of cheerful faces without adding an elaborate carved scene.
3. A Scowling Ghost with Heavy Brows
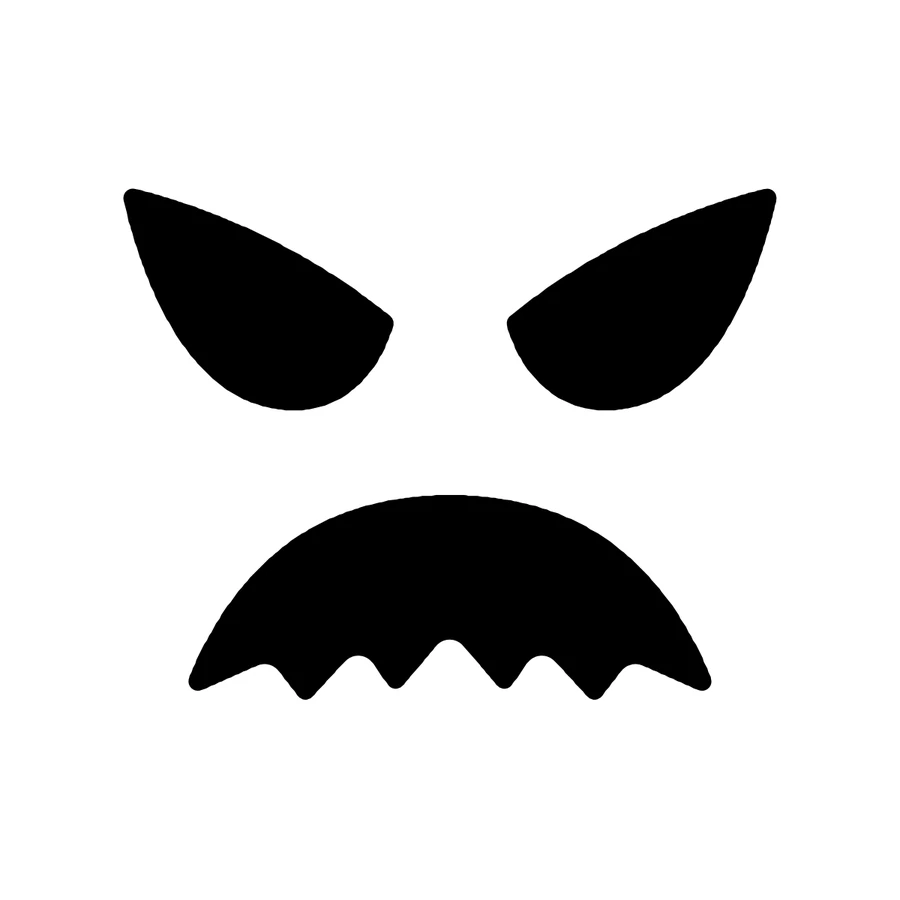
Slanting eyes and a small sawtooth mouth give this ghost a concentrated, grumpy expression. The composition shows how eye angle can change a face without adding a whole body. Keep the eyebrows implied by the eye openings rather than carving extra thin lines above them. This makes a compact alternative when your pumpkin has a smaller usable area on the front.
4. A Classic Floating Sheet Ghost
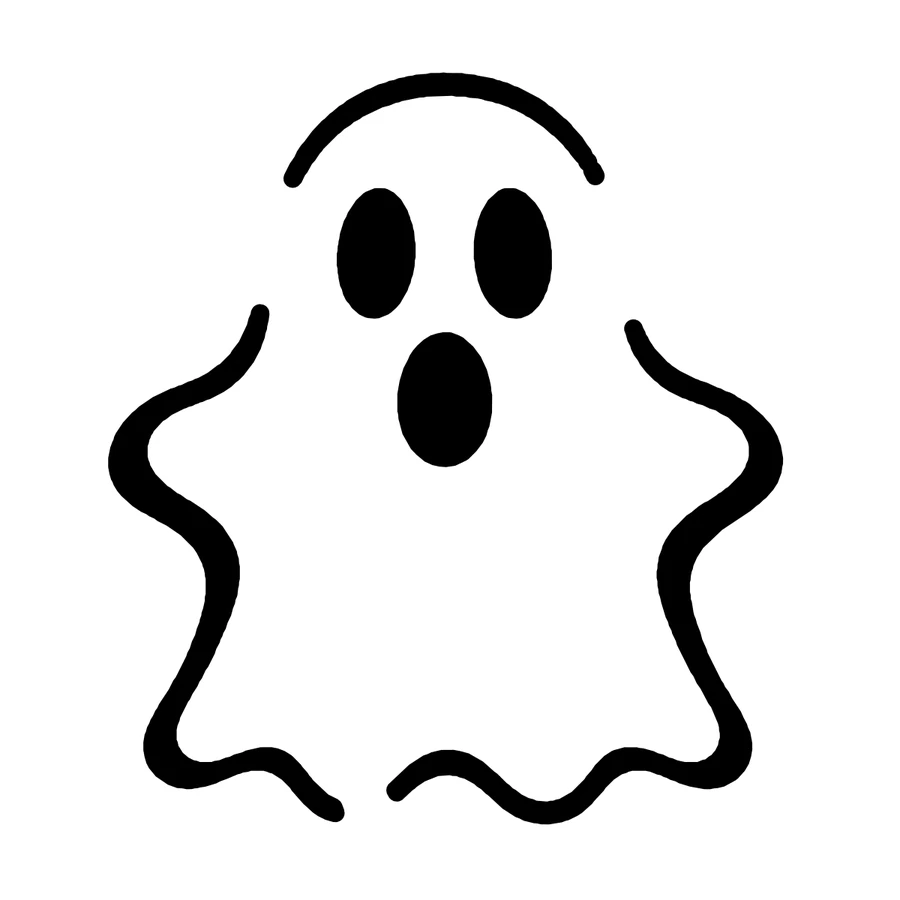
The rounded head, little eyes, and scalloped hem make this a familiar sheet ghost. CarveKin’s outline includes intentional gaps, which help the design remain connected. Keep those bridges when using the original stencil. A plain background lets the body shape stand out, so you do not need to surround it with lots of extra stars, dots, or lettering.
5. A Friendly Ghost with One Waving Arm
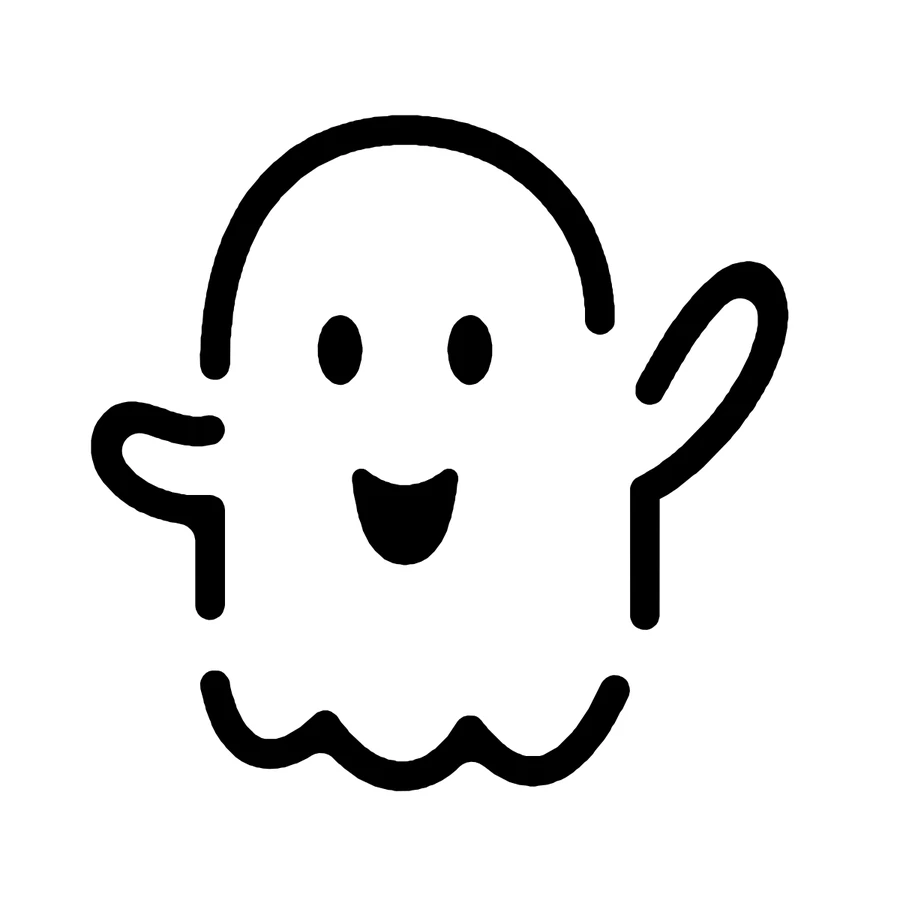
A lifted arm makes this ghost seem to greet people at the door. The broad body and simple face keep the character lighthearted. Position the stencil so the waving hand has plenty of pumpkin around it rather than landing on a deep ridge. This is a useful design for a single feature pumpkin where the gesture can be seen clearly from the path. A paper ghost garland can repeat the waving shape above the display.
6. A Heart-Eyed Floating Ghost
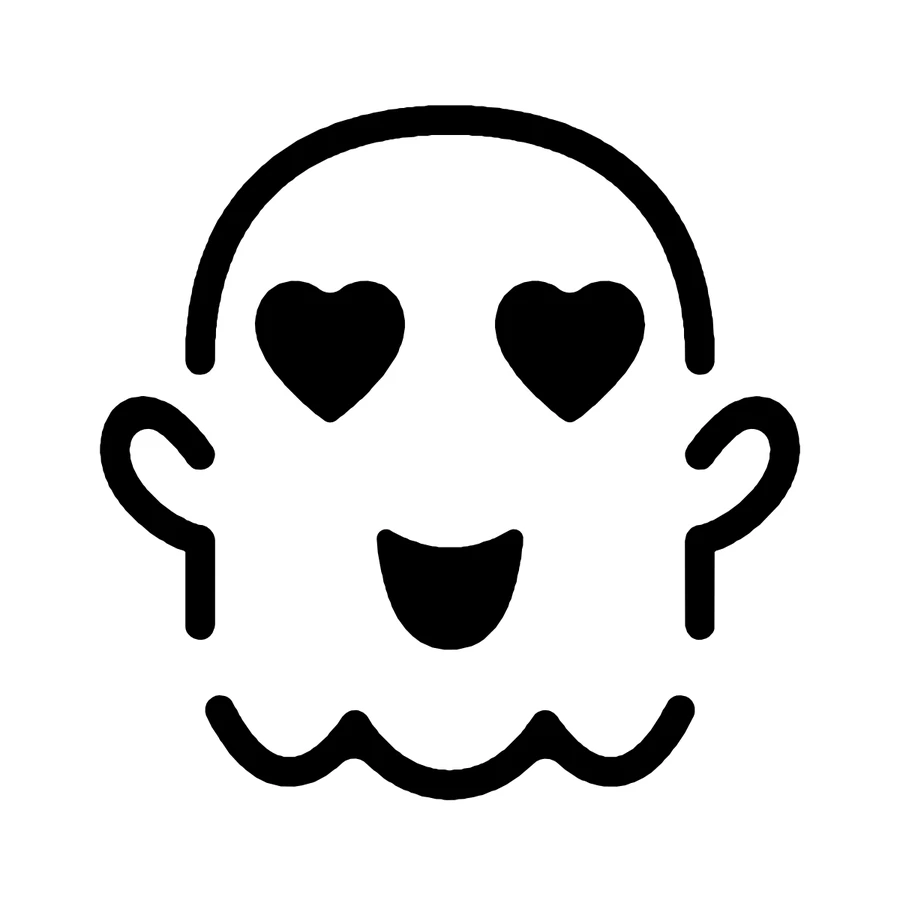
Heart-shaped eyes give this little ghost a friendly personality. The loose sheet outline keeps the body simple, while the eye shapes provide the main decorative detail. Use the original stencil to preserve the gaps in the outline instead of closing them into one continuous cut. This is a cheerful choice for a family entrance or a display that favors cute characters over scary faces.
7. Three Floating Ghosts Together
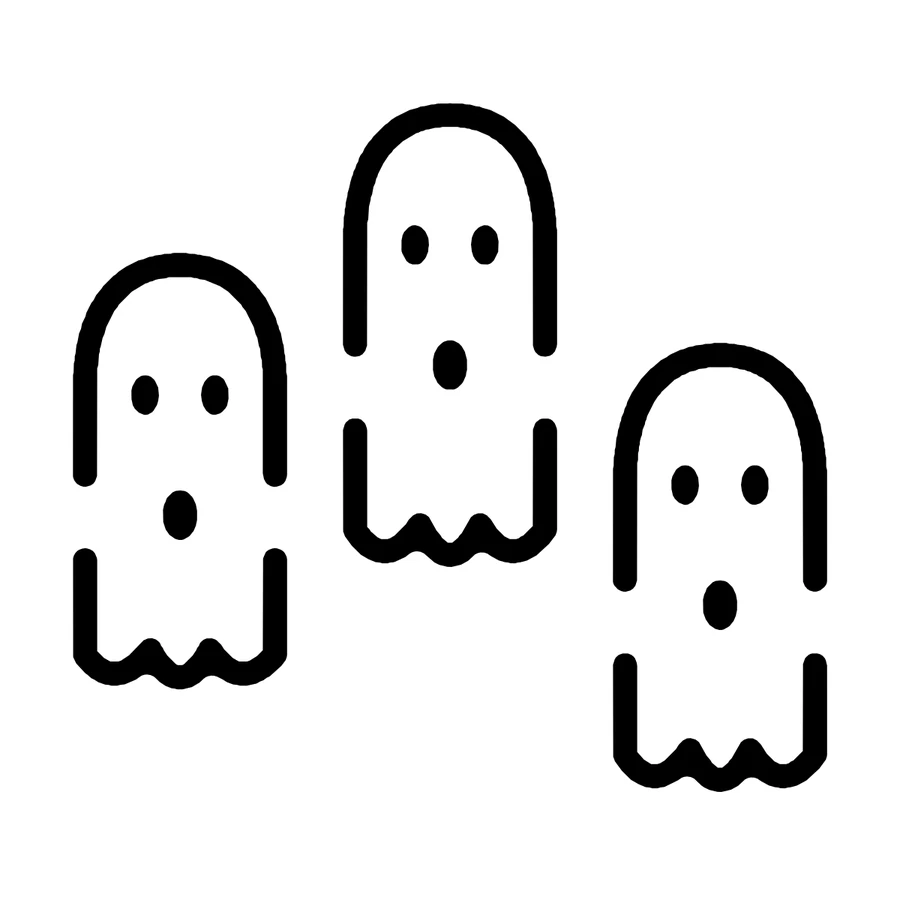
Three small ghosts create a group scene without requiring a detailed haunted house behind them. Their different heights give the design rhythm across the pumpkin front. Choose a broad pumpkin so the bodies have room to stay separate. The extra outlines mean more cutting than a single ghost, so this is a natural next choice after you have tried a simpler silhouette.
8. A Ghost Framed by the Moon
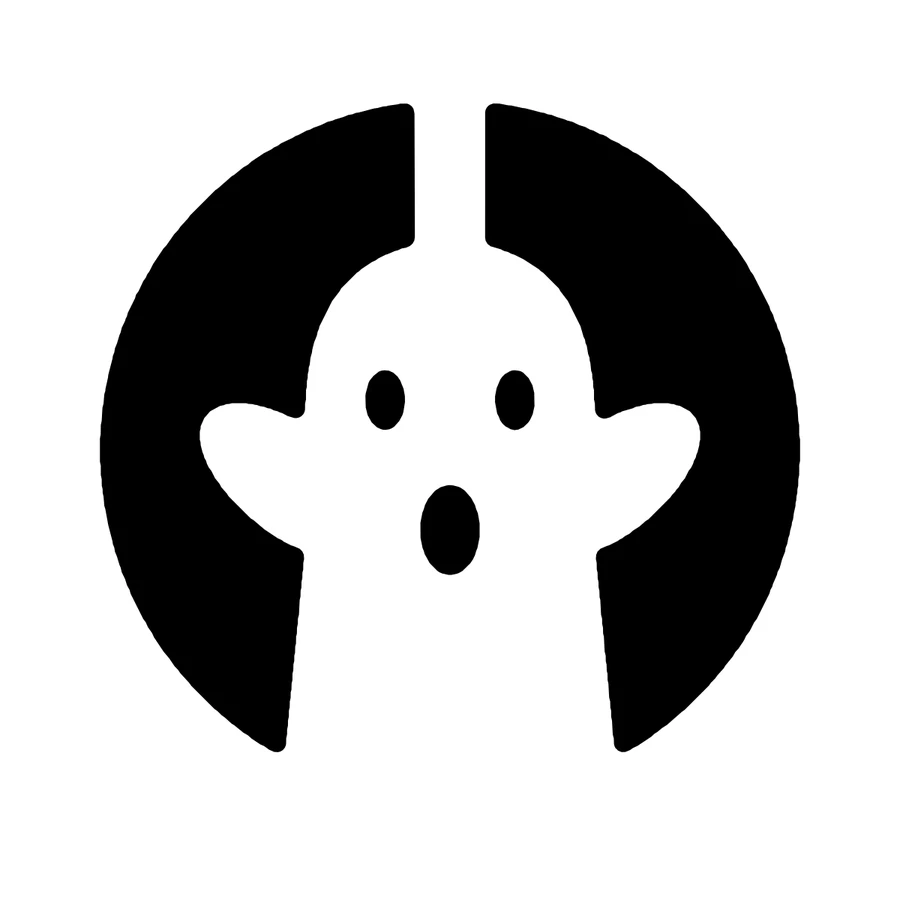
The moon-shaped background makes the retained ghost feel like it is floating in front of the night sky. The contrast between a broad glowing opening and a solid character gives the design its impact. Keep the connecting bridge shown in the stencil. A larger pumpkin helps preserve that structure and makes the little face easier to read after the light is switched on.
9. A Ghost Face with a Jagged Grin
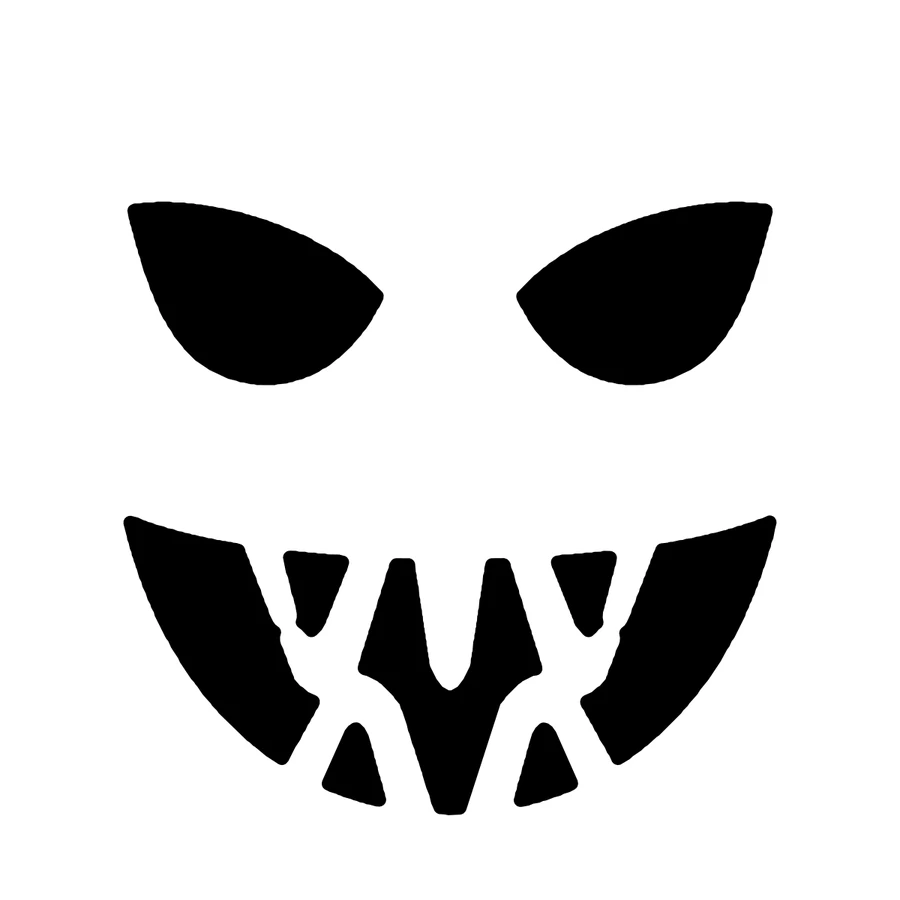
The jagged mouth moves this design toward the spookier end of the collection. Its teeth are the feature that needs patience, so it is worth comparing with the simpler oval-mouth stencil before choosing. Leave the tooth connections intact and avoid adding extra narrow cuts. A steady LED glow will make the mouth shape easier to read than a flickering light.
10. A Grinning Ghost in a Glowing Circle

A rounded glowing frame makes the ghost stand out from the surrounding pumpkin. The dark retained figure inside it is a different approach from simply cutting out a ghost shape. That contrast is the design decision worth noticing. Keep the connecting areas sturdy, and use the creator’s pattern to see how the face and body remain part of the pumpkin wall.
11. A Ragged Little Ghost Character

This ghost has a rounded head, open mouth, and ragged lower edge that give it a slightly wilder personality. The uneven outline is what makes it different from a neat sheet ghost. Keep the wider body areas intact when interpreting the design. The source preview is useful for comparing a character with several small details against the simpler ghost faces later in the collection.
12. A Curious Ghost Inside a Round Frame

The round opening behind this ghost gives it a stage of its own. The little side details and Boo lettering make it feel like a character asking a question. The solid figure needs its connections, so do not treat the preview as a simple outline to cut all the way around. Use the original pattern and allow space for the framed scene.
13. A Ghostly Greeting with Playful Lettering

The Pumpkin Lady combines a waving ghost with a large Boo greeting in this design. It is a decorative option when you want both a character and a message on the same pumpkin. The letter shapes add more work than a plain silhouette, so choose a broad pumpkin and use the original pattern. A smaller first project can borrow just the waving ghost idea.
14. A Ghost Holding a Boo Sign

The ghostly character and sign share one central composition, making the pumpkin feel like it is greeting visitors. The large curved outline gives the smaller lettering a clear setting. This is one of the more decorative patterns, so consider it after a simple face if you are new to carving. Keep the source pattern nearby to understand which parts are supposed to stay connected.
15. Boo Lettering with a Ghostly Face

The face-like middle of the Boo lettering makes the word feel like a character rather than just text. This can work as the focal pumpkin in a doorway display. The letters need room to stay readable, so avoid squeezing the pattern around a narrow side. If lettering is new to you, follow the original bridges closely instead of cutting every dark-looking section.
16. A Boo Message with a Pumpkin-Shaped O

This lettering design replaces part of the word with a pumpkin-like shape, giving a familiar greeting an extra Halloween detail. It suits someone who likes a graphic display more than a full ghost character. Leave generous spacing between letters and keep the message on the flattest side. Smaller decorative marks can be omitted from an adaptation if they make the composition too crowded.
17. A Cheerful Boo-to-You Message

A friendly greeting can feel less spooky than a staring face. The Pumpkin Lady uses different letter sizes and a small ghost detail to give this design movement. Choose a large enough pumpkin for the wording instead of shrinking the pattern until the letters become fragile. A nearby plain pumpkin can keep the whole display from looking overly busy or competing for attention. Nearby, small Halloween roll crafts can add a handmade finishing detail.
18. A Southern-Style Boo Greeting

The Boo y’all lettering creates a welcoming, playful message rather than a frightening face. It is best treated as a lettering project with a ghostly mood. A broad, smooth pumpkin front helps the words stay readable. Keep this as an optional, more detailed choice if your first carving attempt is still ahead of you; the three-opening faces below are simpler starting points.
Build a Small Ghost Scene Around Your Carved Pumpkin
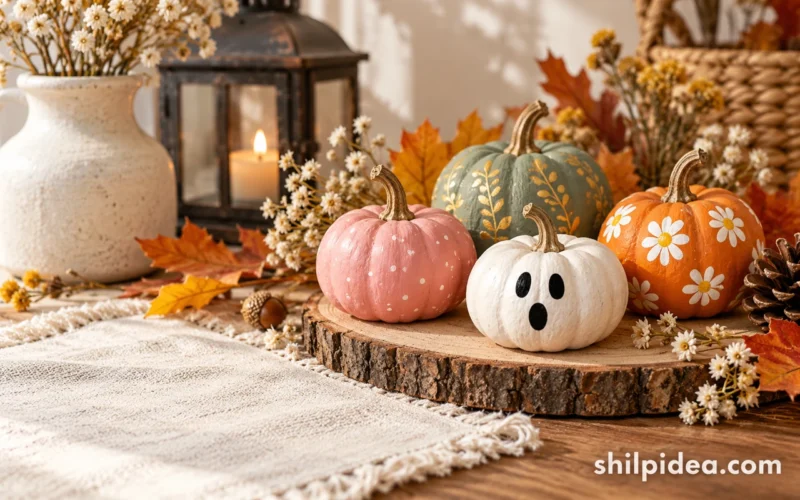
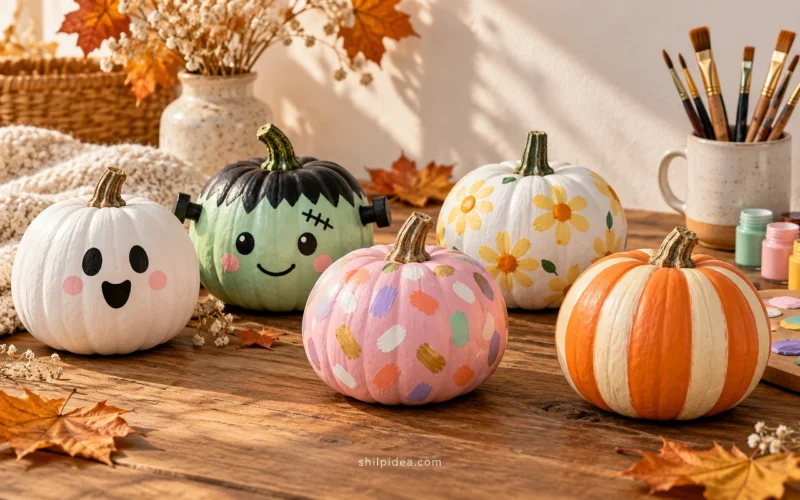
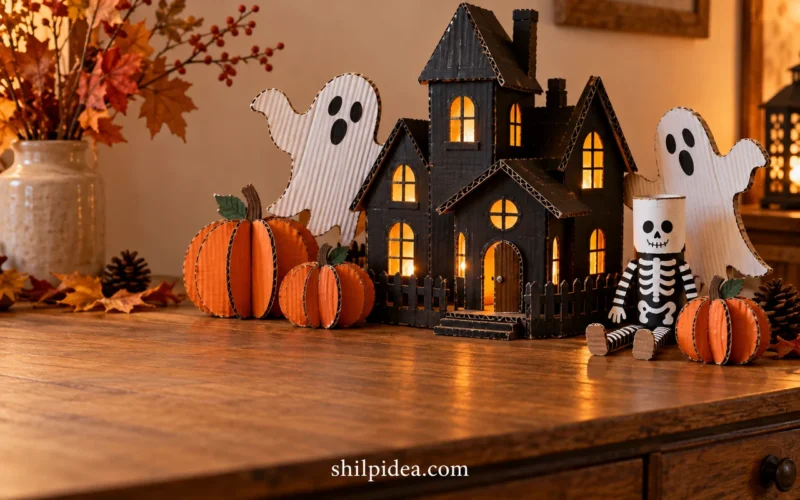
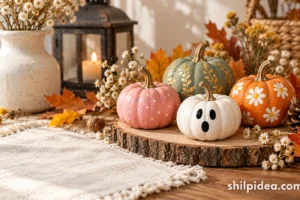
Once you have chosen a ghost expression, keep the surrounding decorations light and simple. A short paper garland can repeat the floating shapes above the pumpkin, while a few painted companions add color beside it. Cardboard decorations are another way to extend the scene without more carving. Choose the pieces that suit your doorway, shelf, or party table rather than trying to use everything.
- 18 Cute Simple Pumpkin Painting Ideas for Beginners
- 15 Paper Ghost Garland Ideas for Last-Minute Halloween Decor
- 20 Cardboard Halloween Decoration Ideas to Make from Boxes
- 10 Toilet Paper Roll Halloween Craft Ideas


0 Comments