25 No-Carve Pumpkin Decorating Ideas with Ribbon, Stickers and Fabric
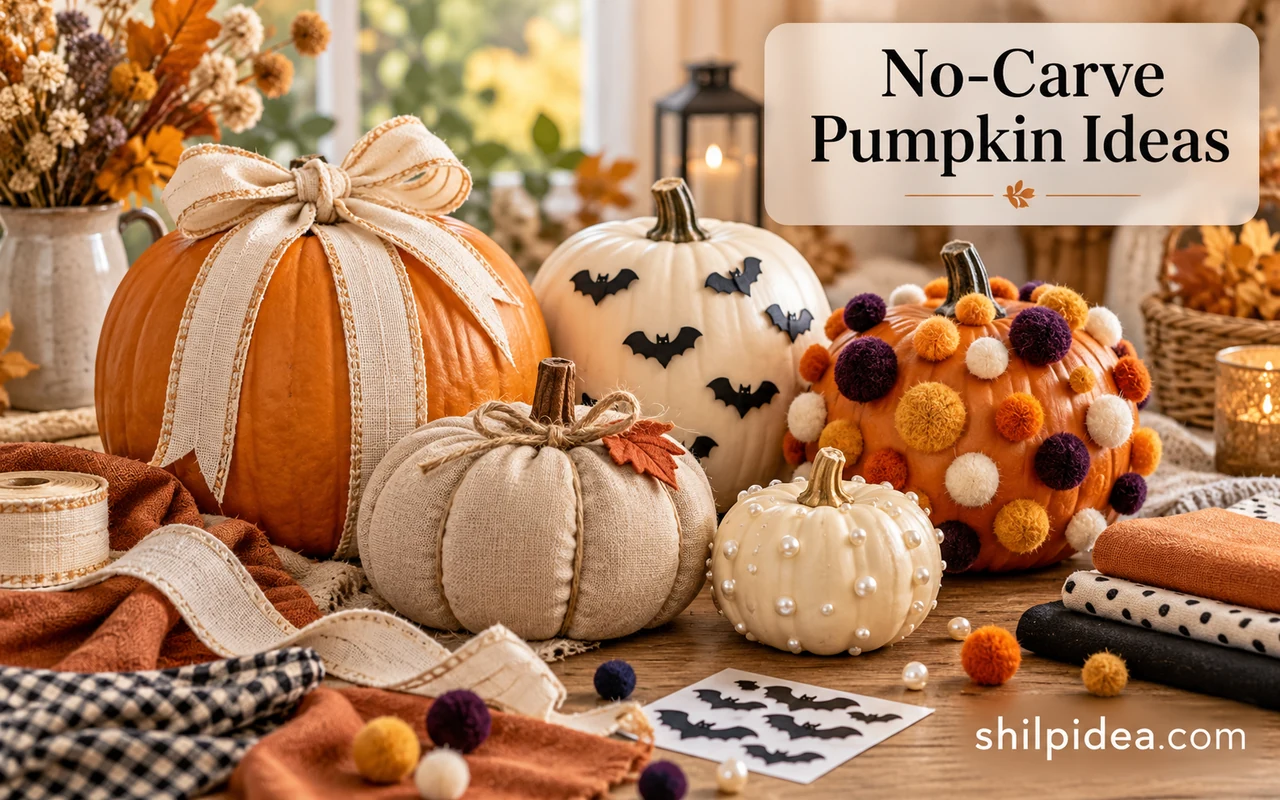
No-carve pumpkin decorating leaves plenty of room for texture, pattern, and personality. Ribbon, fabric, stickers, and paper can transform a pumpkin without opening it up or scooping out the seeds.
These 25 ideas focus on added materials rather than painted designs. Some reference photos use painted bases; choose a ready-made colored craft pumpkin or a natural pumpkin to to skip that step.
Compare soft covers, paper finishes, and small embellishments to find a look for your table or entry. Adults should handle hot glue, sharp brads, and any cutting tools, and keep small parts away from young children.
1. Mix Patterned Ribbon Stripes

Wide ribbon follows the pumpkin’s natural ridges, making even a small foam pumpkin feel dressed for fall. The mix of plaid and printed fabric in this example adds interest without needing an elaborate face. Choose one dominant color and let a second ribbon provide contrast. A plain stem and a few leaves keep the patterned surface from becoming too busy.
2. Cover Craft Pumpkins in Soft Linen

Linen brings a quiet, slightly uneven texture to a group of craft pumpkins. Pale neutrals let the familiar pumpkin shape stay visible while softening the brighter colors of Halloween. This look belongs as naturally on a bookshelf as it does on a dining table. Use a lightweight fabric that can follow the curved surface, and check the creator’s project for its adhesive method. Heavier upholstery cloth can make the folds bulky, especially around the stem. A mix of sizes gives the finished group a relaxed, collected appearance.
3. Give Fabric Scraps a Ruffled Finish

Frayed fabric edges turn the pumpkin into a tactile little centerpiece. Rather than stretching one sheet smoothly over the base, this treatment lets small scraps create a clustered, ruffled surface. The irregular texture is its appeal, so a limited color palette helps it look intentional. The pictured project uses a foam base; follow the source for how the scraps are attached. Leave the stem visible, and place the pumpkin where the texture can be seen close up. A plain bowl or tray gives all those fabric edges some breathing room.
4. Wrap a Pumpkin in Chunky Yarn

Chunky yarn adds the cozy feeling of knitwear without requiring a hand-knitted cover. The thick strands emphasize the rounded shape, making a plain craft pumpkin look soft and substantial. Cream, gray, and oatmeal work well in a neutral arrangement. Keep the surrounding decor smooth and simple so the yarn remains the main texture rather than competing with several other fuzzy materials.
5. Try a Raffia-Wrapped Natural Texture

A raffia-style covering gives a craft pumpkin the character of a woven basket. The fine strands catch the light differently from smooth linen or thick yarn, so this is a useful middle ground in a mixed arrangement. The source project repurposes a decorative hula skirt. Keep the finished pumpkin indoors, where the loose fibers are less likely to snag or become damp.
6. Use Burlap for an Open-Weave Cover
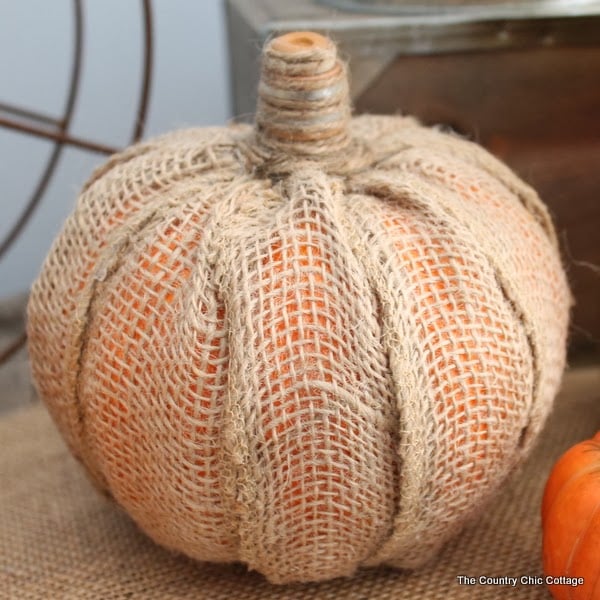
Burlap allows a little of the original pumpkin color to show through, adding depth that a solid fabric cover cannot. This example keeps an earthy stem and a simple gathered silhouette. Pair it with wood, a plain ceramic bowl, or a few leaves for a rustic tabletop. A foam base is practical for a decoration you want to pack away afterward.
7. Add Twine Around a Small Pumpkin
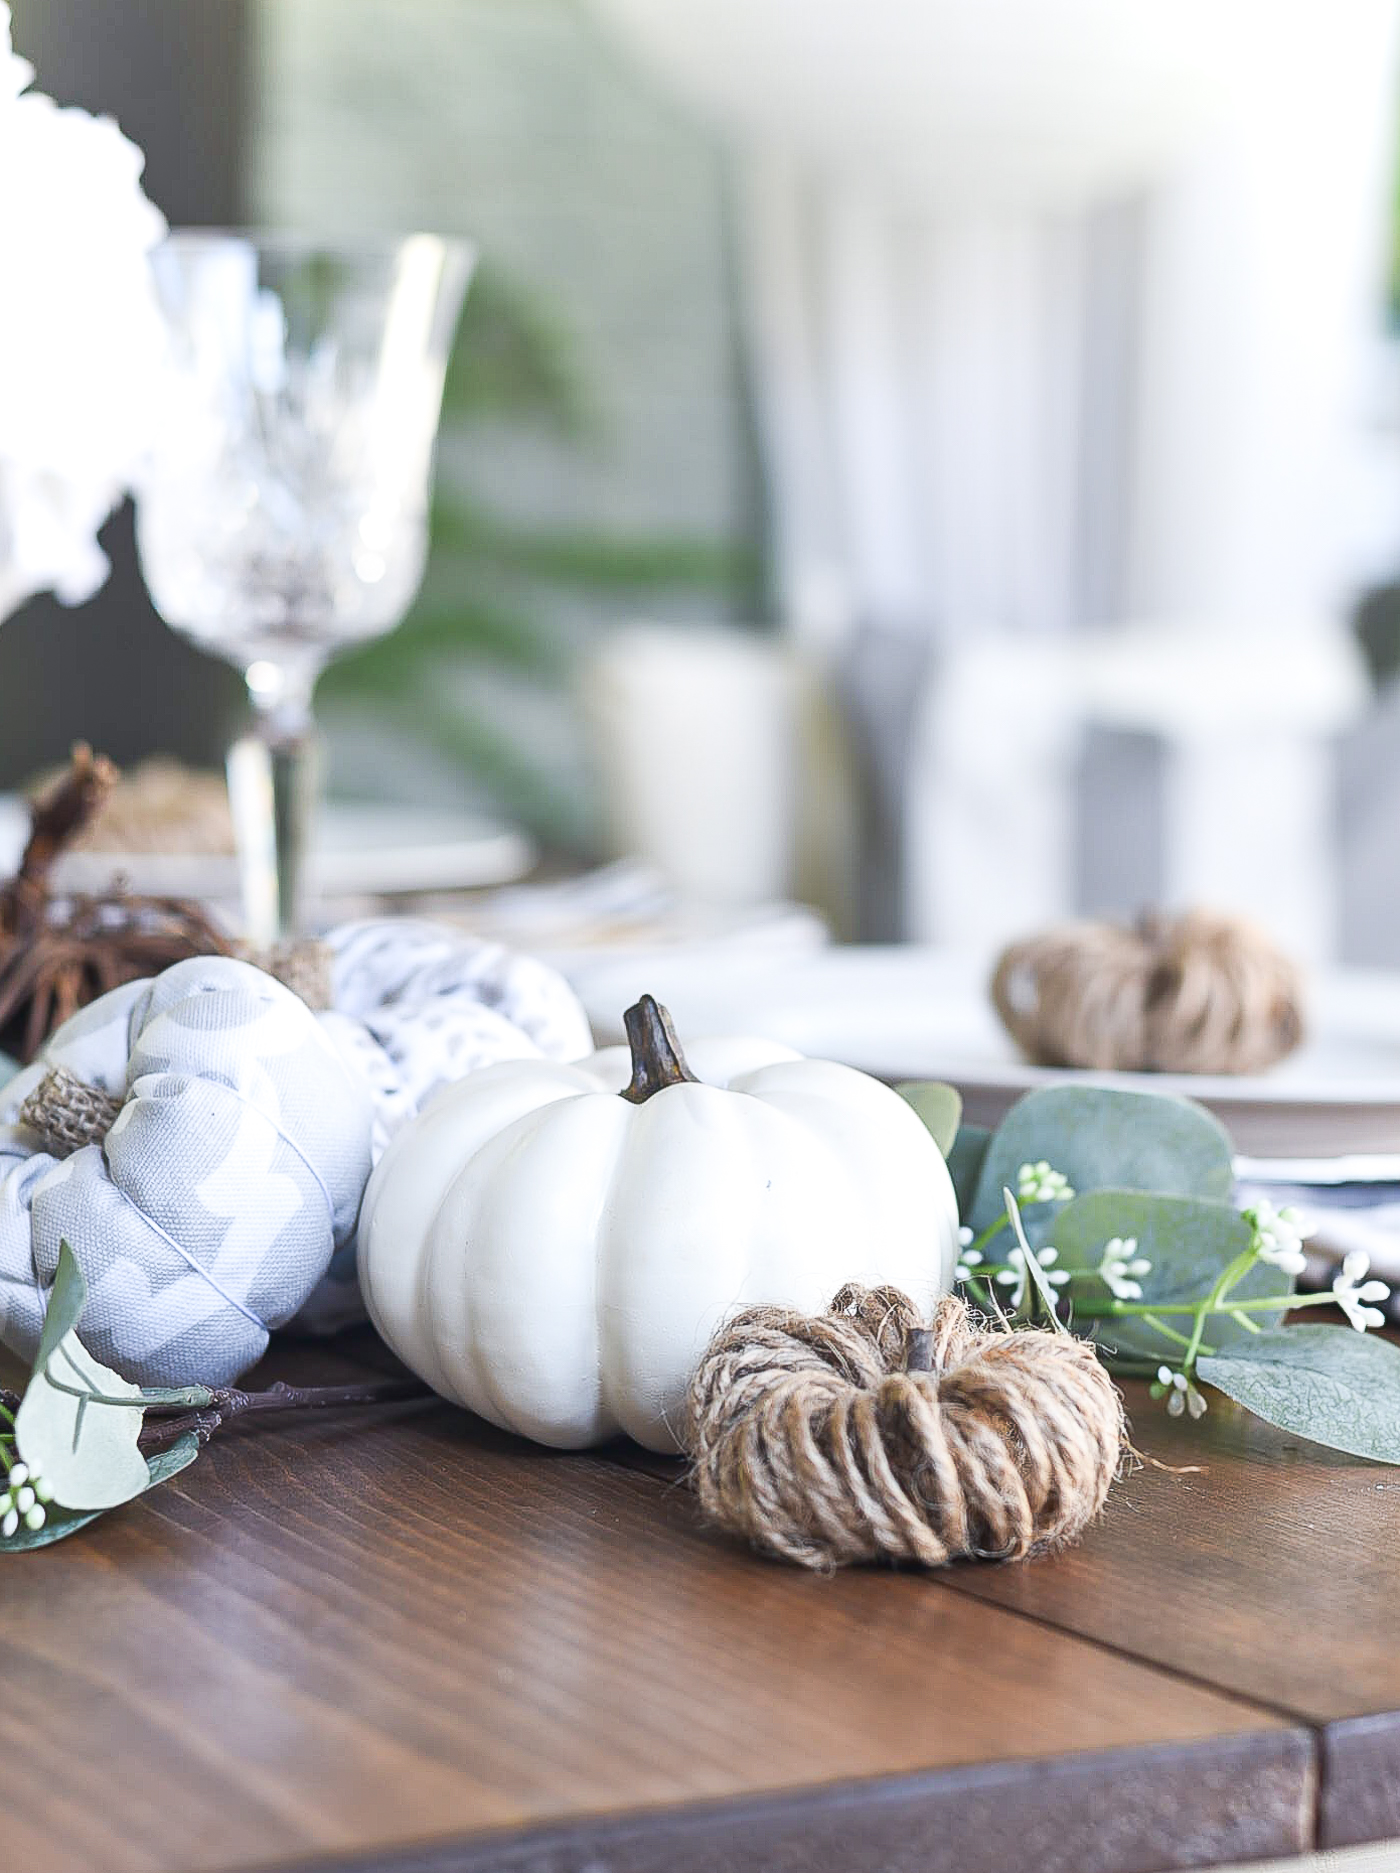
Jute gives a small pumpkin a compact, rope-like texture that fits neatly into a larger table arrangement. The natural brown shade is a useful contrast to white pumpkins and pale flowers. Keep the scale modest if you want the twine-wrapped piece to be an accent. A simple display often needs only one strongly textured pumpkin among several plain ones.
8. Gather Deco Mesh with a Statement Bow

A gathered mesh cover makes the pumpkin look like a wrapped gift. The translucent material lets the base color remain part of the design, while the bow creates a clear focal point at the stem. Choose a pumpkin that fits comfortably inside the mesh, and avoid pulling the wrap so tight that the texture flattens. A broad ribbon balances the airy folds. This is especially effective on a side table where the bow can stand upright without being crushed by other decorations.
9. Follow the Ridges with Washi Tape

Strips of patterned tape create clean lines on natural orange pumpkins. The strong vertical rhythm suits a group of different sizes, and it is a useful option when you want the original pumpkin color to do most of the work. Smooth the surface before choosing a tape layout. Test adhesion in an inconspicuous area, since some tape lifts easily from waxy or damp rind.
10. Make a Patchwork Surface with Fabric Tape

Fabric tape brings a more textile-like finish than ordinary paper washi tape. Mixed prints can turn a small pumpkin into a miniature patchwork accent, especially when the colors share one or two common shades. The example uses a dark green and blue palette. Let the pumpkin stay the main patterned object on the tray rather than placing it beside several competing prints.
11. Layer Tissue Circles Like Colorful Scales

Overlapping tissue-paper circles create a scalloped surface with a light, playful look. The yellow and white combination shown here feels bright without needing a carved face. Thin paper can wrinkle or tear, so this style rewards a gentle approach. Choose a prepared light-colored craft pumpkin if you want to focus on the paper decoration and skip a separate painted base.
12. Build an Abstract Tissue-Paper Collage

Large patches of tissue paper can create a painterly effect through paper rather than brushwork. Keep some areas of the pumpkin visible so the different colors have room to breathe. This example concentrates the collage toward the lower part of a white pumpkin. The source explains its decoupage method; use that guidance to judge the adhesive and drying time. Patterned tissue can add extra detail, but too many unrelated prints may hide the simple shapes that make the arrangement work.
13. Decoupage a Pumpkin with Book-Page Texture

Printed pages give a foam pumpkin a warm, slightly vintage surface. The text becomes a visual texture, so the design does not depend on readable sentences. Use damaged or unwanted pages, or reproduction paper, instead of dismantling a book you value. A small cluster of greenery and a natural bow can finish the top. Keep the decorative base sheltered from moisture, and follow the creator’s instructions for sealing or storing it. This is a good accent for a reading nook or a table already styled with books.
14. Use Floral Paper for a Botanical Finish
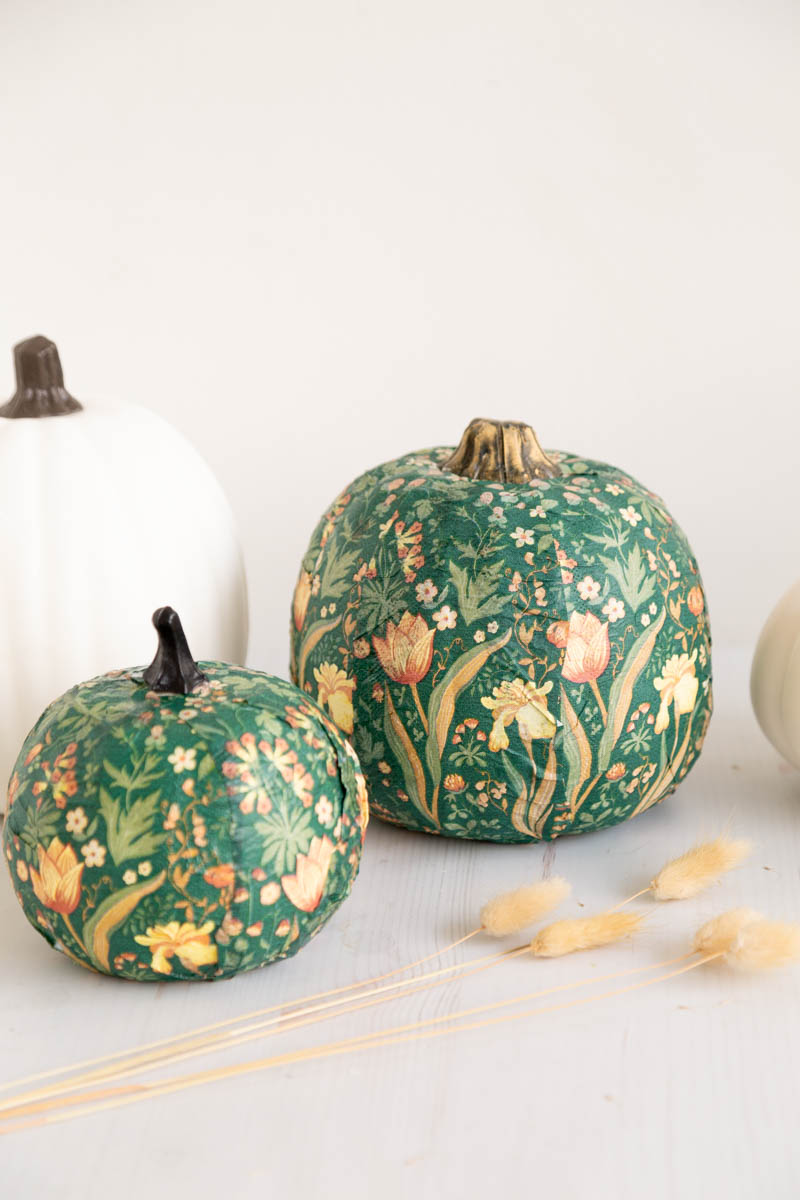
Printed floral paper makes a richly patterned pumpkin without asking you to paint individual flowers. The dark green background in this example gives the small blooms a strong contrast. A simple stem and plain surrounding surfaces let the pattern stand out. Select a light paper and follow the source’s decoupage guidance rather than assuming any thick gift wrap will follow the curves.
15. Showcase Pressed Flowers on a Pale Pumpkin

Pressed flowers turn the pumpkin into a seasonal botanical display. The flat petals and slender stems create detail that is quite different from a printed floral pattern. A pale base gives each leaf or bloom a clear outline. Plan the arrangement before committing, especially if the dried pieces are fragile. Keep the finished decoration indoors and away from damp conditions. This example comes from a floral decorating workshop; use it as visual inspiration and check the source for the workshop’s own materials and approach.
16. Send Paper Bats Across the Surface

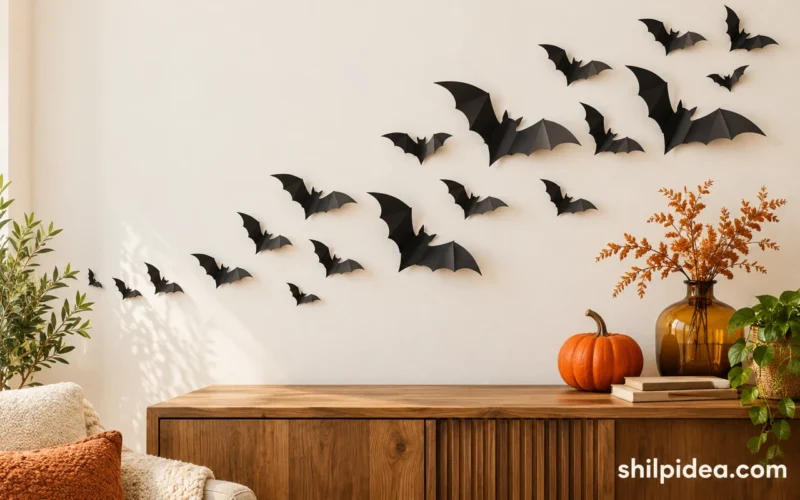
A little swarm of dark paper bats creates movement around an otherwise plain pumpkin. The shapes can continue beyond the base into a larger display, but the pumpkin still needs enough open space to remain recognizable. Use a few varied bat sizes rather than filling every gap. Carry the theme upward with our paper bat wall ideas.
17. Top a Pumpkin with a Paper Flower Hat

A pointed paper hat and a pair of eyelash shapes make this pumpkin a character with very little decoration on the body. The flowers on the hat add softness and color, while the dotted paper supplies the pattern. This is a useful approach when you want a small table character rather than a fully covered pumpkin. Check the source for its paper-cutting files and assembly details. A ready-made hat can serve as an alternative if you prefer to focus on arranging the decorative accents.
18. Add a Bright Pom-Pom Band
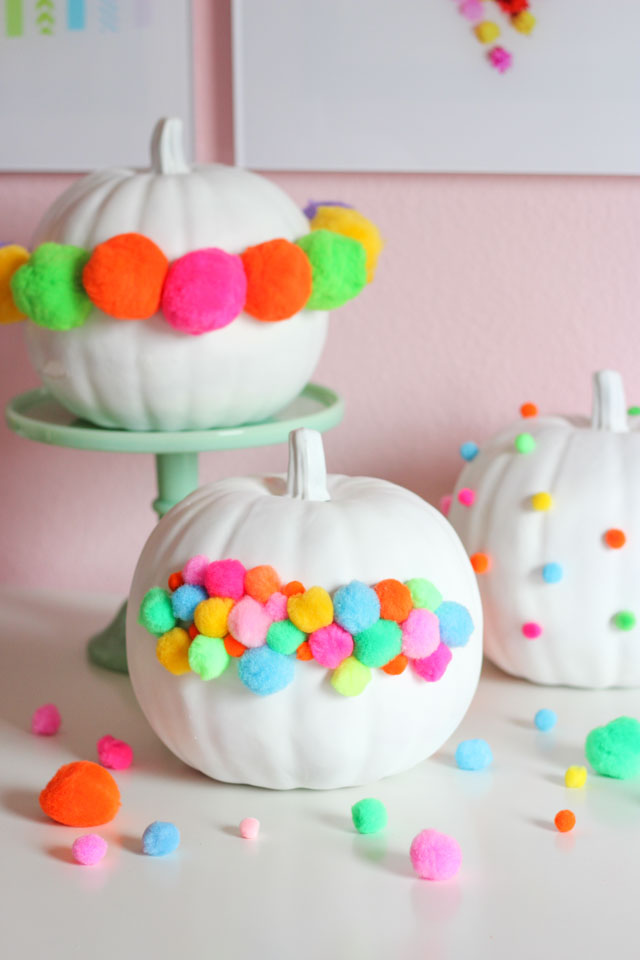
A ring of pom-poms puts color exactly where you want it, without covering the entire pumpkin. The rounded shapes echo the pumpkin’s curves and give it a cheerful, almost party-like mood. A white base makes the colors pop, but natural orange can work with a more limited palette. Keep loose pom-poms and adhesive supplies away from very young children.
19. Cover a Dark Pumpkin in Googly Eyes

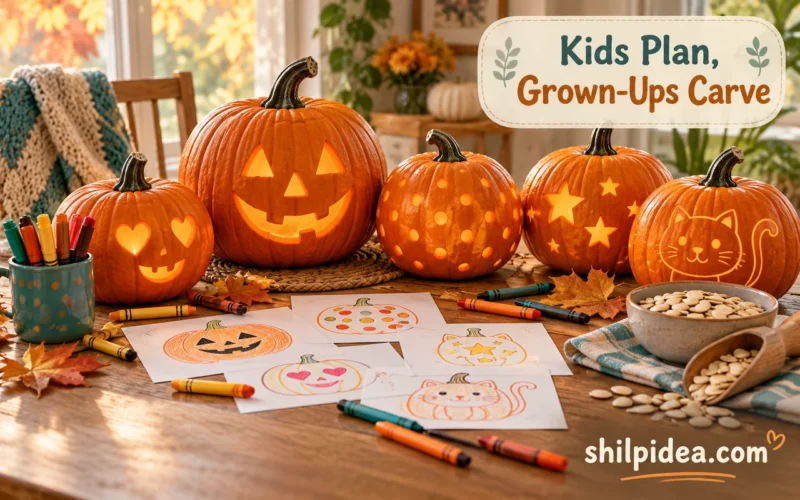
Pairs of googly eyes make a pumpkin feel watchful without giving it one fixed expression. Their different sizes are the useful detail: larger pairs become focal points while smaller ones fill the gaps. Start with a ready-made dark craft pumpkin if you want to concentrate on the embellishment. For younger helpers, see our family pumpkin planning ideas for age-appropriate roles.
20. Let Eye Stickers Spell a Halloween Word

Letter-shaped eye stickers turn the decoration into a short Halloween message. This approach differs from scattering separate eyes because the word itself needs to stay readable. Keep the rest of the pumpkin plain and position the message on its smoothest face. If the exact sticker set is unavailable, choose a current dimensional letter set rather than promising the original product is still sold.
21. Trace the Ridges with Buttons

Buttons add a hand-me-down craft-box feeling to the pumpkin. In this example, lines of autumn-colored buttons run down from a fuller cluster near the stem. Mixing a few sizes keeps the arrangement lively, while the limited palette holds it together. Sort the buttons before attaching them, and reserve hot glue for adults. The source page includes a video demonstration.
22. Decorate Small Pumpkins with Craft Brads
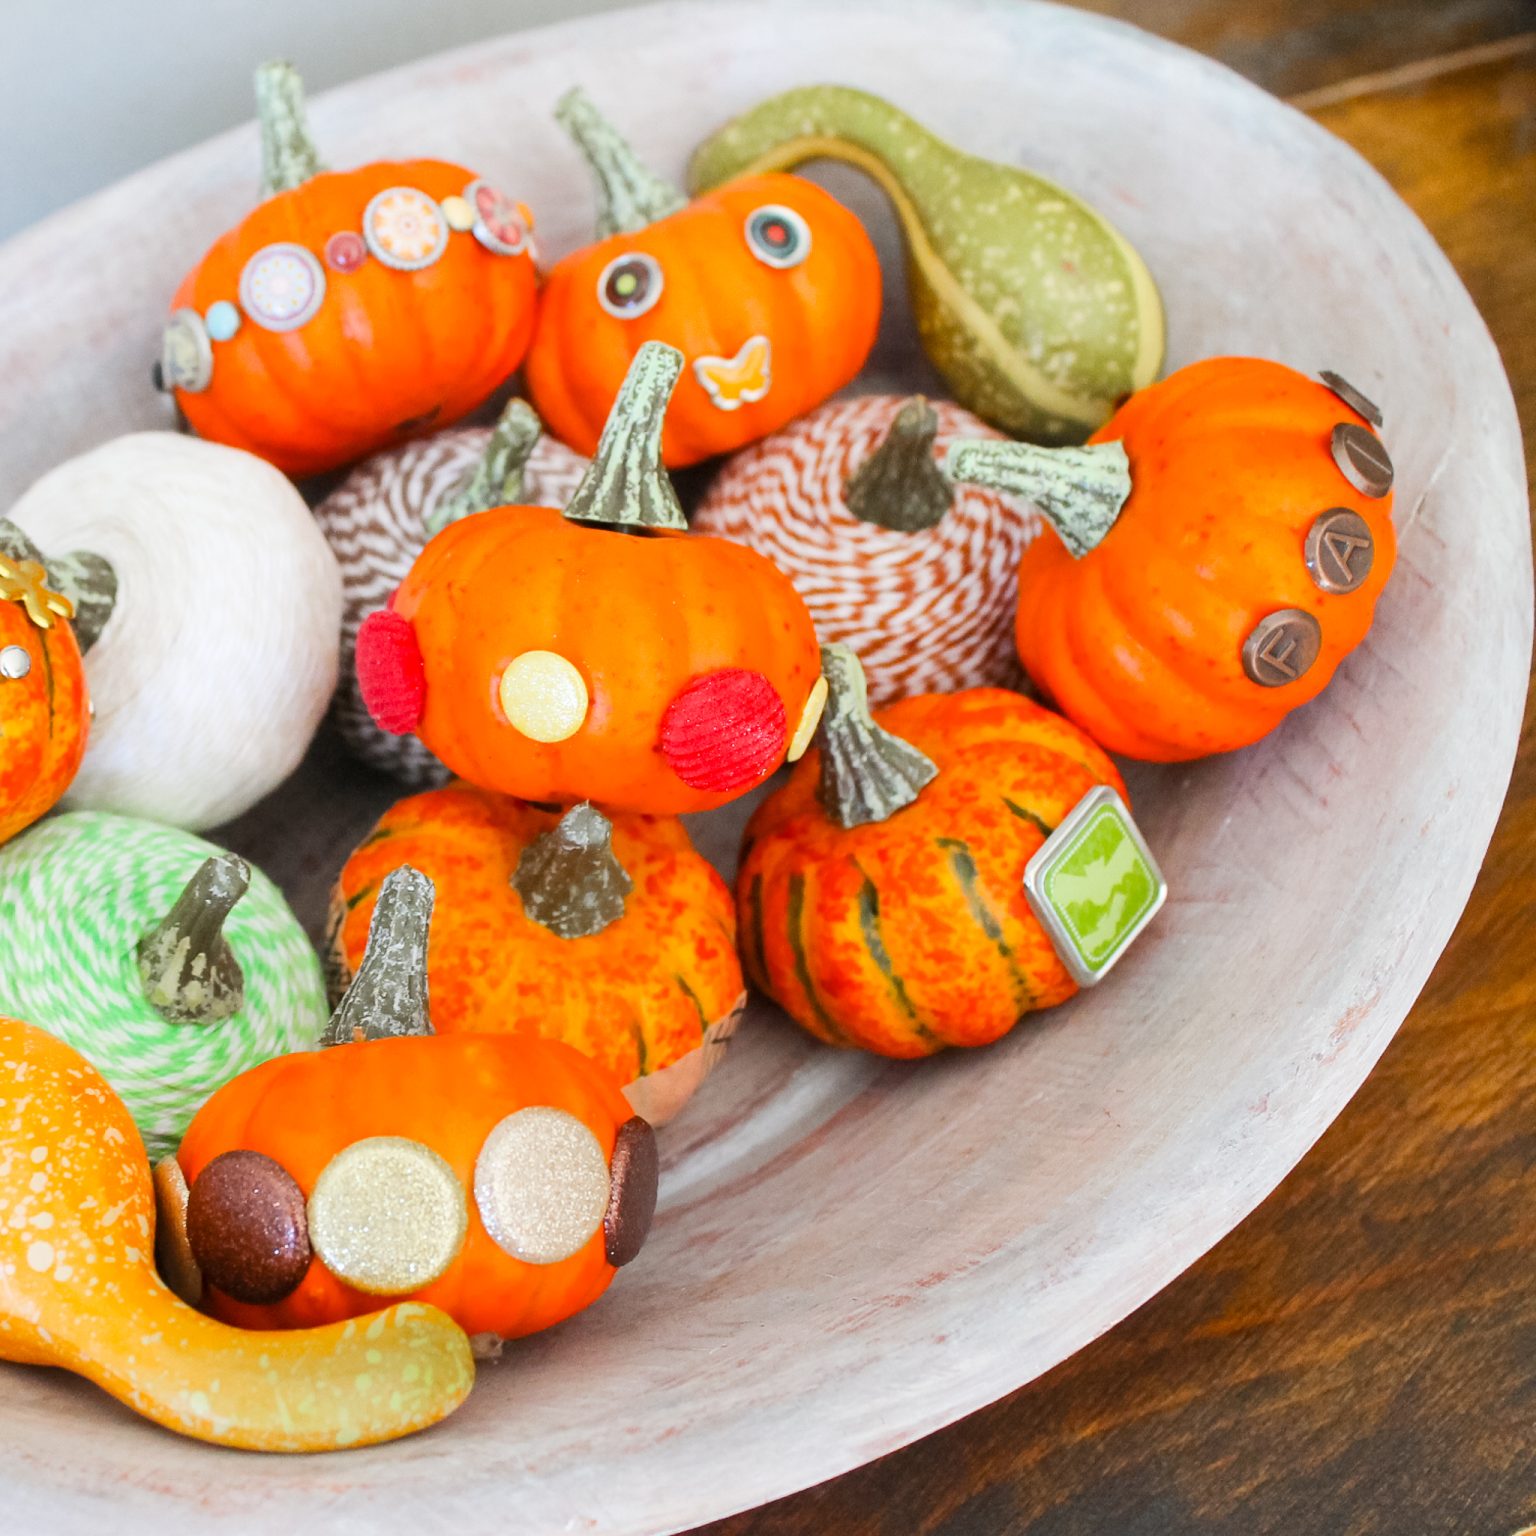
Decorative brads create a slightly raised, jewel-like surface on little pumpkins. A few oversized shapes can become facial features, while smaller brads make bands or scattered accents. The pictured arrangement combines several styles in a shallow bowl. Because brads have sharp points, this is an adult-handled embellishment rather than a peel-and-stick activity for young children. Keep the finished pieces out of reach.
23. Scatter Pearls and Rhinestones for a Soft Sparkle
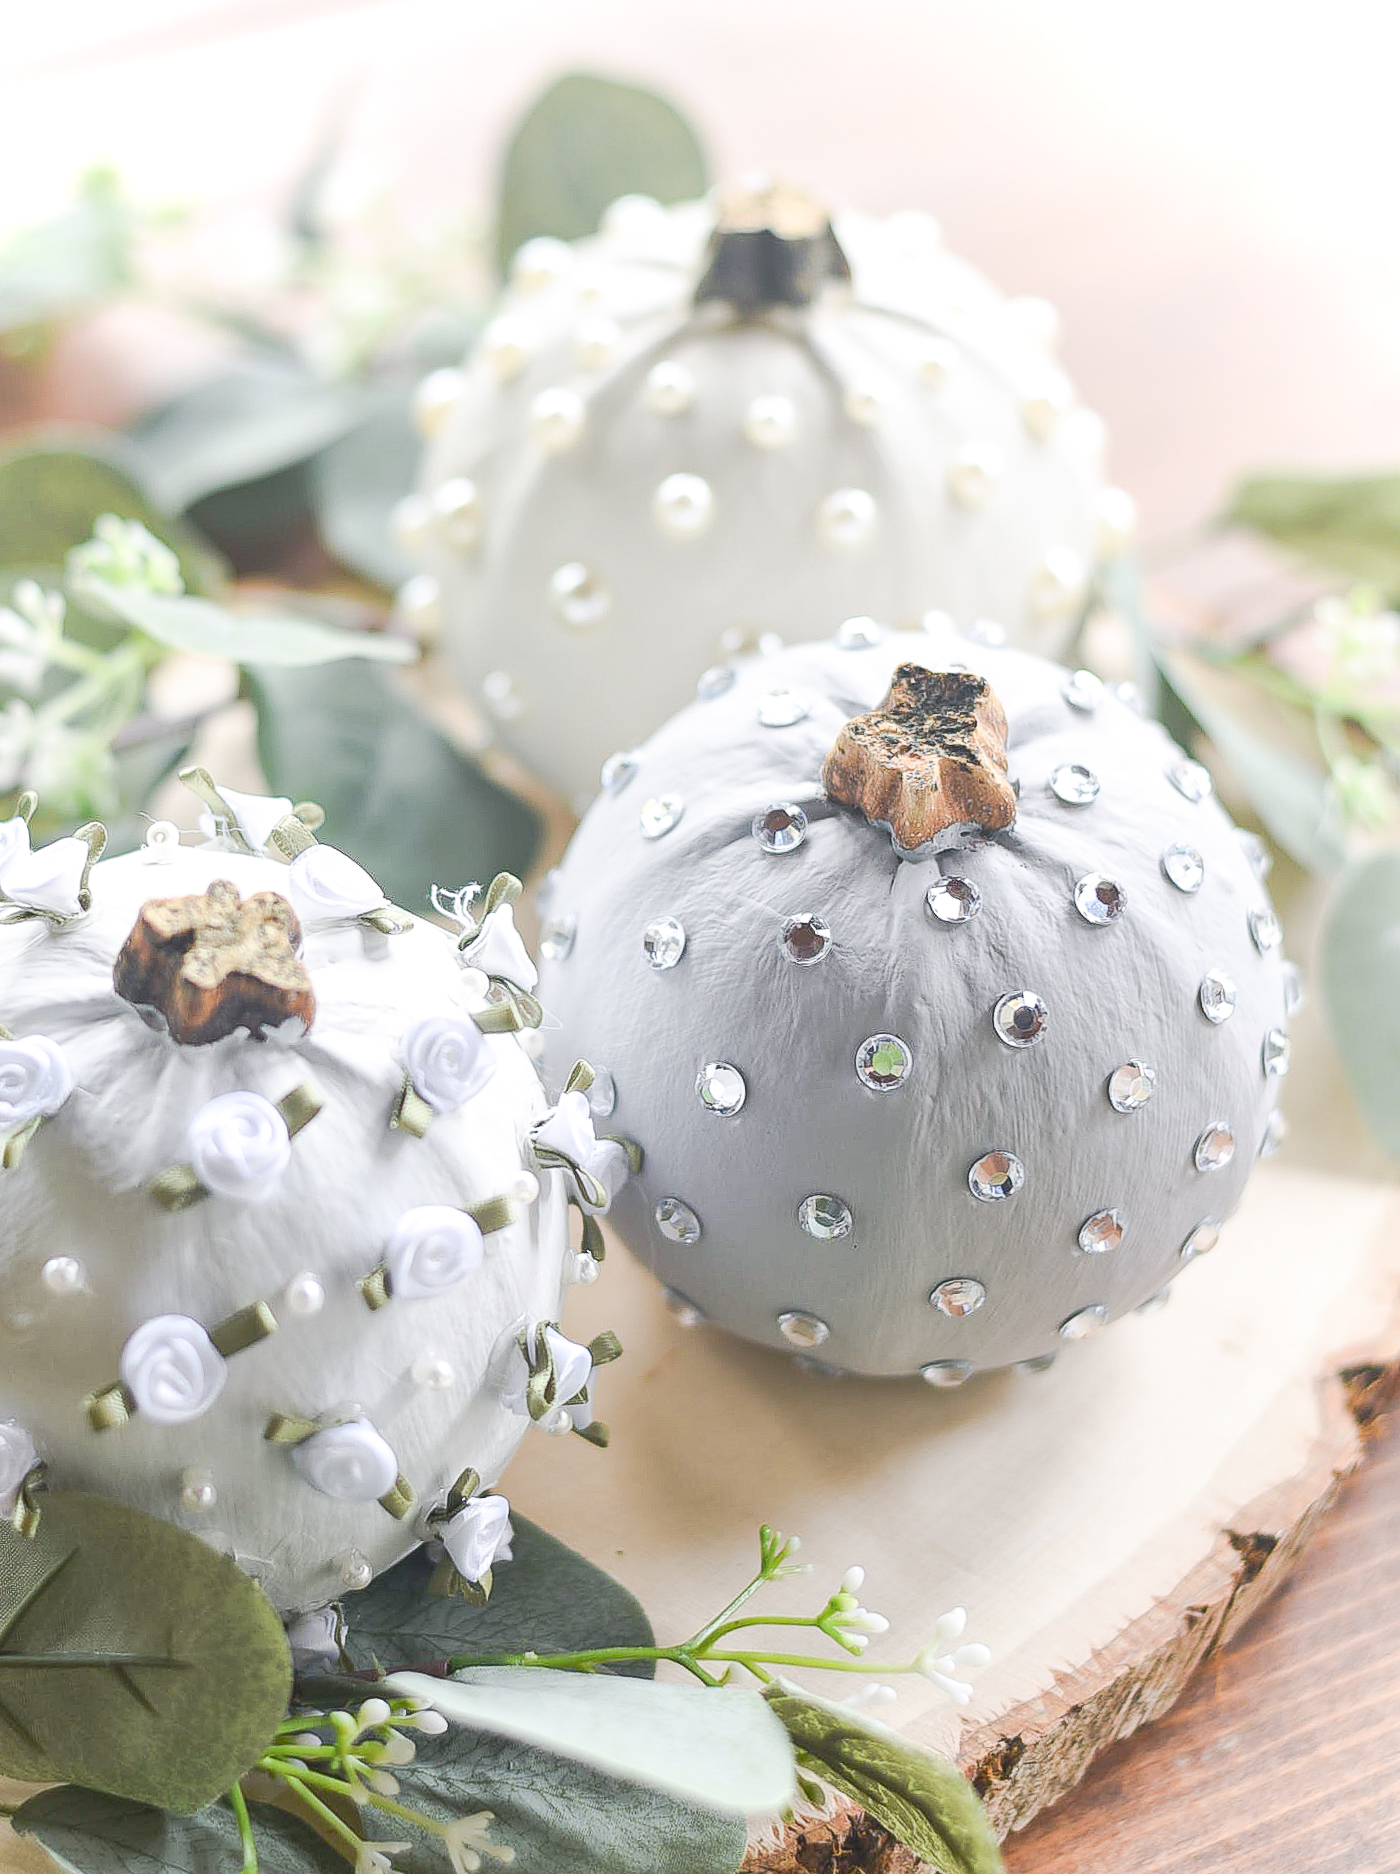
Pearls and clear gems bring a quieter sparkle than a full glitter coating. The pale pumpkins in this example sit comfortably beside flowers and greenery, making the idea useful beyond a single Halloween night. Space the larger pieces first, then judge whether the gaps need anything smaller. A few carefully placed embellishments often look more deliberate than a dense covering. Use ready-made pale bases if you want to avoid painting, and keep these small decorative parts away from children and pets.
24. Cover a Small Pumpkin in Sequin Trim
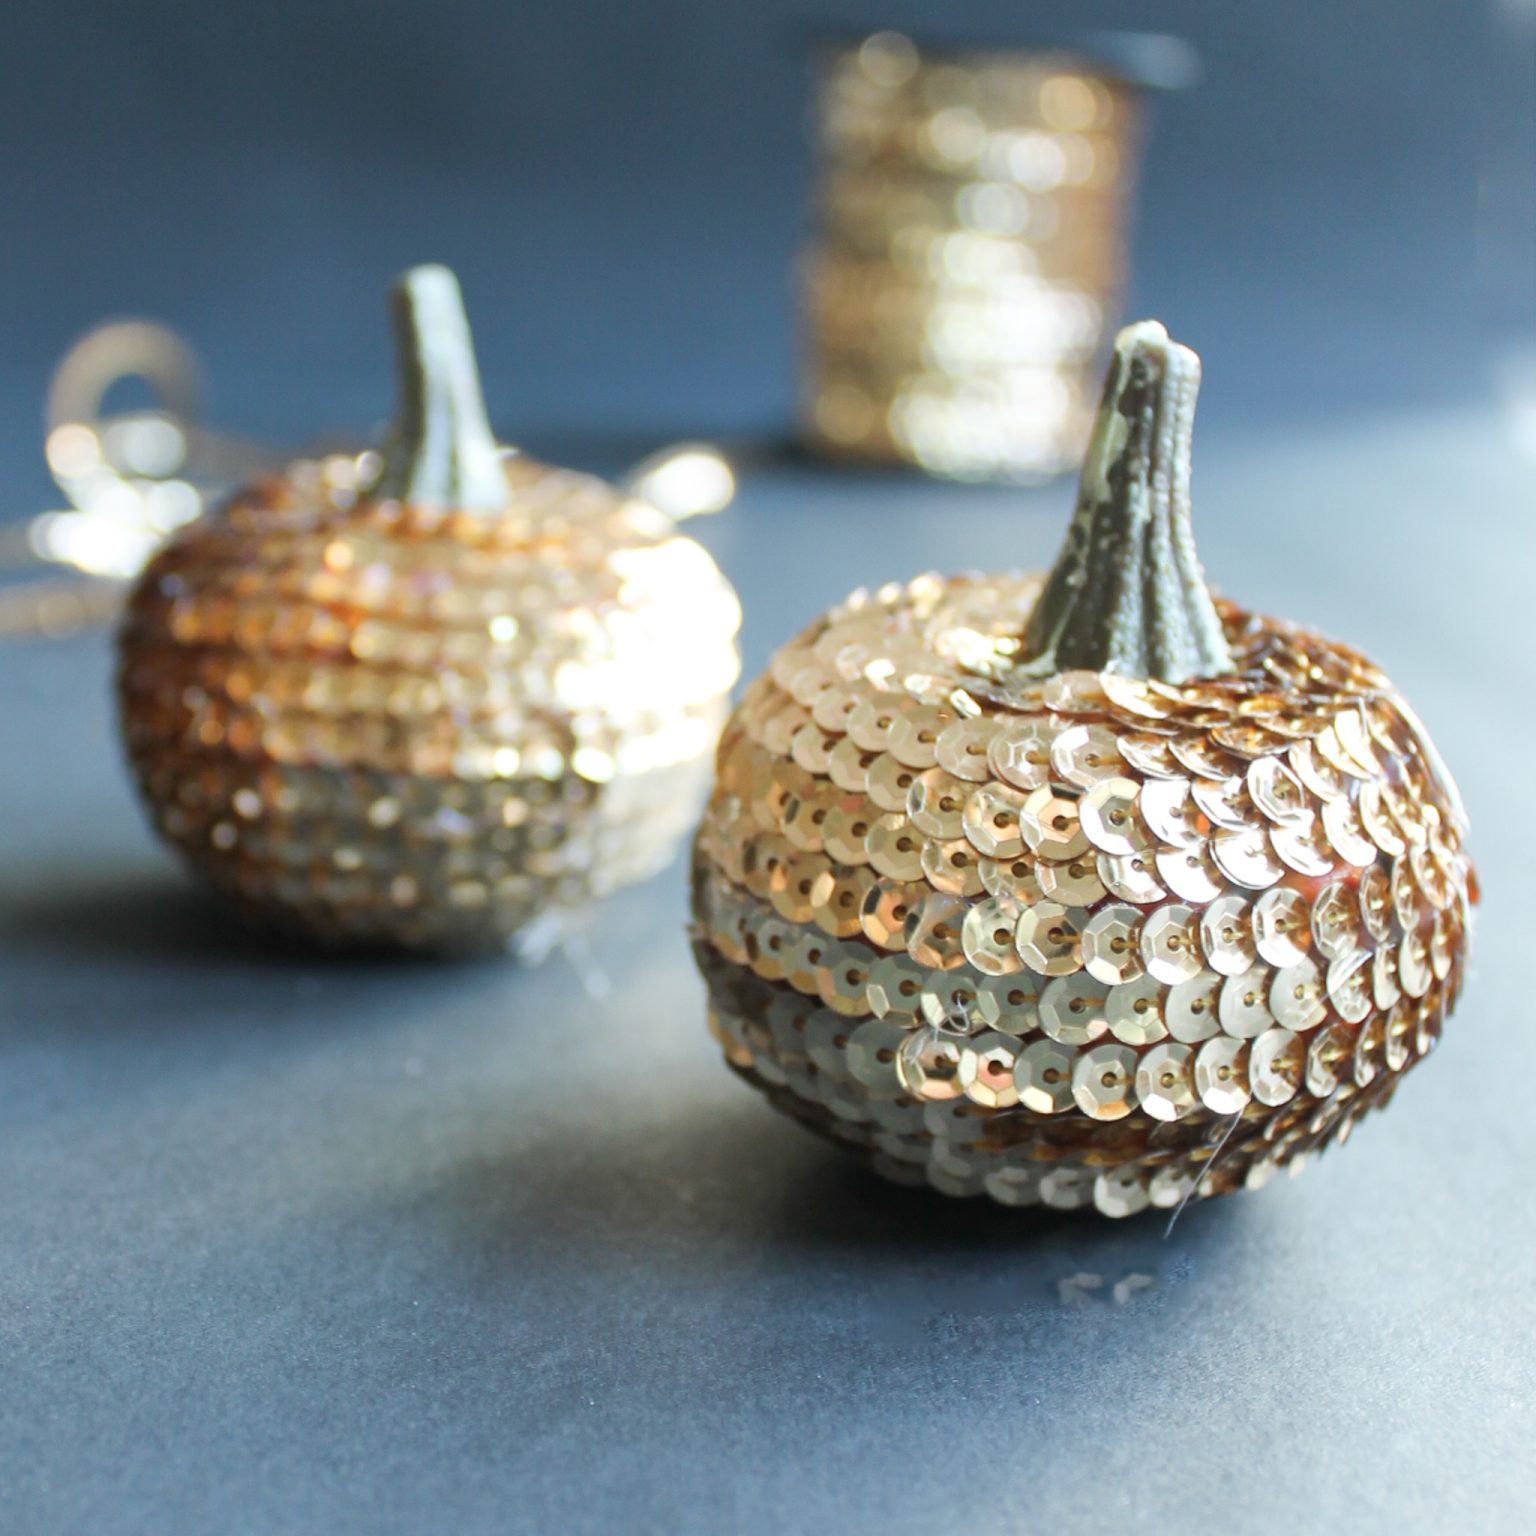
Sequin trim creates a continuous reflective surface, so it works best as a small accent rather than the only finish in a whole arrangement. Gold or bronze can sit naturally among fall leaves and neutral fabrics. Let a plain pumpkin nearby provide contrast. Follow the source project for the attachment method, and keep heat or open flames away from the decorated surface.
25. Use Feather Shapes for a Light Botanical Pattern
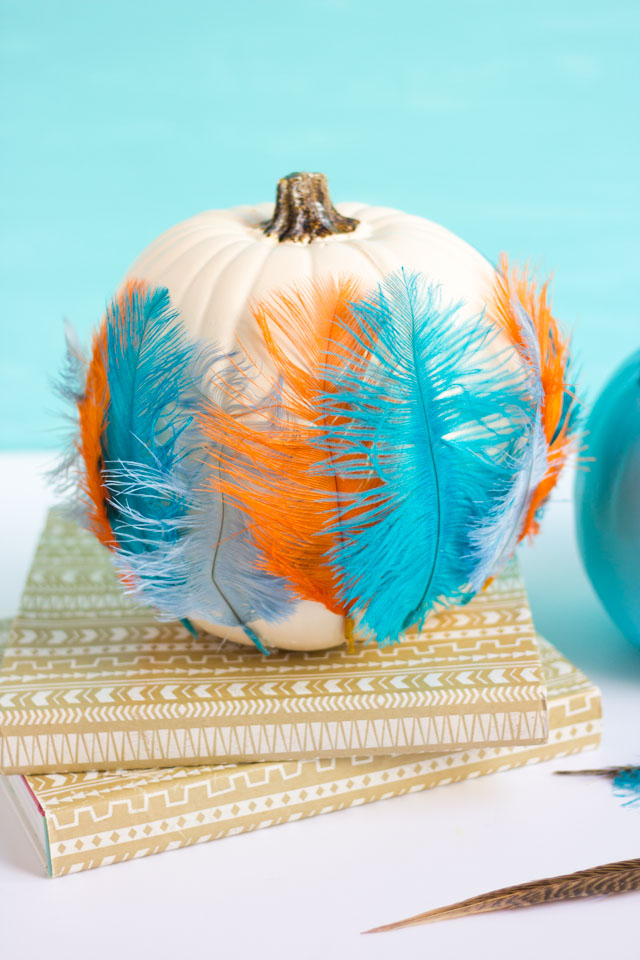
Feather embellishments add long, tapered shapes that contrast with the round pumpkin. The blue and orange combination shown here feels graphic and playful, while the pale base helps the individual feathers stand out. Choose craft feathers intended for decorative use and keep the arrangement indoors. A few well-spaced accents can give a stronger result than covering every ridge and curve.
Carry Your Pumpkin’s Colors into the Rest of the Display
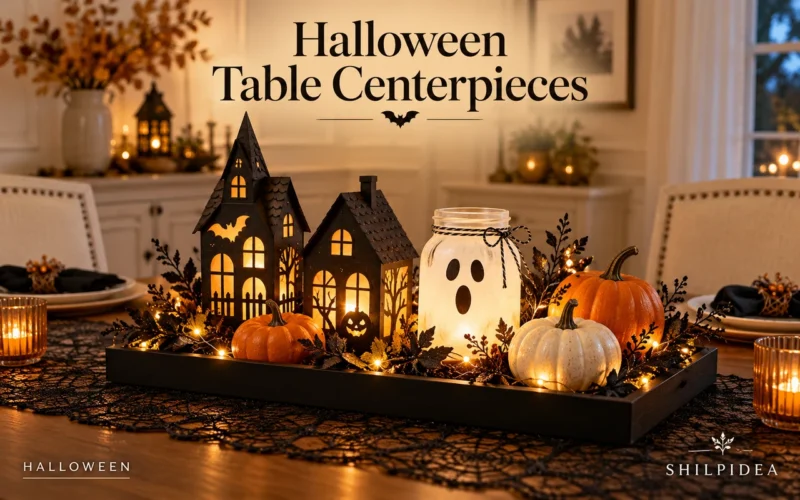
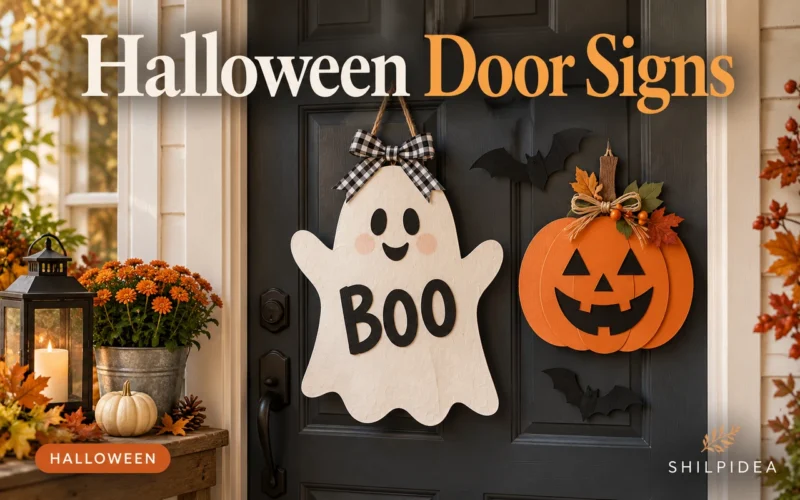
Once you have chosen a texture, repeat one color or material nearby. A fabric pumpkin can sit beside a matching ribbon, while paper bats can continue onto a wall. Keep a few plain pumpkins in the group so the decorated pieces have room to stand out. These collections offer more ways to build a Halloween display around the look you have chosen.
- 18 Pumpkin Carving Ideas for Kids to Plan with an Adult
- 18 Cute Simple Pumpkin Painting Ideas for Beginners
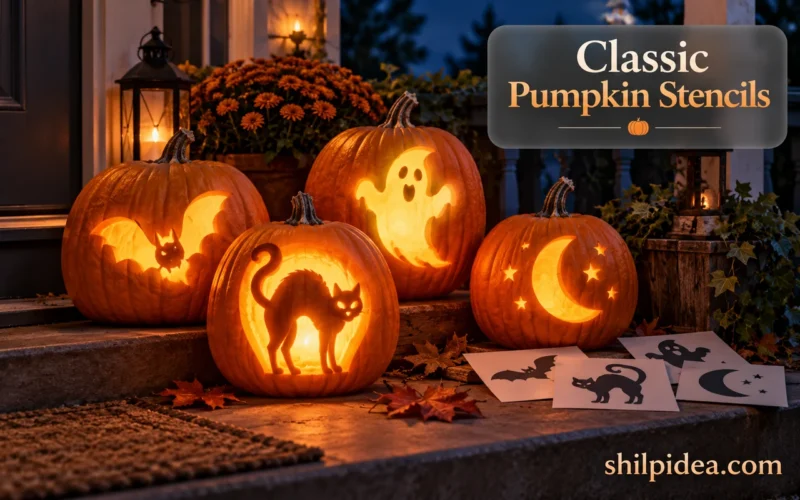
- 18 Pumpkin Carving Stencils for Classic Halloween Symbols
- 18 Paper Bat Wall Decorations for a Last-Minute Halloween Party
- 20 Cardboard Halloween Decoration Ideas to Make from Boxes




0 Comments