18 Cute Simple Pumpkin Painting Ideas for Beginners
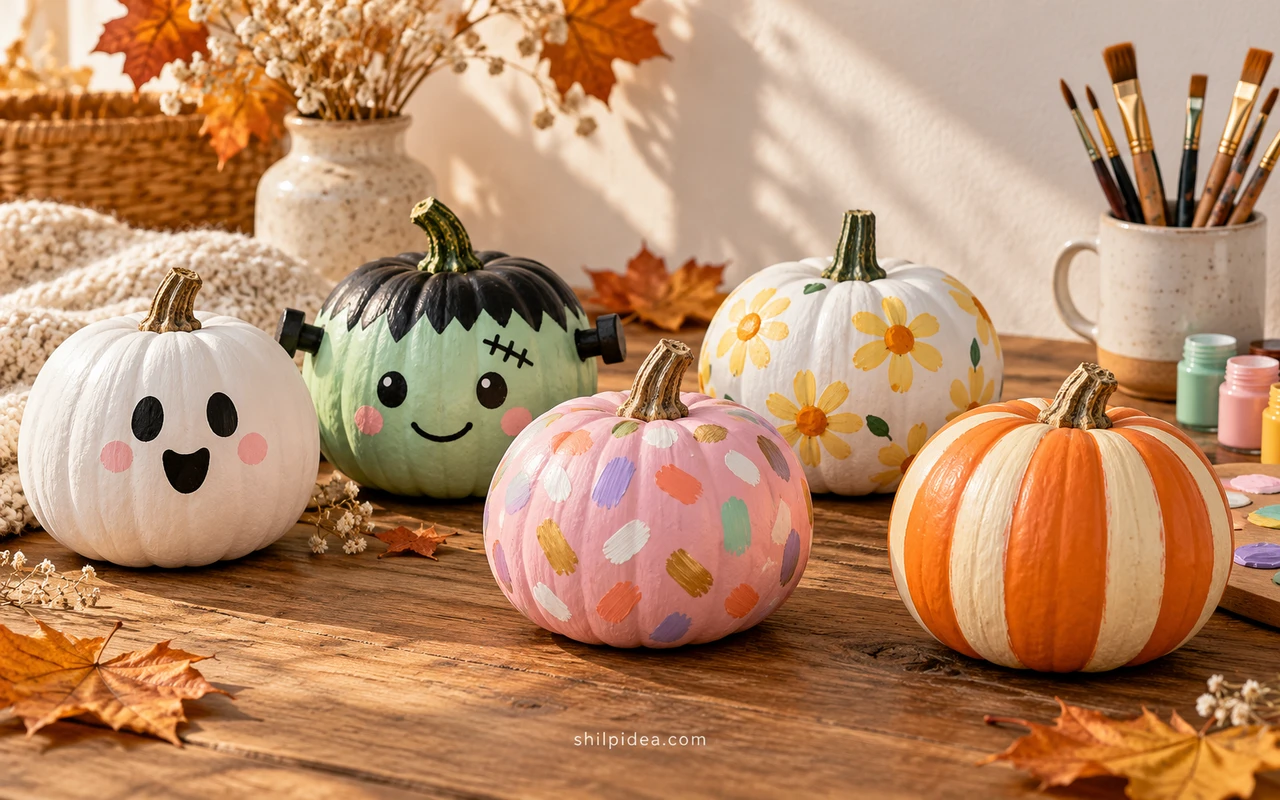
Cute pumpkin painting ideas do not need complicated drawings or a carving knife. A small face, a few flowers, or a bold painted band can give an ordinary pumpkin plenty of personality.
These 18 creator projects range from friendly Halloween characters to patterns that fit a softer fall display. Most rely on craft paint, brushes, or paint pens, with real and faux pumpkins represented.
Start with the simplest design you like and a clean, dry surface. Choose paint suited to your pumpkin material, and keep indoor craft finishes in a sheltered spot.
1. A Little Ghost with Rosy Cheeks
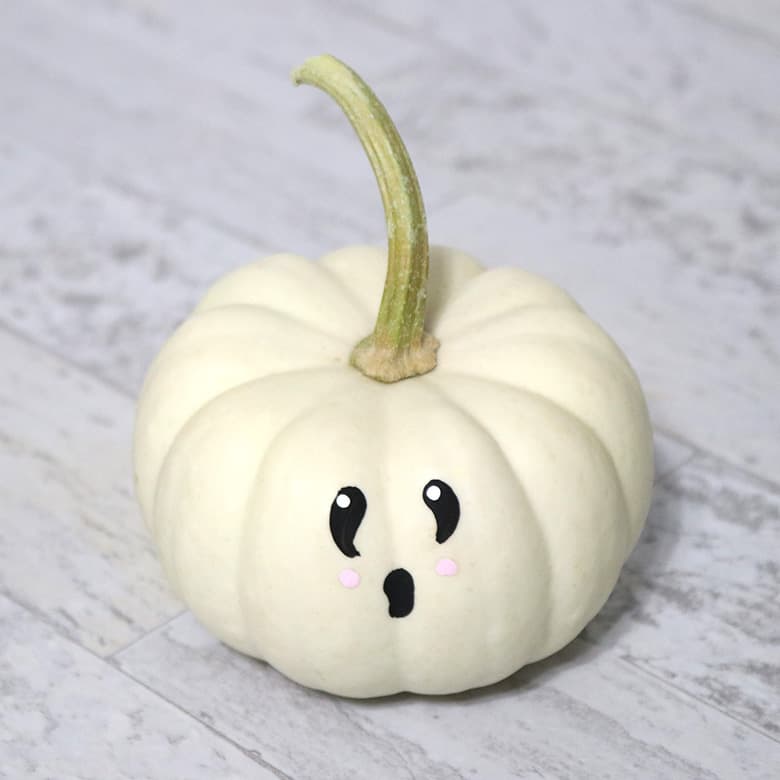
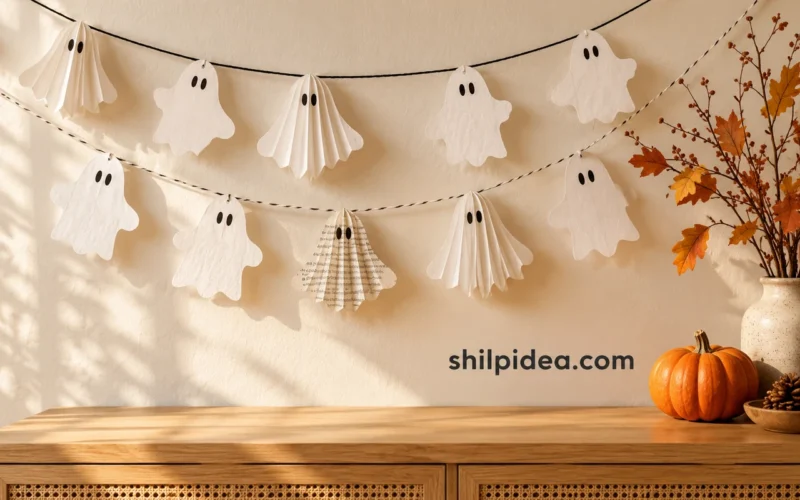
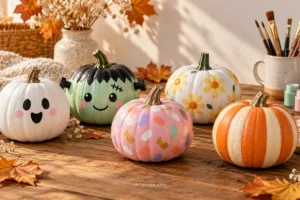
Two dark eyes, a tiny open mouth, and pink cheeks give this white pumpkin its personality. There is no need to cover the whole surface when the pumpkin is already pale. Keep the features together on the smoothest side, leaving plenty of white around them. A small pumpkin like this can tuck beside a stack of books or join a friendly Halloween display. Pair the little ghost with a paper ghost garland for a coordinated corner.
Get the tutorial: A Little Ghost with Rosy Cheeks by Aubree Originals.
2. Candy Corn in Three Bold Bands

White, orange, and yellow bands make the candy-corn reference instantly recognizable. This is a good choice when you enjoy color but do not want to draw a face or a detailed pattern. The rounded shape makes the familiar candy look a little softer. Leave the orange center visible on a naturally orange pumpkin, or paint all three bands on a reusable craft pumpkin.
Get the tutorial: Candy Corn in Three Bold Bands by Pumpkin Emily.
3. A Friendly Green Monster
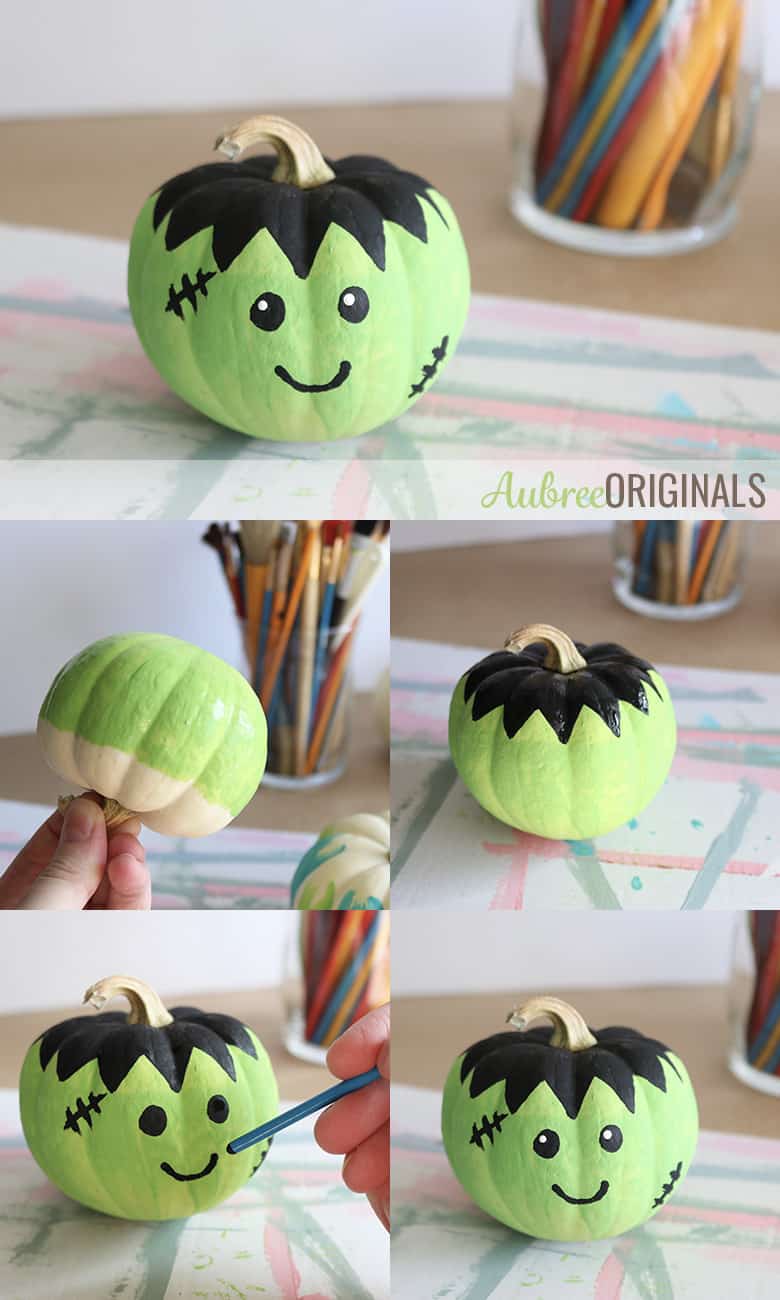
A jagged black hairline gives this little green monster an unmistakable silhouette. Round eyes and a small smile keep the expression welcoming. The stitches are short marks rather than an elaborate drawing, so concentrate on their placement. This character works particularly well beside the white ghost: the two faces share a simple style while looking clearly different.
Get the tutorial: A Friendly Green Monster by Aubree Originals.
4. Tiny Black Doodles on White Minis

Small repeated marks can be easier to manage than one large picture. These white mini pumpkins use black paint-pen patterns, with open space between the shapes keeping them readable. Choose a single mark, such as a little loop or a short dash, for your first attempt. Test the pen on scrap paper, then turn the pumpkin gradually instead of reaching across wet paint.
Get the tutorial: Tiny Black Doodles on White Minis by Lovely Indeed.
5. An Aqua Band That Looks Dipped
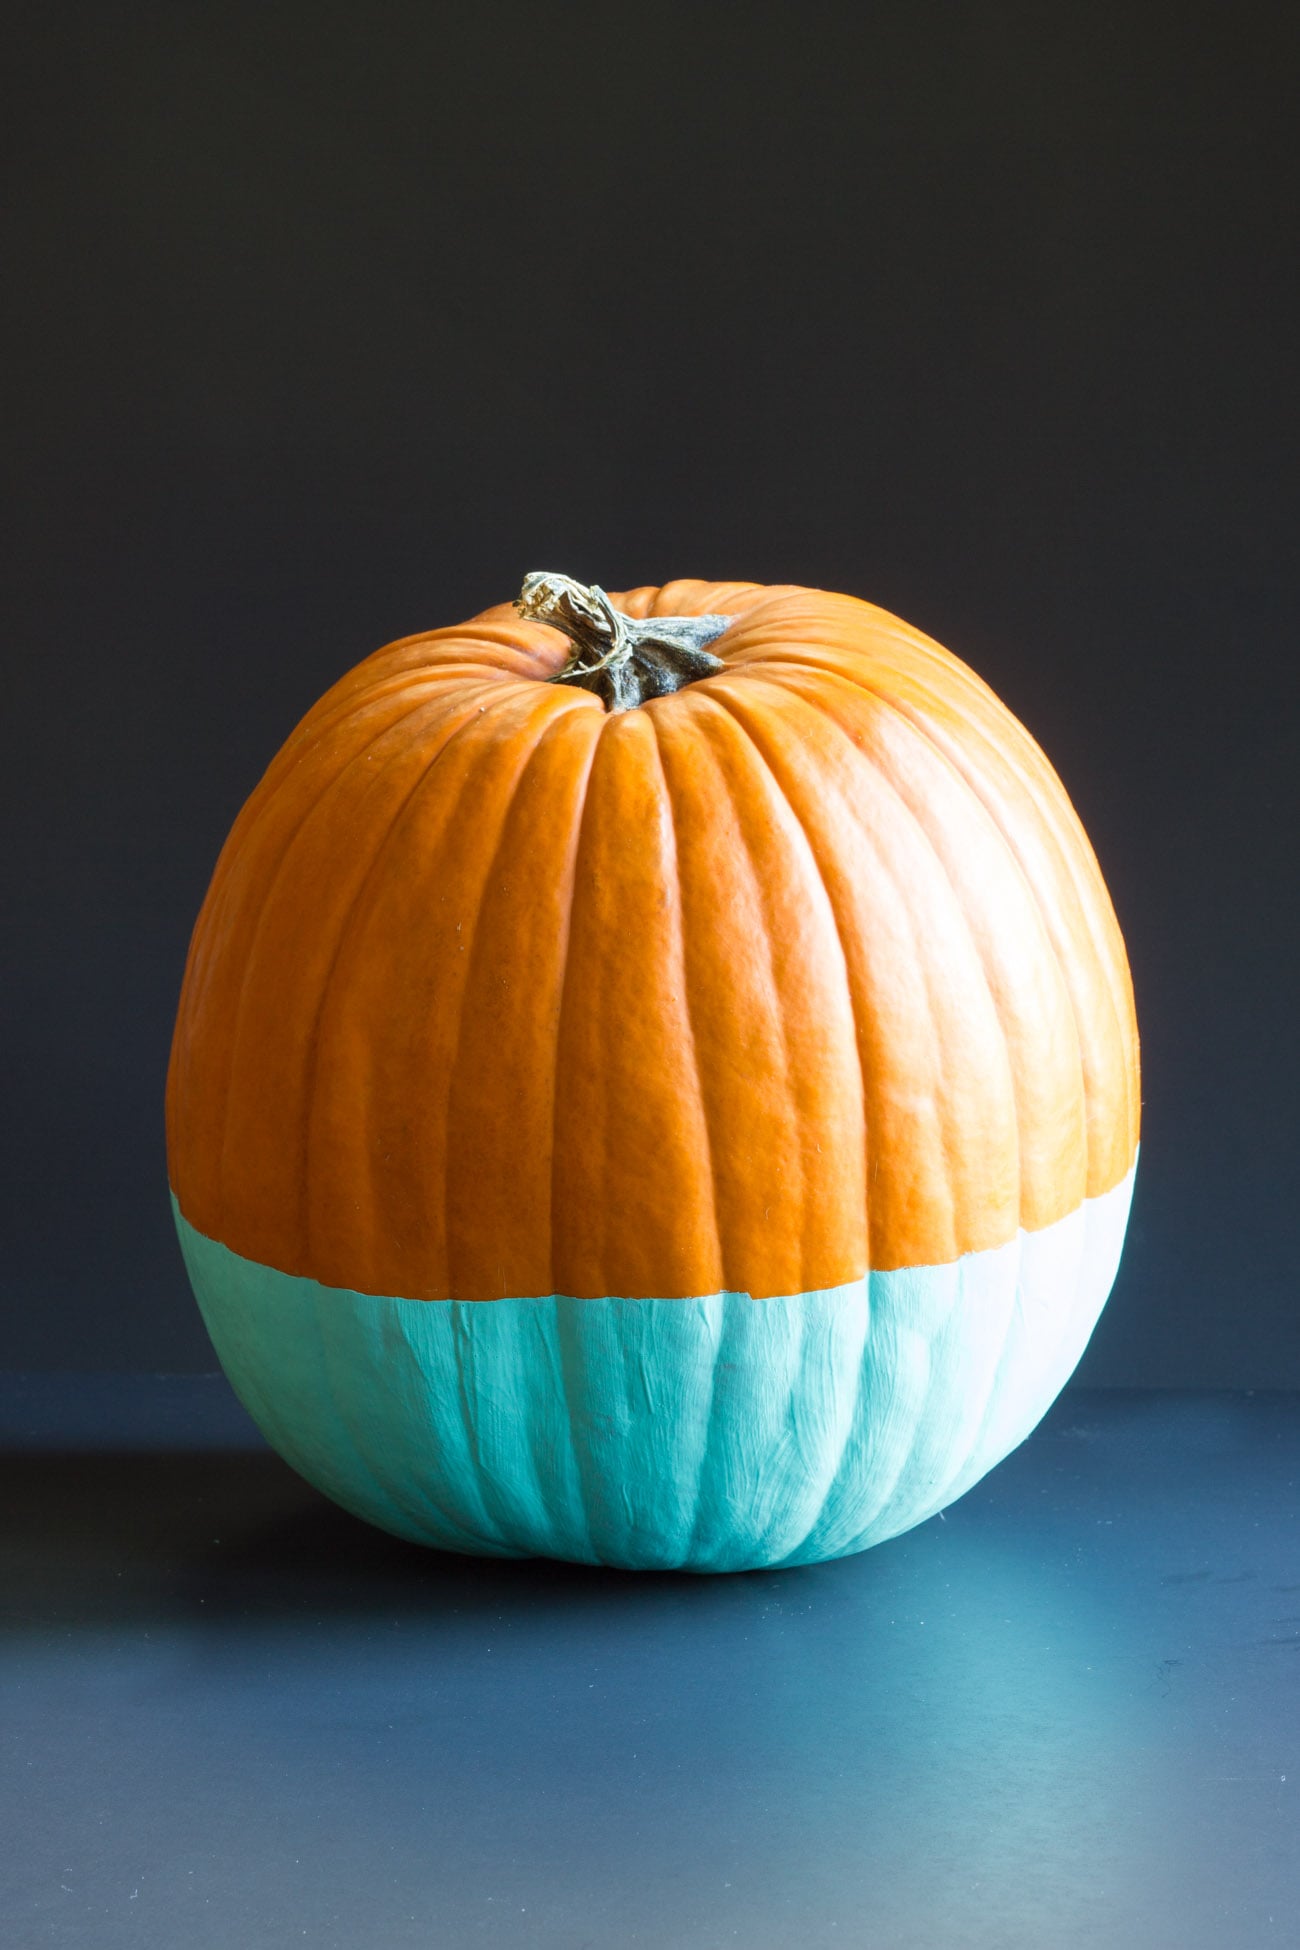
The contrast between orange and aqua makes this otherwise simple pumpkin feel playful. A clean horizontal edge gives the lower painted section its dipped appearance, without needing a large container of paint. This suits a pumpkin with an attractive natural stem and relatively even shape. Pick one accent color already used in your room, or group it with unpainted orange pumpkins for balance.
Get the tutorial: An Aqua Band That Looks Dipped by Erin Spain.
6. A Small Patch of Gold Triangles

Gold triangles turn a pale mini pumpkin into a little decorative object. The spaces between the shapes matter: they keep the pattern crisp and prevent the metallic area from looking like one solid patch. You can stop after decorating the front rather than working all the way around. Try this on a mantel or a table where the small details can be seen close up.
Get the tutorial: A Small Patch of Gold Triangles by Lovely Indeed.
7. A Smiling Purple Vampire
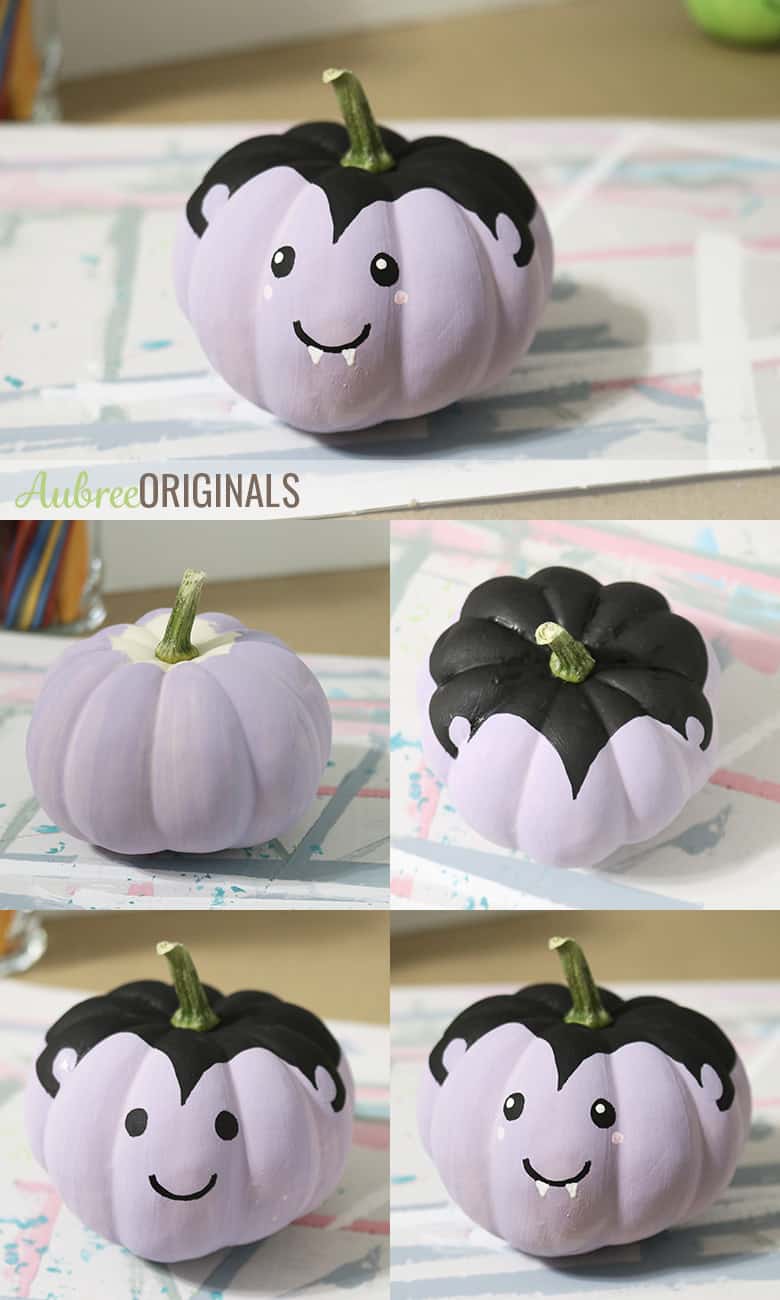
A lavender face and two tiny fangs give this vampire a gentler Halloween mood. Its dark hair frames the face, so the eyes and smile can stay very simple. Leave room below the mouth for the little teeth before adding them. If you prefer less detail, the hairline and fangs carry the idea without extra accessories or a costume.
Get the tutorial: A Smiling Purple Vampire by Aubree Originals.
8. Soft Moon Shapes on a Pale Pumpkin

Cream moon shapes create a quieter Halloween pattern than bright black-and-orange graphics. The pale colors let the pumpkin blend into a soft fall display, especially against a pink door or light wall. Give each moon enough room to remain recognizable from a few feet away. A restrained pattern like this can sit among plain pumpkins without making the whole arrangement feel busy. Our paper pumpkin ideas offer a different texture for the same display.
Get the tutorial: Soft Moon Shapes on a Pale Pumpkin by Elsie Larson.
9. Wide White Stripes Following the Ribs

The pumpkin’s own ribs provide a useful guide for broad white stripes. Alternating painted and unpainted sections gives the shape a clear rhythm without requiring a perfectly measured grid. The original also uses raised white paint details; you can keep your version flat with ordinary brush-on paint. Set it beside a smaller patterned pumpkin so the two designs do not compete at the same scale.
Get the tutorial: Wide White Stripes Following the Ribs by Mandi Johnson.
10. Loose Rosy Blooms on a Dark Background

Loose pink flowers soften a dark pumpkin without covering its whole surface. The contrast helps the petals stand out, while small green accents suggest leaves. You do not need to paint a realistic rose to borrow the look: a few rounded, overlapping strokes can suggest a bloom. Start with one flower on the front and let it dry before deciding whether another is needed.
Get the tutorial: Loose Rosy Blooms on a Dark Background by Lolly Jane.
11. Layered Hills in Warm Fall Colors

These layered mountains make a landscape from broad, uneven bands of color. The jagged edges are part of the design, which makes this a forgiving alternative to precise straight lines. Keep your palette to a handful of related colors and make each ridge slightly different. The lowest band can wrap around the base, helping the scene read as one continuous design. Choose the abstract mountain version shown here if you are starting out; the creator’s more detailed forest version asks for additional brush control.
Get the tutorial: Layered Hills in Warm Fall Colors by The Craft Patch.
12. Blue Gingham for a Cozy Fall Corner

A blue-and-white check gives the pumpkin a fabric-like appearance that feels at home beside cushions and baskets. It takes more planning than a face or a dipped band, but the design comes from repeated horizontal and vertical stripes. Use a larger pumpkin so the squares have breathing room. Treat small variations as part of the hand-painted finish rather than trying to make every square identical.
Get the tutorial: Blue Gingham for a Cozy Fall Corner by My Family Thyme.
13. Gold Leaves That Wander across the Surface

Fine gold stems and leaves make these pale pumpkins feel delicate rather than spooky. A metallic paint pen gives you a familiar drawing grip, which can help with small curved lines. Begin with a short stem and a few leaves instead of filling the entire pumpkin immediately. Keep a plain mini nearby if the display needs a visual pause between the more detailed pieces.
Get the tutorial: Gold Leaves That Wander across the Surface by Lovely Indeed.
14. Relaxed Leopard Spots with Plenty of Space

Leopard spots are useful when exact repetition feels intimidating. The irregular dark outlines and warm centers do not have to match, and the light background keeps them distinct. Space the clusters unevenly but leave visible gaps between them. A larger pumpkin gives you room to practice broad shapes. Repeat one of its colors in a plain companion pumpkin to keep the finished group cohesive.
Get the tutorial: Relaxed Leopard Spots with Plenty of Space by Uncommon Designs.
15. Metallic Drips over a Plain Base

Paint running down from the stem creates a design without any drawing. Metallic drips catch the light against a pale base, while the exposed surface keeps the result from feeling too heavy. Protect the table underneath and allow generous drying time for thicker paint. This is a useful option for a craft pumpkin you can leave undisturbed. Choose a few longer trails rather than trying to control every drip into an identical shape.
Get the tutorial: Metallic Drips over a Plain Base by Taryn Whiteaker Designs.
16. Simple Daisies in a Folk-Art Band
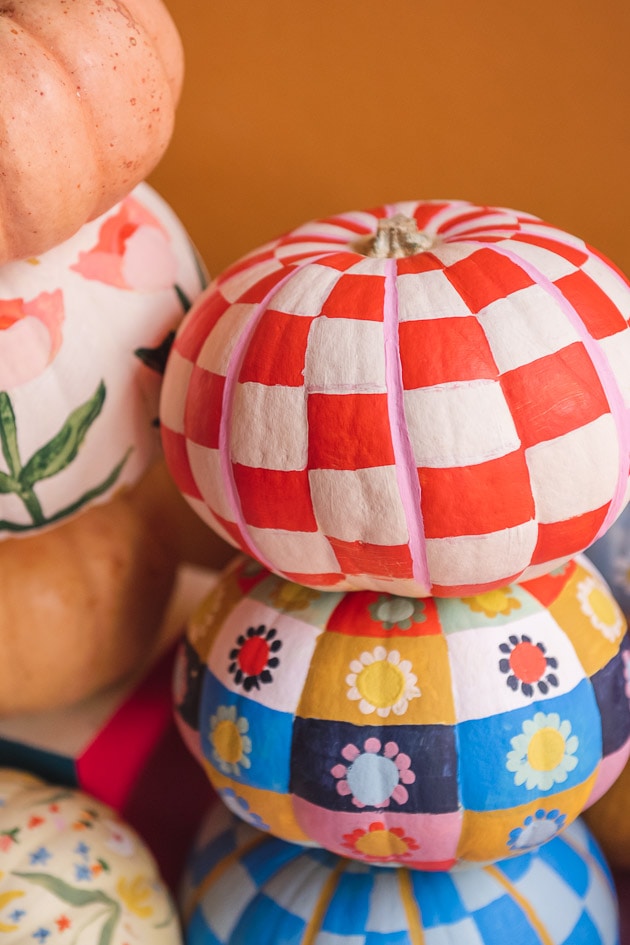
A row of white daisies gives a small pumpkin a cheerful folk-art border. The rounded centers and repeated petals are easy shapes to recognize, even when each flower turns out a little different. Use a contrasting background so the blooms remain clear. For a first try, keep the flowers in one band around the middle and skip the more involved patchwork details seen elsewhere in the creator’s collection.
Get the tutorial: Simple Daisies in a Folk-Art Band by The House That Lars Built.
17. A Few Tall Tulips Instead of an Allover Pattern

Tall stems give these pink tulips a different rhythm from a scattered floral print. The blank cream background leaves room for each flower to stand on its own. A few green lines and rounded pink petals suggest the whole plant without realistic shading. Place the main bloom on the front, then turn the pumpkin to decide whether it needs another stem on either side.
Get the tutorial: A Few Tall Tulips Instead of an Allover Pattern by The House That Lars Built.
18. A Neat Stenciled Dot Pattern
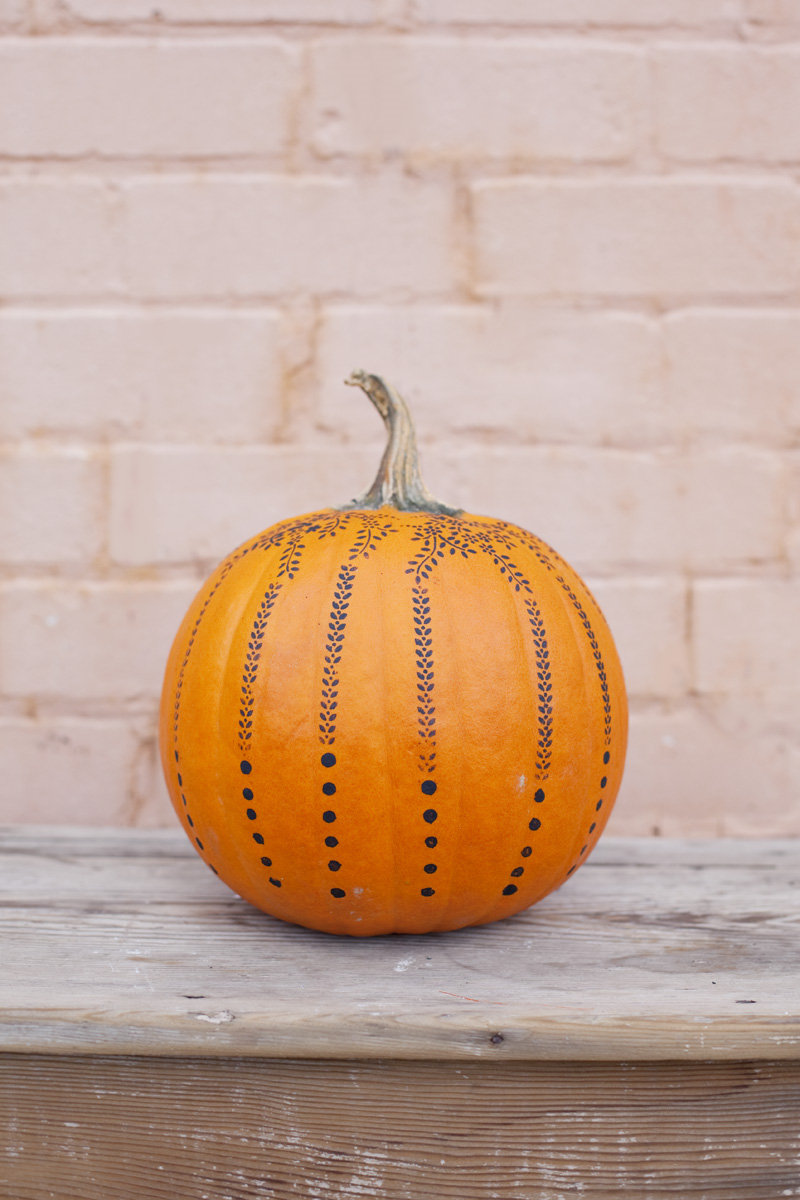
Tiny dark dots arranged in lines give an orange pumpkin a tidy decorative pattern. The regular spacing makes this feel different from loose polka dots or hand-drawn doodles. A flexible stencil can help maintain the repeated marks on a curved surface. Keep the paint light on the applicator so it does not spread under the stencil, and let one area dry before moving around the pumpkin.
Get the tutorial: A Neat Stenciled Dot Pattern by Mandi Johnson.
Give Your Painted Pumpkins a Halloween Setting
Once your pumpkins are dry, choose one place to enjoy them: a sheltered entry, a mantel, or the center of a party table. Repeat a color or character in a paper garland, then leave room for the painted surfaces to stand out. These collections can help you add a backdrop or a few companion decorations without crowding the display.
- 15 Paper Ghost Garland Ideas for Last-Minute Halloween Decor
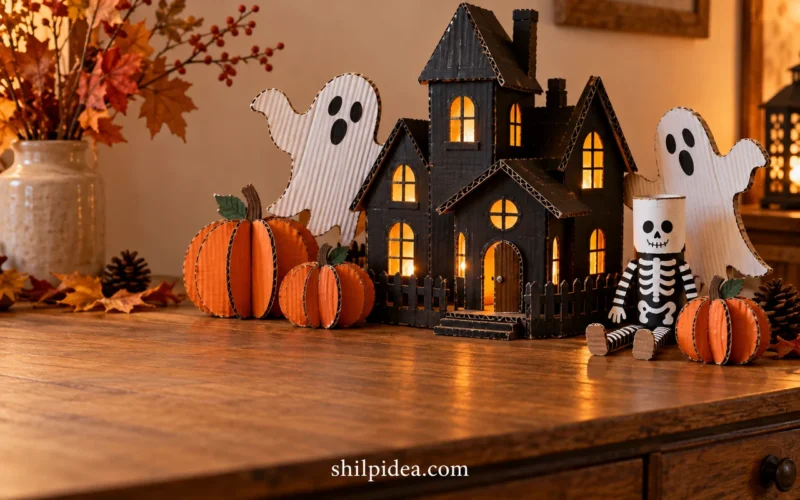
- 20 Cardboard Halloween Decoration Ideas to Make from Boxes
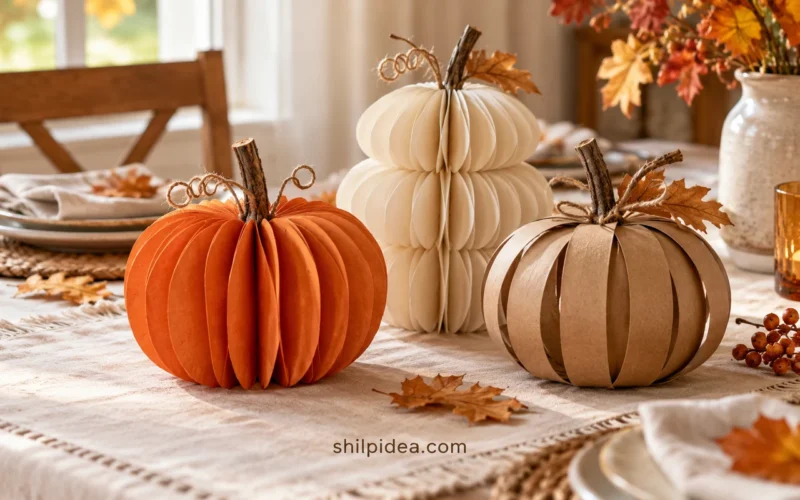
- 15 Paper Pumpkin Ideas for Fall Table Decor
- 10 Toilet Paper Roll Halloween Craft Ideas











0 Comments