How to Make Floating Ghost Decorations with Cheesecloth
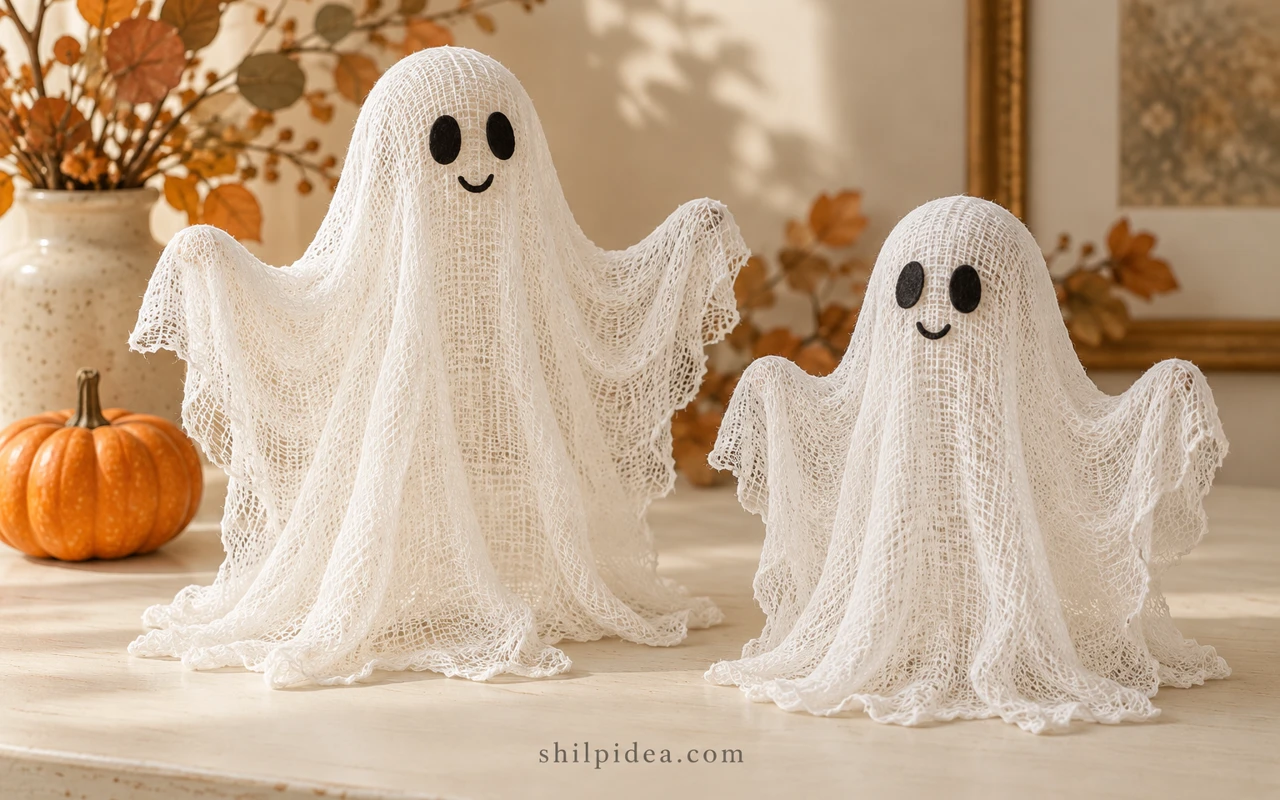
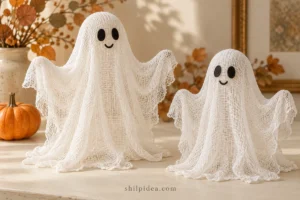
A few layers of cheesecloth can become an airy ghost that holds its shape after the support comes out. A rounded head, softly raised arms and a pooled hem create the floating-style effect without sewing.
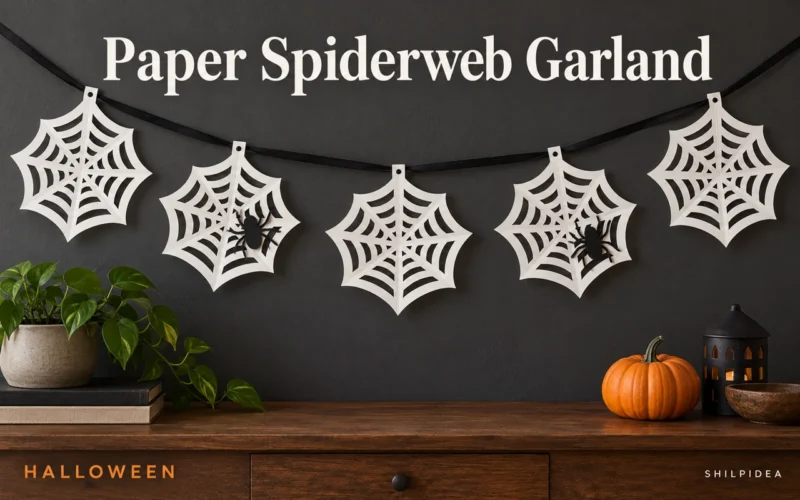
Pair one with paper ghost garlands, or make a small group for a shelf. This guide uses liquid craft fabric stiffener and a temporary container-and-ball form.
Plan for overnight drying before adding the face or moving the ghost. The images are AI-generated guide illustrations, created for Shilpidea to make the materials and sequence easier to follow.
Materials and Tools for One Small Ghost
Gather these materials before shaping your ghost so everything is ready when the cheesecloth becomes wet.
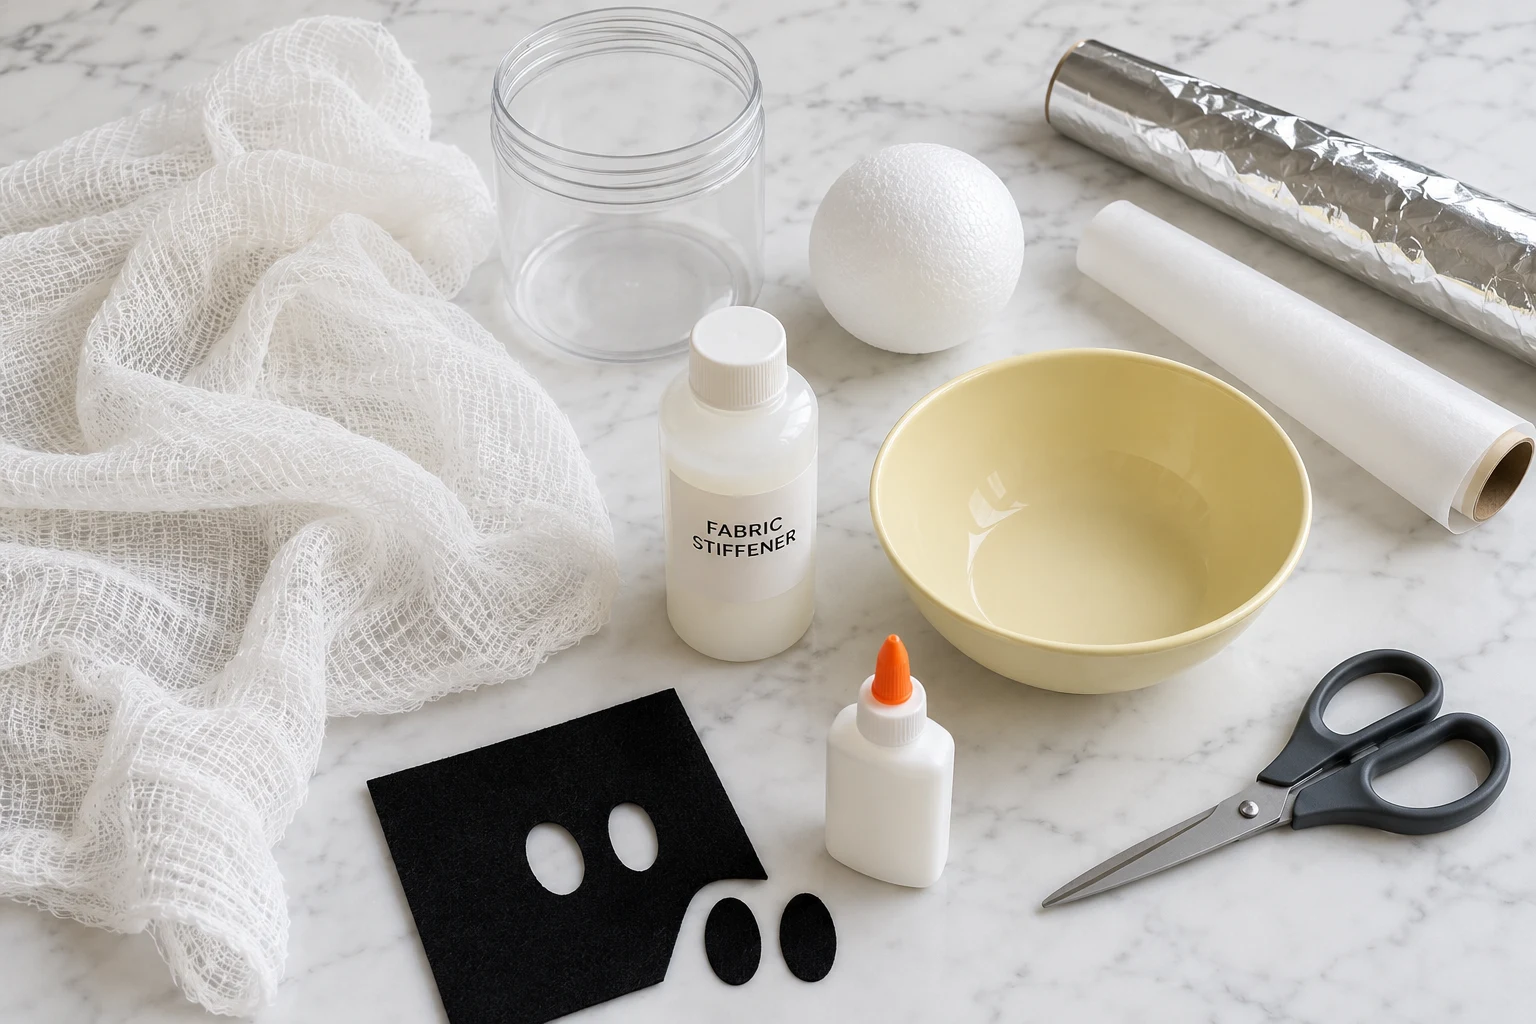
- Cheesecloth: Three pieces large enough to cover your form and reach the table on every side. For a small tabletop form, start by dry-fitting roughly 24-inch squares and adjust before cutting.
- Craft fabric stiffener: Enough to coat all the layers. Follow your chosen product’s label, including any dilution and handling directions.
- A stable container: An empty, clean, wide-mouth jar or plastic container, approximately 6 inches tall for the small form illustrated.
- A rounded head: A small foam ball, approximately 2–3 inches across, that sits securely at the container opening.
- Aluminum foil and wax paper: Foil forms the arms; wax paper covers the supports and protects the work surface.
- A dedicated craft bowl and scissors: Use a bowl reserved for craft materials, plus scissors that cut the loose cloth cleanly.
- Black felt and craft glue: Optional, for two oval eyes or a small mouth. Choose adhesive suitable for fabric and let it set fully.
- A battery-operated LED light: Optional, for a gentle glow beneath a fully dry ghost. Use a cool light rather than a candle.
Drying plan: Make the form and drape the cloth in one session, then allow overnight drying and additional time whenever the base remains damp. Add the face only after removing the supports from a fully dry shell.
Precautions Before You Begin
Follow these precautions while preparing the form, handling the stiffener and displaying your finished ghost.
- Use the right product. Choose craft fabric stiffener and follow its label. Fabric softener is a different product; do not assume it will harden the cloth.
- Protect the work area. Cover the table, use a dedicated craft bowl and follow the product’s cleanup and skin-contact guidance. Use gloves if its label recommends them.
- Keep the form stable. Cover sharp foil ends and check that the head and arms will not topple when the cloth is wet.
- Supervise cutting and adhesives. Adults should handle awkward cutting and help children use adhesives according to the label. Keep small felt pieces away from very young children.
- Allow full drying. Removing the supports too early can collapse the shell. Overnight is a planning allowance, not a guarantee that every layer is dry.
- Use cool lighting only. Keep the cloth away from candles, fireplaces and heaters. Do not drape it over a bulb or a light that becomes hot.
- Keep the decoration dry. This is an indoor craft; do not assume the stiffened cloth is rainproof or washable.
1. Build the Head-and-Arm Form
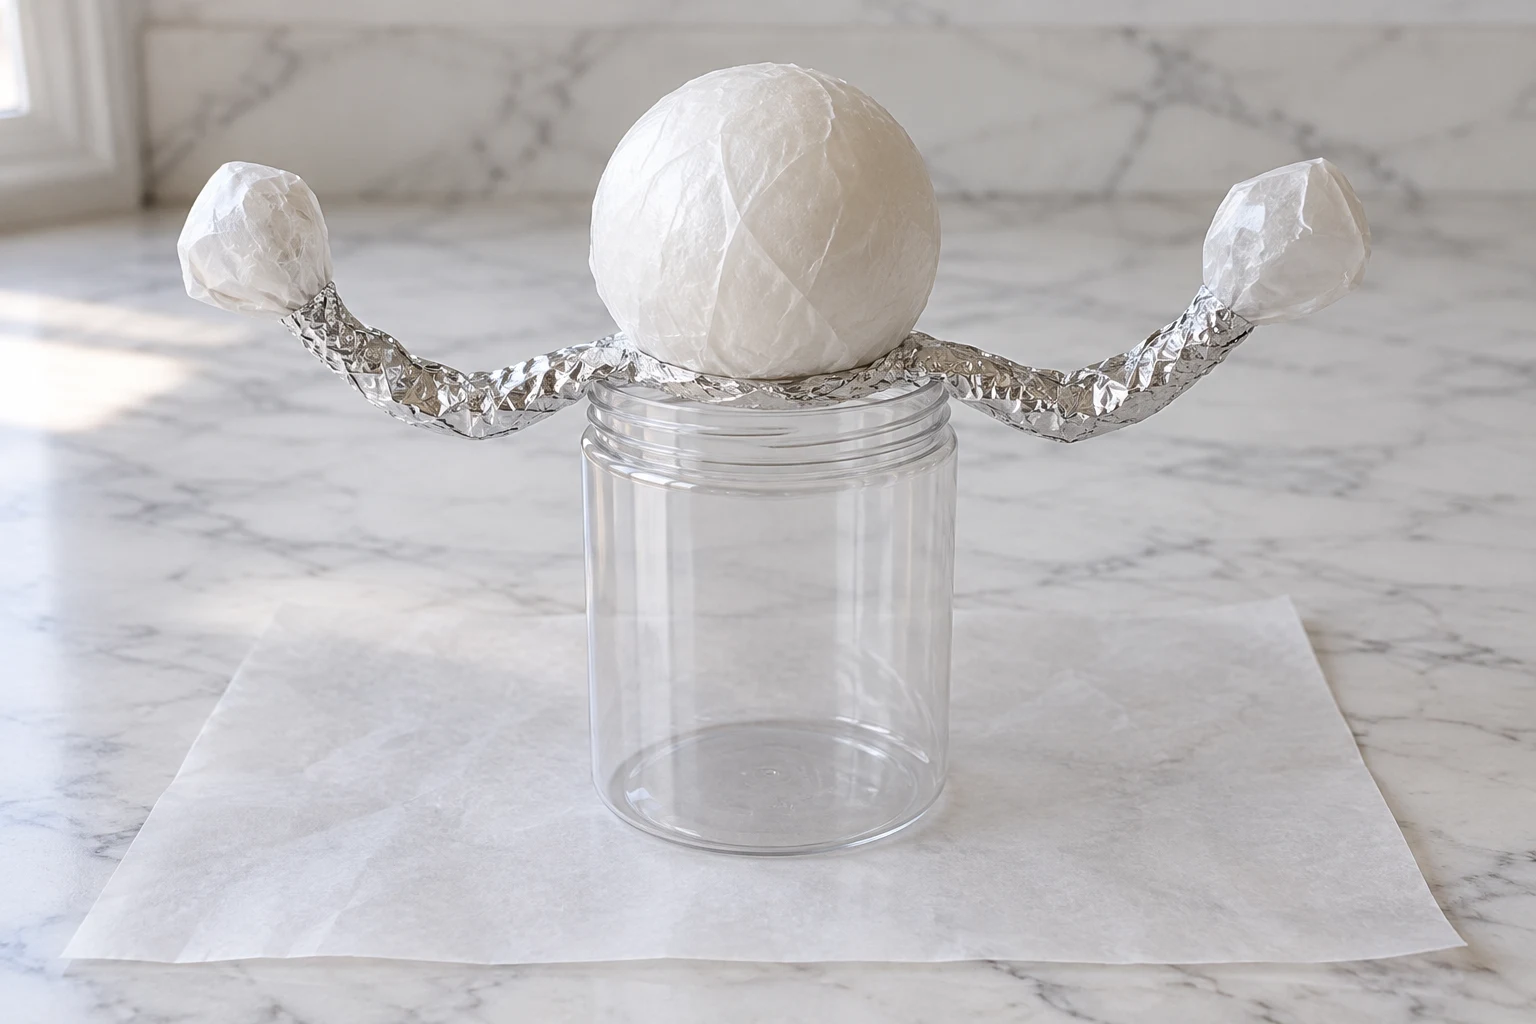
Wrap the foam ball in wax paper, leaving a small gathered tail underneath. Shape foil into a broad pair of arms with rounded ends, then cover their rounded ends with wax paper too.
Fit the arms across the container opening and seat the head above them.
Check that the form stays upright before adding cloth; keep the pose compact if it wobbles.
The supports need to come out through the bottom later, so do not permanently glue them inside the future shell.
2. Measure and Cut the Cheesecloth
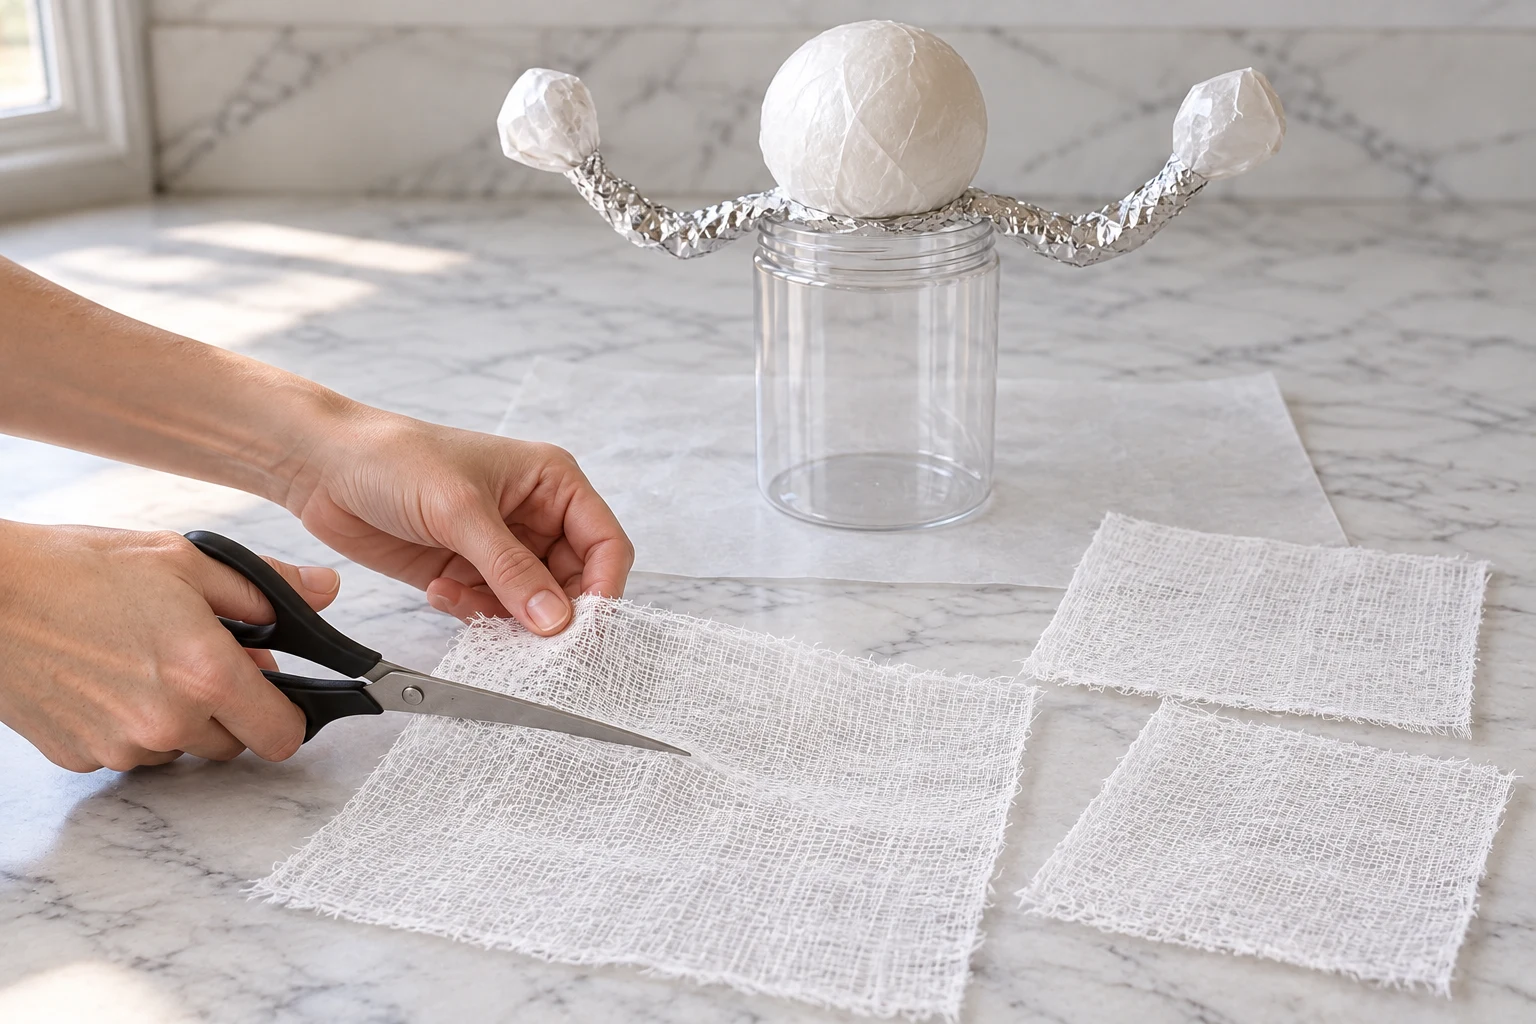
Drape dry cheesecloth over the head and arms to check the length. It should reach the protected table on every side, with a little extra fabric for the base.
Lift it off and cut three matching pieces.
Start with a generous size: a short sheet can leave the arms exposed or produce a narrow, unstable hem.
Keep the cloth open and loosely arranged rather than twisting it into a rope.
3. Coat the Cloth with Fabric Stiffener
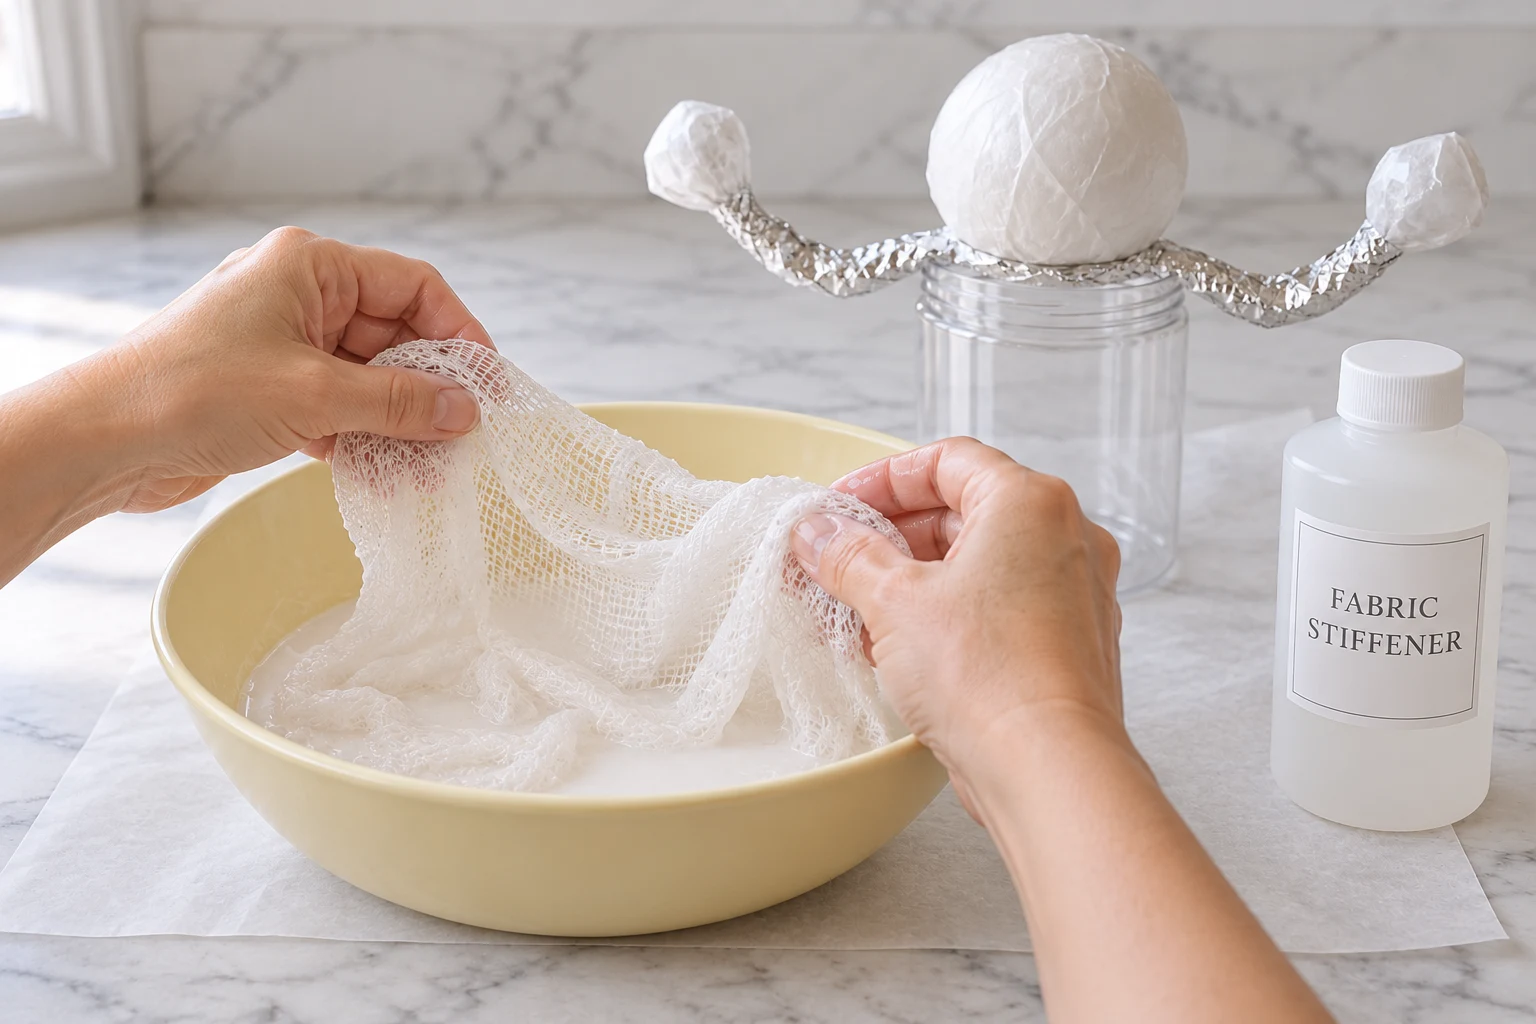
Pour a manageable amount of fabric stiffener into the craft bowl. Work one piece of cheesecloth through it until the fibers are evenly coated, following the bottle’s directions.
Gently squeeze excess liquid back into the bowl, then unfold the cloth. It should be wet enough to shape without dripping heavily.
Avoid adding an improvised glue-and-water mixture to this method; different products have different directions.
4. Drape the Layers and Shape a Broad Base
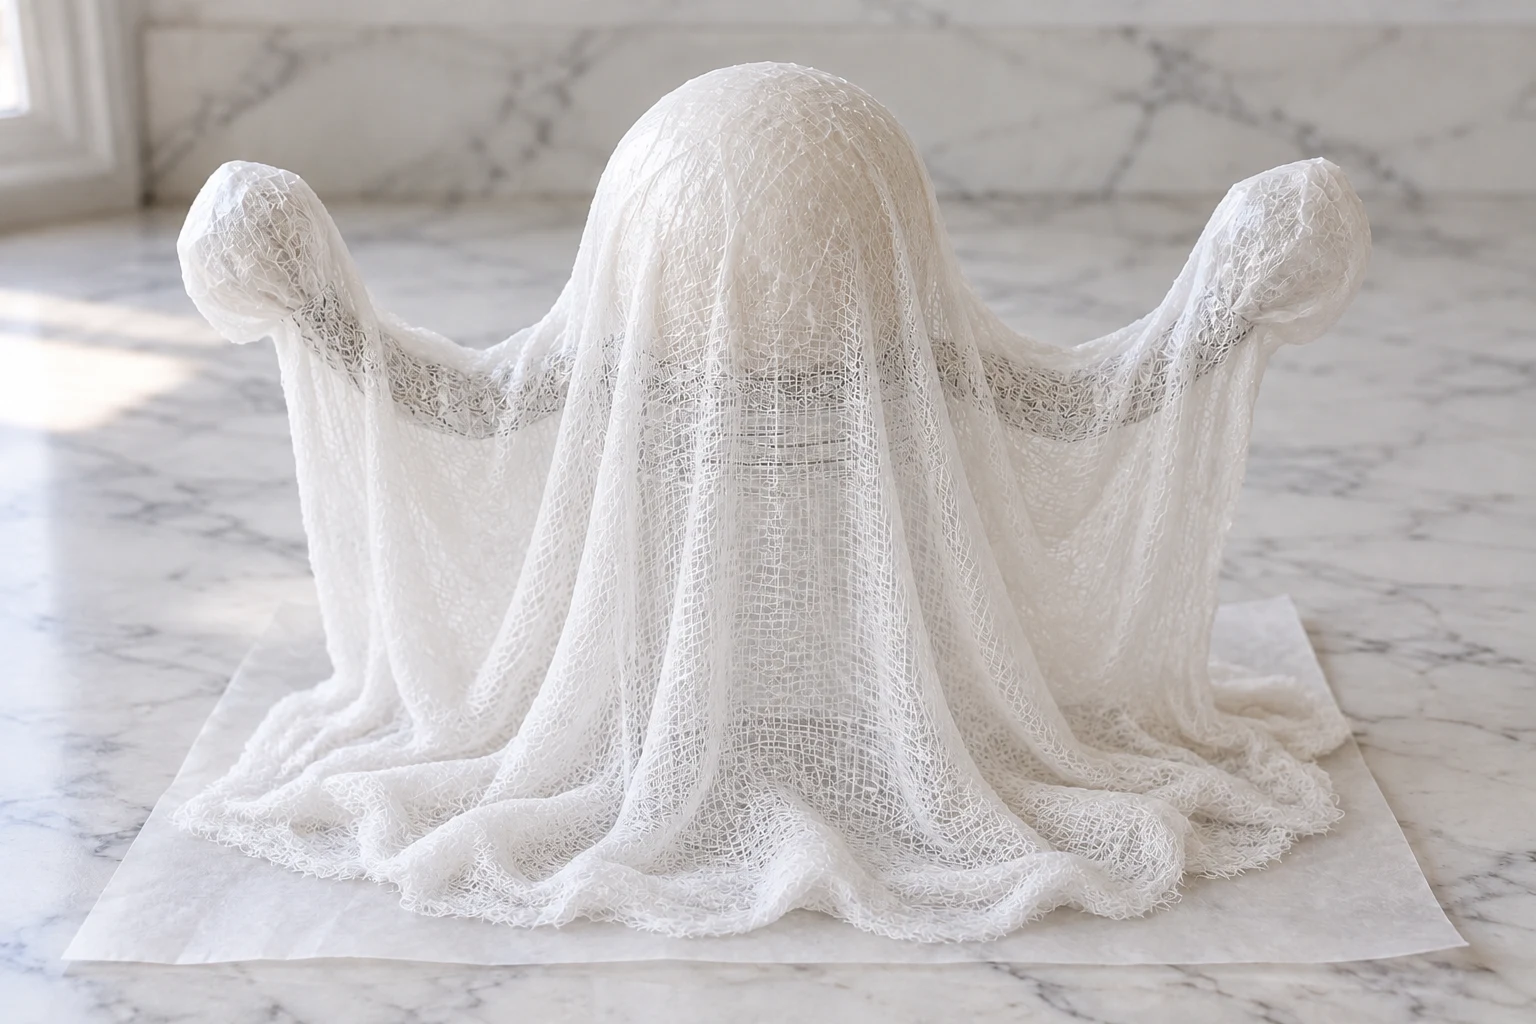
Center the first wet piece over the head and ease it across the arms. Let the lower edges rest on the wax paper.
Add the other coated pieces with their corners slightly shifted, covering thin spots while keeping the weave airy.
Shape soft folds down the body and spread the hem into a broad, lightly pooled footprint.
Look from the front and side before leaving it: the wet arrangement determines the outline you will reveal after drying.
5. Dry Completely, Then Remove the Supports
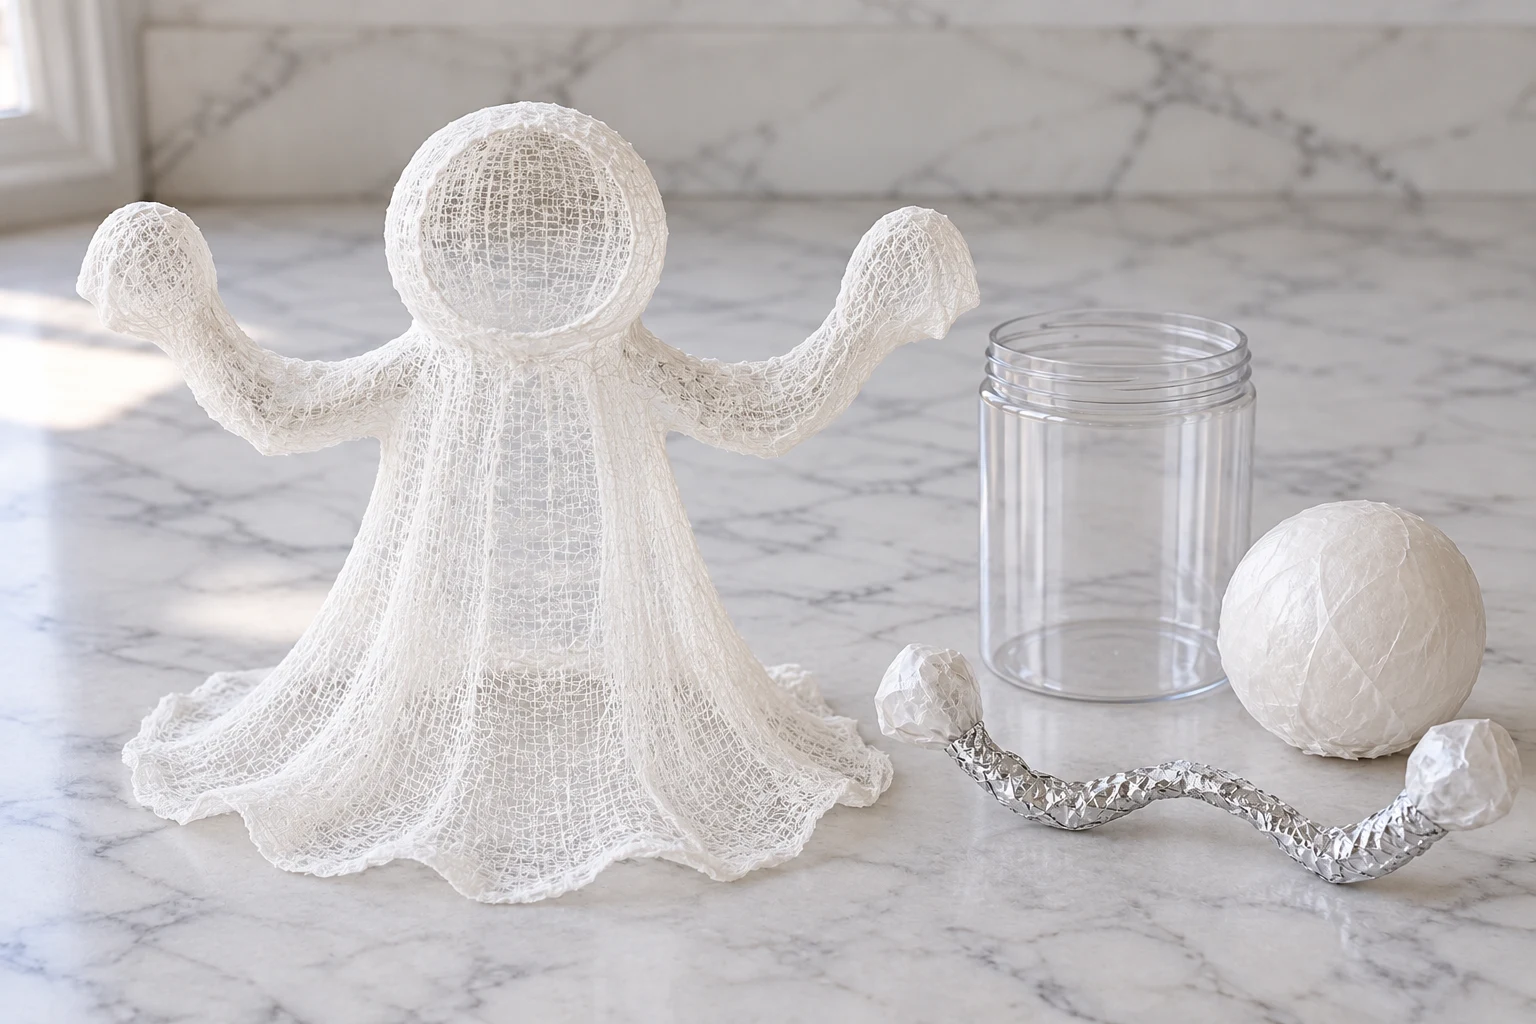
Leave the ghost undisturbed on its form overnight. Thick layers, a wet base or humid conditions can extend the drying time, so check the lower folds as well as the head.
Once the whole shell is firm and dry, gently loosen its hem from the protective sheet.
Ease the container, arms and covered head out through the bottom a little at a time.
Support the cloth as you work instead of pulling hard on one arm. Pause if the shell is still soft.
6. Add a Face and Arrange Your Ghost
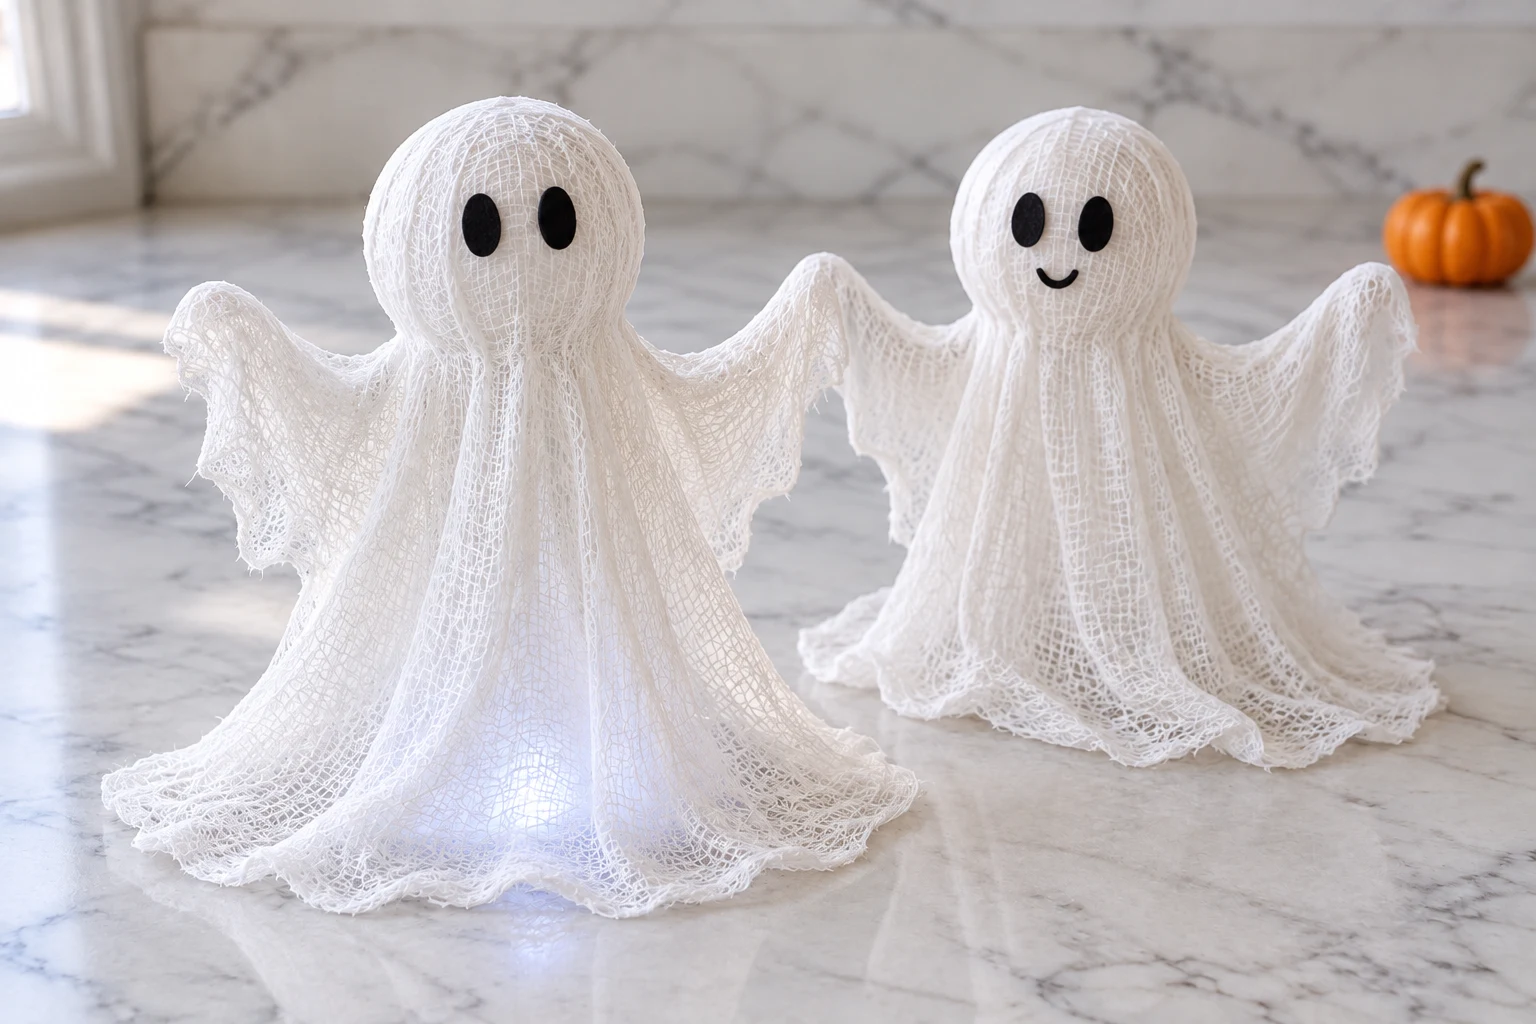
Cut two small black felt ovals and try their placement before gluing. Leave the face plain, add a tiny mouth or give each ghost a different expression.
Apply a small amount of suitable craft glue and let it set.
Stand the ghost on a level indoor surface, with enough room to show its draped outline.
If you want a glow, place a cool battery-operated LED underneath; the open weave will let the light show through.
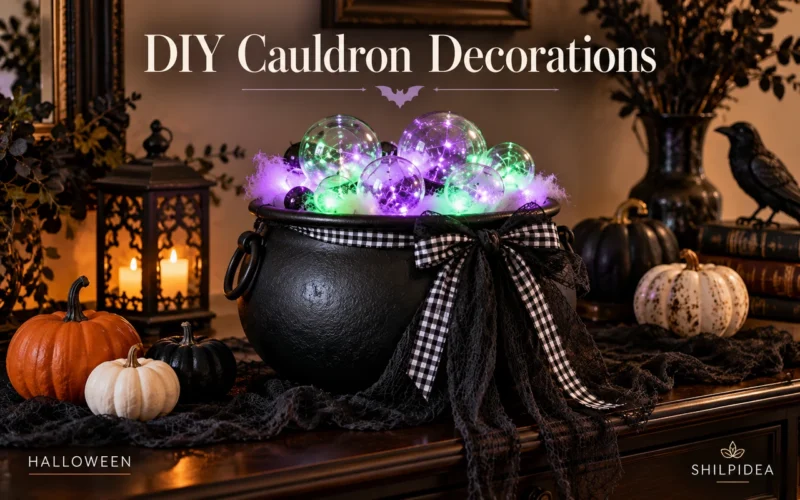
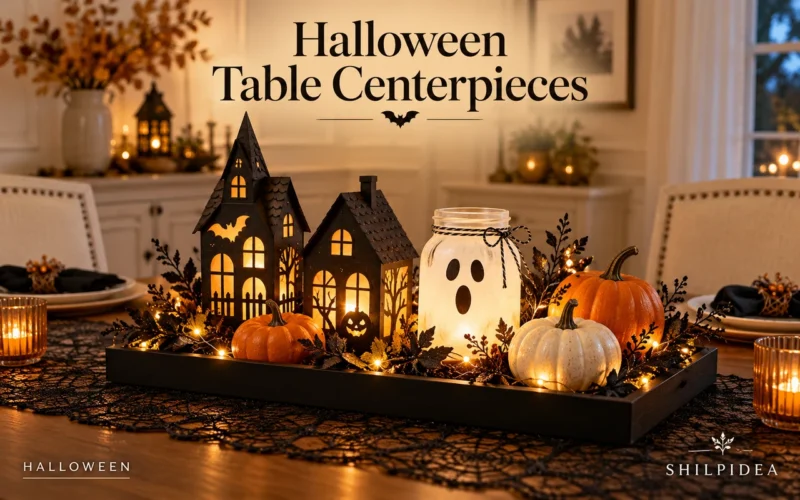
For a larger display, keep the same gentle lighting approach with Halloween centerpieces using LED lights. A fabric-and-LED cauldron can sit nearby without hiding the ghost’s outline.
Common Questions and Simple Fixes
Why does the ghost lean or fall over?
A narrow or uneven base can make the shell difficult to balance. Before drying, give the hem a wider footprint with several folds touching the work surface. If a finished shell is still soft, return it to a suitable form and let it finish drying before adjusting the display.
Can I make it larger?
Yes, but increase the form and cloth together. Dry-fit each piece so it still reaches the table beyond the arms. A larger shell also needs a stable support while it dries and may need more drying time; do not simply stretch a small piece of cloth over a taller container.
How should I store it?
Keep the ghost in a dry box with enough room around the head and arms. Avoid flattening the shell under other decorations. Support its shape loosely with clean tissue if needed, and protect the felt face from rubbing against harder objects.
Build a Little Halloween Corner Around Your Ghost
Give the finished ghost some clear space so its airy shape can stand out. Repeat one detail nearby: a few paper ghosts above the shelf, a low LED centerpiece or a small cauldron beside it. These collections can help you choose the supporting pieces without crowding the gauze or turning a simple display into a room full of competing props.
- 15 Paper Ghost Garland Ideas for Last-Minute Halloween Decor
- 30 Halloween Table Centerpieces with LED Lights
- 18 DIY Cauldron Decorations with Fabric and LED Lights
Making cheesecloth ghosts for Halloween? Tell us in the comments whether you’d make one friendly ghost or a whole little group—we’d love to hear your plans! If you’ve tried this craft, share a tip or let us know how yours turned out.














0 Comments