18 Recycled Crafts to Sell at Fairs
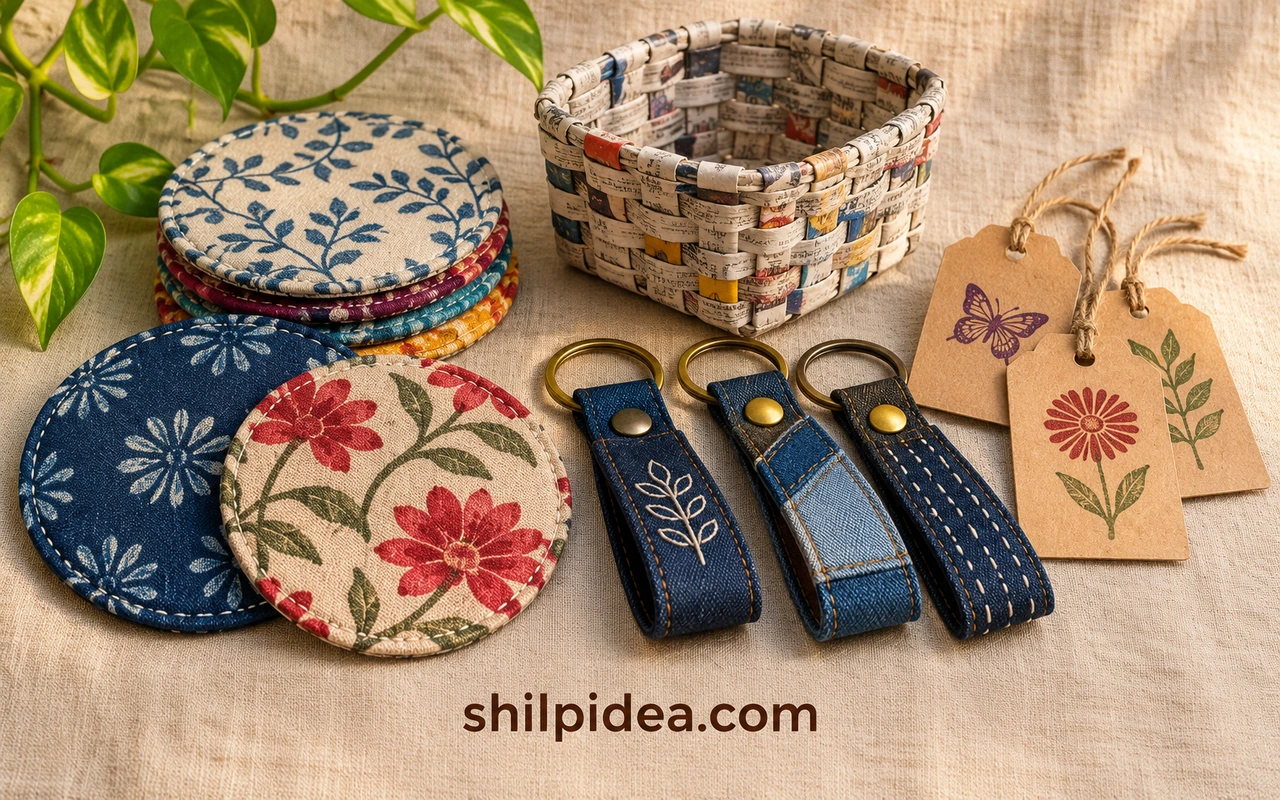
When choosing recycled crafts to sell, start with one product you can make consistently. These 18 ideas use materials such as old denim, clean jars and packaging, with options for quick batches and made-to-order pieces.
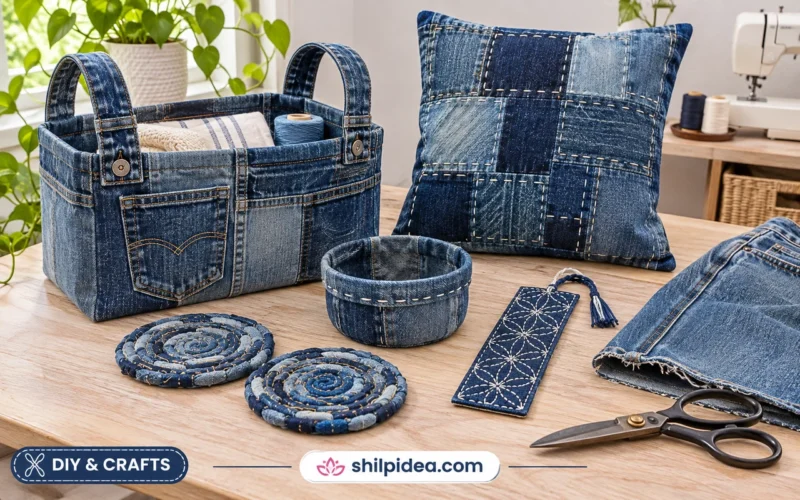
Check what you can source in batches. These denim upcycling ideas can help you plan which seams, pockets and scraps to save.
Time a finished sample and use the handmade pricing calculator to compare your costs before you commit to making stock.
1. Fabric-Covered CD Coaster Sets

Cover intact discs with coordinating fabric and add a flat backing to make a set for housewarming shoppers. Sort the fabric first so you can cut four matching tops at once. Keep the finished edges smooth and check that a glass sits level.
At the fair, display one coaster beside a glass and band the rest as a set. Test a sample with condensation before writing care directions. Amanda’s tutorial shows how to cover the disc and finish the underside neatly.
Make This at Home: Fabric Covered CD Coasters

2. Mosaic Trinket Boxes

A small reclaimed box with a patterned lid gives jewelry or spare keys a place to land. The photos show the reflective look of disc mosaics. Smooth, prefinished mosaic tiles are a practical option for a first batch. Dry-fit the pieces before gluing and leave the hinge and lid edges clear.
Display one box open so shoppers can see the inside. Wrap finished boxes individually to protect the lid in transit. The tile tutorial covers layout, adhesive and grout for a similar finish.
Make This at Home: Mosaic Jewelry Box Tutorial

3. Denim Key Fobs

Save washed jeans seams, waistbands and belt loops for a key fob that’s easy to spot in a bag. A single template helps you cut a batch from several shades of denim. Add contrast stitching or an initial as a paid customization option after timing the extra work.
Check each seam and ring attachment before hanging the fob on its card. If you’re deciding how to join the fabric to the hardware, the tutorial demonstrates a stitched loop made from a reclaimed belt loop.
Make This at Home: Sewn Denim Keychain Tutorial

4. Sewn Fabric Keepsake Figures

Offer a small keepsake figure for an adult who wants to preserve fabric from a meaningful garment. Agree on fabric placement and turnaround before cutting. Make a practice sample from similar scraps so you can check seams and estimate stuffing and finishing time.
Take a few custom orders before offering a larger run. Use your own pattern or confirm the designer’s terms for selling finished work. The bear tutorial shows the sequence from cutting to assembly and stuffing, which helps you plan your first sample.
Make This at Home: Memory Bear Sewing Tutorial

If you plan to sell a figure as a children’s toy, check which US testing and certification rules apply before accepting orders. See the CPSC toy safety guidance.
5. Newspaper Tube Storage Baskets

Roll clean newspaper into tubes for a small basket that holds lightweight craft supplies. Start with one rectangular size and an open top. That makes it easier to repeat the weave, time each piece and compare the labor with paper strip baskets.
At the fair, fill a sample with thread spools and include a care note for dry indoor use. The lidded basket in the photo can inspire a later design. Our step-by-step guide explains rolling, joining and weaving the open version.
Make This at Home: Newspaper Tube Basket Guide
6. Denim Pocket Wall Organizers

Sew reclaimed jeans pockets onto a sturdy backing to give sewing notions, cords or other small items a home. Sort pockets by size before cutting the backing and start with a compact layout that’s easier to repeat.
Hang a sample at the booth and slip lightweight supplies into a few pockets to show their depth. Measure the hanging rod before quoting shipping. Claire Armstrong’s project shows a sewn pocket layout and loop attachments you can adapt to a smaller organizer.
Follow the Maker’s Method: Denim Pocket Wall Organizer
7. Upcycled Cardstock Gift Tag Sets
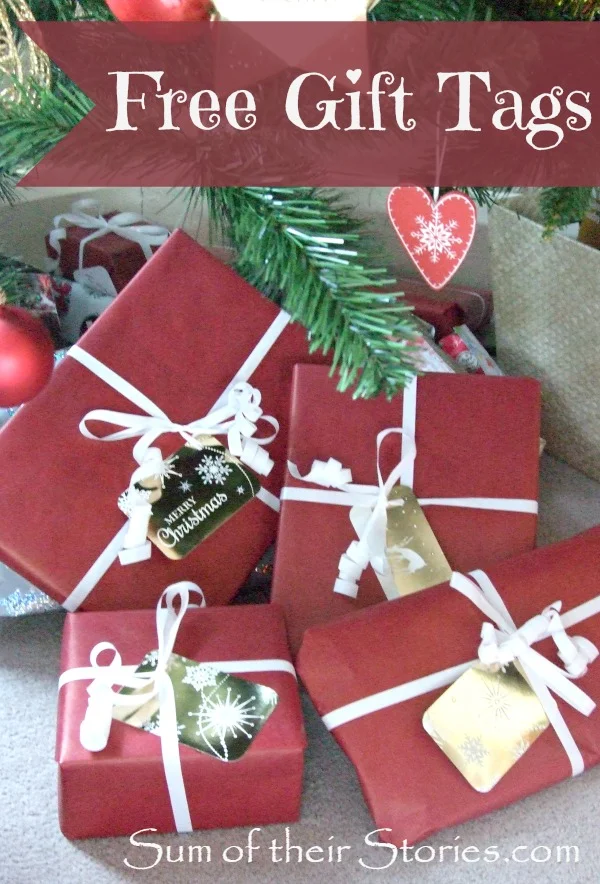
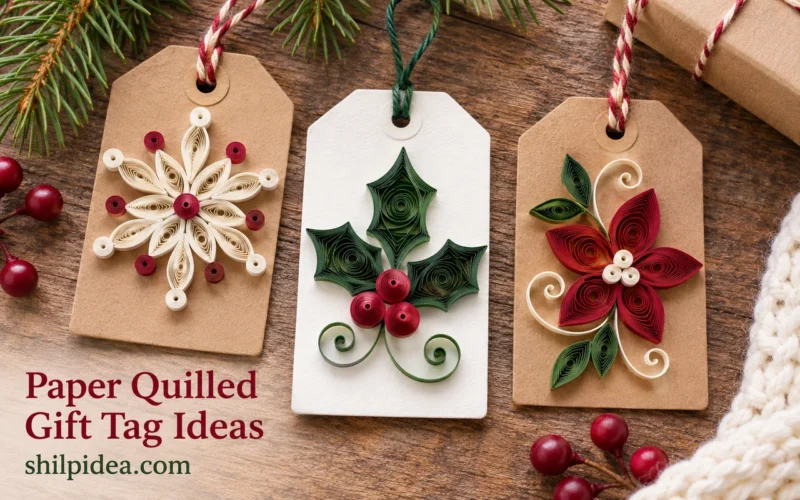
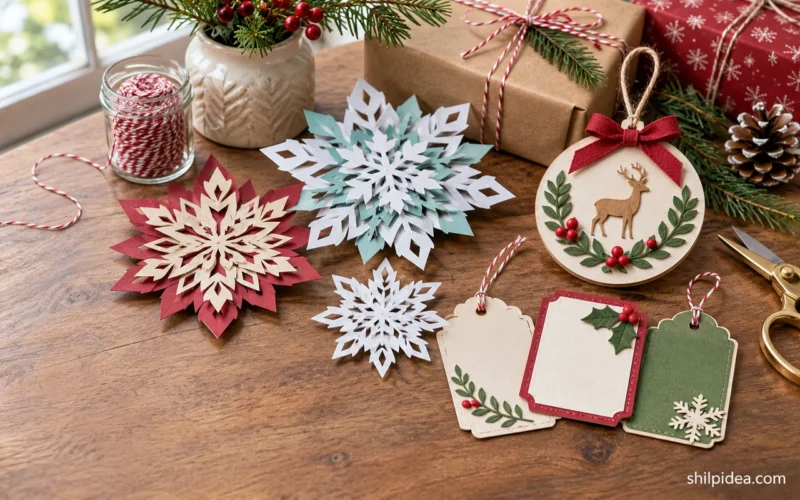
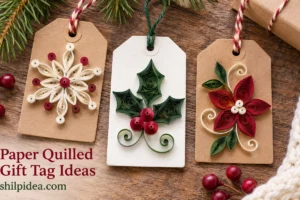
Turn blank greeting-card backs or clean packaging into coordinated tags. A paper punch or reusable template keeps their size consistent. Add your own stamped designs to the front and leave the reverse clear for a message. Group a small set by occasion or color.
Pack the tags flat with twine threaded through one display sample so gift buyers can see how they’re used. Julie’s tutorial shows how she chooses usable cardstock, trims the shapes and punches the ribbon holes.
Make This at Home: Recycled Card Gift Tags
8. Tape Roll Catchall Dishes
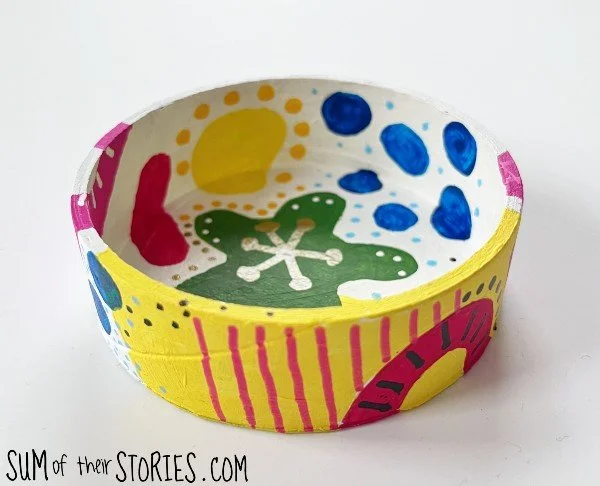
A sturdy tape core and a cardboard base make a shallow dish for rings, clips or hair ties. Save cores of the same diameter so one template fits the whole batch. Paint the inside in a bold color or use paper scraps to add a pattern.
Give shoppers a sense of scale by displaying a few rings in one sample. Add a simple dry-use care note. Julie’s tutorial shows how to attach the cardboard base and finish the rim.
Make This at Home: Tape Roll Trinket Dishes
9. Book Page LED Lanterns

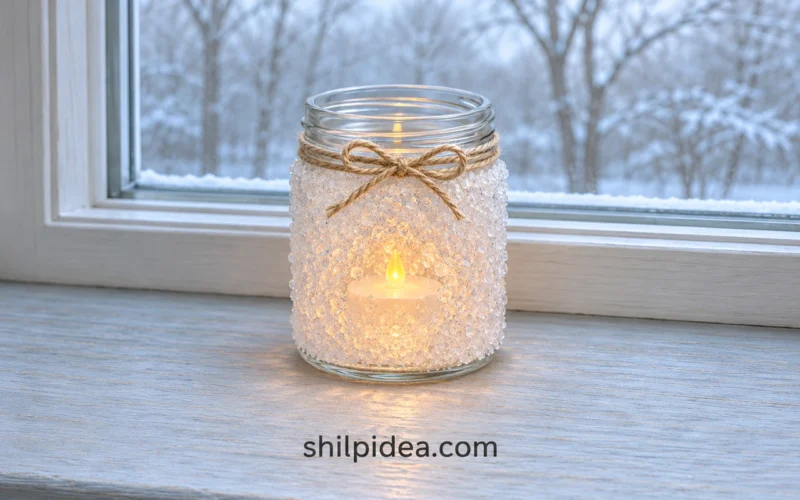
Wrap a clean glass tumbler with paper from a discarded book to make a soft-glow lantern for a bookshelf or reading nook. Use an LED tea light in the finished piece. For a winter assortment, pair the paper finish with snowy jar luminaries.
Let each coat dry before packing. Set up one lit sample at the fair and cushion each glass separately for travel. The makers’ tutorial explains how to trim the paper neatly and seal the edges.
Make This at Home: Book Page Votive Tutorial
10. Rainbow Tin Can Pencil Holders

A clean tin can wrapped in bright cardstock strips makes a bright desk cup for teachers, students or home offices. Check that the rim has no sharp edges before decorating, and use a stable can that won’t tip under taller pens.
Cut the colored strips in groups when you make several cups. Display a filled sample beside your color choices. Amanda’s tutorial shows how to overlap the colored bands and finish the rim.
Make This at Home: Rainbow Pencil Holder Can
11. Bottle Cap Garden Flowers

Arrange clean metal caps into petals and attach the finished flower to a stake for a planter display. Choose intact caps without sharp or rusty edges. Use one petal layout to repeat a few colors, and check the attachment before packing.
Show a finished flower in a pot so shoppers can judge its height. Try other bottle cap crafts when planning a display. The linked tutorial shows the cap arrangement and stem assembly.
Make This at Home: Bottle Cap Garden Flower
12. Sashiko Denim Bookmarks

Turn thin denim offcuts into bookmarks with simple running stitches. Choose a flat fabric and a low-profile finish so the bookmark fits between pages.
A short motif you can repeat helps keep sewing time predictable, while thread color gives buyers a choice. Display one inside an open book and slip the rest into paper sleeves. Claire’s tutorial shows how she lays out the stitches and finishes the ends, including an optional denim tassel.
Make This at Home: Sashiko Denim Bookmark Tutorial
13. Felted Sweater Garlands

Cut felted sweater remnants into small shapes and string them together for a reusable mantel or tree garland. Sort scraps into a palette before cutting so each strand has a deliberate color pattern.
Offer one standard length and price longer custom orders after timing them. Hang a full strand at the booth and coil the finished pieces for packing. Claire’s tutorial shows how to thread felt squares and finish the ends so the pieces stay in place.
Make This at Home: Recycled Sweater Felt Garland
14. Mason Jar Tissue Dispensers

Give a clean, intact canning jar a decorative finish and fit its lid with an opening for tissues. Offer a few colors for desks, bathrooms or bedside tables.
Test that tissues pull through the lid without tearing and give buyers refill instructions. Set out a working sample and pack the glass upright with cushioning. Angie’s tutorial shows how to adapt the lid and load the tissues, two details that matter more than the jar’s color.
Make This at Home: Mason Jar Tissue Dispenser
15. Carved Cork Stamp Sets

Turn sound wine corks into handles for small carved stamps. Choose bold shapes that print clearly, then pair two or three motifs for stationery buyers.
This is a blade project for the maker, so take care during carving and sell the finished stamps ready to use. Test each one and add a printed swatch to its packet. Julie’s tutorial shows how to carve a simple heart and check the result by printing it.
Make This at Home: Carved Cork Stamp Tutorial
16. Recycled Paper Junk Journals

Pair a clean packaging cover with mixed papers, envelopes and blank sheets to make a small journal for collage or notes. Remove names, addresses and other private details from reused material.
Keep covers the same size for easier trimming, then let the inside pages vary. Display an open sample so shoppers can feel the paper and see that the binding turns freely. Julie’s tutorial walks through cutting, arranging and binding a compact journal.
Make This at Home: Recycled Paper Junk Journal
17. Felted Sweater Mittens
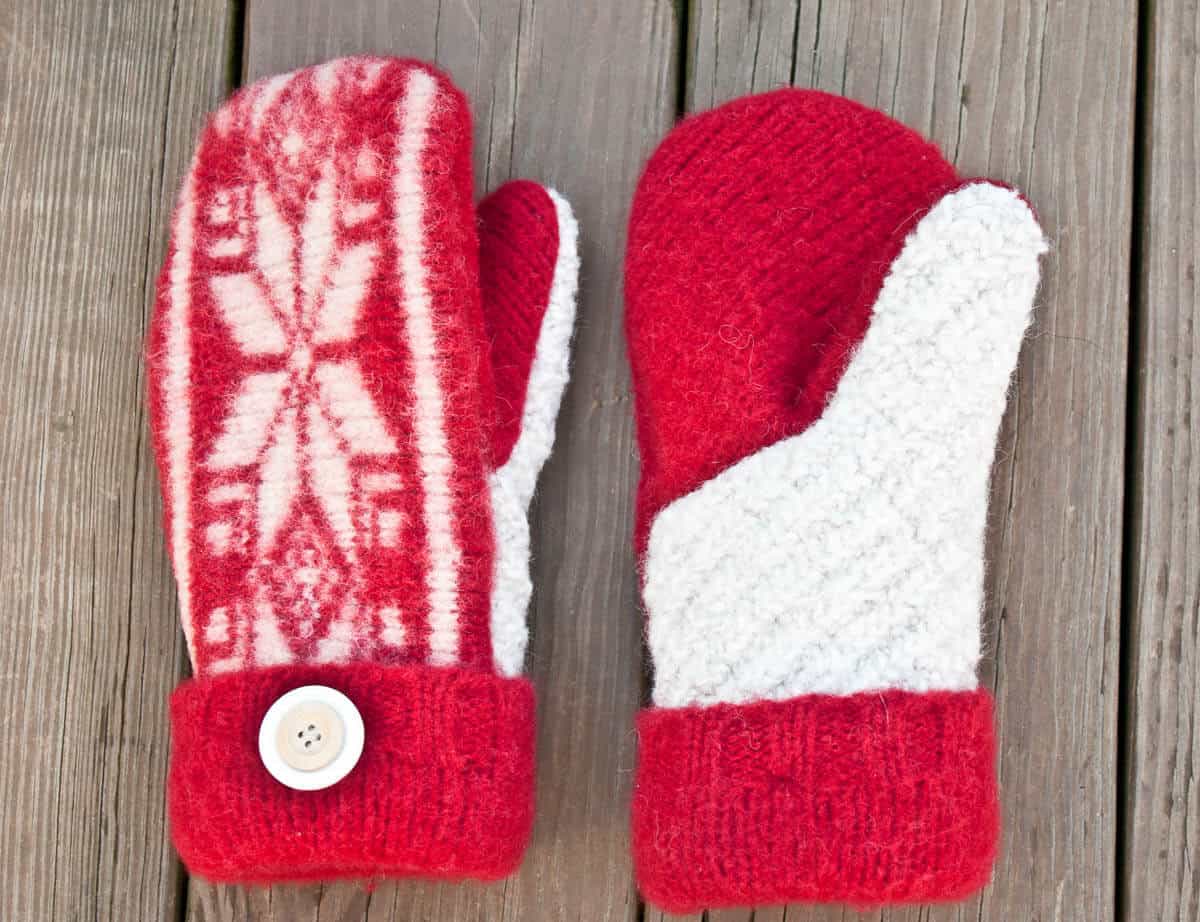
Use a felted wool sweater to sew lined or unlined mittens for a winter market. Start with one size and make a fit sample before cutting matching pairs.
Track each sweater’s fiber content and test how your finished sample handles the care you plan to recommend. Display pairs together with a clear size label so shoppers can compare fit. The Make & Do Crew tutorial shows the layout and sewing sequence for repurposing a sweater.
Make This at Home: Felted Sweater Mittens Tutorial
18. Fabric-Covered Picture Frames

Give a sound secondhand frame a new finish with clean fabric remnants and a suitable decoupage medium. Sort frames by opening size to make labels and packaging easier to repeat. Small prints are easier to place neatly around a narrow border.
Show one finished frame with an insert and label the photo dimensions. Cushion any glass separately for travel. Ellie’s tutorial shows how to wrap fabric scraps around corners and keep the opening tidy.
Make This at Home: Fabric Covered Frame Tutorial
Choose Your First Craft Fair Batch
Pick your first product based on how you’ll sell it. For a one-day fair, a flat item that’s easy to restock may suit your table better than a piece that needs a long explanation. For custom orders, bring a sample and give buyers a clear turnaround.
- Easy to batch and pack: Gift tags, key fobs and bookmarks use repeatable cuts and fit into small packets.
- Easy to gift: Coasters make matching sets that are simple to display.
- Better in small runs: Time a finished mosaic box or woven basket before deciding how many to make. Pack glass lanterns, tissue jars and frames separately.
- Suited to custom orders: Keepsake figures and pocket organizers can use buyer-supplied textiles when you agree on the material and timing first.
Where to Sell and How to Price
At a craft fair, put one sample of each product where shoppers can handle it, show the price clearly and keep packed stock behind the table. For local or social orders, use your own photos and share dimensions, care details and pickup or shipping options before taking payment.
For pricing, write down the cost of the materials you actually use, including adhesive, hardware and anything that goes to waste. Add the time spent washing, cutting, assembling, finishing and packing. Then account for packaging, your share of the table fee, payment fees and any shipping you cover. Base the per-item calculation on the pieces you can actually sell.
Before making a full batch, compare the price with what you can realistically charge. If a finish takes too long, try a simpler version, time it and compare the two samples.
From the Archive: Tire Upcycling
The original collection photographed several ways makers reused old tires for furniture and play equipment. Reusing a tire for something that supports a person calls for a review of the structure, hardware and intended use.
See the original tire project photos
Stationary Tire Furniture
These examples use paint, upholstery, rope and woven surfaces to change the appearance of a tire base. The photos show the finishes from different angles.


Tire Rockers
The rockers use a section of tire beneath a shaped seat. The images show two different seat profiles and handle positions.


Suspended Tire Seats
The hanging examples show both vertical and horizontal seats. The suspension and support structure vary between the photographed designs.


More Ways to Use Recycled Materials
Start with one thing you already have in quantity, whether that’s denim, cardstock or a stack of discs. Try a few finishes, keep the one you can repeat well, and photograph it before making more. These projects can help you develop a second product or turn leftover materials into a display piece for your market table.
- Useful Crafts from Old Jeans
- Coasters Made from Old CDs
- Craft Projects with Bottle Caps
- Gift Tags from Recycled Cards
- Weave a Basket from Newspaper
Which of these would you make for your first craft fair? Share what you already have on hand in the comments. If you’ve sold an upcycled craft before, tell us what made it easier to produce or pack.




















0 Comments