20 Snowflake Decoration Ideas for Winter Rooms
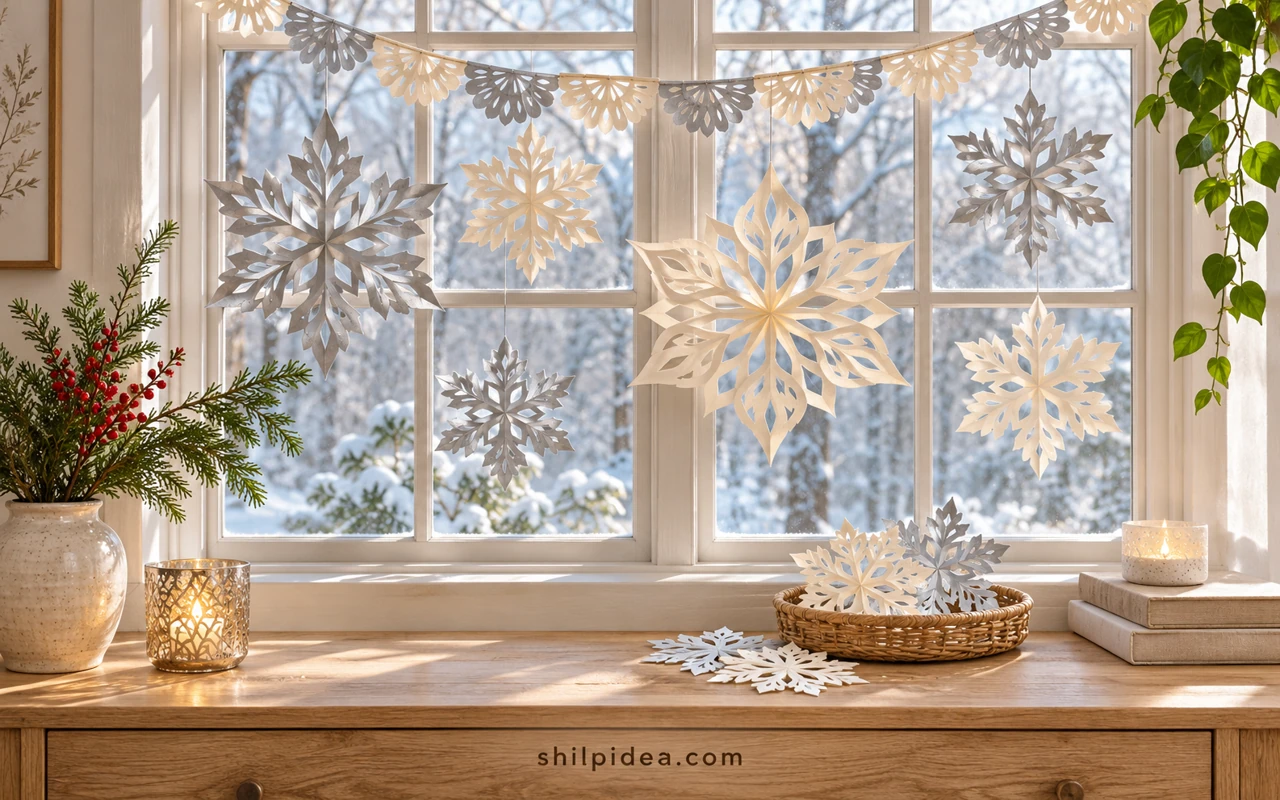
A snowflake can bring the shape of winter into a room with very little space. These 20 displays use paper, wood, yarn, and fabric on windows, shelves, dining chairs, and other spots you already see every day.
Start where the pattern has room to show. Large paper bag snowflakes can fill the upper part of a window, while a deep frame brings a small cutout close enough to see all its layers.
Repeat the motif once or twice nearby, then let a few surfaces stay clear. You can pair it with folded paper stars in the same finish or keep the snowflakes together in one part of the room.
1. Hang Oversized Paper Flakes in a Window

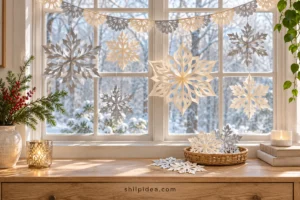
Hang paper bag snowflakes in front of the glass so daylight shows through the cutouts. Use one large flake to anchor the grouping and add smaller ones at different heights. If the window has a view you want to keep, put the densest part of the display near one side. White and kraft paper work together when the cutout patterns are distinct.
2. Make a Constellation of Window Clings

Small clings can make a pane feel wintry while leaving most of the glass clear. Begin with the largest design a little off center, then space smaller flakes loosely around it. Leave a few wider gaps so the arrangement looks like falling snow. If your window has divided panes, let two or three panes carry the pattern and leave the others open.
3. Arrange Large Wood Snowflakes Above a Chair

Large open wooden snowflakes have enough presence to fill a blank wall. Place the biggest over the chair, then position smaller flakes to one side and a little higher. Let the wall color show through the middle of each one. If you repeat a flake motif on the chair, keep it small so the wall grouping still leads the eye.
4. Hang a Pair of Open-Center Snowflake Wreaths

Craft sticks can form an airy wreath whose outline reads as a snowflake from a distance. A pair works well against painted wood, with one a little higher than the other. Leave the centers open to show the surface behind them. That little bit of negative space keeps the shapes distinct even when there’s greenery or other holiday decor nearby.
5. Build a Snowflake Into a Scrap Wood Mosaic

Cut wood and dark seams give a snowflake a different look from paper or felt. A square backing helps the repeated shapes read as one piece, and a pale finish brings out the geometry. Give artwork like this a stretch of plain wall or shelf space. Nearby patterns can make it harder to see where the snowflake ends.
6. Frame a Dark Snowflake on a Light Mat

A single dark snowflake looks crisp against a pale mat, especially in a frame with visible wood grain. Give the points an even margin so the design has room to open up. Lean a small frame on a shelf or hang it over a plain bench. Extra snowflakes nearby can be smaller or softer so they don’t compete with the framed one.
7. Let a Folded Snowflake Stand Away From the Wall

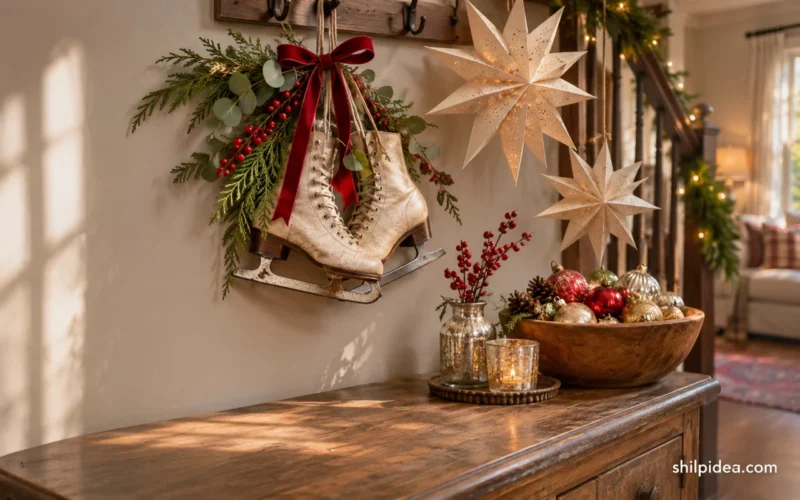
A three-dimensional paper snowflake casts small shadows on the surface behind it. Angle it slightly so you can see the folds and the openings from the room’s main doorway. One strong shape is plenty for a narrow wall. If you pair it with flat cutouts, leave space between them so the larger flake still looks like it’s floating.
8. Hang a Snowflake Mobile at Staggered Heights

A hanging group of paper flakes is visible from more than one angle. Set the biggest shapes toward the center and allow the smaller ones to fall at different lengths around them. Suspend the display from its own support in a spot where people won’t brush against it. Leave enough room around the strands so the paper shapes don’t tangle or overlap.
9. Add Oversized Snowflakes to Stair Garland

Large flakes interrupt a long stretch of stair greenery and let some of its texture show. Use a few in different sizes, putting the largest where the staircase turns toward the room. Leave an open stretch of greenery between them so the shapes don’t merge. Tie each one into the garland and keep the handrail clear for anyone using the stairs.
10. String Crocheted Doilies Into a Snowflake Garland

Crocheted doilies bring a softer edge to a snowflake display. Alternate sizes on one line and leave enough space between them for each lace pattern to show. A dark surface makes the white stitching easier to see, especially at the ends. Use a gentle curve rather than a deep swag if you want the openwork to stay visible across the whole display.
11. Stack Paper Snowflakes Into Mini Trees

A stack of snowflakes in graduated sizes gives these small trees their shape. Put the widest pieces at the bottom and leave space between the layers so you can see the cutouts. Use a trio of heights across a mantel or shelf. Set them on plain pots or simple stands to keep the paper edges in view.
12. Let Snowflake Cutouts Glow on Glass Jars

A white flake against clear glass gives you a simple winter pattern by day. Add a battery-operated light behind it to see the cutout at night. Group jars in different heights and turn the designs toward the edge of the shelf or tray. For a small windowsill, one jar and a plain green sprig give the design enough breathing room.
13. Tie a Snowflake to the Back of a Chair

A single white flake on a darker chair back is easy to see as you walk into the dining room. Thread it onto a short length of sheer fabric and keep the knot where it won’t rub against the person sitting down. Repeat the same shape on opposite chairs if you want a matched look. The tabletop stays clear for plates and serving dishes.
14. Layer Snowflake Shapes Along a Table Runner

A plain runner makes it easy to repeat a snowflake motif without covering the entire table. Test the spacing with the plates in place, then put the strongest shapes where they won’t sit under bowls or glasses. Let the runner ends carry some of the pattern if the center holds serving dishes. A single fabric color keeps the arrangement easy to read.
15. Set a Glittery Snowflake Inside a Shadow Box

A deep frame allows the different layers of a paper snowflake to cast little shadows. Choose a backing color that shows through the tiny gaps. If the front layer catches the light, keep the backing simple and let the repeated paper edges show the depth. Stand the box on a shelf where you can see it straight on.
16. Give a Winter Photo a Floating Snowflake Border

A clear frame lets small flakes appear to float around a winter photograph. Leave a narrow gap around the picture so the border doesn’t cover faces or the main subject. A little easel lets you move the display between a bookshelf and a mantel. Put it beside a plain tree or solid ornament that won’t compete with the flakes.
17. Bring a Floral Snowflake Into the Pillow Mix

A floral snowflake reads like both embroidery and a winter motif. Let the center of the design stay open and repeat a few colors from the stitching elsewhere on the sofa. One plain cushion of the same size can make the embroidered one feel more deliberate. Turn it toward natural light if you want the small stitches to show.
18. Hang Red Felt Snowflakes on an Evergreen

A red felt ornament stands out even deep in the branches. White embroidery gives this one enough detail to draw your eye without adding more color. Repeat the red in two or three places and let the needlework supply the contrast. On a smaller tree, arrange the snowflakes on separate branches so the stitched points stay visible.
19. Use Knotted Cord for a Textured Snowflake

Cotton cord gives a snowflake a thicker outline and a softer finish. Use one against a smooth basket or cabinet door where the knots are easy to see. Trim the fringe evenly if you want a crisp outline, or let a little variation show the handwork. Gray and cream can sit together on one display when the cord thickness is similar.
20. Finish a Wood Bead Loop With Snowflake Charms

A beaded loop and two snowflake ends can dress up a basket handle or a plain cabinet pull. Drop one end a little lower so both flakes are visible and let the tassels add contrast. A single loop works best on a short surface where a full garland would feel crowded. Repeat its white finish in a nearby small decoration if you want the two to connect.
Make the Snowflake Pattern Work in Your Room
Put the largest snowflake in place first and check it from the doorway. Add a smaller shape only where it has a clear background. Small details are easier to see on a shelf or table, while wood or folded paper carries across a wider room. Once the layout works, keep one piece of thread or ribbon handy so you can adjust heights as you go.
- Cut Oversized Paper Bag Snowflakes
- Try Folded Paper Star Decorations
- Explore Unexpected Christmas Decorating Ideas
Which spot in your home would you decorate with snowflakes this winter? Tell us whether you’d choose paper, wood, or fabric, and what would make the pattern stand out in that space.



























0 Comments